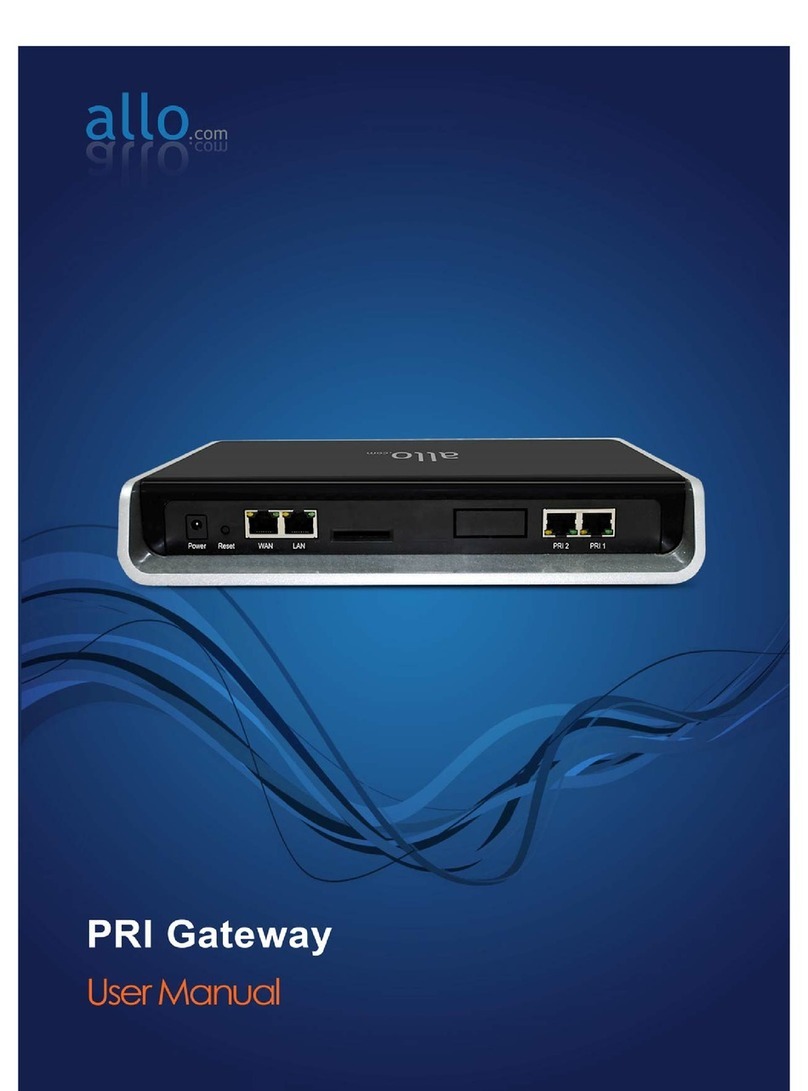
Allo.com PRI Gateway User manual

PRI User Manual
www.allo.com Version 2.0 1

PRI User Manual
www.allo.com Version 2.0 2
Copy Right
Copyright © 2014 Allo. All rights reserved.
No part of this publication may be copied, distributed, transmitted, transcribed, stored in a
retrieval system, or translated into any human or computer language without the prior written
permission of Allo.com. This document has been prepared for use by professional and properly
trained personnel, and the customer assumes full responsibility when using it.
Proprietary Rights
The information in this document is Confidential to Allo and is legally privileged. The information
and this document are intended solely for the addressee. Use of this document by anyone else for
any other purpose is unauthorized. If you are not the intended recipient, any disclosure, copying,
or distribution of this information is prohibited and unlawful.
Disclaimer
Information in this document is subject to change without notice and should not be construed as a
commitment on the part of allo.com. And does not assume any responsibility or make any
warranty against errors. It may appear in this document and disclaims any implied warranty of
merchantability or fitness for a particular purpose.

PRI User Manual
www.allo.com Version 2.0 3
About this manual
This manual describes the Allo product application and explains how to work and use it major
features. It serves as a means to describe the user interface and how to use it to accomplish
common tasks. This manual also describes the underlying assumptions and users make the
underlying data model.
Document Conventions
In this manual, certain words are represented in different fonts, typefaces, sizes, and weights. This
highlighting is systematic; different words are represented in the same style to indicate their
inclusion in a specific category. Additionally, this document has different strategies to draw User
attention to certain pieces of information. In order of how critical the information is to your
system, these items are marked as a note, tip, important, caution, or warning.
Icon
Purpose
Note
Tip/Best Practice
Important
Caution
Warning
•Bold indicates the name of the menu items, options, dialog boxes, windows and functions.
•The color blue with underline is used to indicate cross-references and hyperlinks.
•Numbered Paragraphs - Numbered paragraphs are used to indicate tasks that need to be
carried out. Text in paragraphs without numbering represents ordinary information.

PRI User Manual
www.allo.com Version 2.0 4
•The Courier font indicates a command sequence, file type, URL, Folder/File name
•e.g. www.allo.com
Support Information
Every effort has been made to ensure the accuracy of the document. If you have comments,
questions, or ideas regarding the document contact online support: http://support.allo.com

PRI User Manual
www.allo.com Version 2.0 5
Table of Contents
About this manual...................................................................................................................... 3
Document Conventions ............................................................................................................. 3
Support Information .................................................................................................................. 4
1.Product Introduction ...................................................................................................................... 8
1.1 Overview .............................................................................................................................. 8
1.2 Equipment Structure............................................................................................................ 9
1.2.1 Rear View .................................................................................................................. 9
1.2.2 Front View............................................................................................................... 10
1.3 Functions and Features...................................................................................................... 11
1.3.1 Protocol Support .................................................................................................... 11
1.3.2 System Function...................................................................................................... 11
1.3.3 General Hardware Specification ............................................................................. 11
2. Getting Started with PRI Gateway ............................................................................................... 13
2.1 Hardware Installation ........................................................................................................ 13
2.2 Accessing the WEB GUI...................................................................................................... 14
3. Setting up Features ...................................................................................................................... 16
3.1 System Dash Board ............................................................................................................ 16
Welcome Administrator........................................................................................................... 17
4. Setup ............................................................................................................................................ 19
4.1 Trunks................................................................................................................................. 19
Contents

PRI User Manual
www.allo.com Version 2.0 6
4.1.1 SIP Trunks................................................................................................................ 19
4.1.2 PRI Trunks ............................................................................................................... 23
4.2 Calling Groups .................................................................................................................... 25
4.3 Call Routing Rules .............................................................................................................. 27
4.3.1 Routing table........................................................................................................... 28
4.3.2 Manipulation table ................................................................................................. 31
4.4 Time-based Routing ........................................................................................................... 34
5. Advanced Settings........................................................................................................................ 37
5.1 ISDN PRI Settings................................................................................................................ 37
5.2 SIP Global Settings ............................................................................................................. 39
6. System.......................................................................................................................................... 41
6.1 Network ............................................................................................................................. 41
6.2 Date/Time .......................................................................................................................... 43
7. Tools ............................................................................................................................................. 45
7.1 Diagnostics ......................................................................................................................... 45
7.2 Backup/Restore.................................................................................................................. 46
7.3 Upgrade Firmware ............................................................................................................. 47
8. Status ........................................................................................................................................... 49
8.1 Call Reports ........................................................................................................................ 49
8.2 SIP Trunks........................................................................................................................... 50
8.3 PRI Span ............................................................................................................................. 52
8.4 Current calls ..................................................................................................................... 53
8.5 Network ............................................................................................................................. 54

PRI User Manual
www.allo.com Version 2.0 7
9. Frequently Asked Questions ........................................................................................................ 55
10. Appendix .................................................................................................................................... 58
11.Appendix B: Glossary and Acronyms .......................................................................................... 59

PRI User Manual
www.allo.com Version 2.0 8
1.Product Introduction
1.1 Overview
The aGP1/aGP2 is a PRI gateway aimed to target at small and medium offices and
operators, and used to help enterprise to realize the evolution from the traditional PBX to voice
IP. On the one hand, it supports PRI protocol and adopts standard T1/E1 trunk interface to realize
docking with traditional PBX. On the other hand, adopt standard SIP protocol docking with
various soft switches to ensure PSTN seamless access to IP voice network, and achieving VoIP.
PRIGW100 supports intelligent multiple trunk routing technology, makes the operator easy to
manage trunk routing by price optimum rule, and the automatic switch-over between multiple
trunk routing makes the network have high reliability.
It has good call processing ability, and provides one or two T1/E1 interface. It is able to
handle a variety voice decoding. It supports the rich GUI configuration, the user can easily set and
maintenance the system. Mainly includes the following kinds of models:
aGP1 – 1 Span
aGP2 – 2 Spans
A typical network diagram shows the function of PRIGW100 as below.
Introduction

PRI User Manual
www.allo.com Version 2.0 9
Figure 1: Overview of Product
1.2 Equipment Structure
1.2.1 Rear View
Figure 2: Rear View

PRI User Manual
www.allo.com Version 2.0 10
Interface
Description
Power
Connect the power adapter, 12VDC, 3.5A
PRI 1 & PRI 2
E1/T1 ports with line link LED indicators (Blue: Line normal)
WAN
Standard 10/100BASE-TX Ethernet Interface for WAN
Management
Console (LAN)
Standard 10/100BASE-TX Ethernet Interface for LAN. Default Web GUI
Login IP address is 192.168.113.2
Reset
Reset button for factory default.
1.2.2 Front View
Figure 3: Front View

PRI User Manual
www.allo.com Version 2.0 11
PRI Gateway Front Panel LED Indicators:
1.3 Functions and Features
1.3.1 Protocol Support
•Standard SIP V2 protocol
•E1/T1 PRI protocol
•NAT Traversing (STUN)
•Hypertext Transfer Protocol (HTTP)
•Domain Name System (DNS) & Dynamic host configuration protocol (DHCP)
•ITU-T G.711A-Law/U-Law, G.729AB, G.722
1.3.2 System Function
•Echo Cancellation: Up to 128msec echo tail length
•DTMF mode: RFC 2833, SIP INFO and INBAND
•Digit manipulation
•Integrated SIP registrar
•Early Media Support
•STUN support
•Call Detail Records (CDR)
•HTTP configuration
•Firmware upgrade by Web
1.3.3 General Hardware Specification
•Power supply: 12VDC, 3.5A

PRI User Manual
www.allo.com Version 2.0 12
•Temperature: 0~40 deg(operational),-20~70 deg(storage)
•Humidity: 10%~90%, no condensation
•Max power consumption: 25W
•Dimension (mm): 250mm (W) x 220mm (L) x 43mm(H)
•Net Weight: 1.4 kg
WARRANTY
Hardware Warranty : 1 year
If the PRI Gateway was purchased from a Distributor/reseller, please contact the company where
the device was purchased for replacement, repair or refund. If the device was purchased directly
from Allo.com, contact our Technical Support Team for a RMA (Return Materials Authorization)
number before the product is returned. Allo.com reserves the right to remedy warranty policy
without prior notification.
Use the power adapter provided with the ALLO PRI Gateway. Do not use a different power
adapter as this may damage the device. This type of damage is not covered under warranty.

PRI User Manual
www.allo.com Version 2.0 13
2. Getting Started with PRI Gateway
Figure 4: Getting Started with PRI Gateway
2.1 Hardware Installation
Step 1: Plug one end of the RJ45 Ethernet cable into your Router & other end into the WAN port of
the PRI Gateway.
Use Straight-through Ethernet cable to connect between the unit & Router/Switch.
Step 2: Plug one end of the RJ45 cable into the PRI 1 port of the PRI Gateway & other end to the
E1/T1 service provider socket.
Step 3: Insert the Power Adapter output connector into the “Power” port of the PRI Gateway &
Plug in the Power Adapter to any available AC power outlet.
Step 4: The PRI Gateway will power up, and automatically connect itself to your network via DHCP
(which you can later configure in the SETTINGS > Network Settings section)
Getting Started

PRI User Manual
www.allo.com Version 2.0 14
Wait until the unit is completely booted up and make sure that LED2 is Blue.
2.2 Accessing the WEB GUI
PRI Gateway WEB GUI can be accessed either through WAN or Management Console. Steps to
Access the GUI during the initial setup through Management Interface (LAN):
Step 1: Make the setup as described in Hardware setup section, Lets access the Web GUI through
Management Interface (LAN)
Step 2: Change the Network setting of the PC in manual mode (i.e. Static IP mode). Assign the IP
address to the PC in the range of 192.168.113.xxx (E.g:192.168.113.10), net mask as 255.255.255.0
and gateway & DNS as 192.168.113.1.
Step 3: Launch the web browser and enter the URL http://192.168.113.2 (Default LAN IP address) to
open the login page of PRI Gateway’s Graphical Interface.
Figure 5: PRI Gateway Login Interface
Step 4: Login using the default username & password (Default: Username: admin; Password:
admin). Successful login takes you to the Dashboard page. Observe the WAN IP address on the
dashboard, this will be used to access the GUI from the WAN interface.
The Recommended web browser to access GUI is Mozilla Firefox.

PRI User Manual
www.allo.com Version 2.0 15
Step 5: If your network is not enabled with DHCP server, configure the WAN port IP address
manually in the SETTINGS > Network Settings section as per your requirement.

PRI User Manual
www.allo.com Version 2.0 16
3. Setting up Features
Setting up your browser for working with PRI Gateway is simple. In order to run this application
appropriately the following settings are to be configured.
3.1 System Dash Board
PRI Gateway Dash Board summarizes the gateway status with a graphical display. It provides
detailed status of an individual entity is available under the Status Tab or it can be directly
accessed.
Figure 6: System Dash Board
Please change the default administrator password to alphanumeric, to prevent hacking.
Setting up Features

PRI User Manual
www.allo.com Version 2.0 17
Welcome Administrator
Figure 6: Administrator
Figure 7: Reboot the device
Reboot option helps you to reboot your device.
Web Settings
Navigation through Administrator > change the Web Settings. Here you can change the
administrator password.

PRI User Manual
www.allo.com Version 2.0 18
Figure 8: Web Settings
Web Session Timeout : Duration after which current web login session expires. Default: 3600 sec
Default Filtering: Number of entries in a table per page to be displayed.
Change Password: Modify Administrator password here.
Click on “CHANGE PASSWORD “button, followed by “SAVE” button to update the configuration
changes.

PRI User Manual
www.allo.com Version 2.0 19
4. Setup
This section consists of all Trunks, calling groups, call routing rules and time based routing, it also
explains all the description to be followed while creating a new process in the PRI Gateway.
4.1 Trunks
It helps to make the calls and bind between the two devices.
4.1.1 SIP Trunks
It provides the interface to any SIP companion such as VoIP service provider, any SIP server or SIP
clients. To add different types of interfaces, configure the signaling & media settings for each trunk.
Add a SIP Trunk
Navigation: SETUP > SIP Trunk > Add a SIP Trunk: This is where you setup your SIP Trunks
IP Peering
Figure 9: IP Peering
•Click Add SIP Trunk
Setup

PRI User Manual
www.allo.com Version 2.0 20
•Create a SIP user account for below registration methods.
Account Name - Descriptive name for the SIP Trunk for user's reference.
Username- Username of endpoint (e.g.: IPPBX) will use to authenticate with the gateway.
Registration Mode- Whether the endpoint will register to this gateway or this gateway will register
to the endpoint.
a) None: No Registration, IP Address peering of the Gateway & Endpoint
b) To Gateway: Endpoint (IPPBX or VoIP Service Provider) register with the Gateway
c) From Gateway: Gateway register to the End point (IPPBX or the VoIP Service Provider)
•Enter the PBX or VoIP service provider IP address for registration mode “ From Gateway or
None”
•Click authentication, if it is required
Authentication- Enable, if Authentication is required by the End point (VOIP Service Provider or
IPPBX)
Auth. Username- It is used only for registration
Password- It is authenticating inbound or outbound registrations or calls.
Proxy Address- IP address or hostname with port of the endpoint (VOIP Service Provider or IPPBX)
where the calls will be diverted. Default port no.: 5060
Outbound Proxy Address- IP address or hostname with port of the outbound proxy server. This
ensures that all the SIP packets are sent via specified proxy. Specifying the port is not mandatory.
Default port no.: 5060
e.g.: 192.168.0.222:5062 OR 192.168.0.222
Table of contents
Other Allo.com Gateway manuals