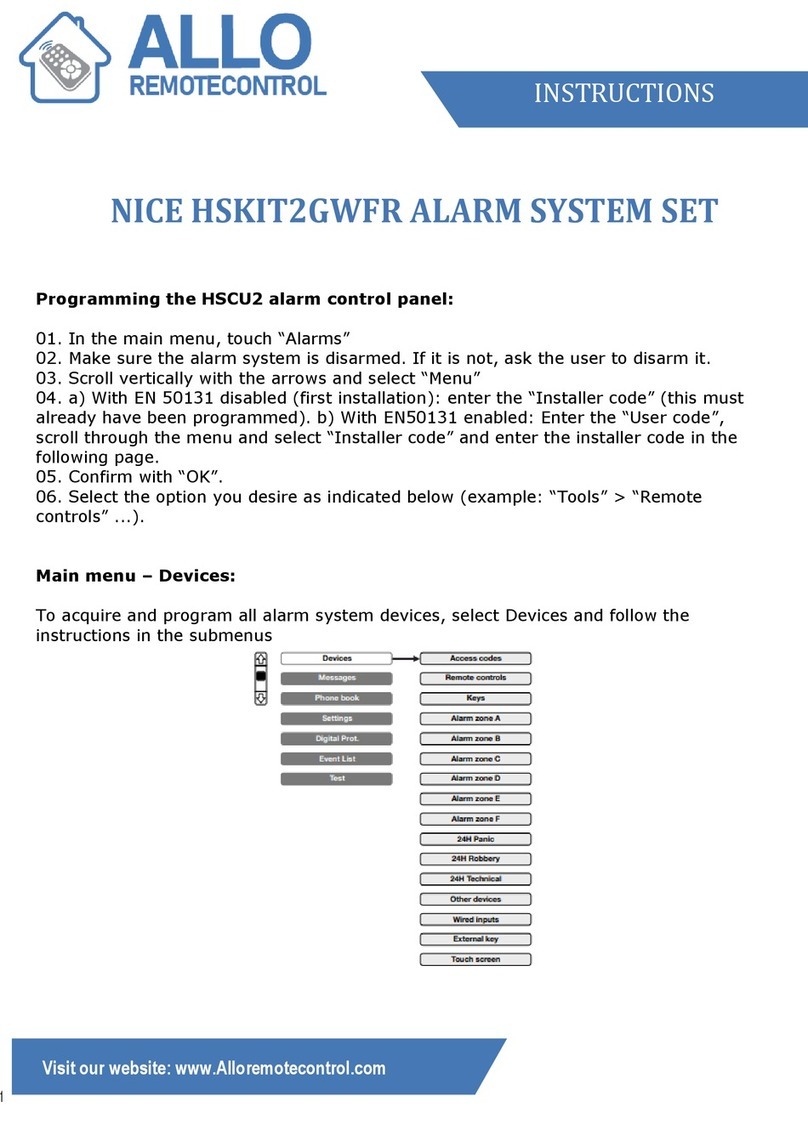
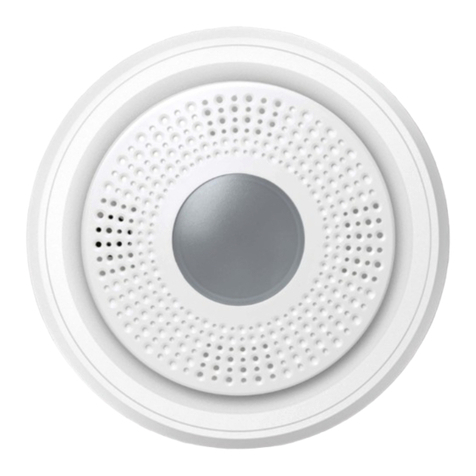
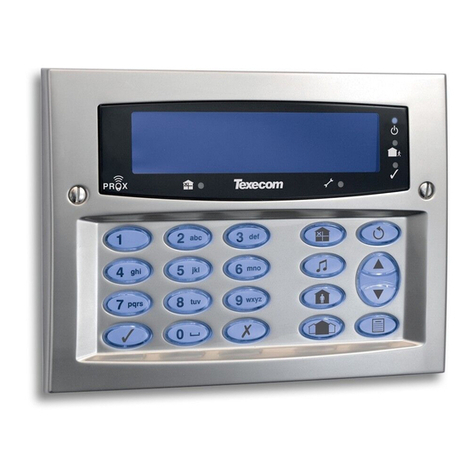
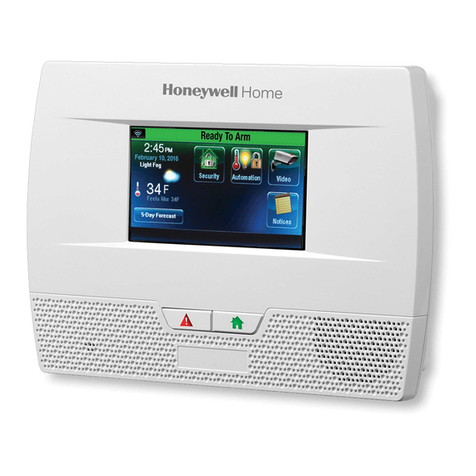
Allo RemoteControl NICE HSCU1 Series User manual

NICE Models HSCU1
families:
INSTRUCTIONS
Visit our Website. www.alloremotecontrol.com
Visit our website: www.Alloremotecontrol.com

.
INSTALLATION:
Visit our website: www.Alloremotecontrol.com
Visit our website: www.Alloremotecontrol.com
Installation:
01. Remove the protection grille (fig. 7-A) and the cover (fig. 7-B) to open the housing;
02. Unhook the side hook so that the body of the control unit can be rotated (fig. 8);
03. Insert the memory board supplied; ensure that it is correctly inserted in the internal
connector guides (fig. 9). On control unit models HSCU1GC and HSCU1G (with GSM) also insert
the SIM card (fig. 10).
04. Before fixing the housing, the “anti-lever” system can be activated if required on the rear
tampering detector (fig. 11): a) remove part “a” as shown and set aside b) remove part “b” as
shown and throw it away;
05. For models HSCU1GC and HSCU1C: make a hole for the cables (fig. 12) and route the
electric power cables through the hole (fig. 13);
06. Refit the control body unit in its seat (fig. 14);
07. Mark the 3 fixing points shown in fig. 15 on the wall. If the “anti-lever” system has been
activated also mark the 4th point for part “a” (fig. 15);
08. Drill holes in the wall at the 3 fixing points and insert the screws and plugs supplied (fig.
16). If the “anti-lever” system has been activated also drill a hole at the 4th point and insert the
plug and part “a”, previously set aside (fig. 16)
09. Fix the control unit to the wall using the screws supplied (fig. 17);
10. Electrical connections: • For models HSCU1GC and HSCU1C: make the electrical connections
and insert the buffer battery as described in chapter 5. • For models HSCU1G and HSCU1:
connect the battery pack as shown in fig. 18;
11. Close the housing (fig. 19). 12. Now proceed with the installation of the various devices as
envisaged

Visit our website: www.Alloremotecontrol.com

Visit our website: www.Alloremotecontrol.com

Visit our website: www.Alloremotecontrol.com

CONTROL PANEL PROGRAMMING:
General rules for programming:
• Modifications to settings must be confirmed by pressing the key OK; if not confirmed, the
modification is not saved.
• When the display shows the symbols this means that the user can scroll up through the list
using key , or down through the list using key .
• When the display shows the symbol OK this means that the user must confirm the operation by
pressing OK.
• When the display shows the letters Y or N this means that the function is active (Y = Yes) or not
active (N = No).
• To exit a function, press ESC.
• To cancel a setting, press C.
• To cancel part of a setting during entry, press .
• To enter the hour, date, minutes and seconds, and wherever a numerical entry is required, use
the numerical keys.
• To associate telephone numbers with vocal and SMS messages, use the numerical keys.
• To select groups A, B and C use respectively keys 1, 2 and 3.
In the event of errors during entries there are no serious consequences;. the appliance simply
indicates the error with one or more beeps.
Initial start-up and configurations:
When the battery is connected, the display lights up and the control panel firmware version code
is shown on screen. Press any key to display the function to select the language used in the
control panel menus. Scroll through the languages using keys and and press OK to confirm.
From here on, vocal instructions are given; the messages are stored in the system memory
(located next to the GSM SIM card) and are in one language only, corresponding to the language
of the manual supplied with the control panel. Memories with other languages are available on
request.
Safety codes: “factory code”, “user code” and “installer code”:
The control panel has a factory code: “0000” to enable initial access to the programming
procedure. This code must subsequently be modified, and the two codes below must be
programmed:
• user code: (from 4 to 8 digits) enables activation of the manoeuvres and access to a number of
settings;
• installer code: (from 4 to 8 digits) enables access to all settings but not to manoeuvres
Caution!
Do not forget these codes or the control panel will need to be opened (generating a “tamper”
alarm), disconnect the power supply and reconnect, then initialise the system after entry of the
factory code (this operation does not delete the settings made). After entering the factory code
the system requests entry of the current time and date for the internal clock. The internal clock is
used in the event log and the timed programmer
Visit our website: www.Alloremotecontrol.com

Programming menus:
PHONE BOOK MEMORY:
This section enables memorisation of the names and telephone numbers of persons who will
receive alarm messages and technical system information. The phone book can store up to 63
names (items). Position number 64 can be programmed exclusively with the number provided by
the SIM card operator to display residual credit. Therefore, when the control panel is active,
credit can be displayed automatically by pressing . For each item of the phone book, compile all
fields
Telephone line check:
the control panel normally listens for the free PSTN line tone before making the call. If the line is
disturbed, the control panel may not detect a free line. Therefore, to cancel this check process,
enter the symbol ✱(press ) in the programming phase as the first digit of the telephone
number. • Pause between numbers: if a pause occurs between one number and the next when
dialling numbers, enter the symbol P (press ) at the point of the pause.
This procedure can be used to record, re-listen to and modify the various messages
Visit our website: www.Alloremotecontrol.com

Vocal message recording procedure:
01. From the menu MESSAGES press OK to confirm: VOCAL MESSAGES is displayed.
02. Press OK again to confirm: VOCAL MESSAGE N°1 is displayed.
03. Select the required message using keys and and press OK to confirm. The text OK TO RECORD is
displayed.
04. Press and hold OK and start to record the message. During recording, the remaining recording time is
displayed.
05. At the end of recording, release OK. The control panel automatically replays the message.
06. If required, listen to the message again by pressing OK.
07. If recording is successful, press ESC to confirm the recorded message and exit the procedure.
08. If the recording is not satisfactory, press C to cancel and repeat the procedure.
Visit our website: www.Alloremotecontrol.com
This manual suits for next models
4
Table of contents
Other Allo RemoteControl Security System manuals
