Allo RemoteControl NICE HSKIT2GWFR User manual

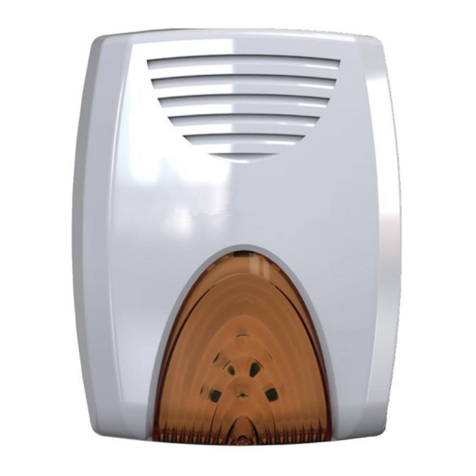
NICE HSKIT2GWFR ALARM SYSTEM SET
families:
INSTRUCTIONS
Visit our Website. www.alloremotecontrol.com
Programming the HSCU2 alarm control panel:
01. In the main menu, touch “Alarms”
02. Make sure the alarm system is disarmed. If it is not, ask the user to disarm it.
03. Scroll vertically with the arrows and select “Menu”
04. a) With EN 50131 disabled (first installation): enter the “Installer code” (this must
already have been programmed). b) With EN50131 enabled: Enter the “User code”,
scroll through the menu and select “Installer code” and enter the installer code in the
following page.
05. Confirm with “OK”.
06. Select the option you desire as indicated below (example: “Tools” > “Remote
controls” ...).
Main menu –Devices:
To acquire and program all alarm system devices, select Devices and follow the
instructions in the submenus
Visit our website: www.Alloremotecontrol.com

.
INSTALLATION:
Visit our website: www.Alloremotecontrol.com
Visit our website: www.Alloremotecontrol.com
Programming the access codes:
This procedure sets the codes used by users for arming/disarming the system. Up to 32 codes
can be programmed. Each must have 4 parameters, including assignment of the zones (A, B, C,
D, E, F) which the code will be able to arm/ disarm
01. Select Access code.
02. Select one of the 32 programmable codes.
03. Touch “Add” and complete the screen as follows: Arm: (specifies the zones the access code
in question will be able to arm). Touch “Arm” and select the zones (A, B, C, D, E, F) you wish to
assign to the code. Confirm with “OK”. Disarm: (specifies the zones the access code in question
will be able to disarm). Touch “Disarm” and select the zones (A, B, C, D, E, F) you wish to assign
to the code. Confirm with “OK”. Anti-duress: (allows you always to disarm an alarm while calling
the emergency numbers. Only use this alarm in case of actual danger). Touch “Anti-duress” and
select “YES” or “NO”. Confirm with “OK”. Name: (associates the code with the name of the user
to whom it is assigned). Touch “Name” and enter the user's name (max. 9 characters). Confirm
with “OK”.
04. Confirm with “OK”. 05. Enter a 5 digit access code; confirm with “OK” (the control panel will
beep to confirm; 3 beeps indicate that the code is already present).
Programming a remote control:
01. Select “Remote controls”.
02. Select one of the 32 programmable remote controls.
03. Touch “Add” and complete the screen as follows: Name: (associates the remote with the
name of the user to whom it is assigned). Touch “Name” and enter the user's name. Confirm
with “OK”. Arm: (specifies the zones to be armed with the remote control being programmed).
Touch “Arm” and select the zones the remote will be able to arm. Confirm with “OK”. Disarm:
(specifies the zones to be disarmed with the remote control being programmed). Touch “Disarm”
and select the zones the remote will be able to disarm. Partial Arm 1: (specifies a part of the
system to be armed with the remote control being programmed). Touch “Partial Arm 1” and
select the zones the remote will be able to arm. Confirm with “OK”. Partial Arm 2: (specifies a
part of the system to be armed with the remote control being programmed). To enable the
second remote control button to control the second partial arming zone, click on the arrow ,
select “Partial Arm 2” and select the zones to assign to the remote. Confirm with “OK”. 04.
Confirm with “OK”.
05. Press “OK” to start acquisition and then press remote control keys “On” and “Off” together.
The control panel will beep to confirm (3 beeps indicate that the remote is already present).
06. Confirm the settings with “OK”.

Programming an intrusion detector:
01. Select the zone to assign the detector to: “Alarm zone A”, B, C, D, E, F.
02. Select the detector: touch “Add 1 detector”.
03. Fill out all fields as follows: Delay: Touch “Delay” and enter the alarm delay (0 Sec = alarm
is sent immediately). This delay gives the user time to enter the home and disarm the alarm
without tripping the detector. Confirm with “OK”. Name: Touch “Name” and enter the detector's
name (e.g.: “kitchen”). Confirm with “OK”. Voice name: Touch “Voice name” and record the
name of the detector (e.g.: “kitchen”).
04. Confirm with “OK”.
05. Touch “OK” again and fit the battery into the detector. The control panel beeps to confirm
(3 beeps indicate that the detector is already present). 06. Press “OK” to save the settings
Programming a 24H Technical detector:
The procedure associates a technical detector (i.e., flooding, smoke, etc.) to the control panel.
This type of detector must be programmed into the “24H Technical” group. This group is always
armed.
01. Select “24H Technical”.
02. Select one of the programmable detectors and press “Add”.
03. Fill out all fields in the following page as follows: Name: Touch “Name” and enter the
detector's name (e.g.: “kitchen smoke”). Confirm with “OK”. Voice name: Touch “Voice name”
and record the name of the detector (e.g.: “smoke”).
04. Confirm with “OK”.
05. Touch “OK” again and fit the battery into the detector. The control panel beeps to confirm
(3 beeps indicate that the detector is already present). - HSDIW01 (flooding sensor): this must
be connected to the HSDID11 by cable;
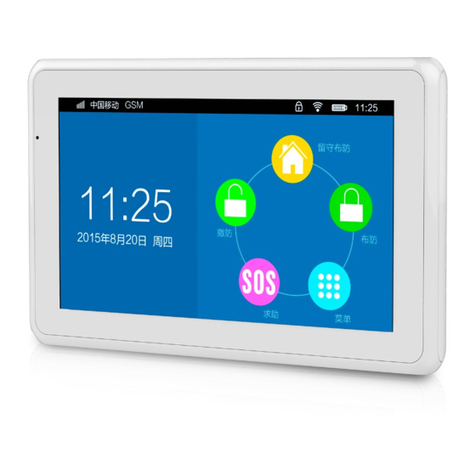
Programming the touch screen:
Further to the main touch screen, others can be added up to a total of 4 units.
- Select touch screen. - Select one of the 4 Touch screens not yet assigned and press “Add”.
- Fit the batteries into the new touch screen.
- On the new unit, touch and scroll with , then select “Union” .
- On the new unit, touch “New union” and confirm with “OK”.
- Confirm with “OK” on the main touch screen and the list will now include the new unit.
Table of contents
Other Allo RemoteControl Security System manuals
