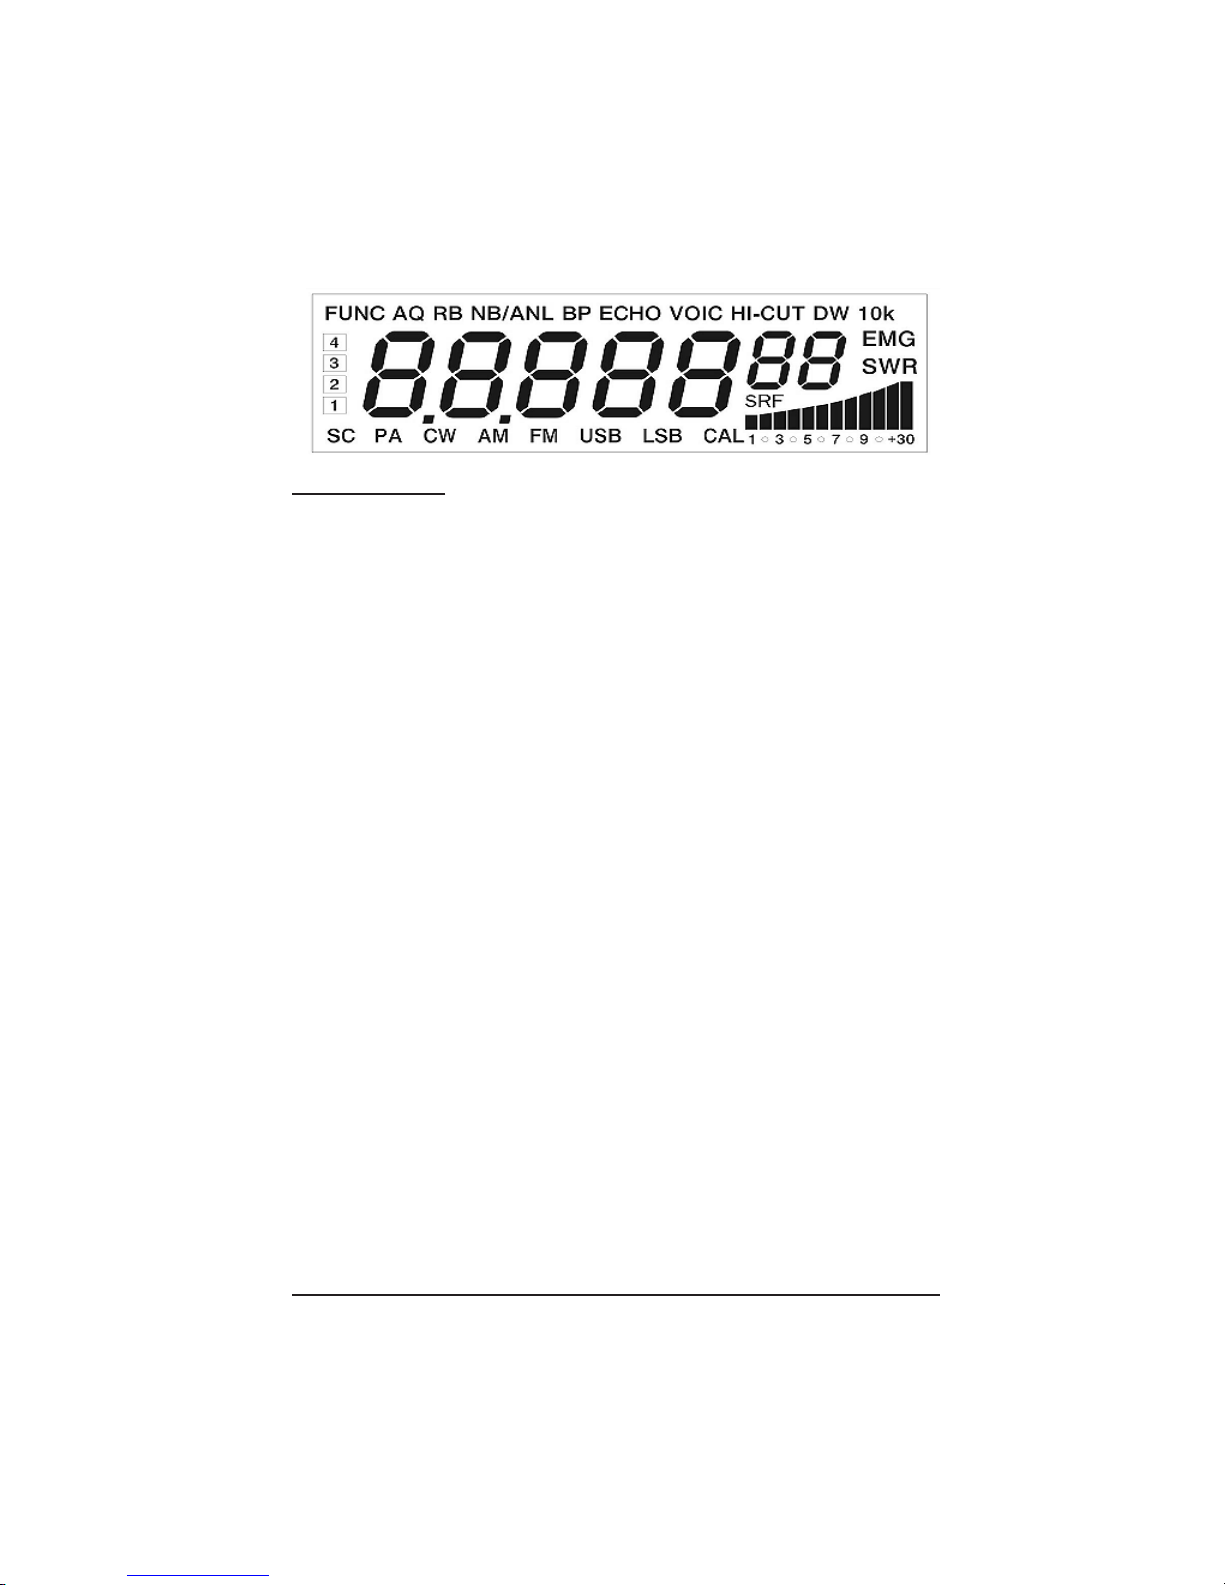
FunctionProgrammability:
The “FUNC” button controls the features marked in Blue under the control
button. The “FUNC” button also opens the programmable features of the radio
via a control menu. The programmable features of this radio can be set by
Computer, or by manually entering the Function Menu.
To open the Programming Mode via the Function Menu, Press and Hold the
“FUNC” key for 2 seconds. Press the “FUNC” key again and again to select the
different programmable features. Example: Press and Hold the “FUNC” key for
2 seconds and the “FUNC” icon will apear on the display. Press the “FUNC” key
again and the “STP” menu will indicate the Frequency Tuning Step of 10 Khz. By
turning the Channel Selector, the step tuning will change to the desired
frequency steps.
Press the “FUNC” key again to select another item. Change setting with the
Channel Selector. After 5 seconds of no activity the new setting will be saved in
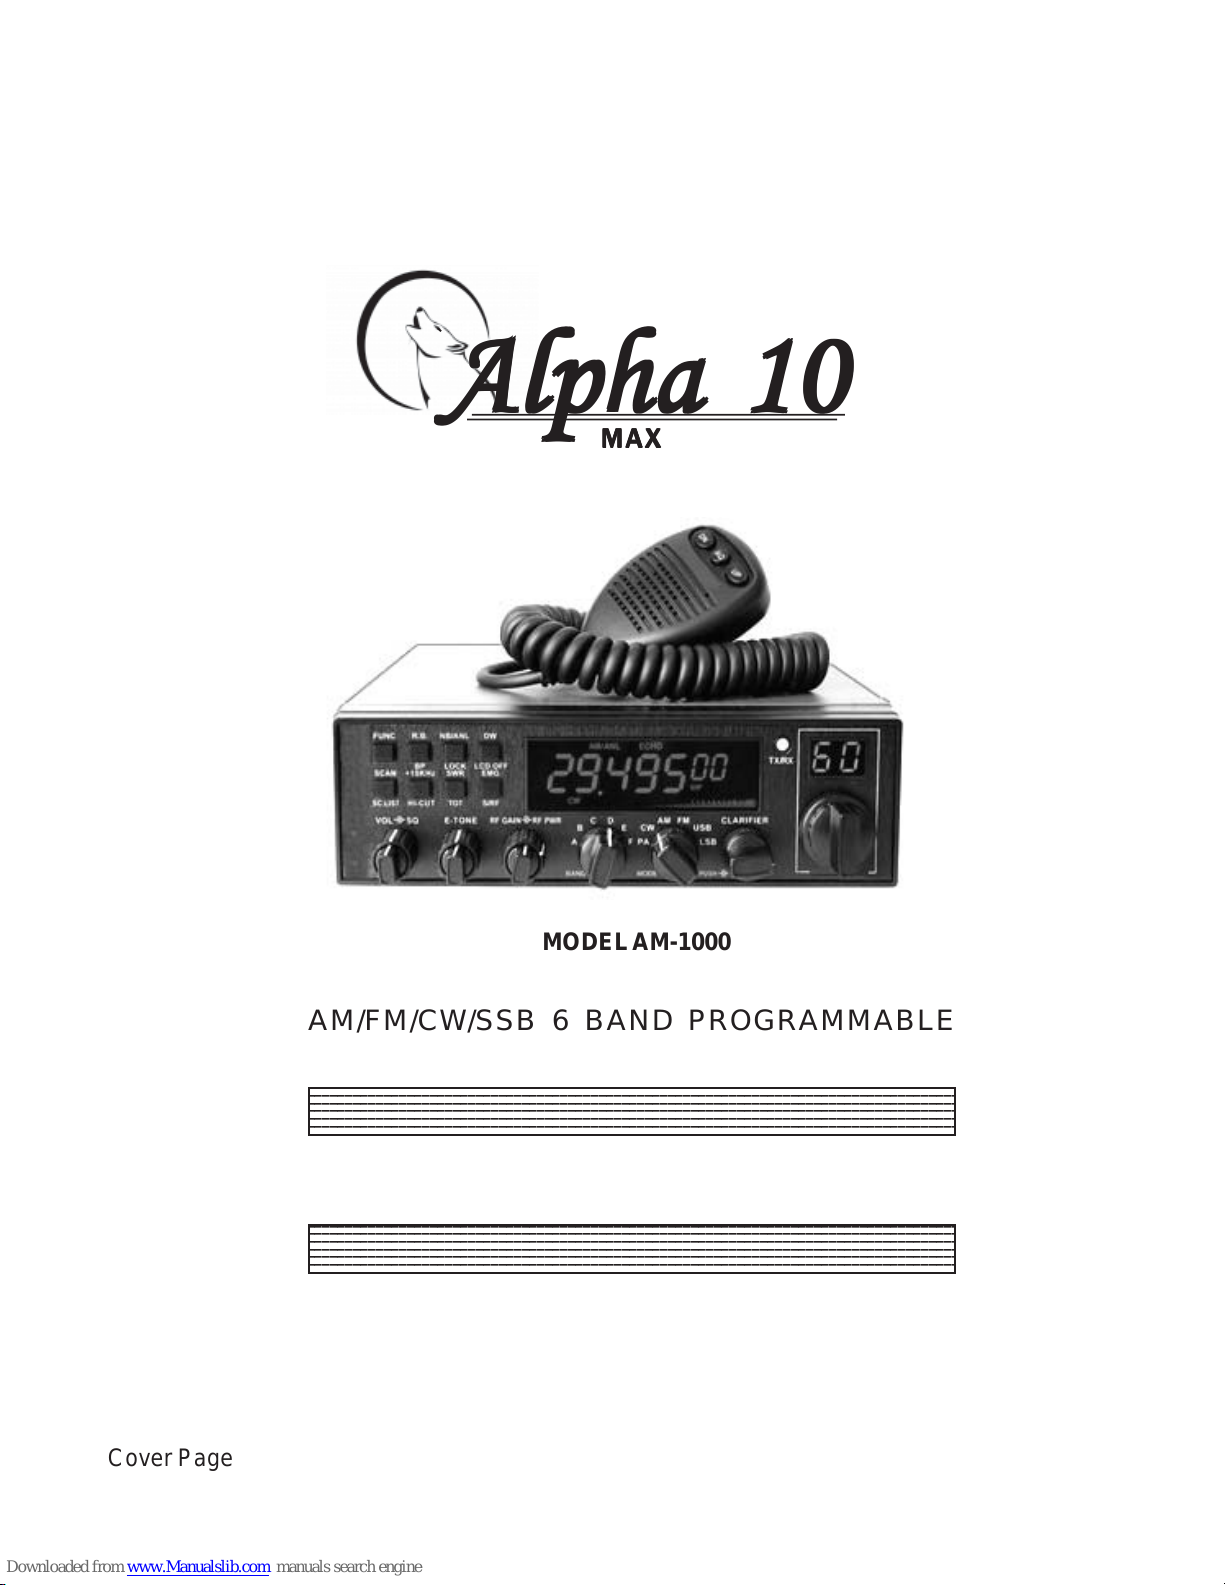
memory. The Display will show each Option and Setting to the right side.
STP (Step Tuning Programming) or (Frequency Tuning Step)
This menu is to set tuning step while adjusting CLARIFIER knob
Options Available: 10HZ 100HZ 1KHZ 10KHZ (Default: 10HZ)
CLA (CLARIFIER) Mode Setting (Default: RT)
This menu is to set functions of the CLARIFIER knob. Options are as follows:
+ FIN: Fine Tuning. When this option is selected, users can Only Fine Tune
the Receive Frequency by rotating the CLARIFIER knob.
Option “1” will appear on the LCD.
+ RT: When this option is selected, users can adjust Both Transmit and
Receive. Option “2” will appear on the LCD.
+ T When this option is selected, users can Only adjust the Transmit
frequency., Option “3” icon will appear on the LCD.
PUS (PUSH Function Setting)
This menu is to set functions of the PUSH knob. Options are as follows:
+ COA: When this option is selected, PUSH and turn CLARIFIER knob to
adjust COARSE tuning. Option “2” will appear on far left of the LCD.
+ T: When this option is selected, PUSH and turn CLARIFIER knob to change
Only the Transmit Frequency. Option “3” will display on the far left of the LCD.
Page 4