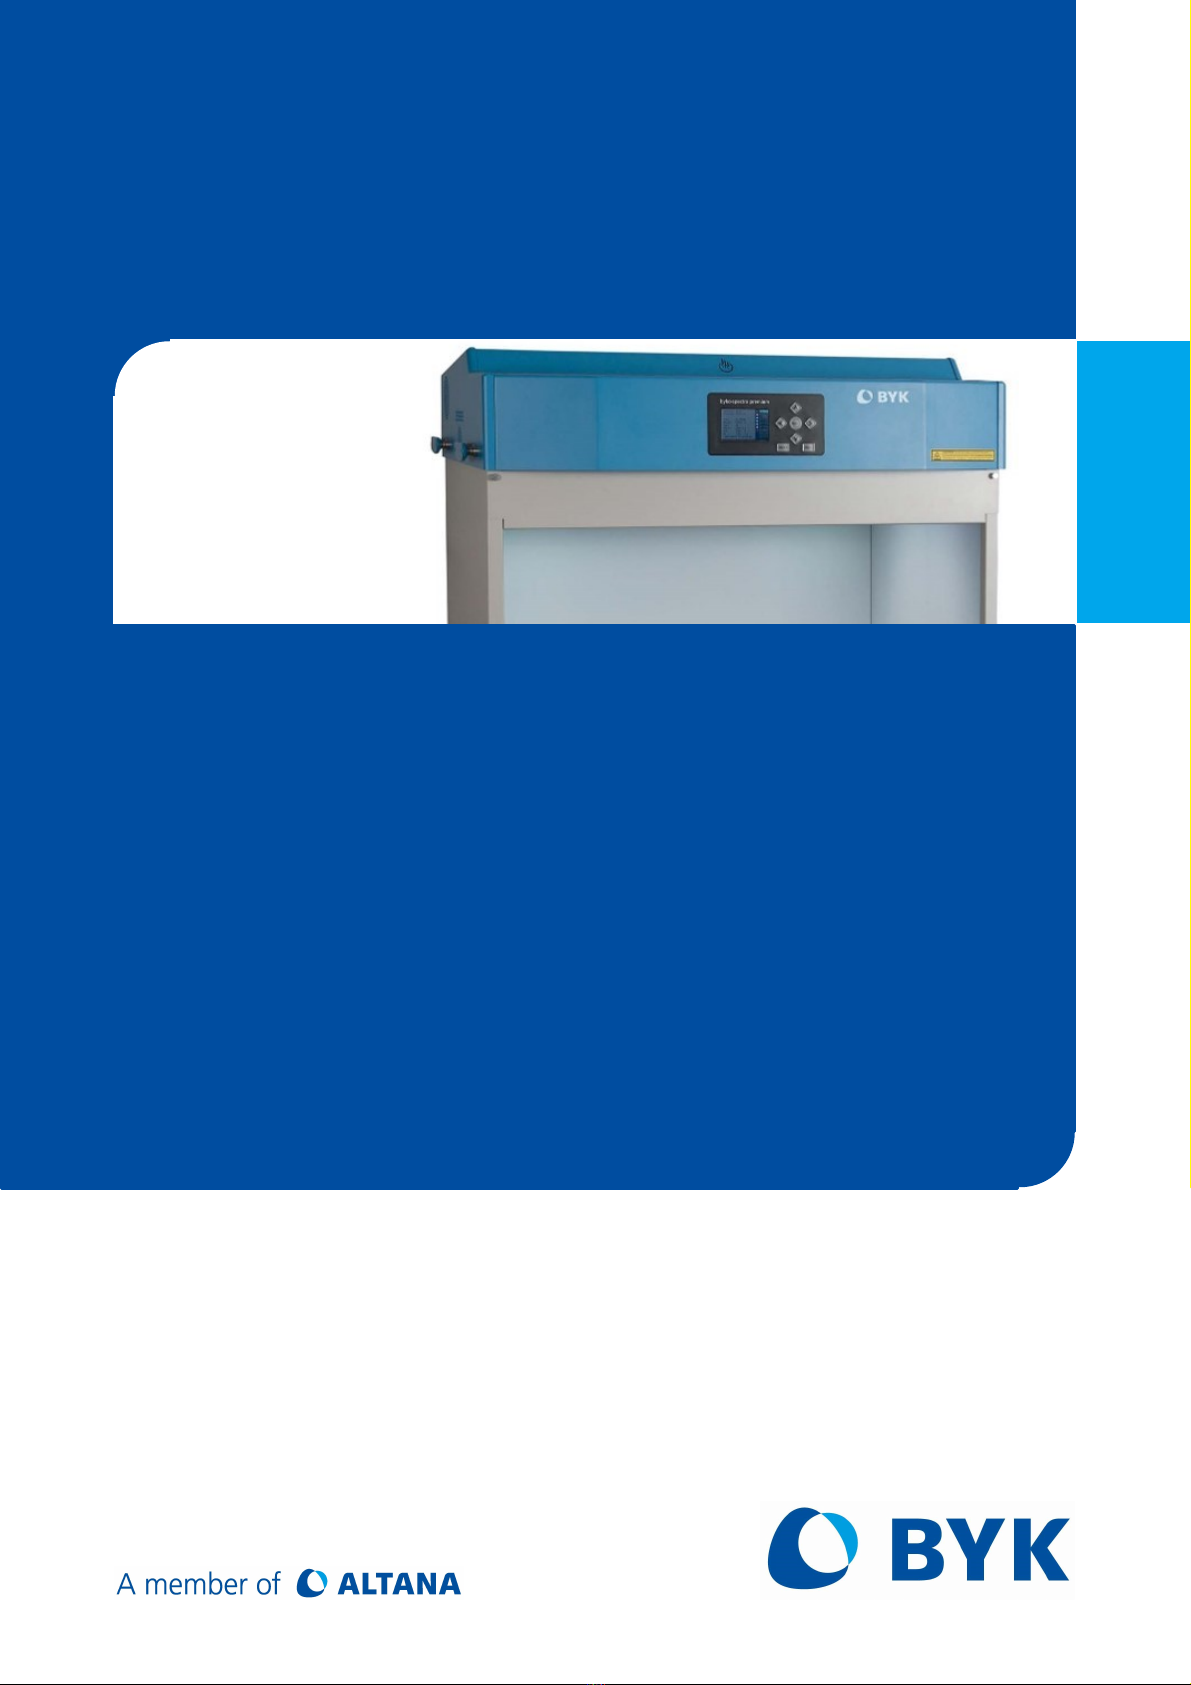
Altana BYK byko-spectra pro User manual

Operating Manual
Light Booths and Luminaires
byko-spectra pro
Measure what you see

BYK-Gardner GmbH
2 301 300 000 E 2109
© Copyright 2021 BYK-Gardner GmbH
All rights reserved

BYK-Gardner GmbH
301 300 000 E 2109 3
Table of Contents
1............................................................................................................................. 5
Security Information
2............................................................................................................................. 8
Introduction
.......................................................................................................................... 9
2.1 Functions and Characteristics
.......................................................................................................................... 11
2.2 Components
3............................................................................................................................. 12
Assembly
.......................................................................................................................... 13
3.1 Light Booth Assembly
.......................................................................................................................... 16
3.2 Luminaire Installation
.......................................................................................................................... 19
3.3 Power On
.......................................................................................................................... 20
3.4 Main Menu
4............................................................................................................................. 21
System Setup
.......................................................................................................................... 22
4.1 Administration (ADMIN)
.......................................................................................................................................................... 23ADMIN_OWNER4.1.1
.......................................................................................................................................................... 25ADMIN_SYS4.1.2
.......................................................................................................................................................... 27ADMIN_RLAMP4.1.3
.......................................................................................................................................................... 30ADMIN_PROFL4.1.4
.......................................................................................................................................................... 33ADMIN_OPER4.1.5
.......................................................................................................................................................... 35ADMIN_TIME4.1.6
.......................................................................................................................................................... 36ADMIN_RESET4.1.7
.......................................................................................................................... 37
4.2 User
.......................................................................................................................... 38
4.3 Chain
.......................................................................................................................... 40
4.4 Report
5............................................................................................................................. 42
Operation
.......................................................................................................................... 43
5.1 Choose the Light Source
.......................................................................................................................... 44
5.2 Auto Sequence
.......................................................................................................................... 44
5.3 Remote Control
6............................................................................................................................. 46
Appendix
.......................................................................................................................... 47
6.1 General Maintenance
.......................................................................................................................... 51
6.2 Troubleshooting
.......................................................................................................................... 52
6.3 Specifications
.......................................................................................................................... 53
6.4 Declarations
.......................................................................................................................... 55
6.5 About Us

BYK-Gardner GmbH
4 301 300 000 E 2109

1
Security Information

BYK-Gardner GmbH
6 301 300 000 E 2109
lRead the operation manual carefully before assembling, installing and operating this device. If
the equipment is used in manner not specified by the manufacturer, the protection provided by
the equipment may be impaired. Keep the manual for further reference.
Note where this attention symbol appears on the equipment and in this manual. This
symbol alerts you to potentially HAZARDOUS SITUATIONS that require your immediate
attention.
The device is heavy - transports are to be done with the help of a second person.
Retain the packaging in case the instrument needs to be shipped.
Security Information
NOTICE
USE A PROPER POWER SOURCE
Consult the label attached to the back of luminaire for the proper power source. Operation with
an incorrect power source that is not specified on the label may generate inaccurate lighting
conditions, damage to the device, and cause personal injury.
RUNNING THE DEVICE IN A PROPER ENVIRONMENT
Ensure the color of surrounding environment of byko-spectra pro is of a neutral color
(recommended: N5 or N7). Prevent any chromatic reflections from the surrounding environment.
Warm up the light source (about 15 mins) before using it to ensure the light source is stable.
Do not block the vents. Make sure to leave at least 300 mm free space around the equipment
when installing the luminaire, to insure proper ventilation.
KEEP AWAY FROM WATER AND MOISTURE
Do not place the equipment under a sprinkler head or any environment that may cause hazards
from spilled water. Make sure there will be no liquids or uncontrolled moisture leaks to the device
which will result in electric shock.
Recommendation Area for Observation

BYK-Gardner GmbH
301 300 000 E 2109 7
(DIMENSIONS ARE IN INCHES.)
Maintenance and Cleaning
Clean properly
Wipe the device with a clean, white lint-free cloth. Do not use any liquid cleaners or agents
containing wax, which will change color, reflectance, and gloss properties of the device. Clean
outer surfaces with a damp cloth containing a mild soap. Do not spray or drop water into the
equipment.
Carefully handle the lamp and daylight filter
Wait for the lamps or daylight filter to cool down before handling them. Use lens paper or similar
products to handle the lamps since fingerprints and oils will affect the performance of the lamp.
WARNING: Ultraviolet light! When using the UV light avoid looking directly at the
light or exposing skin to rays of the light.
WARNING: High heat! Diffusion glass, vents, filters and lamps will be very hot
during operation. Keep your hands away from the device until it has cooled down.
WARNING: Electric shock! Do not attempt to open any parts of the device. Consult
with a trained BYK-Gardner technician.
Warranty Information
The warranty period for the instrument is 12 months (from the day when you have the invoice). If
any fault occurs during this period, as the result of normal use, the repair will be free-of-charge.
The above warranty statement above does not apply when damage was caused by the following
operations:
a) The operating instructions of this manual were not followed.
b) Using accessories and spare parts, which were not provided by BYK-Gardner.
c) The device was serviced or repaired by someone other than a BYK-Gardner factory
trained technician.

2
Introduction

BYK-Gardner GmbH
301 300 000 E 2109 9
Functions and Characteristics2.1
byko-spectra pro is a new innovative light booth with high quality light sources conforming to
international CIE standards. It can be used in the field of color quality management in industries
like coatings, inks, textiles, printing and dyeing, pigments, photography, ceramics, packaging,
cosmetics, auto and many more.
byko-spectra pro can be used to accurately describe the color of goods, match color, identify color
and fluorescent substances. It can be used for in-process analysis for sampling, production, quality
control, inspection to ensure color quality is met according to customer specifications. Thereby,
this product can help to improve product quality and enhance market competitiveness.
Seven light sources
DL (Daylight)
D65: Real-Time Color Temperature, MIVIS < 0.25 (A-Class), CRI (Ra) > 95
A (Incandescent)
Real-time Color Temperature
HZ(Horizon)
Real-time Color Temperature
CWF
Adjustable light levels with auto lux / voltage control
TL84
Adjustable light levels with auto lux / voltage control
U30
Adjustable light levels with auto lux / voltage control
UV
Calibrated and adjustable UV level
Intelligent Switching Power Control
·
It employs intelligent voltage control to insure constant power supply to all light sources.
·
Especially it assures the sustainability and consistency of daylight source, A light source
and horizon light source.
Intellectual Monitoring System
·
The built-in sensor is capable of monitoring the changes of color temperature and light
intensity of all light sources and the lighting energy of the ultra-violet light
simultaneously. It allows users to comprehend working conditions of various light sources
visually.
Real-Time Clock
·
Operator can use the real-time clock to set date and time, which will appear on the
report.
Large Color Display
·
The 4-inch color LCD display shows real-time data of multiple functions and guarantees
ease-of-use.

BYK-Gardner GmbH
10 301 300 000 E 2109
Intelligent Fluorescent Source Control
·
It has normalized control on fast automatic switch of groups of fluorescent source.
·
It monitors illuminance value of light source at real time shown on HMI displaying the
stability of light source.
·
Moreover, users can adjust illuminance value of fluorescent sources manually in order to
meet their different requirements.
Wired Cascade and Remote Control
·
Devices can be wired together to reduce repetitive actions when several devices are
working together.
·
Remote control can be used to control light sources from a distance of 10 (max) meters in
open spaces (without any wall or obstacle).
High-Class Stabilized Daylight Source
·
To simulate CIE standard illuminants D65, byko-spectra pro employs innovative
technology of new halogen lamps, combined with special filter and LED optical
compensation.
·
Thus, two high quality daylight sources are guaranteed corresponding to two CIE
standard illuminants.
·
The Metameric Index (MI) of spectral power distribution is able to stabilize in MIVIS class A
according CIE Publication 51.2.
Uniform Lighting Extent on Color Observation
·
It refers to the central specified area (420mm×300mm) on the floor of viewing booth.
·
For daylight, Incandescent A, Horizon light source, the degree of illumination uniformity
exceeds 95%.
·
Thus, it meets the requirements of ISO 105A II (Light source technological standard of
color assessment cabinet for the use of color image analysis).
Color Quality of Cabinet Surfaces
·
The color quality of the cabinet surfaces conforms to Munsell N5 and N7.

BYK-Gardner GmbH
301 300 000 E 2109 11
Components2.2
Luminaire
Power switch / USB port and cascade ports
USB cable: Connect light booth
to PC to update software or get
report data
Cascade cable. For cascading
light booths to control their
performance
Remote controller: Control light
booths remotely
Snap hooks
Backup fuses
Power cord (one of three):
. CHINA power cord
. Europe power cord
. US power cord

3
Assembly

BYK-Gardner GmbH
301 300 000 E 2109 13
Light Booth Assembly3.1
Choose a smooth surface for installation with sufficient space. Be careful not to scratch the surface
of the light booth during installation.
Complete light booth frame
1. Place the floor / base plate in the middle of the table.
2. Place the backboard behind the floor/base plate, and use two mounting screws to tighten it.
3. Place the left side panel along the guide chute sliding to the bottom as shown
in figures 3 and 4.
4. Fasten the back side screws.

BYK-Gardner GmbH
14 301 300 000 E 2109
5. Fasten the side screw.
6. Slide the right side panel to the bottom in the same way.
7. Fasten the backside screws on the right side panel.
8. Fasten the side screw inside the right side panel.
9. Slide the front diaphragm into buckle as shown in the graphic.
10. Push up firmly to the side panel, and fasten the screws on both sides.

BYK-Gardner GmbH
301 300 000 E 2109 15
11. Use the left and right handles on the top of luminaire, position the luminaire into the locating
pin as shown below. Then tighten the back, left and right side mounting screws.
12. Diffuser (Diffuse glass) installation: Refer to the steps 3 through 6 of ‘Luminaire Installation’.

BYK-Gardner GmbH
16 301 300 000 E 2109
Luminaire Installation3.2
If you need to install a single or multiple overhead luminaires, please follow these steps.
NOTICE:
·
Do not install overhead luminaire under any fire sprinkler head. Heat generated by the
luminaire may activate the sprinkler system.
·
Install according to local electrical regulations. A dedicated branch circuit is
recommended for each luminaire.
·
Make sure there is adequate support for each luminaire. Each luminaire weighs 49 kg
(108.1 lbs).
·
Carefully assemble the diffuser to avoid breaking any of the lamps.
1. Unpack and remove the overhead luminaire and its diffuser from the carton and set aside.
2 Attach supplied snap hooks and chains (not supplied) to each of the brackets and suspend a
single or multiple luminaires at the appropriate height and angle over the work area. The
device(s) should be installed so that a minimum of 300 mm (11.9 inch) from each other or the wall
surface exists.
3. Hold the diffuser and ensure the side were you can see the complete hinge pin is facing
towards the lamps.

BYK-Gardner GmbH
301 300 000 E 2109 17
4. Place the right hinge pin of the diffuser between micro-switch and the diffuser bracket. Then
place the left hinge pin of the diffuser into the diffuser bracket. Refer to figure 12.
5. Smoothly push the diffuser until it’s locked in the slot of the bracket.
6. Rotate the front of the diffuser up until it’s locked with the latch.

BYK-Gardner GmbH
18 301 300 000 E 2109
7. For a single luminaire installation, please go to step 10. For multiple luminaire installations,
repeat steps 2 through 7 and then go to step 8.
8. Connect each device with cascade cables.
9. Only after the installation of overhead luminaire(s) is completed, the device(s) can be plugged
into an AC wall outlet.
10. Refer to ‘System Setup’ for information on powering up, usage, and daisy chain configuration.

BYK-Gardner GmbH
301 300 000 E 2109 19
Power On3.3
Toggle the power switch (ON / OFF) under the front edge of the panel on the left side.
Immediately after the power is ON, the device will go through a brief system self-test. The main
menu will then appear on the screen with the testing report. Press ENTER to close the report
window, or wait for 5 seconds until the window closes automatically.
NOTICE: When the power is turned OFF, please wait at least 5 seconds before you turn power ON
again. This operation enables the firmware and hardware to properly shut off. If you attempt to
turn on the power within less than 5 seconds after the power was turned off, the device may not
switch on. If this occurs, please turn OFF the power again, wait at least 5 seconds, and then turn it
on using the power switch.

BYK-Gardner GmbH
20 301 300 000 E 2109
Main Menu3.4
Use the left ( ) / right ( ) / up ( ) and down ( ) arrow button on the right of the panel to
go through functions and options or adjust values. Items will be highlighted when selected. Use
ENTER to confirm and save changes.
For example, use up ( ) and down ( ) arrow button to select ‘DL’, and press ENTER, the white
point will turn red while the daylight simulator turns on. If you want to turn it off, press ENTER
again.
NOTICE:
After the lamp is switched on, please allow time to system to retest the value of Tcp and Ev.
Other manuals for BYK byko-spectra pro
1
This manual suits for next models
10
Table of contents
Other Altana Lantern manuals
Popular Lantern manuals by other brands

olympia electronics
olympia electronics GR-2110 quick start guide

Panasonic
Panasonic EY37C2 Service manual

Gama Sonic
Gama Sonic 14B50063 instruction manual

olympia electronics
olympia electronics BAU LIGHT Series quick start guide

InoTec
InoTec LED J-SV Operating instruction

LEGRAND
LEGRAND Finelite HP-4 installation instructions