manuals.online logo
Brands
  1. Home
  2. •
  3. Brands
  4. •
  5. Altinex
  6. •
  7. Switch
  8. •
  9. Altinex UT260-102 User manual

Altinex UT260-102 User manual

UT260-102 UNDER TABLE 4X1 HDMI SWITCHER User’s Guide
400-0476-001 1
Welcome!
Everyone at Altinex greatly appreciates your purchase of the
UT260-102. We are confident that you will find it to be reliable
and easy to use. If you need support, please do not hesitate to
call us at 714-990-2300.
At Altinex, we are committed to developing unique and state of
the art Signal Management Solutions®for demanding audiovisual
installations. Welcome to the Altinex family of satisfied customers
around the world!
1. Precautions and Safety Warnings
These instructions are to ensure the reliable operation of
your UT260-102 and to prevent fire and shock hazards.
Please read them carefully and heed all warnings.
1.1 General
Qualified ALTINEX service personnel or their authorized
representatives must perform all service.
1.2 Installation Precautions
To prevent fire or shock, do not expose this unit to water or
moisture. Do not place the UT260-102 in direct sunlight, near
heaters or heat-radiating appliances, or near any liquid.
Exposure to direct sunlight, smoke, or steam can harm
internal components.
Handle carefully; dropping or jarring can cause damage.
Do not pull any cables that are attached to the UT260-102.
1.3 Cleaning
Clean with a dry cloth only. Never use strong detergents
or solvents such as alcohol or thinner.
1.4 FCC Notice
This device complies with Part 15 of the FCC Rules.
Operation is subject to the following two conditions: (1) This
device may not cause harmful interference, and (2) this
device must accept any interference received, including
interference that may cause undesired operation.
This equipment has been tested and found to comply with
the limits for a Class B digital device, pursuant to Part 2 of
the FCC Rules. These limits are designed to provide
reasonable protection against harmful interference when the
equipment is operated in a commercial environment. This
equipment generates, uses, and can radiate radio frequency
energy and, if not installed and used in accordance with the
instructions found herein, may cause harmful interference to
radio communications. Operation of this equipment in a
residential area is likely to cause harmful interference in
which case the user will be required to correct the
interference at their own expense.
Any changes or modifications to the unit not expressly
approved by ALTINEX, Inc. could void the user’s authority to
operate the equipment.
2. Installation Procedures
Note: Download and read the entire online manual to become familiar with the UT260-102 and for detailed information.
Step 1: The enclosure mounts under the table using the mounting brackets included.
Step 2: Connect input cables from the sources.
Step 3. Connect the digital output directly to the HDTV. If there is at least one input signal present, an image appears on the TV.
Step 4. Apply power to the unit using the power adapter provided.
Step 5. The UT260-102 is ready for use. Auto-switch is one of the default configuration settings. If a signal is removed, the switcher
automatically switches to another input if a signal is present.
Step 6. The UT260-102 may be controlled using RS232 commands from a
controller, or using simple momentary push button switches wired to
the terminal block on the rear panel. See the full user guide for details.
On the rear terminal block, there are input select controls, output LED controls,
and RS232 control pins.
The input select controls are activated using a momentary contact closure to ground to between each input
pin and ground. The LED output pins drive LEDs to indicate a signal is present (flashing) or active on the
output (solid), same as front panel LEDs. The RS232 controls can be used to control or configure the
UT260-102.
See the top label of the UT260-102 for details, or refer to the complete online manual.
3. Warranty and Return Policies
Please visit the ALTINEX website at www.altinex.com for details on warranty and return policies. In the case of a unit needing repair,
please complete a RMA (return material authorization) form located on the bottom left hand corner of the Altinex homepage. Once
completed, please email the form to [email protected].
UT260-102 User’s Guide
400-0476-001 2
4. Technical Specifications
Specifications are subject to change due to design improvements. Please see www.altinex.com for up to date information.
Features/Description
UT260-102
Input Connectors
Digital Video + Audio
HDMI F, Type A (2)
VGA Video
15-pin HD F (1)
Analog Audio
3.5 mm F (1)
DisplayPort Video
DP F (1)
Power
DC Jack 2.5 mm F (1)
Output Connectors
Digital Video + Audio
HDMI F, Type A (1)
Analog Audio
(audio matches HDMI out)
3.5 mm F (1)
Compatibility
Digital Signal types
HDMI 2.0/DP 1.2
Signal resolution
Resolutions up to 1080p
VGA
VESA up to 1920x1080
Accessories Included
Power Supply
5V/2A Power Adapter (1)
Mounting Brackets
Right Angle (2)
Terminal Blocks
6 position, 3.5 mm (2)
Table 1. UT260-102 General
Mechanical
UT260-102
Material
Steel
Color
Black
Height
1.14 in. (29 mm)
Width
4.06 in. (103 mm)
Length
7.48 in. (190 mm)
Weight
1.3 lb. (0.57 kg)
T° Operating
10°C-40°C
Humidity
60% RH non-condensing
MTBF (calc.)
38,000 hrs.
Table 2. UT260-102 Mechanical
Electrical
UT260-102
Video Input Signals
Digital Video + Audio
HDMI Standard
VGA video
sync
1.0 Vp-p max.
TTL +/-
DisplayPort
DisplayPort 1.2
Audio Input Signals
Analog Audio
1.2 Vp-p max.
Video Output Signals
Digital Video + Audio
HDMI Standard
Audio Output Signals
Analog Audio
1.0 Vp-p nominal
Power
+5V
650 mA, 3.25 W
Table 3. UT260-102 Electrical
HDMI, the HDMI Logo, and High Definition Multimedia
Interfaces are trademarks or registered trademarks of HDMI
Licensing LLC in the United States and other countries.
UT260-102 User’s Guide
400-0476-001 3
5. About Your UT260-102
Multi-format inputs for VGA/DP/2 HDMI
Supports HDMI 2.0 with 4K@30Hz or 4K@60Hz 4:2:0
HDCP compliant
Optional internal EDID or live EDID
RS232/Button/Contact closure for switching
Auto/Manual switching mode
Analog audio de-embedded at the output
Output mute function
Power standby mode
The UT260-102 is a multi-format switcher with HDMI, VGA, and Display Port inputs to an HDMI output with analog audio de-embedded.
It supports RS232 and Contact Closure for remote control. The switcher is HDCP compliant and supports a default internal EDID or live
EDID from the display.
The switcher may be used in auto-switch mode, controlled manually using contact closure switcher, or controlled via a controller using
RS232 commands. The auto-switch feature automatically tells the switcher to connect the newest input to the output display. This
feature works great in many applications and eliminates the need for external hardware or controls.
The contact closure switching uses momentary contact closures to select among the four inputs. In addition to the contact closure input
controls, the switcher provides LED driver outputs that can be used to control LEDs either built-in to the momentary switch or part of a
user control interface.
The RS232 control provides input select control as well as other advanced features like video output mute and EDID select. The RS232
interface is also used to configure the switcher if the default settings are not exactly what is required by the application.
UT260-102 User’s Guide
400-0476-001 4
6. Application Diagrams
Diagram 1: Typical Setup
UT260-102 User’s Guide
400-0476-001 5
Diagram 2: Dimensions
UT260-102 User’s Guide
400-0476-001 6
Diagram 3: Rear Panel Wiring
UT260-102 User’s Guide
400-0476-001 7
7. Operation
Users connect their device (phone, laptop, etc.) to one of the
input connectors/cables above the table surface. Their video
input is automatically routed to the HDMI output where it is
displayed on the external display. Auto-switch is the default
configuration, but may also be disabled for use with contact
closures or a control system.
7.1 LED Indicators
The front panel has four LEDs representing the four inputs.
The LEDs are off if there is no signal present, flashing if a
signal is present but not selected, and solid if an input signal is
present and displayed on the output HDMI connector. The rear
panel LED outputs function the same as those on the front
panel. The POWER LED is on and solid red when power is
applied. The OUT LED is off when there is no display
connected to the HDMI output, it flashes if a display is
connected but there is no signal present on the output of the
UT260-102, and solid when both signal and display are
present.
7.2 Input Selection
7.2.1 Auto-switch
By default, the UT260-102 is configured with auto-switch
enabled. In auto-switch mode, the switcher automatically
selects the last signal connected and displays its video on the
output. When an active input signal is removed, the switcher
automatically switches to the next available input in the
following order of priority: HDMI-A, HDMI-B, DisplayPort, and
finally VGA. Auto-switch can be disable and priorities changed
using the RS232 connection to reconfigure the switcher
defaults.
7.2.2 Input Select Contact Closures
The switcher rear panel terminal block connectors allow the
switcher to be controlled manually. Momentary switches can
allow users to select their video at will during a presentation.
See Diagram 3 for wiring details.
7.2.3 RS232 Control
A controller may also be used to control the switcher using the
RS232 commands in the next section. RS232 protocols can be
used to control the switcher or alter its default configuration.
7.3 RS-232 Control
The UT260-102 has many advanced remote-control
capabilities accessible through standard RS-232
communication. Control may be accomplished through a
computer, control system, or any device capable of RS-232
communication.
If the computer/controller in use does not have a DB9
connector for serial communication, use a USB to serial
adapter.
7.3.1 RS-232 Serial Port Settings
In order to configure the switcher or to control it using RS232
communication, make sure the communication software is set
for the following:
Baud Rate...........9600
Data Bits.............8
Stop Bits .............1
Parity...................None
Flow....................None
The baud rate may be changed depending on the user
requirements. See the Description of Commands section for
details.
7.3.2 RS-232 Interface
The control commands for the UT260-102 are in a simple
ASCII character format and must include a carriage return
0x0D at the end of the command string.
7.3.3 Feedback from Switcher
Feedback from the switcher is enclosed in parentheses "(…)"
and displays the new settings of the switcher.
7.4 Description of Commands
Each command consists of either an ampersand or question
mark, following by a command/query and finally a carriage
return.
Example: ? R <cr>
? = Query
R = Function (route)
<cr> = carriage return (0x0D)
Important: Commands must be sent in one contiguous group
without delay. For example, if you type the
characters by hand, the switcher will most likely
not recognize the command. Type the commands
and then paste them to a terminal window, or use
a controller to send the commands as a single
block.
UT260-102 User’s Guide
400-0476-001 8
COMMANDS
1. &Rx Route Video
This command is used to route one of the four inputs to the
switcher’s HDMI output.
Command Format: &Rx + <cr>
x = Input
VA = VGA
DP = DisplayPort
HA = HDMI A
HB = HDMI B
Example:
Route the VGA input to the switcher output by sending the
following command:
&RVA<cr>
The switcher returns feedback:
(VGA Active)
2. ?R Query Active Input
This command returns the active video input.
Command Format: ?R + <cr>
Example:
Query which input is currently displayed on the output by
sending the following command:
&R <cr>
The switcher returns feedback:
(HDMI-A is Active)
3. &Bx,y,z Configure RS232 Port
This command sets the switcher’s RS232 port
configuration; baud rate, parity, and data bits. Note that
there is no query command for the RS232 port’s
configuration.
Command Format: &Bx,y,z + <cr>
x = Baud rate (2400, 4800, 9600, 14400, 19200,
38400, 56000, or 115200)
y = Data bits (8 or 9)
z = Parity (N=none, O=odd, E=even)
Example:
Set the switcher’s RS232 port operation for 115200 baud, 8
data bits, and no parity by sending the following command:
&B115200,8,N <cr>
The switcher returns feedback:
(BR:115200,8,N) After this feedback, all other
communication must be made
using the new baud rate and
configuration.
4. &VMx Video Mute
This command enables and disable the output video form
the switcher.
Command Format: &VMx + <cr>
x = Mute (0=Video disabled, 1=Video enabled)
Example:
Disable the output video by sending the following
command:
&VM0 <cr>
The switcher returns feedback:
(Output Mute On)
5. &FM Firmware Version
This command returns the current firmware version of the
switcher.
Command Format: &FM + <cr>
Example:
Read the switcher firmware by sending the following
command:
&FM <cr>
The switcher returns feedback:
(FV:1.1.0)
6. ?SM Query Mode
This command returns the current switching mode of the
switcher.
Command Format: ?SM + <cr>
Example:
Read the switcher mode by sending the following
command:
?SM <cr>
The switcher returns feedback:
(Auto Mode)
UT260-102 User’s Guide
400-0476-001 9
7. &SMx Set Switching Mode
This command sets the switching mode of the switcher to
either automatic or manual.
Command Format: &SMx + <cr>
x = Mode (A=auto, M=manual)
Example:
Set the switcher mode to automatic by sending the
following command:
&SMA <cr>
The switcher returns feedback:
(Auto Mode)
8. ?SPP Query Priorities
This command enables and disable the output video form
the switcher.
Command Format: ?SPP + <cr>
Example:
Query the switcher for input priorities by sending the
following command:
?SPP <cr>
The switcher returns feedback:
(Priority [HA,HB,DP,VA]) default
9. &SPP[a,b,c,d] Set Priorities
This command sets the input priorities.
Command Format: &SPP[a,b,c,d] + <cr>
a = Highest priority input
b = Priority #2
c = Priority #3
d = Lowest priority input
Note: Due to an error is the current code release, the
inputs are mapped as follows:
Send To Get Send To Get
DP HA HB DP
VA HB HA VA
Example:
Set the input priorities in descending order of HDMI-A,
HDMI-B, DisplayPort, and VGA by sending the following
command:
&SPP[DP,VA,HB<HA] <cr>
The switcher returns feedback:
(Priority [HA,HB,DP,VA])
10. &FR Factory Reset
This command enables and disable the output video form
the switcher.
Command Format: &FR + <cr>
Example:
Query the switcher for input priorities by sending the
following command:
?SPP <cr>
The switcher returns feedback:
(Restore the factory Settings)
Factory settings include:
Mode ..............Auto Mode
RS232 ............9600,N,8
Priorities .........HA,HB,DP,VA
VGA EDID ......Internal
DP EDID..........External
HDMI EDID......External
11. ?EDID Query EDID
This command returns the EDID settings of the switcher
inputs.
Command Format: ?EDID + <cr>
Example:
Read the switcher EDID settings by sending the following
command:
?EDID <cr>
The switcher returns feedback:
(EDID:internal, VGA)
(EDID:external, DP)
(EDID:external, HDMI)
12. &EDIDx,y Select EDID
This command sets the switching mode of the switcher to
either automatic or manual.
Command Format: &EDIDx,y + <cr>
x = Type (def=default, ext=external, int=internal)
y = Input (VGA, DP, or HDMI)
Example:
Set the VGA input to use the internal EDID by sending the
following command:
&EDIDint,VGA <cr>
The switcher returns feedback:
(EDID: internal, VGA)
UT260-102 User’s Guide
400-0476-001 10
7.5. Summary of Commands
1) &Rx Route Video
2) ?R Query Active Input
3) &Bx,y,z Configure RS232 Port
4) &VMx Video Mute
5) &FM Firmware Version
6) ?SM Query Mode
7) &SMx Set Switching Mode
8) ?SPP Query Priorities
9) &SPP[a,b,c,d] Set Priorities
10) &FR Factory Reset
11) ?EDID Query EDID
12) &EDIDx,y Select EDID
UT260-102 User’s Guide
400-0476-001 11
8. Troubleshooting Guide
We have carefully tested and have found no problems in the supplied UT260-102. However, we would like to offer suggestions for the
following:
Switcher
Symptom
Resolution
No Audio with VGA Input
1. Make sure the VGA audio source is connected to the 3.5 mm audio input on the
switcher.
2. Check the audio source to make sure the audio is playing and that the volume is turned
up to a reasonable level.
Poor Output Image
1. Verify the cable between the switcher output and the display is a genuine HDMI cable.
2. Troubleshoot with a lower gauge shorter distance HDMI cable.
RS232 Commands Not
Recognized
1. Make sure to send all the characters in a single burst using PASTE or programming a
controller button. Typing the characters individually results in the switcher not
recognizing the individual characters as a whole command.
System Failure
1. Please call the ALTINEX Customer Service Department at (714) 990-2300 to have the
unit repaired.

Other Altinex Switch manuals

Altinex MX2206RM User manual

Altinex

Altinex MX2206RM User manual

Altinex MX2106AV User manual

Altinex

Altinex MX2106AV User manual

Altinex MX2100AV User manual

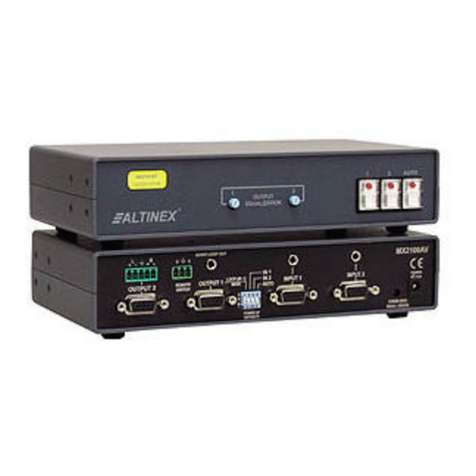
Altinex

Altinex MX2100AV User manual

Altinex DA1914SX User manual

Altinex

Altinex DA1914SX User manual

Altinex MT304-203 User manual

Altinex

Altinex MT304-203 User manual

Altinex MX2226AT User manual

Altinex

Altinex MX2226AT User manual

Altinex MULTI-TASKER MT104-102 User manual

Altinex

Altinex MULTI-TASKER MT104-102 User manual

Altinex MX2426CV User manual

Altinex

Altinex MX2426CV User manual

Altinex MX2106AV User manual

Altinex

Altinex MX2106AV User manual

Altinex MX2214RM User manual

Altinex

Altinex MX2214RM User manual

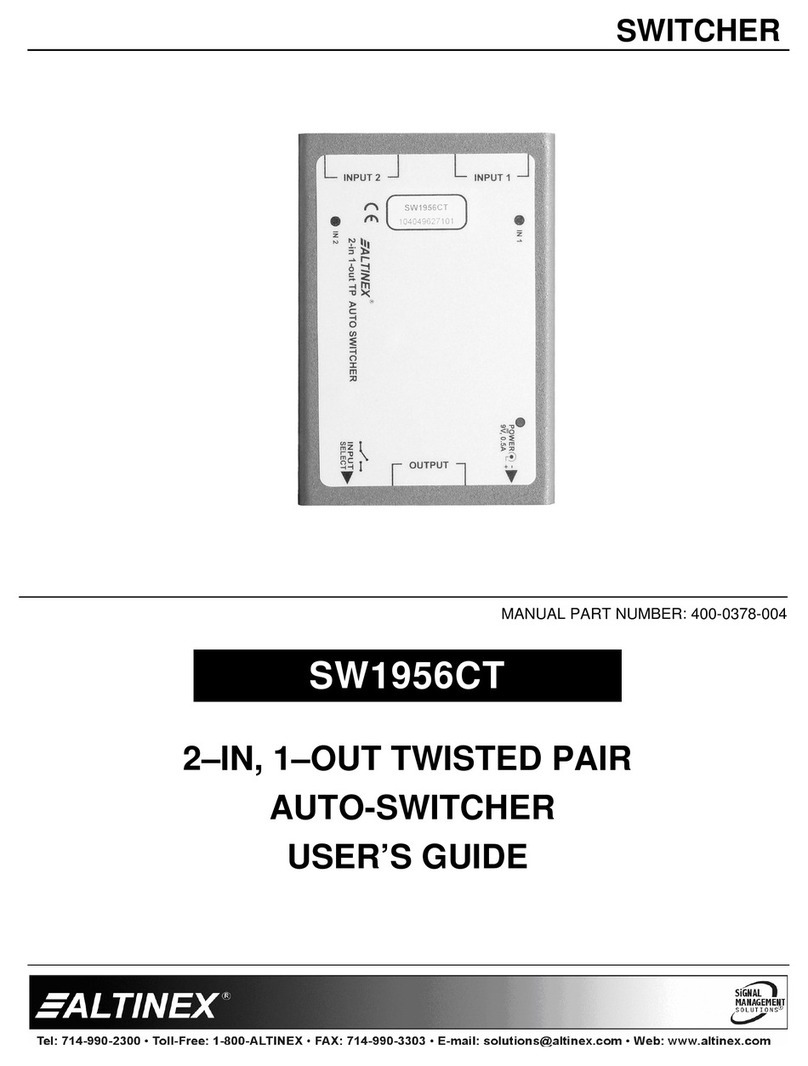
Altinex SW1956CT User manual

Altinex

Altinex SW1956CT User manual

Altinex MX2106AV User manual

Altinex

Altinex MX2106AV User manual

Altinex MX2456RM User manual

Altinex

Altinex MX2456RM User manual

Altinex MX2414RM User manual

Altinex

Altinex MX2414RM User manual

Altinex MULTITASKER MT109-100 User manual

Altinex

Altinex MULTITASKER MT109-100 User manual

Altinex Furniture Mount Interconnect Box... User manual

Altinex

Altinex Furniture Mount Interconnect Box... User manual

Altinex MX2456RM User manual

Altinex

Altinex MX2456RM User manual

Altinex MT105-8X8 User manual

Altinex

Altinex MT105-8X8 User manual

Altinex Tilt 'N Plug Interconnect Box TNP100-HB User manual

Altinex

Altinex Tilt 'N Plug Interconnect Box TNP100-HB User manual

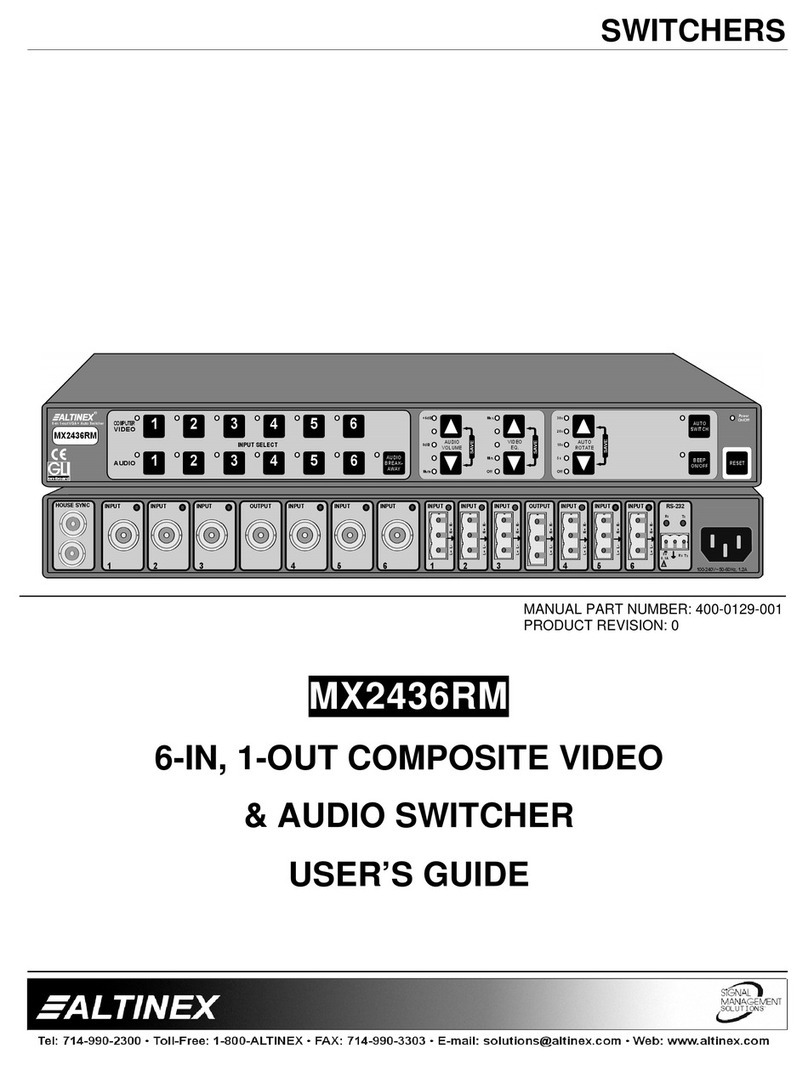
Altinex MX2436RM User manual

Altinex

Altinex MX2436RM User manual

Altinex DA1916SX User manual

Altinex

Altinex DA1916SX User manual

Altinex MULTI-TASKER MT104-108 User manual

Altinex

Altinex MULTI-TASKER MT104-108 User manual

Altinex SW104-130 User manual

Altinex

Altinex SW104-130 User manual

Altinex MX2216RM User manual

Altinex

Altinex MX2216RM User manual

Popular Switch manuals by other brands

Cisco 3750 - Catalyst EMI Switch Command reference

Cisco

Cisco 3750 - Catalyst EMI Switch Command reference

COMEPI COND.01 operating instructions

COMEPI

COMEPI COND.01 operating instructions

ANTAIRA LNX-1002G-SFP Series user manual

ANTAIRA

ANTAIRA LNX-1002G-SFP Series user manual

Renesas Emulation Pod M30620T2-RPD-E user manual

Renesas

Renesas Emulation Pod M30620T2-RPD-E user manual

Ruijie RG-S5000-24GT4MS-E Hardware  installation and reference guide

Ruijie

Ruijie RG-S5000-24GT4MS-E Hardware installation and reference guide

Orienta Data SWH-2124-TX8 user manual

Orienta Data

Orienta Data SWH-2124-TX8 user manual

ZIGBEE CP-DS112 user manual

ZIGBEE

ZIGBEE CP-DS112 user manual

Panduit Atlona OmniStream Series manual

Panduit

Panduit Atlona OmniStream Series manual

Monoprice 24280 user manual

Monoprice

Monoprice 24280 user manual

ANTAIRA LMX-0802 Series Quick installation guide

ANTAIRA

ANTAIRA LMX-0802 Series Quick installation guide

Antunes Controls JD-2 Installation information

Antunes Controls

Antunes Controls JD-2 Installation information

Maiwe MIGE2210 Series user manual

Maiwe

Maiwe MIGE2210 Series user manual

Luxart LX944620 Installation

Luxart

Luxart LX944620 Installation

Avocent ESP-4 MI Installer/user guide

Avocent

Avocent ESP-4 MI Installer/user guide

ADTRAN 1200766L1 quick start guide

ADTRAN

ADTRAN 1200766L1 quick start guide

schmersal AZM300B-ST-1P2P-A-DU manual

schmersal

schmersal AZM300B-ST-1P2P-A-DU manual

Eaton GHG 273 operating instructions

Eaton

Eaton GHG 273 operating instructions

3Com SuperStack 3 4400 SE 3C17206 Getting started guide

3Com

3Com SuperStack 3 4400 SE 3C17206 Getting started guide

manuals.online logo
manuals.online logoBrands
  • About & Mission
  • Contact us
  • Privacy Policy
  • Terms and Conditions

Copyright 2025 Manuals.Online. All Rights Reserved.