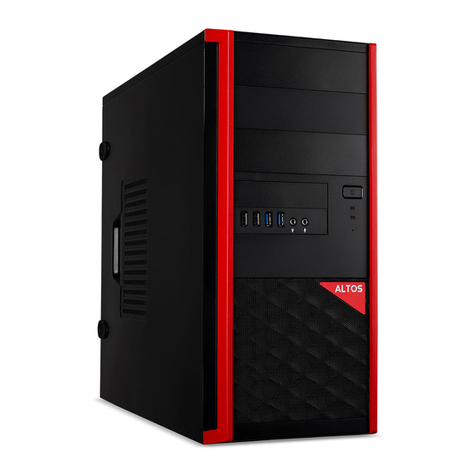
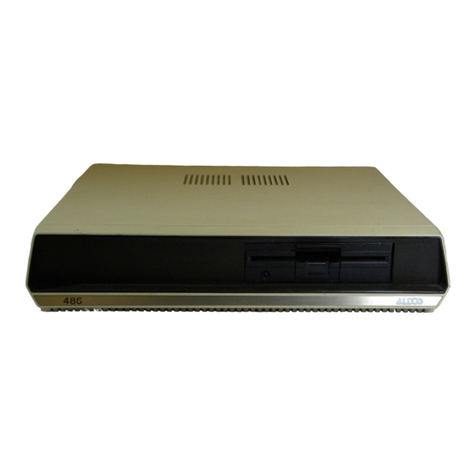
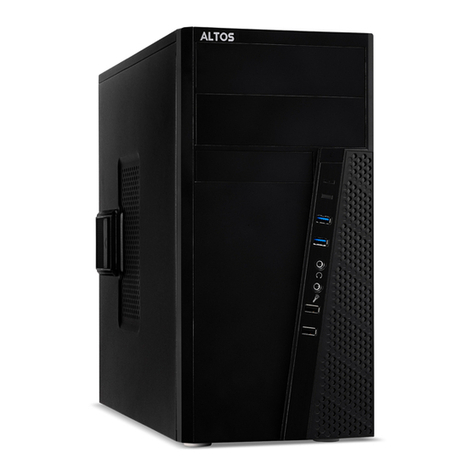
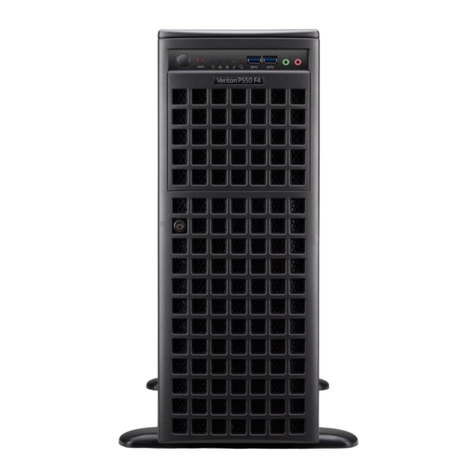
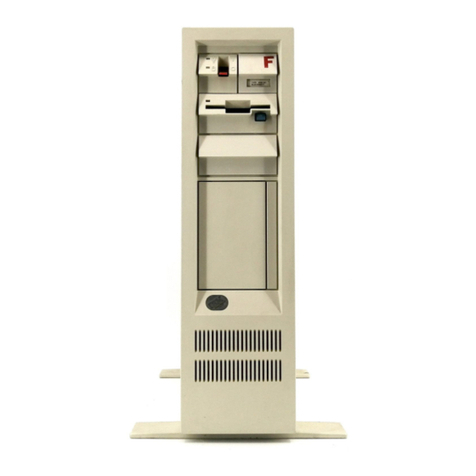
Altos 486 User manual

___
ALTOS
_
486
SETTiNq
Up
I

Altos
486
Setting Up Guide

FEDERAL
ODBMUNICATIONS
COMMISSION
NOTICE
WARNING
This
equipment
can
radiate
radio
frequency
and
energy
and,
if
not
installed
and
used
in
accordance
with
the
instructions
manual,
may
cause
interference
to
radio
communications.
It.has
been
tested
and
found
to
comply
with
the
limits
for
a
Class
A
computing
device
pursuant
to
Subpart
J
of
Part
15
of
FCC
Rules,
which
are
designed
to
provide
reasonable
protection
against
such
interference
when
operated
in
a
commercial
environment.
Operation
of
this
equipment
in
a
residential
area
is
likely
to
cause
interference
in
which
case
the
user,
at
his
own
expense,
will
be
required
to
take
whatever
measures
may
be
required
to
correct
the
interference.
ACKNOWLEDGEMENTS
ALTOS
is
a
registered
trademark
and
WorkNet
is
a
trademark
of
Altos
Computer
Systems.
XENIX
is
a
trademark
of
Microsoft.
Concurrent
CP/M
is
a
trademark
of
Digital
Research.
CAIft'ION
If
you
have
to
send
your
system
for
repair,
part
of
the
test
procedure
erases
the
data
on
the
hard
disk.
Therefore,
copy
a1l
the
contents
of
the
hard
disk,
as
Altos
does
not
guarantee
data
integrity
upon
return
of
your
unit.
SAFETY
WARNDIG
Disconnect
the
AC
power
cord
before
installing
any
option
boards
and
before
replacing
the
fuse.
Do
not
attempt
to
service
any
parts
of
the
486
system.

IftRODUCTION
1-1
1.
CHOOSIM.; A LOCATION
2-1
2.
SETTIII2
UP
YOUR
SYSTEM
2-2
CONNECTING
THE
KEYBOARD
TO
THE
MONITOR
2-2
CONNECTING
THE
TERMINAL
POWER
CORD
2-3
CONNECTING
THE
TERMINAL
TO
THE
SYSTEM
2-4
CONNECTING
THE
SYSTEM
POWER
CORD
3
-1
3 •
STARTUC
YOUR
SYSTEM
3-2
BEFORE
YOU
BEGIN
3-2
TURNING
THE
TERMINAL
ON
3-2
TURNING
THE
SYSTEM
ON
4-1
4.
PROBLEM
CHECKLIST
5-1
5.
WHERE
DO
YOU
GO
NEXT?
5-2
OPERATING
SYSTEMS
5-2
ALTOS
FAMILY
OF
RELATED
MANUALS
5-2
486
DIAGNOSTIC
MANUAL
5-2
486
SYSTEM
REFERENCE
MANUAL
5-3
486
MAINTENANCE
MANUAL
6-1
6.
BANDLIM;
DISKETTES
6-2
HANDLING
DISKETTES
6-3
PROTECTING
YOUR
DATA
6-3
INSERTING
A
DISKETTE
6-3
SAVING
ORIGINAL
DISKETTES
Contents
7-1
7.
CONNECTIIIG
A
PRIBTER
AlID
ADDITIONAL
TERMINALS
7-2
CONNECTING
A
PRINTER
7-3
CONNECTING
ADDITIONAL
TERMINALS
A-I
APPENDIX
A:
ALTOS
486
SPECIFICATIONS
INDEX
Warranty
Information
Reader
Comment
For.

ILLUSTRATIONS
Al
tos
486
System
1-1
Choosing
a
Location
2-2
486
Backpanel
2-2
Altos
III
Terminal
Backpanel
2-3
Connecting
the
Keyboard
to
the
Monitor
2-3
Connecting
the
Terminal
Power
Cord
2-4
Connecting
the
Terminal
to
the
System
2-4
Connecting
the
System
Power
Cord
2-5
Rear
Viewof
the
486Systemwiththe
Cables
Connected
3-2
Power
Switches
For
System
and
Terminal
6-2
Diskette
Handling
6-3
Inserting
a
Diskette
7-2
Wiring
Diagram
-486
to
Epson
RX-80
(Serial)
7-3
Wiring
Diagram
-486
to
Epson
MX-80
FIT
(Serial)
7-3
Wiring
Diagram
-486
to
TI-810
(Serial)

Introduction
This
guide
introduces
you
to
the
Altos
486
computer
system.
It
shows
you
how
to
connect
the
various
parts
of
your
system
and
start
it
up.
Should
you
experience
any
difficul
ty
with
the
installation,
a
checkl
ist
hel
ps
you
locate
the
source
of
the
problem
and
suggests
pos-
sible
remedies.
After
you
have
finished
setting
up
your
system,
this
guide
directs
you
where
to
go
next.
A
complete
486
system
is
shown
below.
Figure
1.
Altos
486
System


Choosing A Location 1
CONTENTS
1-2
CHOOSING
A
LOCATION
1-1

1-2
After
unpacking
your
486
and
terminal,
decide
where
you
want
to
use
your
system.
When
choosing
a
location,
consider
these
suggestions:
1.
Choose a
stable
surface
to
hold
your
system
and
terminal.
Make
sure
that
the
surface
is
large
enough
to
provide
12"
of
distance
between
the
system
and
the
terminal.
2.
Place
your
system
and
terminal
near
a 3 way
power
outlet.
3.
Orient
your
terminal
away from
direct
sunlight
or
strong
room
lights.
4.
Provide
enough
space
to
route
the
cables
and
power
cor
ds.
5.
Be
sure
the
cooling
vents
for
the
terminal
and
sy
stem
are
not
blocked.

ORIENT
TERMINAL
AWAY
FROM WINDOWS
OR
BRIGHT LIGHTS
PLACE
TERMINAL
AND
SYSTEM
AT
LEAST
12"
APART
PROVIDE ENOUGH
SPACE
TO ROUTE
CABLES
AND
POWER
CORDS
Figure
2.
Choosing
a
Location
1-3
PLACE YOUR
SYSTEM
AND
TERMINAL
NEAR A
3-WA
Y OUTLET


COftEftS
2-1
Setting Up Your System 2
2-2
CONNECTING
THE
KEYBOARD
TO
THE
MONITOR
2-2
CONNECTING
THE
TERMINAL
POWER
CORD
2-3
CONNECTING
THE
TERMINAL
TO
THE
SYSTEM
2-4
CONNECTING
THE
SYSTEM
POWER
CORD

CONNEC!'DIG '!BE
KEYBOARD
TO
THE
ImNITOR
CONNEcrIM;
'DIE
TERMINAL P(MER
CORD
2-2
Read
this
chapter
to
find
out
how
to
connect
the
various
parts
of
your
system.
1.
Make
sure
that
you
can
easily
reach
the
back-
panels
on
both
the
System
and
the
Terminal.
o
~Itl.
IJ\,
tD
EXPANSIDN
FUSE
AC
INPUT
I I
O D
PORT
5
RESET
~I
L-
___
--'
PORT
1
PORT
2
PORT
3
PORT
4
WORKNET
~\
}~~\
}~~(
)~a\
)~
~
Figure
3.
486
Backpanel
,(
.............
).
®t······......
J@
,(
....•••..•...
),
'~.",
® \
•••••••••
•••
J®
@ :
::::
@ ®
Aux.
Ke"
"~ard
Modem
Figure
4.
Altos
III
Terminal
Backpanel
To
connect
the
keyboard
to
the
monitor:
Plug
the
Keyboard
Cord
into
the
connector
labeled
Keyboard.
Plug
the
Power
Cord
into
the
AC
BDW£R
CONNECTOR
at
the
rear
of
the
Terminal.

CONNECl'Ia;
mE
TBRIlllIAL
TO
SYSTEM
Figure
5.
Connecting
the
Keyboard
to
the
Monitor
Figure
6.
Connecting
the
Terminal
Power
Cord
NOTE
DO
not
pI
ug
the
power
cord
into
the
wall
outlet.
2-3
1.
Plug
one
end
of
the
interconnect
cable
into
the
connector
labeled
Mode.
at
the
rear
of
the
monitor.
2.
Tighten
the
screws
to
lock
the
cable
in
place.

CONNEC'.rDiIG
TIlE
SYSTEM
POWER
CORD
2-4
3.
Plug
the
other
end
of
the
cable
into
the
port
labeled
PORT
1
on
the
rear
of
the
system.
4.
Tighten
the
screws
to
lock
the
cable
in
place.
Figure
7.
Connecting
the
Terminal
to
the
System
Plug
the
power
cord
into
the
AC
IM~
receptacle
at
the
rear
of
your
system.
ACINPUT
Figure
8.
Connecting
the
System
Power
Cord
Do
not
plug
the
power
cord
into
the
wall
outlet.

The
drawing
below
shows
how
the
cables
are
connected
when
you
are
finished.
POWER CORDS
Figure
9.
Rear
View
of
486
Syste.
with
the
Cables
Connected
2-5


CONrEftS
3-1
Starting Your System 3
3-2
BEFORE
YOU
BEGIN
3-2
TURNING
THE
TERMINAL
ON
3-3
TURNING
THE
SYSTEM
ON

BEFORE
YOU
BEGIR
TURNIR;
mE
TERIIIIIAL
ON
TORNIIIS
mE
SYSTEM
ON
3-2
1.
Make
sure
that
the
power
switches
for
both
the
system
and
the
terminal
are
in
the
OFF
position.
Figure
l~.
~
POWER
SWITCH
PANEL
BRIGHTNESS
CONTROL
Power
Switches
For
Systea
and
Terminal
2.
PI
ug
the
power
cor
ds
f
or
the
sy
stem
and
the
terminal
into
the
wall
outlets.
1.
Turn
the
terminal
on by
pushing
the
top
half
of
the
ON/OFF
switch.
Listen
for
a
short
beep.
2.
Watch
for
the
cursor
(small
rectangular
block)
to
appear
in
the
upper
left-hand
corner
of
the
screen.
After
about
30
seconds,
if
the
cursor
does
not
appear,
turn
the
thumbwheel
(located
on
the
lower
right
corner
of
the
screen)
downward.
To
turn
the
system
on,
set
the
Power
Switch
on
the
system
to
ON.
The
following
message
appears
on
the
screen
in
approximately
15
seconds:

3-3
486
MONITOR
VERSION
Vl.0
>
Power-up
test
•••
passed
>
System
configuration:
Memory
size
(KB)
768kb
Hard
disk(s)=2
Floppy
Drive(s):
1
PRESS
ANY
KEY
TO
INTERRUPT
AUTO-BOOT
>Booting
from
hard
disk
failed
>Select:
[1]
to
boot
from
hard
disk
[2]
to
boot
from
floppy
disk
[3]
to
boot
from
WorkNet
[4]
to
boot
from
Debugger
Enter
option:
The
system
autoBatically
verifies
that
the
system
is
working
properly.
If
the
system
does
not
pass
the
power-up
test
the
following
message
appears
on
the
screen:
486
MONITOR
VERSION
Vl.0
>
Power-up
test
•••
failed
< >
>
System
configuration:
Memory
size
(KB)
=
768kb
Hard
disk(s)=2
Floppy
Drive(s):
1
>
Select:
[1]
to
boot
from
hard
disk
[2]
to
boot
from
floppy
disk
[3]
to
boot
from
WorkNet
[4]
to
boot
from
Debugger
>Enter
option:
Try
running
the
power
up
test
again
by
pressing
the
RESET
BUTTON
(see
Figure
4).
If
the
system
still
fails
one
of
the
tests
then
proceed
to
the
problem
checklist
on
the
next
page.
Other manuals for 486
1
Table of contents
Other Altos Desktop manuals

Altos
Altos BrainSphere P130 F5 User manual

Altos
Altos BrainSphere P555 F5 User manual

Altos
Altos BrainSphere P15 F7 User manual

Altos
Altos 580 Manual

Altos
Altos P30 F6 User manual

Altos
Altos P550 F4 User manual

Altos
Altos 486 Setup guide

Altos
Altos 986T User instructions

Altos
Altos BrainSphere P330 F6 User manual

Altos
Altos 586 User manual
Popular Desktop manuals by other brands

Dell
Dell Precision 5820 Tower owner's manual

TIBURN
TIBURN Entreprise Flying manual

Teknik
Teknik 5424256 manual

Dell
Dell Precision Workstation 490 Specifications

Embedded Computer
Embedded Computer EPC-5500 Pentium M Operation manual

WB Manufacturing
WB Manufacturing Study Carrel Starter Kit Assembly instructions