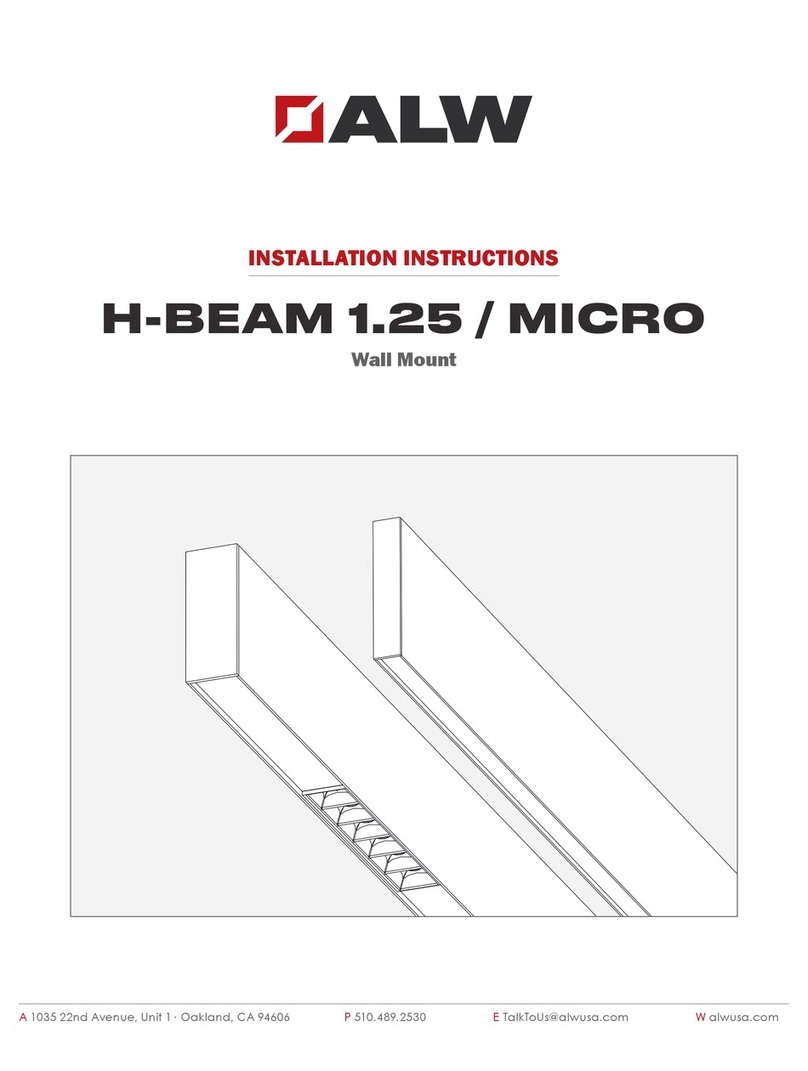
ALW H-BEAM 1.25 User manual

A1035 22nd Avenue, Unit 1 nOakland, CA 94606 P510.489.2530 ETalkToUs@alwusa.com Walwusa.com
INSTALLATION INSTRUCTIONS
H-BEAM 1.25
Suspended | Ceiling

HB1.25S Installation Guide 2 of 15 102-000014 - IG110218-A.0
HB1.25S - Safety & Warnings!
1. Read all instructions.
2. Install in accordance with national and local electrical code regulations.
3. This product is intended to be installed and serviced by a qualied, licensed electrician.
4. Do not install in wet locations. For dry and damp use only.
5. Turn off electrical power before installing or servicing xture in any way.
6. To reduce the risk of re and overheating, make sure all connections are tight.
7. This product is suitable for continuous row mounting.
1. Lisez toutes les instructions.
2. Installez conformément à la réglementation du code électrique national et local.
3. Ce produit est destiné à être installé et entretenu par un électricien agréé qualié.
4. Ne pas installer à l’extérieur ou dans des endroits humides. Pour une utilisation en intérieur et sec
seulement.
5. Coupez l’alimentation électrique avant de évoluer le système d’éclairage en aucune façon.
6. Pour réduire le risque d’incendie et de surchauffe, assurez-vous que toutes les connexions sont bien
serrées.
7. Peut être monté en rangée continue.
HB1.25S - Attention!
SHOCK HAZARD! May result in serious injury or
death. Turn power OFF at circuit breaker prior
to installation or servicing.

HB1.25S Installation Guide HB1.25S Installation Guide 3 of 15 102-000014 - IG110218-A.0
Table of Contents
Luminaire Overview
Included Parts
Parts (by others)
Tools Required
Installation
Prepare Ceiling
Suspension
Joining Straight Sections
Joining Mitered Corners
Wiring Diagrams
Troubleshooting
Diagram
Traditional On/Off
0-10V Dimming
DMX
DALI
Lutron LDE
4
4
4
4
4
5
5
6
11
12
15
15
15
15
15
15
16
Wiring and Canopy (non-dimming) 7
Wiring and Canopy (dimming) 8
Wiring and Canopy (combo) 9
Quick Specs 4
Finishing (single-section xtures) 10
Joining sections (preperation) 10
Finishing (multi-section xtures) 14
Ceiling Mount 13

HB1.25S Installation Guide HB1.25S Installation Guide 4 of 15 102-000014 - IG110218-A.0
Included Parts
33⁄8"
11⁄4"
Luminaire Overview
4” J-Box for canopy
(octagonal type)
#10 wood screws (min. 2”)
1/4”-20 Threaded Rod
#10 toggle bolt
Parts (by others)
Drill
#2 phillips bit
Screwdriver
1/8” Allen key
Tools Required
HB1.25 Fixture Suspension BulletCanopy Assembly
Input Voltage / Frequency:
See product label
Rated Current:
See engineering drawing
Ambient Temperature:
-4° – 120°F (-20° – 50°C)
Environment:
Dry and damp locations
Quick Specs
Level
Suspension Cable
Ceiling Fitting
Cleat Boss (Surface Mount) Retaining Pin (Surface Mount) Cover Plate (Surface Mount)

HB1.25S Install Guide 5 of 15 102-000014 - IG110218-A.0HB1.25S Installation Guide
Mount ceiling tting to ceiling at marked locations using
one of the methods shown below. If using a combo can-
opy for both power entry and suspension, see page 9.
4AScrew to blocking
Installation: Prepare Ceiling
4C1/4”-20 threaded rod
Install 4in. ocatgonal J-box into ceiling (not included).
Make sure that power cord will reach from J-Box to xture.
2Install J-box
Mark intended suspension points based on dimensions
provided in submittal drawings for xture.
1Mark suspension points on ceiling
4BScrew to blocking
Install remote driver J-Box(es) in an accessible/
serviceable location. Run low voltage wire from Remote
Driver J-Box to Canopy J-Box in accordance with local/
state/federal regulations.
3Install Remote Driver J-Box

HB1.25S Install Guide HB1.25S Install Guide 6 of 15 102-000014 - IG110218-A.0
Use wire snips or shears to cut suspension cables to
desired length. Keep an extra 6 inches of cable for
adjustments
6"
6Cut suspension cables to desired length
Raise xture to suspension cables.
Insert suspension cable through cable grippers.
With xture level and at desired height, cut excess cable
extending from cable gripper.
Adjust xture until it is level and at desired height. Depress
the top of cable gripper to lower xture. Keep xture
supported while lowering.
7Raise xture to suspension cables
8Attach suspension cables to xture
9
10 Cut excess cable
Installation: Suspension
Adjust suspension cable length
Route suspension cable through suspension bullet. Ball
end should sit in suspension bullet. Screw suspension bullet
to ceiling tting.
5Route suspension cable and attach to ceiling

HB1.25S Install Guide HB1.25S Install Guide 7 of 15 102-000014 - IG110218-A.0
Installation: Wiring and Canopy
11 Make connections for 18/6 cable
Bring wiring (and canopy assembly) to J-box. Make wiring
connections using wire nuts. See submittal drawings and
diagrams on pg. 14 for complete wiring instruction.
Screw canopy bracket to J-Box using provided screws.
Do not pinch wire connections.
Place canopy over J-Box and secure with nial.
13 Screw canopy bracket to J-Box
14 Secure Canopy
15 Complete canopy
12 Connect Wiring
Connect wires using wire nuts. See pg. 16 for wiring
diagrams.
SHOCK HAZARD! May result in serious injury or
death. Turn power OFF at circuit breaker prior to
installation or servicing.
!
DO NOT PINCH OR PUT EXCESSIVE TENSION ON
WIRES while joining sections or reattaching end
caps.

HB1.25S Install Guide HB1.25S Install Guide 8 of 15 102-000014 - IG110218-A.0
Installation: Wiring and Canopy (combo)
16 Make connections for 18/6 cable
Bring wiring (and canopy assembly) to J-box. Make wiring
connections using wire nuts. See submittal drawings and
diagrams on pg. 14 for complete wiring instruction.
Screw canopy bracket to J-Box using provided screws.
Do not pinch wire connections.
Place canopy over J-Box and secure with nial.
18 Screw canopy bracket to J-Box
19 Secure Canopy
20 Attach suspension
Attach bullet (with cable) to canopy. Return to steps 3-9
to suspend xture.
17 Connect Wiring
Connect wires using wire nuts. See pg. 16 for wiring
diagrams.
SHOCK HAZARD! May result in serious injury or
death. Turn power OFF at circuit breaker prior to
installation or servicing.
!
DO NOT PINCH OR PUT EXCESSIVE TENSION ON
WIRES while joining sections or reattaching end
caps.

HB1.25S Install Guide HB1.25S Installation Guide 9 of 15 102-000014 - IG110218-A.0
23 Prepare ceiling for additional sections
Install additional ceiling ttings for next section as shown
in step 1.
22 Illuminate xture
Power xture and check for complete illumination
Installation: Finishing (single section xtures)
Installation: Joining Sections (preperation)
21 Turn power on
Turn power back on at the breaker.

HB1.25S Install Guide 10 of 15 102-000014 - IG110218-A.0
24 Connect wiring
Connect wiring quick-connects. It may require two
people to install joining sections.
25 Slide joining section
27 Secure internal joiner brackets
Using philips screwdriver, fasten internal brackets.
Slide the joining section over the brackets extended from
the previous section. All brackets should slide partially into
joined section. Check for alignment.
Installation: Joining Straight Sections
Insert suspension cable through cable grippers.
28 Attach suspension cables to free end of xture
SHOCK HAZARD! May result in serious injury or
death. Turn power OFF at circuit breaker prior to
installation or servicing.
!
DO NOT PINCH OR PUT EXCESSIVE TENSION ON
WIRES while joining sections or reattaching end
caps.
26 Remove lens and heat sink
Carefully remove lens and heat sink to access joiner
brackets.

HB1.25S Install Guide HB1.25S Install Guide 11 of 15 102-000014 - IG110218-A.0
31 Connect external brackets
32 Connect internal brackets
Slide miter sections together over alignment bracket.
Using philips screwdriver, tighten internal connector
brackets. Check joint for xture alignment.
Installation: Joining Mitered Corners
30 Connect wiring
Connect wiring quick connects between xture sections.
Insert suspension cable through cable grippers and trim
excess cable as shown in steps 7-9. If adding an addition-
al mitered section, return to step 32.
33 Attach suspension cables to free end of xture
29 Attach Suspension Cable to Miter End
Insert suspension cable into cable gripper. Trim excess
cable as shown in steps 7-9.
SHOCK HAZARD! May result in serious injury or
death. Turn power OFF at circuit breaker prior to
installation or servicing.
!
DO NOT PINCH OR PUT EXCESSIVE TENSION ON
WIRES while joining sections or reattaching end
caps.

HB1.25S Install Guide HB1.25S Install Guide 12 of 15 102-000014 - IG110218-A.0
37 Bring Fixture to Ceiling
Bring xture close to ceiling and align Ceiling Mount
Brackets on xture with Cleat Bosses. Ensure wiring
location is correct.
Installation: Ceiling Mount
34 Drill Holes in Ceiling & Install Remote Driver J-Box
Drill three 5/8” holes in ceiling at mounting positions (per
nal/record drawing). Install Remote Driver J-Box and run
wiring.
39 Install Non-Power Feed Cleat Bosses
Insert Retaining Pins, ensuring that they “click” into place
around Boss and sit in gap between Mount Bracket and
Collar of Boss. CAUTION: Do NOT pinch wires during this
process.
Feed wiring through the grommet on cover plate and
route through ceiling to Remote Driver.
38 Feed Wiring to Remote Driver
To Remote
Driver
Cleat Boss
Mount
36 Install Power Feed Cleat Boss
One of the Cleat Bosses will have a power feed - make
another 5/8” hole 2” from one of the Cleat Boss holes for
wiring from xture to remote driver.
2”
ø 5/8”
35 Install Non-Power Feed Cleat Bosses
Install two non-power feed Cleat Bosses either directly
into framing/blocking, onto a 1/4”-20 rod, or using toggle
bolts (refer to steps 4A-4C). Use a 1/2” washer (0.05-0.069”
thickness) between Cleat Boss and ceiling.
(2x) 5/8” Holes

HB1.25S Install Guide HB1.25S Install Guide 13 of 15 102-000014 - IG110218-A.0
41 Illuminate xture
Power xture and check for complete illumination
Installation: Finishing (multi-section xtures)
40 Turn power on
Turn power back on at the breaker.

HB1.25S Installation Guide 14 of 15 102-000014 - IG110218-A.0HB1.25S Install Guide
Wiring Diagrams
Brown
Blue
Driver 1 LED +
Driver 1 LED -
Yellow
Orange
Driver 2 LED +
Driver 2 LED -
DC
Black
White
Green
Ground
Line Voltage (Hot)
Line Voltage (Neutral)
L
N
AC 50/60Hz
Traditional On/Off
Remote LED
Driver J-Box
Brown
Blue
Driver 1 LED +
Driver 1 LED -
Yellow
Orange
Driver 2 LED +
Driver 2 LED -
DC
Black
White
Green
Grey
Purple
Line Voltage (Hot)
Line Voltage (Neutral)
Ground
0-10VDC (Dim-)
0-10VDC (Dim+)
L
N
AC 50/60Hz
DIM-
DIM+
0-10V Dimming
Remote LED
Driver J-Box
Brown
Blue
Driver 1 LED +
Driver 1 LED -
Yellow
Orange
Driver 2 LED +
Driver 2 LED -
DC
Black
White
Green
Clear
Black
DMX in shield
DMX in -
Line Voltage (Hot)
Line Voltage (Neutral)
Ground
L
N
AC 50/60Hz
DMX In Shield
DMX in -
Red
DMX in +
DMX in +
Clear
Black
DMX out shield
DMX out -
White
DMX out +
DMX Out Shield
DMX out -
DMX out +
DMX
Remote LED
Driver/Decoder
J-Box
Brown
Blue
Driver 1 LED +
Driver 1 LED -
Yellow
Orange
Driver 2 LED +
Driver 2 LED -
DC
Black
White
Green
Purple
Grey
Line Voltage (Hot)
Line Voltage (Neutral)
Ground
Data +
Data -
L
N
AC 50/60Hz
DATA +
DATA -
DALI
Remote LED
Driver/Decoder
J-Box
Brown
Blue
Driver 1 LED +
Driver 1 LED -
Yellow
Orange
Driver 2 LED +
Driver 2 LED -
DC
Black
White
Green
Purple
Grey
Line Voltage (Hot)
Line Voltage (Neutral)
Ground
E1
E2
L
N
AC 50/60Hz
E1
E2
Lutron LDE
Remote LED
Driver J-Box

HB1.25S Installation Guide 15 of 15 102-000014 - IG110218-A.0HB1.25S Installation Guide
Troubleshooting
Only a certied electrician can service and troubleshoot product eld issues. Always turn main power off
before servicing xture.
Full Fixture does not illuminate • Ensure xture is wired correctly and power is on.
• Check that circuit breaker is on and not off or tripped.
• Internal LED driver may be defective.
• Ensure no wires are pinched between parts after joining sections or
re-attaching end caps.
Full xture is ickering • 0-10V, DMX, and DALI Dimming Models: Ensure polarity is correct for
DATA + and - connections. Swapping DATA + and - connections can
cause ickering.
• TRIAC Dimming Models: Ensure a compatible TRIAC Forward Phase
dimmer is connected to xture. Call tech support for further informa-
tion.
• Possible loose DATA + and - connections from xture to 0-10V, DMX,
or DALI control.
• Possible loose low voltage DC + or - connection from driver to LED.
Call customer support.
Fixture section(s) do not
illuminate
Fixture section(s) are ickering
Fixture does not dim
• Possible loose low voltage DC + or - connection between LED
boards or from LED driver to LED boards.
• Some xtures contain multiple LED drivers. In this case, it’s possible
one of the drivers is defective, which will cause the LED connected
to the driver not to illuminate. Call tech support.
• Ensure no wires are pinched between parts after joining sections or
re-attaching end caps.
• Possible loose low voltage DC + or - connection between LED
boards.
• 0-10V, DMX, and DALI Dimming Models: Ensure polarity is correct
for DATA + and - connections. Swapping DATA + and - connections
can cause ickering.
• TRIAC Dimming Models: Ensure a compatible TRIAC Forward Phase
dimmer is connected to xture. Call tech support for further infor-
mation.
• Possible loose DATA + and - connections from xture to 0-10V, DMX,
or DALI control.
Other manuals for H-BEAM 1.25
2
This manual suits for next models
2
Table of contents
Other ALW Lantern manuals
Popular Lantern manuals by other brands

Royal Sovereign
Royal Sovereign RSB-1330E owner's manual

Performance In Lighting
Performance In Lighting CRICKET+ 10 installation instructions

Enlite
Enlite EN-BN1240EM manual

Emerson
Emerson Appleton Areamaster instruction sheet

SLV Elektronik
SLV Elektronik DEWI DESK operating manual

Current
Current Lumination Tetra AL10 Series installation guide