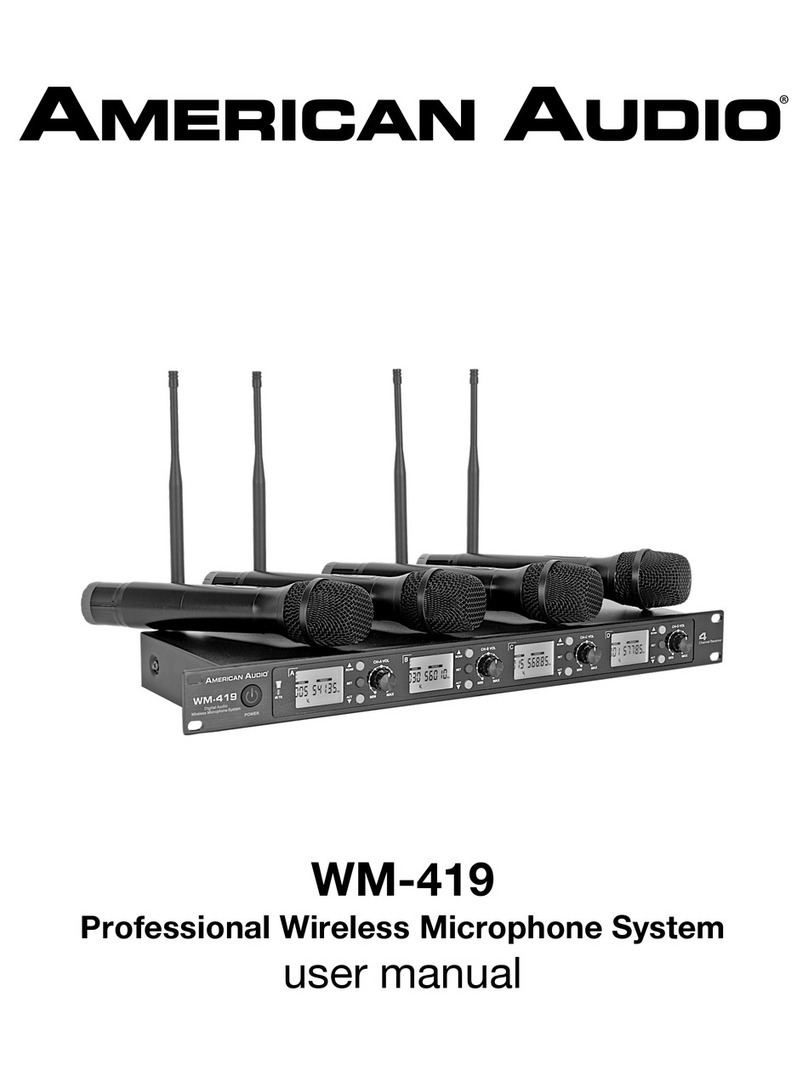
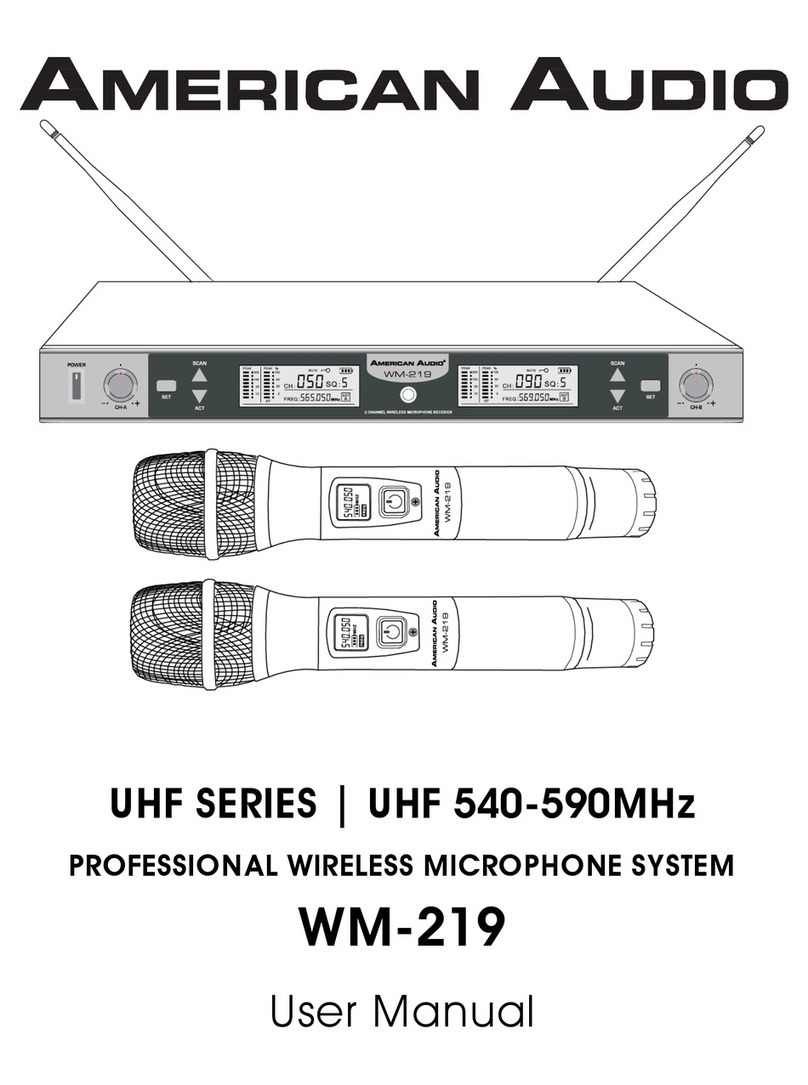
American Audio UHF Series User manual

A.D.J. Supply Europe B.V. –www.adj.eu –WM 219 Instruction Manual Page 2
©2018 ADJ Products, LLC all rights reserved. Information, specifications, diagrams, images, and instructions
herein are subject to change without notice. ADJ Products, LLC logo and identifying product names and
numbers herein are trademarks of ADJ Products, LLC. Copyright protection claimed includes all forms and
matters of copyrightable materials and information now allowed by statutory or judicial law or hereinafter
granted. Product names used in this document may be trademarks or registered trademarks of their respective
companies and are hereby acknowledged. All non-ADJ Products, LLC brands and product names are
trademarks or registered trademarks of their respective companies.
ADJ Products, LLC and all affiliated companies hereby disclaim any and all liabilities for property, equipment,
building, and electrical damages, injuries to any persons, and direct or indirect economic loss associated with
the use or reliance of any information contained within this document, and/or as a result of the improper,
unsafe, unsufficient and negligent assembly, installation, rigging, and operation of this product.
DOCUMENT VERSION
Please check www.adj.com for the latest revision/update of this manual.
Date
Document
Version
Notes
04/12/18
1.0
Initial Release
Europe Energy Saving Notice
Energy Saving Matters (EuP 2009/125/EC)
Saving electric energy is a key to help protecting the enviroment. Please turn off all electrical products when they are not
in use. To avoid power consumption in idle mode, disconnect all electrical equipment from power when not in use. Thank
you!

A.D.J. Supply Europe B.V. –www.adj.eu –WM 219 Instruction Manual Page 3
Contents
GENERAL INFORMATION ........................................................................................................................................................4
SAFETY INSTRUCTIONS AND GUIDELINES...............................................................................................................................5
OVERVIEW ..............................................................................................................................................................................6
INSTALLATION LOCATION GUIDELINES...................................................................................................................................7
INSTALLATION | POWER | BATTERY REPLACEMENT..............................................................................................................8
OPERATION.............................................................................................................................................................................8
TROUBLING SHOOTING TIPS...................................................................................................................................................9
TECHNICAL SPECIFICATIONS.................................................................................................................................................10
OPTIONAL ACCESSORIES...................................................................................................Fehler! Textmarke nicht definiert.
ROHS - A great Contribution to the Conservation of Environment .....................................................................................11
WEEE –Waste of Electrical and Electronic Equipment ........................................................................................................12
NOTES ...................................................................................................................................................................................13
NOTES ...................................................................................................................................................................................14

A.D.J. Supply Europe B.V. –www.adj.eu –WM 219 Instruction Manual Page 4
INOZIONE
GENERAL INFORMATION
INTRODUCTION
This rack mountable UHF wireless microphone system has been designed to perform reliably for years when
the guidelines in this booklet are followed. Please read and understand the instructions in this manual carefully
and thoroughly before attempting to operate this device. These instructions contain important information
regarding safety during use and maintenance.
UNPACKING
Every device has been thoroughly tested and has been shipped in perfect operating condition. Carefully check
the shipping carton for damage that may have occurred during shipping. If the carton appears to be damaged,
carefully inspect your device for damage and be sure all accessories necessary to operate the device have
arrived intact. In the event damage has been found or parts are missing, please contact our customer support
team for further instructions. Please do not return this device to your dealer without first contacting customer
support at the number listed below. Please do not discard the shipping carton in the trash.
Please recycle whenever possible.
BOX CONTENTS
(1) Selectable Channel UHF Wireless Receiver
(2) Hand Held Wireless Microphones
(4) AA batteries
(2) UHF Antennas (length 10.5” / 267mm)
(2) Rack Mount Ears with Antenna Mounting Holes and Screws
(2) BNC Antenna Extension Cables (length 0.20”/ 0.5m)
(1) External 12-15VDC Power Supply
(2) Microphone Stand Clips
CUSTOMER SUPPORT
If you encounter any problems, please contact your trusted American Audio shop. We also offer the possibility,
to contact us directly: You can contact us via our website www.adj.eu or via email: [email protected]
IMPORTANT NOTICE!
There are no user serviceable parts inside this device. Do not attempt any repairs yourself; doing so will void
your manufactures warranty. Damages resulting from modifications to this fixture and/or the disregard of safety
and general user instructions found in this user manual void the manufactures warranty and are not subject to
any warranty claims and/or repairs.

A.D.J. Supply Europe B.V. –www.adj.eu –WM 219 Instruction Manual Page 5
SAFETY INSTRUCTIONS AND GUIDELINES
To guarantee a smooth operation, it is important to follow all instructions and guidelines in this manual. The
manufacturer of this device is not responsible for injury and/or damages resulting from the misuse of this
device due to the disregard of the information printed in this manual. Any modifications to the device and/or
the accessories included will void the original manufactures warranty and increase the risk of damage and/or
personal injury.
NEVER OPEN THIS DEVICE WHILE IN USE!
DO NOT PLUG DEVICE INTO A DIMMER PACK!
UNPLUG POWER BEFORE CLEANING DEVICE!
CLEAN ONLY WITH A DRY CLOTH!
KEEP FLAMMABLE MATERIALS AWAY FROM DEVICE!
INDOOR / DRY LOCATIONS USE ONLY!
DO NOT EXPOSE DEVICE TO RAIN OR MOISTURE!
DO NOT EXPOSE DEVICE TO:
HIGH TEMPERATURE OR HIGH HUMIDITY ENVIRONMENTS!
AMBIENT OPERATING TEMPERATURE: 23° to 113°F. (-5° to 45°C)
DO NOT USE DEVICE IF BATTERIES ARE DAMAGED, DEFORMED, OR HAVE
AN ODOR!
DO NOT DISASSEMBLE BATTERIES!
DISPOSE OF BATTERIES ACCORDING TO LOCAL, STATE, AND COUNTRY
REGULATIONS!
•DO NOT shake device, avoid brute force when operating device.
•DO NOT operate device if the power cord or power supply has become frayed, crimped and/or damaged. If
the power cord or power supply is damaged, replace it immediately with a new one of similar power rating.
•ONLY use accessories that are specified by the manufacturer.
•The device should be serviced and repaired by authorized personnel only.
•Use the original packaging and materials to transport the fixture in for service.

A.D.J. Supply Europe B.V. –www.adj.eu –WM 219 Instruction Manual Page 6
OVERVIEW
WIRELESS RECEIVER
1. Power Switch
2. CH-A Volume Control Dial
3. CH-A Function Buttons
4. CH-A LED Control Display
5. Infrared Transmitter
6. CH-B LED Control Display
7. CH-B Function Buttons
8. CH-B Volume Control Dial
9. DC Power Supply Input
10. CH-B Antenna Input (BNC)
11. CH-B 3pin XLR Balanced Audio Output
12. CH-A and CH-B ¼” Audio Mix Output
13. CH-A 3pin XLR Balanced Audio Output
14. CH-A Antenna Input (BNC)
1. RF Radio Intensity
2. AF Radio Intensity
3. Channel Display
4. Frequency Display
5. Signal Channel Display
6. Battery Level

A.D.J. Supply Europe B.V. –www.adj.eu –WM 219 Instruction Manual Page 7
OVERVIEW (continued)
HANDHELD MICROPHONE TRANSMITTERS
1. Grill
2. LED Control Display
3. Infrared Receiver
4. Power Switch
5. Battery Compartment Cover*
6. Internal Antenna –Colored Ring
1. Frequency
2. Battery Level
INSTALLATION LOCATION GUIDELINES
There are many factors that can affect and/or interrupt the wireless UHF signal. These factors can include
walls, glass, metal objects and surfaces, other digital or electronic devices (CD/DVD/Media players,
computers, laptops, Wi-Fi devices, cell phones, wireless phones, two-way radio communication devices, and
wireless remote controls), electronic appliances, and people.
Therefore, it is highly recommended to position the wireless receiver away from the above-mentioned items
and a minimum of 3.0 ft. (1m) above audiences and/or above ground level. Careful planning and testing of the
selected installation location is critical to ensure optimum and reliable wireless operation.
USING MULTIPLE WM-219 UNITS AT THE SAME TIME
When using multiple WM-219 units at the same time within 100 meters of each other, a different frequency
must be set for each microphone to avoid inference issues.
3.0 ft (1m)
Above Ground

A.D.J. Supply Europe B.V. –www.adj.eu –WM 219 Instruction Manual Page 8
INSTALLATION | POWER | BATTERY REPLACEMENT
INSTALLATION AND POWER
1. Place receiver on a flat non-metal surface.
2. Connect both included UHF antennas to the back of the receiver.
3. Position both UHF antennas vertically and ensure they are fully extended.
4. Turn both Channel A and B Volume Control Dials counter-clockwise to (-).
5. Connect 3pin XLR audio cable to Balanced Channel A and B outputs.
6. Connect ¼” audio cable to Audio Mix Out.
7. Connect included power supply to back of receiver.
8. If installing receiver in a 19-inch rack, follow steps below.
a) Connect included (2) BNC antenna extension cables to back of receiver
b) Install included (2) Rack Ears to both sides of receiver with included screw kit
c) Route antenna BNC extension cables from back of receiver to Rack Ears
d) Secure antenna BNC extension cables to Rack Ears
e) Connect 3pin XLR audio cable to Balanced Channel A and B outputs.
f) Connect ¼” audio cable to Audio Mix Out.
g) Connect included power supply to back of receiver.
h) Install receiver into 19-inch rack space, routing cables accordingly
i) Secure receiver into 19-inch rack space with rack screws (not included)
j) Connect both included UHF antennas to the Rack Ears on each side
9. Power ON receiver.
10. Power ON both microphones by pushing the power switch.
11. Check battery levels of both microphones and replace batteries if needed.
MICROPHONE BATTERY REPLACEMENT
1. Power microphone OFF.
2. Unscrew the battery compartment cover off and Insert batteries as indicated.
3. Screw on the battery compartment cover securely.
4. Power ON microphone and check battery level on LED Control Display.
OPERATION
MANUAL FREQUENCY SETTING
1. Select one of the microphones and power it ON.
2. On the receiver, press the SET button for channel A or B and CH: will begin flashing the current frequency
set for that channel on the LED display. Immediately press the SCAN or ACT buttons for the same channel (A
or B) to scroll up or down the 100 total frequency presets.
3. Press the SET button to select/lock a desired frequency for the channel (A or B).
4. Hold the desired microphone close to the wireless receiver so both the infrared receiver on the microphone
and the infrared transmitter on the wireless receiver are in a direct unobstructed line of sight. Press the ACT
button for the selected frequency to be transmitted to the microphone.
5. Confirm the desired frequency was set by pushing the power button on the microphone to toggle between
CH and MHz on the LED display. If successful, the CH and MHz on the receiver channel and on the
microphone should match.
6. Repeat this process for the other channel and microphone or repeat this process again if there are any
issues.
7. Adjust the volume control dials for each channel (A&B) accordingly and test.

A.D.J. Supply Europe B.V. –www.adj.eu –WM 219 Instruction Manual Page 9
OPERATION (continued)
AUTO FREQUENCY SETTING
1. Select one of the microphones and power it ON.
2. On the receiver, press the SCAN button for channel A or B and the receiver will begin to scan for the best
available frequency.
3. After the receiver completes its search and sets the frequency on the LED Control Display, hold the desired
microphone close to the wireless receiver so both the infrared receiver on the microphone and the infrared
transmitter on the wireless receiver are in a direct unobstructed line of sight. Press the ACT button for the
selected frequency to be transmitted to the microphone.
4. Confirm the desired frequency was set by pushing the power button on the microphone to toggle between
CH and MHz on the LED display. If successful, the CH and MHz on the receiver channel should match on the
microphone.
5. Repeat this process for the other channel and microphone or repeat this process again if there are any
issues.
6. Adjust the volume control dials for each channel (A&B) accordingly and test.
TROUBLE SHOOTING TIPS
PROBLEM
POSSIBLE CAUSE
REMEDY
NO Sound
1. AC Adapter not connected to Receiver or
power source.
2. Receiver and/or Microphone is OFF.
3. Receiver is not connected to mixer or
amplifier.
4. Volume control on Receiver is at zero.
5. Transmitter and Receiver frequencies are not
identical.
6. Transmitter ON/OFF switch is at “OFF” or
“MUTE”
7. Transmitter batteries are not inserted properly
or are missing.
8. Transmitter batteries are dead.
9. Receiver is invisible from Transmitter location.
10. Receiver is too close to metal objects.
1. Connect AC Adapter to Receiver and/or power
source.
2. Turn power switch to ON position.
3. Connect Receiver output to mixer and/or
amplifier input.
4. Turn Volume control dial clockwise.
5. Use the same frequency for the Transmitter
and the Receiver.
6. Set Transmitter ON/OFF switch to “ON”
7. Insert batteries in the corresponding direction
as indicated by “+” and “-“.
8. Replace batteries.
9. Relocate the Receiver to a direct line of sight
location to the Transmitter.
10. Keep Receiver away from metal objects that
may cause interference.
Noise, Crackling, Unwanted
Signals
1. Antenna location.
2. Interference from TV, Radio, or defective
electrical appliances or installations.
1. Relocate the Receiver to a direct line of sight
location to the Transmitter.
2. Power off interference sources and/or
defective appliances or change the frequency
used by these devices.
Distortion
1. Interference from other wireless systems, TV,
Radio, or defective electrical appliances or
installations.
1. Power off interference sources and/or
defective appliances or change the frequency
used by these devices.
Momentary loss of sound at
some locations within
performance area
1. Antenna location.
1. Relocate the Receiver to a direct line of sight
location to the Transmitter. If dead spots persist,
mark these areas and avoid performing in or
around them.

A.D.J. Supply Europe B.V. –www.adj.eu –WM 219 Instruction Manual Page 10
TECHNICAL SPECIFICATIONS
PERFORMANCE
Carrier Frequency: UHF 540-599MHz (US) / 863-865Mhz (EU)
Frequency Stabilization: < ±20PPM
Dynamic Range: >98dB
Total Harmonic Distortion: <1%
Frequency Response: 50Hz ~ 14Hz
Audio Output Level: 0-300mV ¼ TRS I 0-2V XLR Balanced
Range: 300 ft.* (980m) Unobstructed Line of Sight
*May vary based on line of sight, UHF signal retention and/or interference.
SLA Factor
RECEIVER
Power Supply: 110V
DC Power Supply: 12VDC
Max Power Consumption: 3W
Signal/Noise Ratio: >85dB
Image and Spurious Rejection: >90dB
Neighbor Interference Ratio: >90dB
Receiving Sensitivity: >90dB
TRANSMITTERS (x2)
Power: +10dBm
Modulation Type: FM
Battery Voltage: 1.5V x2 AA Batteries (not included)
Battery Life with Full Charge: 6-10 Hours
CONTROL / CONNECTIONS
(2) Rotary Channel Volume Dials
(2) Channel LCD Control Displays
(2) 3pin Balanced XLR Audio Outputs
(2) BNC Antenna Inputs
(1) ¼” TRS Mix Audio Patch Output
(1) Power Switch
(1) DC Power Supply Input
RECEIVER SIZE / WEIGHT
Length: 16.5” (420mm)
Width: 7.09” (180mm)
Height: 1.7” (43mm)
Weight: 4.25 lbs. (1.9 kg)
ELECTRICAL
(Input) AC 100-240V, 50/60Hz / (Output) DC 12V, ± 0.5, 500mA Min.
Please Note: Specifications and improvements in the design of this unit and this manual are subject to change without
any prior written notice.

A.D.J. Supply Europe B.V. –www.adj.eu –WM 219 Instruction Manual Page 11
ROHS - A great Contribution to the Conservation of Environment
Dear Customer,
The European Union has adopted a directive on the restriction / prohibition of the use of hazardous
substances. This directive, referred to as ROHS, is a frequently discussed topic in the electronic industry.
It restricts, among other things, six materials: Lead (Pb), Mercury (Hg), hexavalent chromium (CR VI),
cadmium (Cd), polybrimated biphenyls as flame retardant (PBB), polybrominated diphenyl, also a flame
retardant (PBDE). The directive applies to nearly all electronic and electrical devices whose mode of operation
involves electric or electromagnetic fields –in short: each kind of electronics we have around us in our
households or at work.
As manufacturers of products of the brands of AMERICAN AUDIO, AMERICAN DJ, ELATION Professional
and ACCLAIM Lighting, we are obligated to comply with the RoHS directive. Therefore, as early as two years
prior to the directive coming into force, we started our search for alternative environmentally friendly materials
and manufacturing processes.
Well before the RoHS directive took effect, all of our products were manufactured meeting the standards of the
European Union. With regular audits and material tests we can still assure that the components we use are
always RoHS-compliant and that the manufacturing process, as far as the state of technology allows, is
environmentally friendly.
The ROHS directive is an important step to the protection of our environment. We, as manufactures, feel
obligated to make our contribution in this respect.

A.D.J. Supply Europe B.V. –www.adj.eu –WM 219 Instruction Manual Page 12
WEEE –Waste of Electrical and Electronic Equipment
Every year thousands of tonnes of electronic components, which are harmful to the environment, end up at the
waste disposals around the world. To ensure the best possible disposal or recovery of electronic components,
the European Union has adopted the WEEE directive.
The WEEE-system (Waste of Electrical and Electronic Equipment) can be compared with the system of the
“Green Spot”, which has been in use for several years. The manufactures have to make their contribution to
the utilization of waste at the time they release the product. Money resources obtained by doing so will be
applied to develop a common system of waste management. Thereby we can ensure professional and
environmentally friendly scraping and recycling program.
As manufactures, we are part of the German system of EAR and we make our contribution towards it.
(Registration in Germany: DE41027552)
That means that products of AMERICAN DJ and AMERICAN AUDIO can be left in the collection points free of
charge and they will be used in the recycling program. Products of ELATION Professional, which are used
only by professionals, shall be handled by us. Please send Elation products directly to us at the end of their
lifetime so that we can professionally dispose of them.
Like the above ROHS, the WEEE directive is an important contribution to the environment protection and we
are glad to help to clean the environment with this disposal system.
We are happy to answer any of your inquiries and welcome your suggestions at: info@americandj.eu

A.D.J. Supply Europe B.V. –www.adj.eu –WM 219 Instruction Manual Page 13
NOTES

A.D.J. Supply Europe B.V. –www.adj.eu –WM 219 Instruction Manual Page 14
NOTES
ADJ Products, LLC
6122 S. Eastern Ave. Los Angeles, CA 90040 USA
Tel: 323-582-2650 / Fax: 323-725-6100
Web: www.adj.com / E-mail: info@americandj.com
Follow Us On:
facebook.com/americandj
twitter.com/americandj
youtube.com/americandj
A.D.J. Supply Europe B.V.
Junostraat 2
6468 EW Kerkrade
The Netherlands
Tel: +31 45 546 85 00 / Fax: +31 45 546 85 99
Other manuals for UHF Series
1
This manual suits for next models
3
Table of contents
Other American Audio Microphone System manuals