manuals.online logo
Brands
  1. Home
  2. •
  3. Brands
  4. •
  5. Amphenol
  6. •
  7. Network Hardware
  8. •
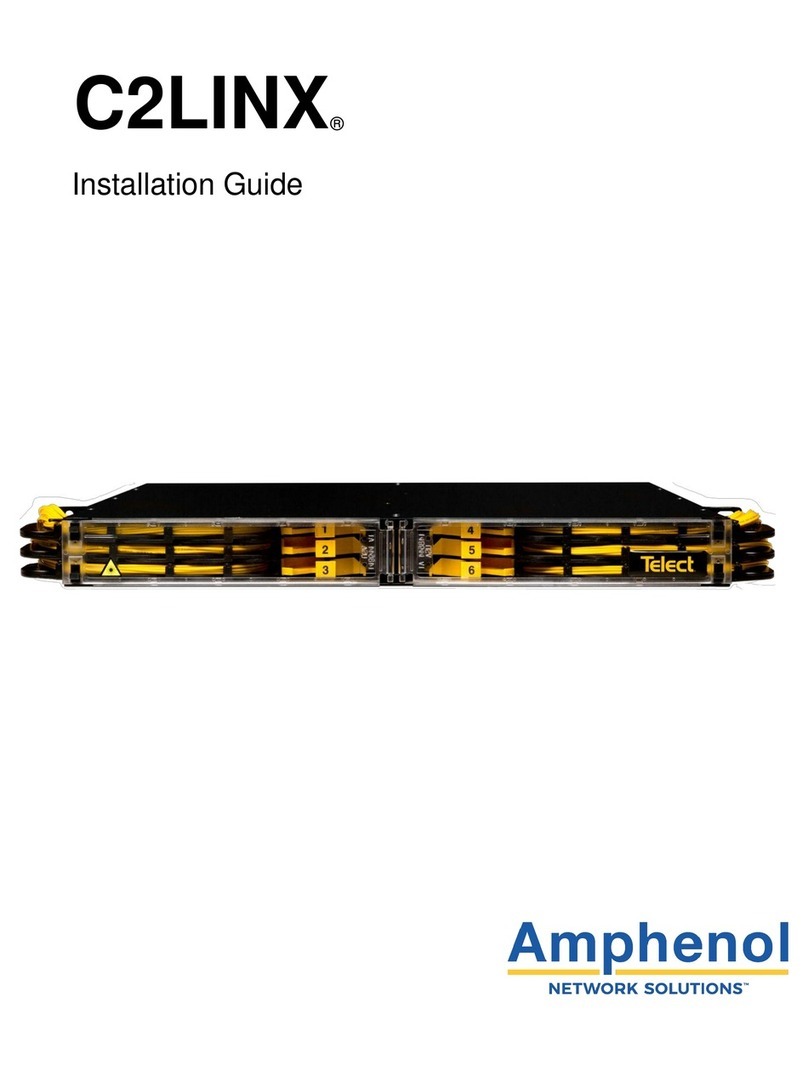
  9. Amphenol C2LINX Series User manual

Amphenol C2LINX Series User manual

C2LINX®Pre-Terminated
Quick Guide
1
C2LINX
®
Pre-Term
Amphenol Network Solutions
All rights reserved. 12.13.19 149241-3
509.926.6000 — amphenol-ns.com
NOTE: All illustrations show a left-side installation.
1. Remove top cover, corner pieces and outer box
from the packaging to expose spool and cable.
2. Remove cellophane wrap from the spool and cable.
WARNING! Keep all objects and personnel clear.
3. Hold stub end of yellow IFC cable. Spool will spin
freely as you begin to pull cable out.
4. Continue pulling IFC cable until one wrap is left on
the upper spool.
5. Remove rack-mount slide bracket from packaging.
Install in the front of the rack at correct RU space
Remove protective square foam from chassis
brackets.
NOTE: Ensure brackets are in final locations
as the chassis is not easily moved once fully
installed.
6. Using a Phillips head screwdriver, install the
brackets onto the rails with the 12-24 screws
provided.
NOTE: Do not tighten securely to the rack,
allowing easier alignment for chassis to slide into
correct position.
ALERT! When holding yellow IFC cable, do
not overbend or twist cable, it will damage
the fiber.
7. Cut and remove zip tie that is securing the fiber
to the cardboard on top of spool. Remove the
two supporting pieces of cardboard from the top
of the spool while maintaining the fiber bend
radius.
WARNING! DO NOT grab chassis by fiber
8. Lift chassis up and out of protective packaging
9. Align rail guides attached to the chassis to the
pre-installed mounting brackets from the rear of
rack.
Front
Rear
2
C2LINX
®
Pre-Term
Amphenol Network Solutions
All rights reserved. 12.13.19 149241-3
509.926.6000 — amphenol-ns.com
10. Push the chassis all the way forward. You will
hear a click on both sides of the chassis
indicating the tab is fully engaged. Depress the
tab to release.
11. Tighten rack screws on the front mounting brackets.
12. Open front doors by pinching both top and bottom
latches together and remove white foam block from
chassis.
ALERT! If Zone 4 seismic latches are required,
refer to Installation Guide
Take HD Links, the fiber cable routing arms, out of
packaging.
NOTE: There are left links and right links. Left links
install on left side and right links install on right side
when facing front of chassis.
13. Starting with the bottom-most tray. Attach the
two bottom clips of the chassis wall links into the
square notches on the chassis side wall.
14. Rotate chassis wall links up until the top clip
snaps into place on the chassis side wall.
15. Attach other end of links to tray by squeezing
both centers together until they click into place
on the bottom most tray.
16. For remaining left and right trays and links, repeat
steps 22-24.
17. See Installation Guide for connecting and routing
fiber on front of tray.
Front

Other manuals for C2LINX Series

2

Other Amphenol Network Hardware manuals

Amphenol nrgSMART nrg600BT10 User manual

Amphenol

Amphenol nrgSMART nrg600BT10 User manual

Amphenol C2LINX Series User manual

Amphenol

Amphenol C2LINX Series User manual

Amphenol HYP-3048 User manual

Amphenol

Amphenol HYP-3048 User manual

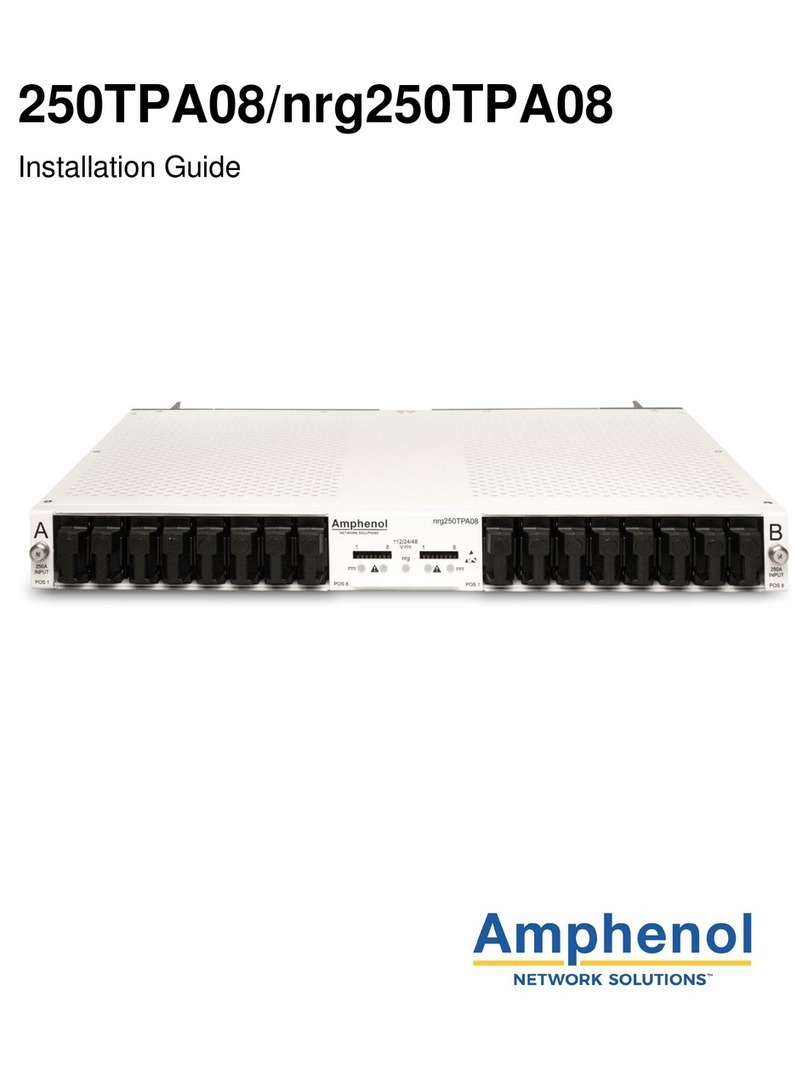
Amphenol 250TPA08 User manual

Amphenol

Amphenol 250TPA08 User manual

Amphenol LINC-1RUK-48LCA1-100F User manual

Amphenol

Amphenol LINC-1RUK-48LCA1-100F User manual

Popular Network Hardware manuals by other brands

Billion 2009 Product guide

Billion

Billion 2009 Product guide

Allied Telesis AT-SPFX/2 specification

Allied Telesis

Allied Telesis AT-SPFX/2 specification

HP StorageWorks 1/8 Tape Autoloader Specification sheet

HP

HP StorageWorks 1/8 Tape Autoloader Specification sheet

Eneo PNR-5316 Quick installation guide

Eneo

Eneo PNR-5316 Quick installation guide

Rajant BreadCrumb ES1 user guide

Rajant

Rajant BreadCrumb ES1 user guide

Nortel 2230l 2231 Quick install guide

Nortel

Nortel 2230l 2231 Quick install guide

Panasonic Switching Diodes MA3J142AG Specifications

Panasonic

Panasonic Switching Diodes MA3J142AG Specifications

Night Owl WNVR SERIES user manual

Night Owl

Night Owl WNVR SERIES user manual

Oracle ZFS Storage ZS5-2 Safety and compliance guide

Oracle

Oracle ZFS Storage ZS5-2 Safety and compliance guide

NEC IP8800/S2400 Series troubleshooting guide

NEC

NEC IP8800/S2400 Series troubleshooting guide

Cisco OL-6109-01 user guide

Cisco

Cisco OL-6109-01 user guide

MA lighting grandMA2 Series Quick manual

MA lighting

MA lighting grandMA2 Series Quick manual

NetApp AFF C190 Install

NetApp

NetApp AFF C190 Install

Mircom TX3 Series Installation quick reference

Mircom

Mircom TX3 Series Installation quick reference

Huawei Telecom Power TP48120A-HD15A1 user manual

Huawei

Huawei Telecom Power TP48120A-HD15A1 user manual

ADTRAN NetVanta 1224 Installation and maintenance practice

ADTRAN

ADTRAN NetVanta 1224 Installation and maintenance practice

Fiplex DH437-R User & installation manual

Fiplex

Fiplex DH437-R User & installation manual

Extron electronics Ethernet Control Interface IPL T PCS4 Specifications

Extron electronics

Extron electronics Ethernet Control Interface IPL T PCS4 Specifications

manuals.online logo
manuals.online logoBrands
  • About & Mission
  • Contact us
  • Privacy Policy
  • Terms and Conditions

Copyright 2025 Manuals.Online. All Rights Reserved.