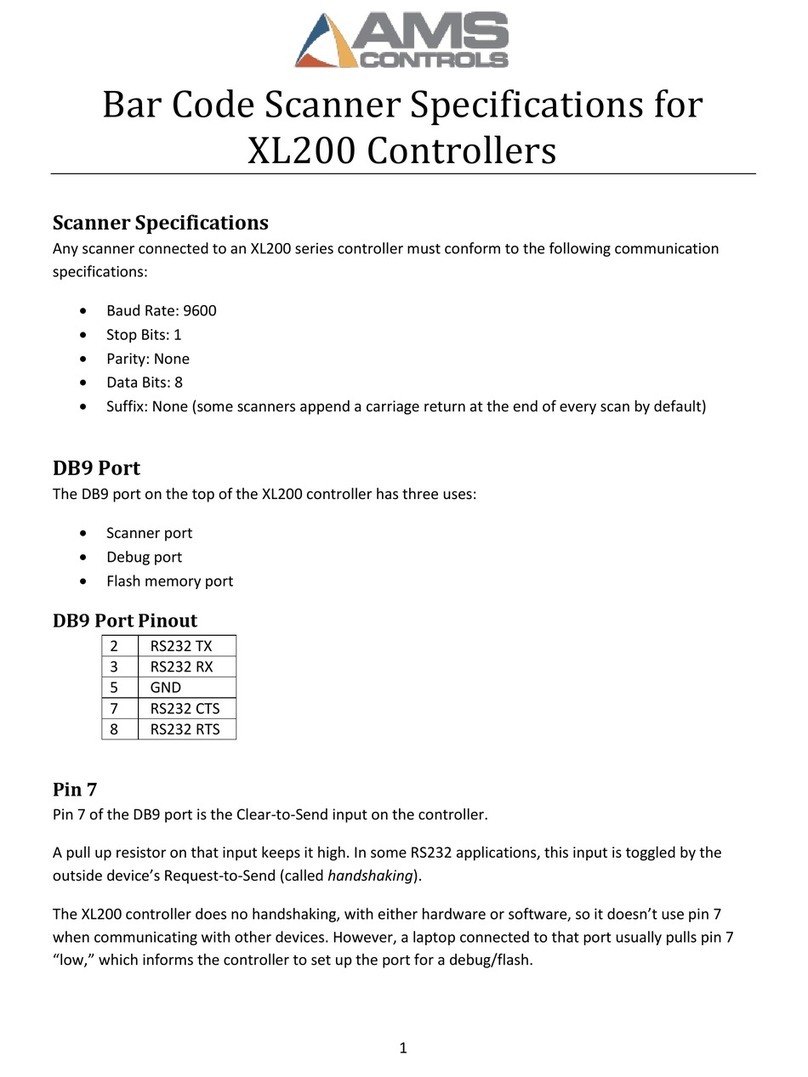
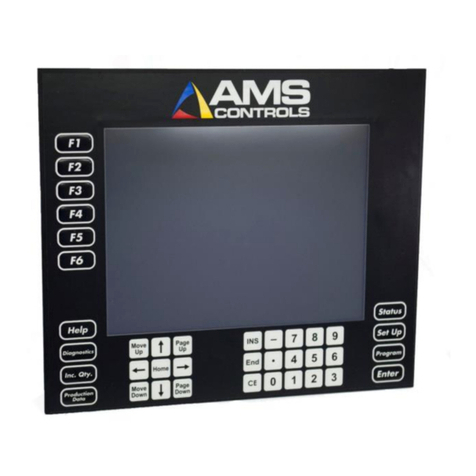
AMS Controls MP450S User manual

MP450S Controller
(for Slitting and Cut-to-Length Machines)
Operator Manual

ii
Copyright ©2008 −AMS Controls, Inc. All rights reserved.
The information contained in this document is proprietary to AMS Controls, Inc., and is not to
be reproduced in any form without the specific written authorization of AMS Controls, Inc.
AMS Controls, Inc. reserves the right to change the contents of this manual without customer
notice or permission. The procedures described in this handbook must be performed only by
trained, certified industrial electricians in accordance with local, state, federal, and NEC codes
and regulations. While AMS Controls has taken all reasonable care to develop safe procedures,
it accepts no responsibility for misprints, or for injuries, damages, death, or destruction to
persons or equipment caused as a result of not closely following these instructions. For specific
controller questions, contact AMS Controls Inc.
The most current version of this manual is always available at:
www.amscontrols.com/files/manuals/default.asp
AMS Controls, Inc.
12180 Prichard Farm Road
Maryland Heights, MO 63043
www.amscontrols.com

MP450S Operator Manual
i
Table of Contents
TABLE OF CONTENTS ..............................................................................................................I
CHAPTER 1: INTRODUCTION............................................................................................. 3
OVERVIEW.................................................................................................................................. 3
Features ...................................................................................................................................3
CHAPTER 2: MANUAL OPERATIONS............................................................................... 4
JOGGING MATERIAL .................................................................................................................. 4
MANUAL SHEAR ......................................................................................................................... 4
LOAD A COIL (AUTOLOAD FEATURE)........................................................................................ 4
CHAPTER 3: PRODUCTION PROCEDURES..................................................................... 5
SCREEN NAVIGATION................................................................................................................. 5
Keypad .....................................................................................................................................5
Push Button and Front Panel Selector Switches .....................................................................5
PROGRAM A JOB......................................................................................................................... 6
AUTOMATIC OPERATION ........................................................................................................... 8
LENGTH CALIBRATION .............................................................................................................. 8
CLEAR CONTROLLER MEMORY ................................................................................................ 9
INDEX.......................................................................................................................................... 11


MP450S Operator Manual
3
Chapter 1: Introduction
Overview
The AMS Controls MP450S is an industrial controller used to control cut-to-
length machinery equipped with slitting knives. Figure 1 shows the front panel of
MP450S.
Figure 1: The AMS Controls MP450S Controller
Features
The MP450S controller’s features include:
•Accurate length control
•Simple programming
•Automatic stops for knife changes
•Easy calibration

MP450S Operator Manual
4
Chapter 2: Manual Operations
Jogging Material
•To jog material forward using the MP450S, turn the jog switch on the
controller to the right (clockwise).
•To jog material in reverse using the MP450S, turn the jog switch on the
controller to the left (counter-clockwise).
Manual Shear
To fire the shear manually, press the shear button .
Note: The controller must be in Manual mode.
Load a Coil (Autoload Feature)
To load a new coil,
1. Press [Halt] to ensure the machine is in the manual mode.
2. Turn the [Jog] switch to forward and hold it in place. The material feeds
through the machine and stops automatically when the leading edge is just
past the shear blade.
3. Press the [Shear] button and trim cut the leading edge of the coil. The
material is cut and the controller’s length display re-sets to zero.
The machine is now ready to produce parts.

MP450S Operator Manual
5
Chapter 3: Production
Procedures
Screen Navigation
Keypad
The keypad uses hot keys to enable quick entry into certain screens.
Program Press [Program] to program a Job Number, Quantity, and
Length; press it again to specify the next job to run.
Status Press [Status] to exit the current screen and return to the
Status screen.
Calibration Press [Calibration] to calibrate the length management
system; press it again to display the Footage Totalizer.
•To reset the totalizer to zero: When the footage
displays, press [Clear]. The prompt “Enter Code to
Clear Total” displays; enter 1984 and press [Enter].
Enter Press [Enter] to enter or store the current value. [Enter]
can also be used to move to the next value.
Clear Press [Clear] (clear entry) to clear or set an entry back to
its original value.
Push Button and Front Panel Selector Switches
Shear Press [Shear] to manually activate the shear.
Note: The MP450S controller allows this switch to
operate when the machine is stopped.
Halt Select [Halt] to load a coil and to stop the machine

MP450S Operator Manual
6
Run Select [Run] to start the machine after a job has been
programmed
Jog
(Forward
and
Reverse)
When the machine is in manual mode (i.e., the Run
button is not lit), turn and hold the Jog switch
clockwise to jog the material forward, turn and hold the
Jog switch counter-clockwise to jog the material in
reverse.
This switch is inactive when the Run switch is lit.
Power This switch turns the controller on and off.
•Turn the switch to the right to apply power to the
controller unit
•Turn the switch to the left to remove power
Note: If the controller unit has been wired to by-pass this switch, the position
of the switch will have no affect on the controller.
Program a Job
Jobs are composed of a quantity of a specified length. You can program up to 50
different quantities and lengths into the controller. To program a job,
1. Select [Program] . The current data entry field highlights; once new data
has been entered, the data field starts blinking.
Note: Pressing [Clear] while the data field is blinking re-loads the
original value into the data field. Pressing [Enter] saves new data
and highlights the next field.
2. In the Job Number field, enter a number to assign to this job (a value
between 1 and 50).
3. In the Quantity field, enter the number of parts you want to create (up to
999).
4. In the Length field, up to 999 feet and 11.999 inches.

MP450S Operator Manual
7
5. The controller displays the message “Pause After Job xx?” (where xx is the
job number assigned in step 1). Select:
-Yes to have the machine halt automatically after the selected job number
is finished.
-No to have the machine change lengths “on-the-fly” and run the job
following the selected job without first stopping.
Note: To restart the machine after an automatic halt, press [Run].
6. The controller displays the message “Raise Knives after Job xx?” ” (where xx
is the job number assigned in step 1). Select:
-Yes to require the operator to raise the knife blades prior to completing
the last part. On the last part, the line stops at a position equal to the
part length minus the knife distance. The operator is then required to
raise the knife blades and press [Run] to complete the final parts. This
option is used to prevent scrap waste.
Note: When making parts shorter than the knife distance, it is
possible that the knife blades are required to be in the up position
in order to complete multiple parts.
For example, assume the knife distance is set to 24 inches, the part
length is 6 inches and the quantity to produce is 5. After the first
part is produced, the operator is required to raise the knife blades.
Since 24 inches of material is already slit, the remaining four parts
are produced with the knife blades in the up position.
-No to allow the user to proceed to the next job with the knife blades in
the down position.
Note: To increase productivity, additional jobs can be programmed while the
machine is running previously programmed jobs.

MP450S Operator Manual
8
Automatic Operation
The MP450S runs all programmed jobs automatically.
•To start the machine after all desired jobs have been programmed, press
[Run] .
•To stop the machine at any time, press [Halt] .
The machine halts automatically when all programmed jobs are completed.
Note: If the encoder is counting in the negative direction, change the encoder
direction in the Setup Screen as described previously.
Length Calibration
Note: Calibration is typically required only during machine startup, although
changing coil stock may sometimes require a calibration as well.
Length calibration adjusts for errors in the size and tracking of the measuring
wheel and is expressed as a percentage, with 100% being no correction.
Increasing the correction factor causes the parts to become longer and decreasing
the value shrinks the parts.
The MP450S controller’s length calibration feature automatically computes a
new correction factor. Length Calibration should be used any time part lengths
are incorrect in a consistent manner (e.g., all parts 1mm too long, etc.).
Note: When calculating the correction factor, make several parts (6 to 10)
and use the average of these parts for the part length. The first part produced
should not be used in this calculation since it may be inaccurate due to shear
reaction, boosts motion, or other variances.
To calibrate the MP450S controller,
1. With the controller powered on, press [Calibration] . The display
prompts you to enter a calibration length.
2. When the prompt “Enter Length for Calibration” displays, enter a part length.
Note: The longer a part length you enter, the more accurate the
calibration will be. The minimum length that can be programmed
MP450S Operator Manual
9
for calibration is 5 feet; the maximum length that can be
programmed for calibration is 40 feet.
The message “Load Coil, Then Cycle Shear” displays.
3. While in Manual mode, load a coil using the Jog switch and, with the material
slightly past the shear, press [Shear] . The message “Press Run to Start
Calibration” displays.
4. Press [Run] . The machine starts, produces one part of the calibration
length, and stops automatically.
5. Carefully measure the part produced
6. When the prompt “Enter Measured Length” displays, enter the measured part
length. The controller is now calibrated.
Note: If the computed correction factor is greater than 110% or
less than 90%, the “Calibration Out of Range” error message
displays and the calibrate cycle is ignored.
Clear Controller Memory
Sometimes electrical disruptions, such as power surges, can alter the controller’s
memory, resulting in erratic controller operation. To remedy this, you must re-set
(erase) the memory and then re-calibrate the controller.
To reset the memory on the controller,
1. Turn the device off, then back on.
2. Press [5] while the startup screen is showing.
ÌCaution: Clearing the controller memory clears out all jobs that are
programmed into your controller and re-sets all setup parameters except
encoder direction to their default values. Be sure you have all this data
recorded elsewhere before clearing memory!


MP450S Operator Manual
11
Index
A
Automatic Operation, 8
C
Calibrate Trim, 8
Calibration
procedure, 8
Clear Controller Memory, 9
Controller Memory
clear, 9
Correction Factor, 8
F
Front Panel Selector Switches, 5
J
Job
programming, 6
Jog, 4
Jogging Material, 4
K
Keypad, 5
L
Length Calibration, 8
Load a Coil, 4
M
Manual Shear, 4
Material
jogging, 4
MP450S Features, 3
O
Overview, 3
P
Production Procedures, 5
Program a Job, 6
Push Button and Front Panel Selector Switches, 5
S
Screen Navigation, 5
Selector Switches
Front Panel, 5
Shear, 4
Start the Machine, 8
Table of contents
Other AMS Controls Controllers manuals

AMS Controls
AMS Controls XL200 ECO 1263 Use and care manual

AMS Controls
AMS Controls XL100 Use and care manual

AMS Controls
AMS Controls XL200 Series Installation manual

AMS Controls
AMS Controls XL200 Series Use and care manual

AMS Controls
AMS Controls XL200 Series Use and care manual

AMS Controls
AMS Controls MP450 User manual

AMS Controls
AMS Controls XL200 Series Use and care manual

AMS Controls
AMS Controls XL200 Series User manual

AMS Controls
AMS Controls MP328CL User manual