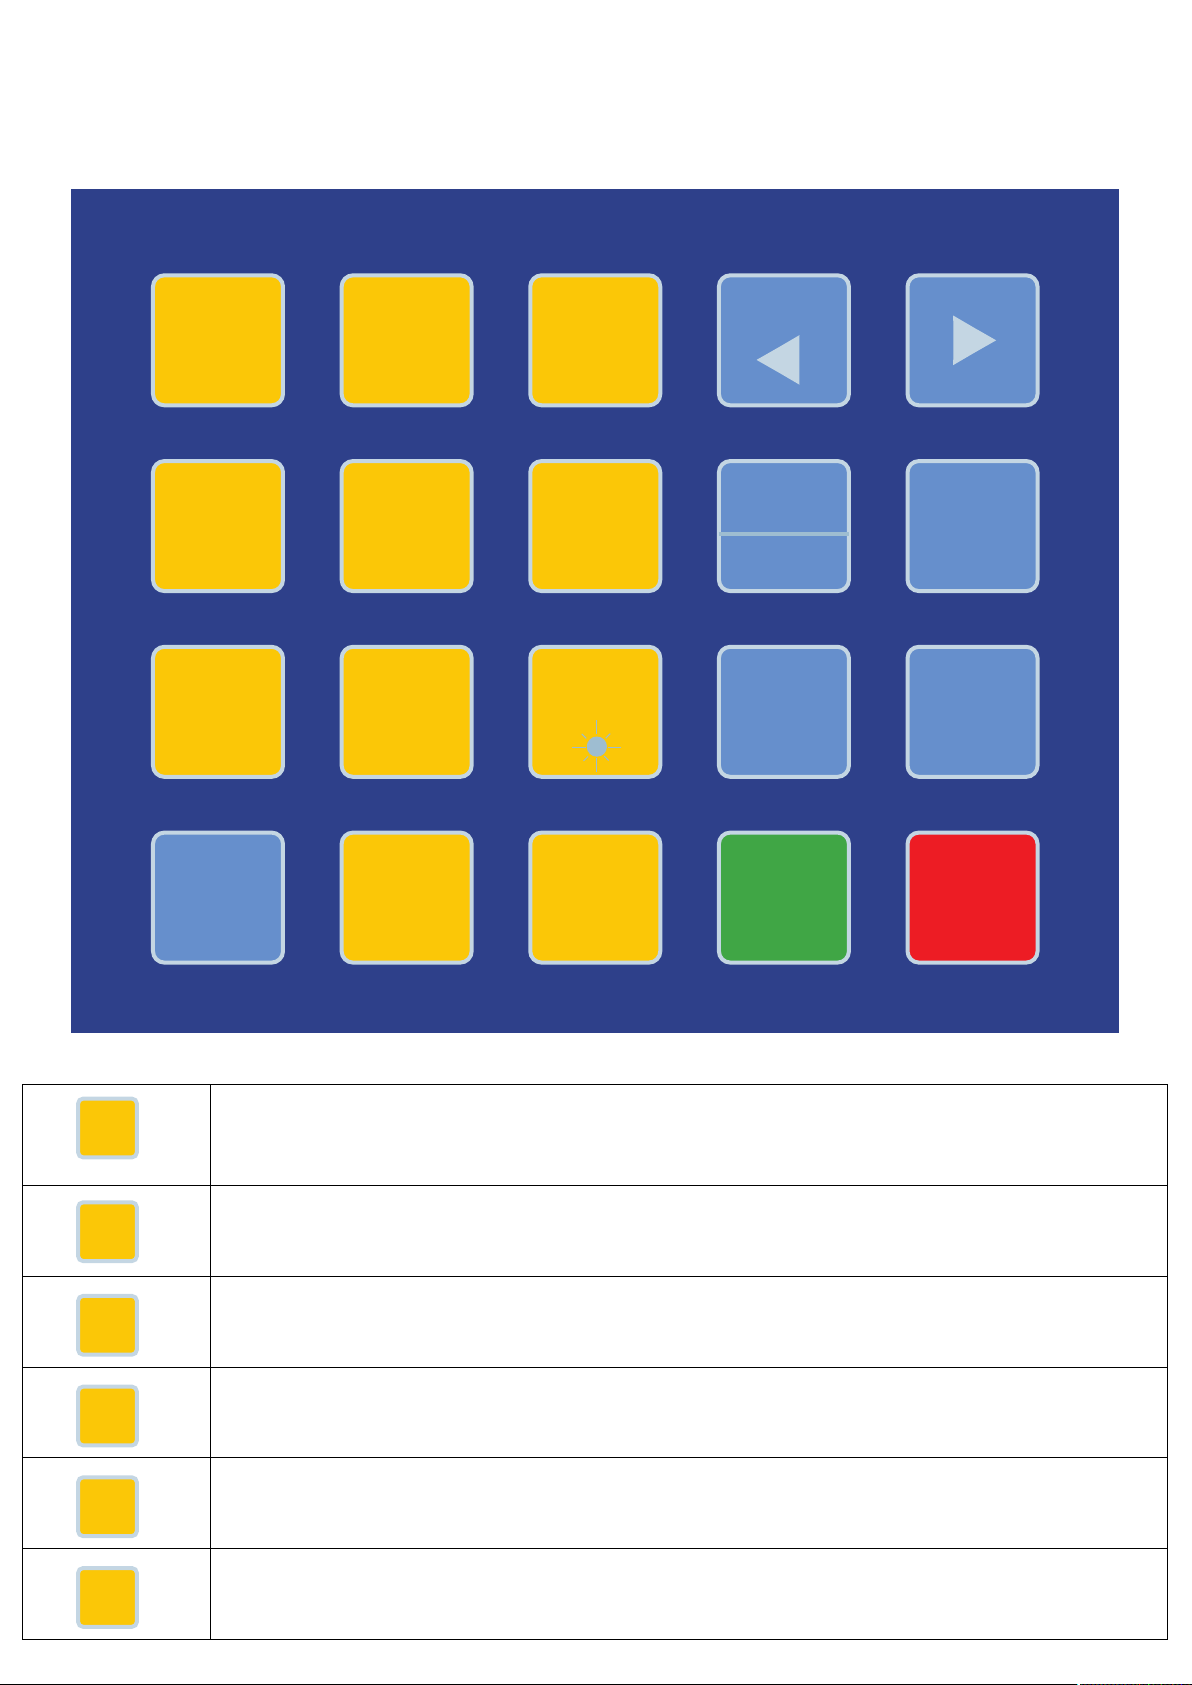
b) Press "6/TIME" key, the month and serial number of current monthly total data will
be displayed. Press it again, the first fueling date, time and total fueling times of
current monthly total data will be displayed.
c) Press "SET/ " " or " " key to query the previous data and the next record.
d) Press "CLEAR/CANCEL" key to exit querying mode.
Note: The monthly total data will keep 12 months max, exceeds 12 months data, the
earliest data wi11 be covered automatically.
3. General Total Querying.
a) Press "QUERY" key, the screen board will display "C", then press "3/GENERAL" to
query general total data and total fueling times.
b) Press "6/TIME" key, the first fueling date and total fueling times will be displayed.
Press it again, the first fueling date, time and total fueling times will be displayed.
c) Press "CLEAR/CANCEL" key to exit querying model.
4. Shift Total Querying
a) Press "QUERY" key, the screen board will display "C", then press "4/SHIFT" to query
shift total. The default data is the nearest shift total and serial number.
b) Press "6/TIME" key, the first fueling date of current shift total will be displayed. Press it
again, the first fueling date, time, and fueling times of current shift total will be displayed.
c) Press "SET/ " " or " " key to query the previous data and the next record.
d) Press "CLEAR/CANCEL" key to exit querying mode.
Note: There will be 30 max shift total data to be kept, exceeding 30 shift total data, the
earliest data will be covered.
5. Details Querying
a) Press "QUERY", the screen board will display "C", then press "5/DETAILS" key to
query details. The default data is the nearest fueling amount and serial number.
b) Press "6/TIME" key, the current data fueling time and serial number will be
displayed.
c) Press "SET/ " " or " " key to query the previous data and the next record.
d) Press "CLEAR/CANCEL" key to exit querying mode.
Note: The fueling details will be kept 500 serial numbers max, exceeds 500 serial
numbers, the earliest data will be covered.
6. Time Querying
a) When standby, press "6/TIME" continuously, the current date and time will be
displayed, release the key, time will be disappeared.
b) By pressing "6/TIME" and "CONFIRM" key at the same time, the current time will be
locked on screen board.
c) Press "CLEAR/CANCEL" to exit.
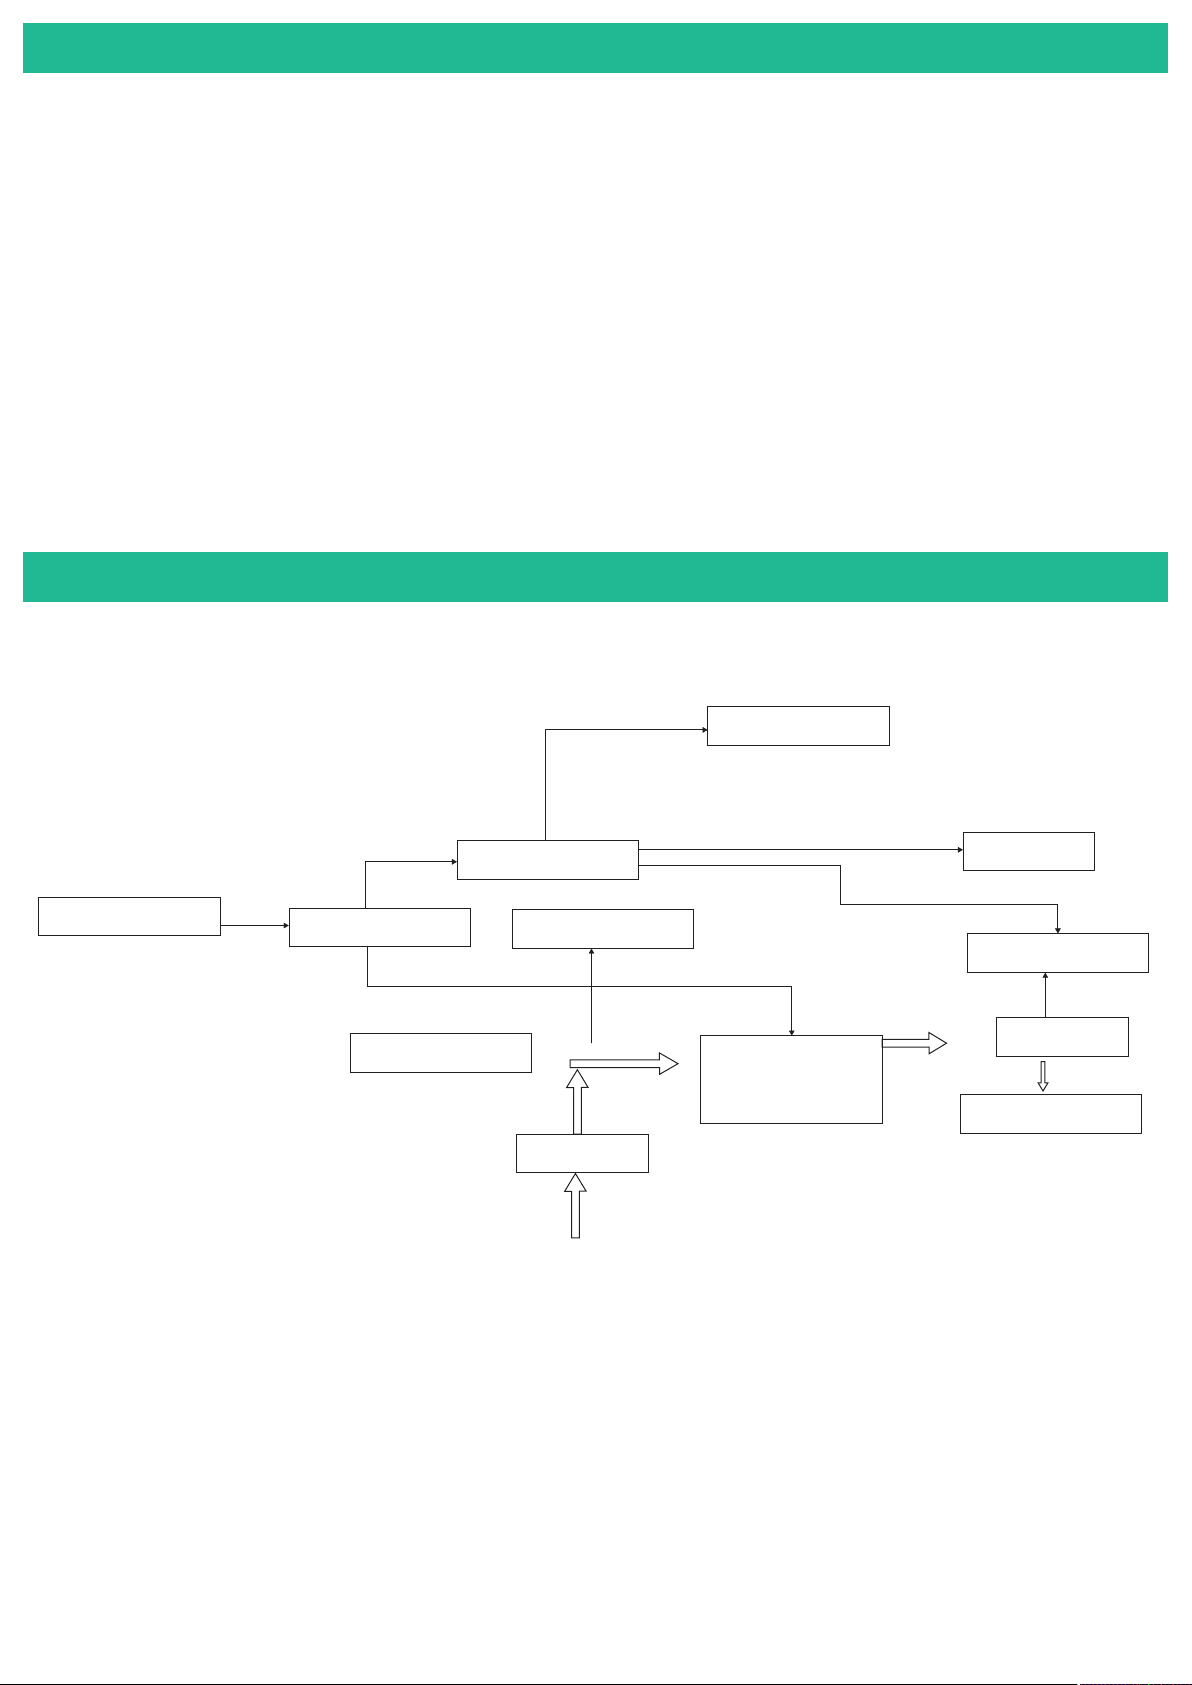
Setting mode: