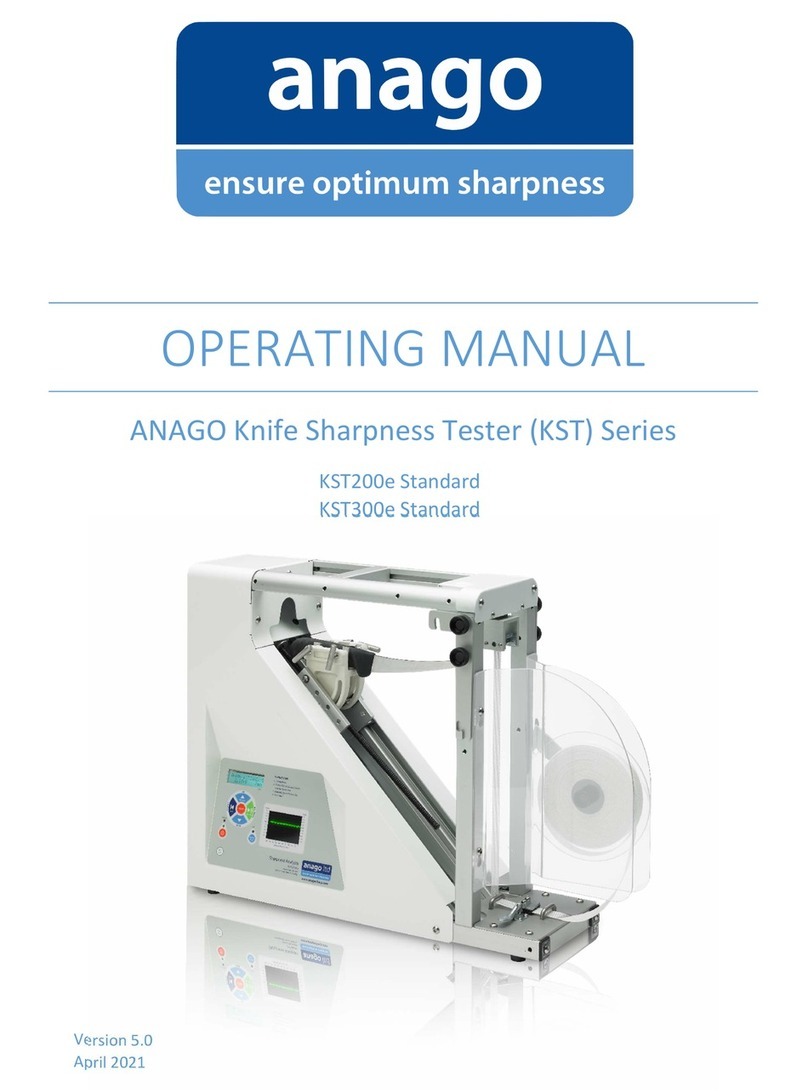
anago TST Series User manual

© 2003-2018 ... Anago Ltd
Version 1.1
October 2018
MAN-OP-TST
Operating Manual
Anago Trimmer Sharpness Tester
(TST) Series
- TST100

Anago Trimmer Sharpness Tester (TST) Series
Operating Manual
© 2003-2018 ... Anago Ltd
All rights reserved. No parts of this work may be reproduced in any form or by any means - graphic, electronic, or
mechanical, including photocopying, recording, taping, or information storage and retrieval systems - without the
written permission of the publisher.
Products that are referred to in this document may be either trademarks and/or registered trademarks of the respective
owners. The publisher and the author make no claim to these trademarks.
While every precaution has been taken in the preparation of this document, the publisher and the author assume no
responsibility for errors or omissions, or for damages resulting from the use of information contained in this document
or from the use of programs and source code that may accompany it. In no event shall the publisher and the author be
liable for any loss of profit or any other commercial damage caused or alleged to have been caused directly or
indirectly by this document.
Printed: October 2018 in New Zealand

About
This operating manual accompanies the Anago Trimmer Sharpness Tester (TST) 100. The manual introduces basic
functions of the TST, shows how to use the TST in conjunction with the Anago Analyzer software and provides an
overview of possible operating errors with their respective solutions.
The sections covered include:
- a general introduction to the TST
- detailed guidelines on how to use the TST set up menu
- instructions on how to test trimmer blades, both with and without the Analyzer software
- a basic troubleshooting section
- product and system specifications
This operating manual is a working document. We welcome suggestions and recommendations for its improvement.
Please email support@anago.co.nz to offer suggestions or to request information to be added.
About this manual
Anago Limited is a technology company based in Hamilton, New Zealand. Established in 2001, Anago specializes in
products that improve safety and production performance, primarily in the food processing industry. Anago invented
and commercialized the world's leading knife sharpness testing technology.
Anago’s knife sharpness testers (KSTs) have been instrumental in the improvement of knife sharpness levels and the
optimization of sharpening methods throughout the United States, Australasia, and Europe. Within food processing
companies, these improvements have directly resulted in increases in production yield and output as well as reduced
musculoskeletal disorders amongst workers.
To complement their KST range of products, Anago has developed AnagoSafe, a benchmarking software for
comprehensive incident, hazard, and absence management.
Anago also provides customised sharpness testing technology and consulting services to specialist blade manufacturers
(including the medical industry), processors and researchers.
Anago knife and blade sharpness testing technology is represented and serviced globally by Anago direct and through a
distributor and service agent network. Please contact Anago to find your nearest representative.
About Anago

Anago Trimmer Sharpness Tester (TST) Series
I
© 2003-2018 ... Anago Ltd
Table of Contents
About 0
Part I General Information 1
................................................................................................................................... 11Welcome
................................................................................................................................... 22Quick Start Guide
................................................................................................................................... 33Analyzer Software - TST Mode
Part II Components & Setup 5
................................................................................................................................... 51Interface
.......................................................................................................................................................... 6Calibration
.......................................................................................................................................................... 9Screen & Lighting
.......................................................................................................................................................... 11Diagnostics
.......................................................................................................................................................... 13About
................................................................................................................................... 142Test Media
................................................................................................................................... 163Blade Handles
Part III Testing 17
................................................................................................................................... 221Stopping a Test
................................................................................................................................... 232Saving Test Results
.......................................................................................................................................................... 24Running a Test from the Software
......................................................................................................................................................... 26Automatic Saving
.......................................................................................................................................................... 28Transferring Results After Running a Test
Part IV Troubleshooting 30
Part V Specifications and Version Information 31
Part VI Warranty 33

General Information 1
© 2003-2018 ... Anago Ltd
1General Information
1.1 Welcome
First of all, CONGRATULATIONS!
You now own the world's best system for accurately, objectively and repeatedly testing and auditing
trimmer blade sharpness.
With the Anago Trimmer Sharpness Tester you can now:
·Test and record the sharpness of blades
·Analyze and compare blade sharpness between people, departments and facilities
·Compare blade sharpness at different times
·Graph sharpness results in an easy-to-read format
·Print sharpness data
·Export sharpness test results
·Monitor sharpness levels remotely with the Anago Sharpness Dashboard
·Control the quality of sharpness at your facility

General Information 3
© 2003-2018 ... Anago Ltd
1.3 Analyzer Software - TST Mode
The TST can be used in conjunction with the Anago KST Analyzer Software, once the software has
been set to TST mode. This enables test results to be recorded and saved for the future.
Setting the Analyzer Software to TST mode
1. Open the Anago KST Analyzer Software
2. Click "Tools" and select "Settings"
3. Click within the "Admin Settings" on the right-hand side
This will prompt you to enter a password. Note: the default admin password is Adm1n
4. Type in the admin password, then click "OK"

Anago Trimmer Sharpness Tester (TST) Series4
© 2003-2018 ... Anago Ltd
This will unlock the Admin settings.
5. Click the drop-down arrow next to "Default device" and select "TST100"
6. Select "OK"
The software has now been set to TST mode.
Refer to Saving Test Results for details on using the software in conjunction with the TST.
23

General Information 5
© 2003-2018 ... Anago Ltd
2Components & Setup
2.1 Interface
The Anago TST has a simple touch-screen interface which allows access to machine functions and
settings and displays test progress.
·Press Power to switch on the TST
·Select the required icon to enter the sub-menu
·Press Home at any time to return to the original screen
New Test
This page enables the user to run a new test.
The new test screen allows you to select the correct blade
type for the test. It also shows the current force of the load
cell and reports back on which stage of the test the TST is in.
View Test
This page enables the user to see the results of the last test
performed.
Note: Turning the TST off and on again will lose the last test
result. For saving and storage options, use the Analyzer
Software .
Settings
This page is broken into four sections. For more details, refer
to the individual chapters:
·Calibration
·Screen & Lighting
·Diagnostics
·About
23
6
9
11
13

Anago Trimmer Sharpness Tester (TST) Series6
© 2003-2018 ... Anago Ltd
2.1.1 Calibration
The calibration process requires the use of the standard 2 kg (4.41lb) calibration mass included with
the Anago TST.
TST Calibration Mass
The TST calibration mass, part number TST-CM-2, has a blue rod
attached to it (see image). This allows the calibration mass to quickly
and easily be placed onto the load-cell from above.
Calibration is performed by Anago prior to shipment, however, we recommend recalibrating:
a) before using the TST for the first time
b) every 1 to 2 weeks during normal operations
c) whenever the TST may have suffered significant vibration (e.g. during transport or from a knock)
d) after particularly blunt trimmer blades have been tested
Calibration - Overview
Calibration - Detailed
Note: Both the 2kg load and the 0kg load need to be set in order for calibration to be successful.
1. Select the Settings option located on the right side of the home page
The screen will change to:
2. Select 2kg Load

Components & Setup 7
© 2003-2018 ... Anago Ltd
This will cause the following to appear:
.
·Insert the calibration mass into the top slot, as shown
Note: For your convenience, the 2kg mass is stored inside the
TST. It is situated about midway up the right hand-side near the
front.
·Simply lift the calibration mass from here and slot it into the
top of the load-cell
Note: Ensure the media clamp is open and the media is loose
3. Select Save to save, or Cancel to cancel
The screen will return to the calibration home:
4. Remove the weight from the load-cell and return it to the TST calibration mass holder
5. Select No Load
This will cause the following to appear:
.
·Ensure there is no weight on the load cell, i.e. that the media
clamp is open and the test media is loose
Note: If you forgot to open the clamp when setting the 2kg load,
you will need to re-calibrate the 2kg load. Any excess weight
pulling on the load cell will change its measurement and have an
impact on any test results.
6. Select Save to save, or Cancel to cancel

Anago Trimmer Sharpness Tester (TST) Series8
© 2003-2018 ... Anago Ltd
The screen will return to the calibration home:
We recommend that you ensure calibration has been successful before continuing to testing. Do this
by checking the Current Force in kg on the calibration home page:
7. Insert the 2kg mass above the load-cell and ensure the Current Force shows 2.00kg
8. Remove the 2kg mass from the load-cell and ensure the Current Force changes to 0.00kg
Your Anago TST is now calibrated and ready for sharpness testing .
17

Components & Setup 9
© 2003-2018 ... Anago Ltd
2.1.2 Screen & Lighting
The screen & lighting page can be found under the settings page. It allows you to change the
brightness of the LCD screen and manually turn the case light (located within the TST) on and off.
Screen & Lighting - Overview
Screen & Lighting - Detailed
1. Select the Settings option located on the right side of the home page
The screen will change to:
2. Select Screen & Lighting
The screen & lighting page will appear:

Anago Trimmer Sharpness Tester (TST) Series10
© 2003-2018 ... Anago Ltd
LCD Brightness
To increase the brightness level of the LED, tap the Right Arrow until the required brightness is
reached.
.
To decrease the brightness level of the LED, tap the Left Arrow until the required brightness is
reached.
Case Light
To turn the case light on, tap the right hand side of the rectangle, so that it appears as shown:
To turn the case light off, tap the left hand side of the rectangle, so that it appears as shown:

Components & Setup 11
© 2003-2018 ... Anago Ltd
2.1.3 Diagnostics
The diagnostics page can be found under the settings page. It allows you to manually operate parts
of the TST to check that they are working correctly.
Diagnostics - Overview
Diagnostics - Detailed
1. Select the Settings option located on the right side of the home page
The screen will change to:
2. Select Diagnostics
The diagnostics page will appear:

Anago Trimmer Sharpness Tester (TST) Series12
© 2003-2018 ... Anago Ltd
Carriage
In - Out - This setting is not applicable to the manual version of the TST.
Up - down - This setting causes carriage A to move up and down
·Press down and hold the button to move carriage A upwards
·Press down and hold the button to move carriage A downwards
Media Motors - This setting is not applicable to the manual version of the TST.
Media Clamp - This setting is not applicable to the manual version of the TST.
Blade Motor
·Press down on the Button
When working correctly, the motor should make a sound. If it doesn't, the motor may have been
damaged and may require replacement. Contact support@anagosharp.com for support options.
·Press down on the Button to stop the blade spinning
Advance Media - This setting is not applicable to the manual version of the TST.

Components & Setup 13
© 2003-2018 ... Anago Ltd
2.1.4 About
The about page can be found under the settings page. It allows you to view the serial number and
hardware version of the Trimmer Tester. It also tells you the current firmware version of the sharpness
tester.
About - Overview
About - Detailed
1. Select the Settings option located on the right side of the home page
The screen will change to:
2. Select About
The about page will appear:
The following information is available:
SN is the unique serial number of the TST
H/w is the hardware version of the TST
F/w is the firmware version of the TST

Anago Trimmer Sharpness Tester (TST) Series14
© 2003-2018 ... Anago Ltd
2.2 Test Media
The Anago TST comes with a roll of Sharpness Test Media already installed. When the roll is finished,
a new roll needs to be loaded.
Please note, a normal trimmer sharpness test is run by cutting through one side of test media. After
loading a new roll, the first test will cut through both sides of test media and the score will display
incorrectly (lower than it actually is). Discard the results of the first test, then proceed testing as
normal.
Contact Anago at sales@anago.co.nz to order new rolls of Sharpness Test Media, using the
consumables code: ST-TM-5. This is a 5 roll pack, where each roll is 25 meters long.
Test Media Loading Process - Overview
.
Test Media Loading Process - Detailed
Removing the used roll of test media
1. Open the TST door to enable access the test media
2. Horizontally cut through the test media to enable easy removal
3. Turn the black thumb screw holding the bottom tri-spoke media roller plate (located in front of the
used test media roll) anti-clockwise and place both screw and plate to the side
4. Releasing the bottom self-locking clamp by lifting the right hand side upwards ,
remove the used media and the black media core
5. Remove the used test media from the core - the core can now be reused
6. Turn the black thumb screw holding the top tri-spoke media roller plate (located in front of the
empty test media roll) anti-clockwise and place both screw and plate to the side
7. Remove the empty black media core from the top media shaft

Components & Setup 15
© 2003-2018 ... Anago Ltd
Loading the new roll of test media
1. Unwind sufficient length of the new media roll that it can be thread from top to bottom (just over
one meter)
The media core has two different sides. One side has a full circle whilst the other side has a broken
circle.
2. Ensuring the full circle faces away from you, slot the test media core over the top media shaft
adapter
3. Re-attach the top tri-spoke media roller plate, turning the black thumb screw clockwise until tight
4. Thread the test media underneath the guide pins and through the manual tensioning clamp
5. Thread the test media up over the black toothed half rollers, ensuring they are both lying flat, and
down the other side
6. Releasing the bottom self-locking clamp by lifting the right hand side upwards , thread
the test media through
7. Ensuring the empty media core's full circle
faces away from you, insert the new test
media into the thin perpendicular slot and
wind the media around to hold it in place,
as shown opposite
8. Slot the test media core over the bottom media shaft adapter, ensuring the test media flows in an
anti-clockwise direction
9. Re-attach the bottom tri-spoke media roller plate, turning the black thumb screw clockwise until
tight
10. Completed, the TST media should look
as shown
Once completed, a 'dummy test' needs to
be run, so that the test media is pre-slit for
proper testing.
Pre-slitting the test media
1. Run a test, as per normal
2. Discard the test results from this first
test
Testing can now continue as normal, i.e. winding the test media through until the pre-cut slit is level with
the media alignment arrow. See Testing for details. Happy testing!
17

Anago Trimmer Sharpness Tester (TST) Series16
© 2003-2018 ... Anago Ltd
2.3 Blade Handles
Your TST comes with 3 different blade handles which work with 8 different blades in two different
orientations:
Trimmer Blade Testing Table
Blade types
Q620
620M2
Q750
750M2
Q850
850M2
Q1000
1000M2
TST test option
Whizard 620
Whizard 750
Whizard 850
Whizard 1000
Handle size*
620
750 / 850
1000
Handle orientation in TST
Horizontal
Horizontal
Diagonal
Diagonal
*this information is located on one side of the TST handle
Refer to Testing for details on how to insert a blade into a handle, how to orientate and insert a
handle into the TST arm and how to remove the handle and blade.
17
This manual suits for next models
1
Table of contents
Other anago Test Equipment manuals
Popular Test Equipment manuals by other brands

MEDTOX
MEDTOX SURE-SCREEN Quick reference guide

Exsurgo
Exsurgo gSprint user manual

Huazheng Electric Manufacturing
Huazheng Electric Manufacturing HZ-600C user manual

Fluke Calibration
Fluke Calibration 5522A Getting started

Hobbes
Hobbes 258894 user manual

SW Stahl PROFI Tools
SW Stahl PROFI Tools 26119L instruction manual