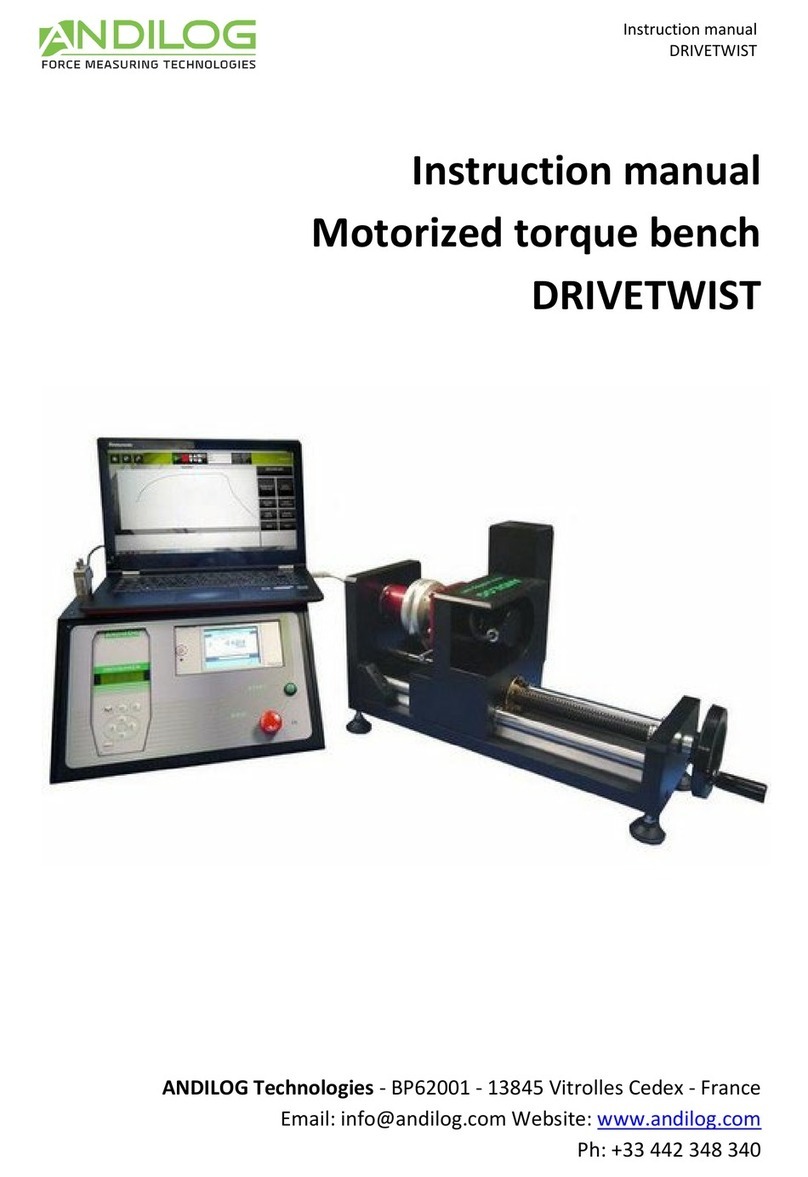
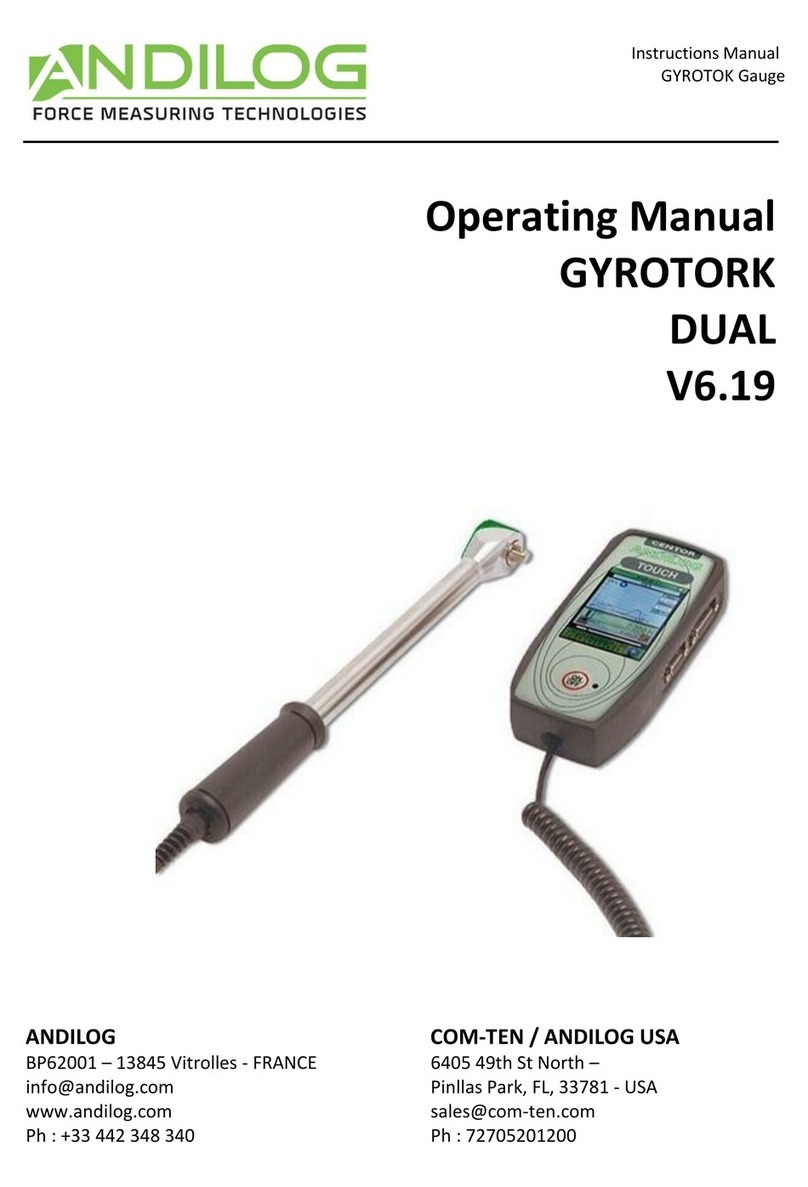
ANDILOG CENTOR WIRELESS User manual

User Manual –V1.1
CENTOR WIRELESS
- 2 -
Summary
1. Introduction..................................................................................................................................... 3
1.1. Presentation ............................................................................................................................ 3
1.2. Definitions ............................................................................................................................... 3
1.2.1. Bluetooth sensor / WLC sensor :..................................................................................... 3
1.2.2. Calibration ....................................................................................................................... 3
2. Getting started ................................................................................................................................ 4
2.1. Opening the product ............................................................................................................... 4
2.2. Recommendations before use ................................................................................................ 5
2.2.1. Battery and recharging.................................................................................................... 5
2.2.2. Sensors ............................................................................................................................ 5
2.2.3. Precautions during testing .............................................................................................. 6
2.2.4. Environmental conditions ............................................................................................... 6
2.2.5. Guarantee........................................................................................................................ 6
2.3. Start your Centor Wireless...................................................................................................... 7
2.4. Connecting a new sensor ........................................................................................................ 8
2.5. Interface of the Centor Wireless............................................................................................. 9
2.6. Doing the Zero or Tare .......................................................................................................... 10
2.7. Changing the display of the measurement screen................................................................ 10
3. Information of the sensor ............................................................................................................. 11
3.1. Display the information......................................................................................................... 11
3.2. Disconnecting a sensor.......................................................................................................... 12
4. Maintenance.................................................................................................................................. 13
4.1. Changing the date and time.................................................................................................. 13
Rev
Date
Description
1.00
Novembre 2020
Création
August 2021
Translation into English

User Manual –V1.1
CENTOR WIRELESS
- 3 -
1. Introduction
1.1. Presentation
Thank you for choosing the CENTOR WIRELESS display manufactured by ANDILOG Technologies to
perform your measurements.
This instrument is the result of more than 35 years of experience in force and torque measurement. It
integrates the latest technologies available to offeryou high performance and quality of measurement.
1.2. Definitions
To make this manual easier to understand, here are some definitions of terms frequently used
throughout the manual.
1.2.1. Bluetooth sensor / WLC sensor :
The Centor Wireless communicates via Bluetooth with Andilog sensors. It is compatible with all the
sensors of the range called WLC. These sensors are designed and manufactured by Andilog with its
own technology and are not compatible with other displays. The Centor Wireless can work with both
force and torque sensors.
1.2.2. Calibration
The WLC load cells are delivered calibrated by Andilog Technologies with a COFRAC calibration
certificate with measurement report. It is generally recommended to calibrate force measurement
instruments once a year unless there is a different internal procedure. Andilog Technologies
guarantees at each calibration a complete verification of the instrument as well as an adjustment of
the calibration to guarantee a perfect accuracy.
The CENTOR WIRELESS display does not require periodic calibration. All calibration parameters are
stored in the WLC sensors and are read by the display at the time of connection. The Centor Wireless
only processes data but does not take measurements.

User Manual –V1.1
CENTOR WIRELESS
- 4 -
2. Getting started
ATTENTION : Opening the product. Check that the Centor Wireless was supplied in the original case
and that it was not damaged during transport. In case of doubt, contact Andilog to obtain additional
information to verify the proper functioning of your display.
2.1. Opening the product
The Centor Wireless comes by default in a case with a charger and an adjustable stand on the back.
Display Centor Wireless
Adjustable foot attached to the back of the case
USB charger

User Manual –V1.1
CENTOR WIRELESS
- 5 -
2.2. Recommendations before use
2.2.1. Battery and recharging
The Centor Wireless is equipped with a Lithium Polymer (Lipo) 3.7V battery. The battery can reach its
maximum capacity of use after several cycles of charge and discharge. In case of long-term storage of
the device, it is recommended to store the display with a half full battery.
Plug the supplied charger into the USB port to charge the Centor Wireless display. The red LED lights
up during charging and goes out once the battery is charged.
2.2.2. Sensors
Despite the overload protection provided by this instrument, the application of a force
greater than the capacity of the sensor can damage the gauge. The instrument will lock
up if 120% of its capacity has been exceeded 10 times. You will have to return your
sensor to ANDILOG Technologies for verification of proper operation.
It is important that the measured values are generally lower than 90% of the capacity
of the sensor. Constantly using the sensor beyond 90% of its capacity can cause
premature wear of the sensor. When the load cell is used on a motorized frame, it is necessary to
program the frame to stop when the force approaches the maximum capacity of the load cell. This

User Manual –V1.1
CENTOR WIRELESS
- 6 -
limit must take into account the fact that at a high speed a frame does not stop immediately and the
risk of damaging the sensor is high due to the inertia of the motor.
2.2.3. Precautions during testing
Most of the tests performed with Andilog Technologies instruments are destructive tests. The hazards
associated with this type of testing require that our instruments be used by experienced and trained
operators. By the nature and use of the equipment sold by Andilog, the purchaser's acceptance of
Andilog Technologies' products constitutes an acceptance of the risks and damages that may result
from the use of Andilog's instruments.
2.2.4. Environmental conditions
- Operating temperature: 0 to 35° C / 32 to 95 F°
- Storage temperature: -20 to 45° C / -4 to 113 F°
- Relative humidity: 5% to 95%, non-condensing
- Maximum operating altitude: 3 000 m / 9900 feet
2.2.5. Guarantee
Subject to the conditions below, Andilog Technologies warrants to the purchaser that it will repair or
replace at no charge new instruments sold subject to normal use and maintenance. This warranty
applies if the purchaser detects a defect in workmanship or materials during a period of 2 years from
the date of shipment.
The conditions of application are:
•ANDILOG Technologies has been notified in writing of the defect
before the end of the warranty period
•Products are shipped to Andilog with prior approval from Andilog.
•All transportation costs are paid by the buyer to send the material
to Andilog
•The products have been used and maintained under normal
conditions of use
Any repair or replacement made by the seller without Andilog's agreement voids the warranty.
In no event shall Andilog be liable for any damages, business interruption, or downtime caused by the
purchase, use, or failure of our products. This is true even if Andilog Technologies has been informed
of the possibility of such damages.
The accuracy of our devices is guaranteed at the time of shipment at the value indicated in our
documentation or offers.
If products are damaged during shipment, notify the carrier and Andilog immediately.

User Manual –V1.1
CENTOR WIRELESS
- 7 -
Warranty is void in case of accident, misuse or abuse.
Calibration, overloaded sensors, consumable parts, such as batteries, are not covered by the warranty,
unless the damage is due to a defect in material or workmanship
2.3. Start your Centor Wireless
Before pressing the on/off button, make sure that the sensor you want to use is on (green LED fixed
on the sensor).
To start the force gauge, press the on/off button: an information screen indicating the status of the
display appears for 5 seconds, then the main measurement screen is displayed.
Information screen at startup :
If you have already connected a sensor and it is turned on, Centor Wireless will automatically connect
to it and you will be taken to the measurement screen. Otherwise, Centor Wireless will search for
available sensors.
Time
Name of the
configuration of the
Centor Wireless
Connection progress
bar
Date of the
day

User Manual –V1.1
CENTOR WIRELESS
- 8 -
2.4. Connecting a new sensor
Once past the startup screen, if you have never connected a sensor or if the Centor Wireless cannot
find a sensor, it will display the search screen:
Once the search is complete, the Centor Wireless will display all available sensors in a list. Select the
sensor you want to connect using the arrow buttons and confirm with the top button. The Centor
Wireless will connect to the sensor.
If no sensor is displayed or if the desired sensor is not in the list :
1. Check that your sensor is turned on (green led of the sensor lit up)
2. Relaunch a search using the bottom button (0) of the Centor Wireless
If the LED on your sensor is on but blinking, the sensor is already connected. Press and hold the sensor
button to reset the connection.

User Manual –V1.1
CENTOR WIRELESS
- 9 -
Once connected, the Centor Wireless should display a screen similar to the one below:
2.5. Interface of the Centor Wireless
The Centor Wireless has 4 buttons that have different functions. These buttons can be used with short
or long presses. Depending on the type of press and the menu the actions are different.
Short press : Change the unit
Long press : Access to sensor
information
Short press: changes the
display order of the lines
Short press: Tare
Long press: Turns off the
Centor Wireless

User Manual –V1.1
CENTOR WIRELESS
- 10 -
2.6. Doing the Zero or Tare
Before each measurement it is important to zero or tare the gauge. To do the zero or the tare before
a test, press the 0 button.
The gauge will take into consideration the weight of the accessories (handle, hook, plate, ...) attached
to the sensor rod. The total weight of the accessories on the load cell must not exceed 20% of the
capacity of the load cell to be able to tare. The tare resets the maximum values to 0.
2.7. Changing the display of the measurement screen
You can change the order in which the lines are displayed on the Centor Wireless by briefly pressing
the down arrow button. Each press shifts the lines downward. The bottom line becomes the top line
with the largest font.
Battery charge level
Sensor capacity and
measurement unit
Force or torque applied to
the sensor
Maximum force or torque
that has been applied to the
sensor since the Tare button
was pressed
Menu bar

User Manual –V1.1
CENTOR WIRELESS
- 11 -
3. Information of the sensor
3.1. Display the information
Long press the up arrow button to display the information of the connected sensor. You will be taken
to a new screen. You can use the up and down arrows to navigate through this screen.
A long press disconnects the
sensor
Name of the sensor
Sensor capacity
Sensor serial number
Number of overloads and
maximum recorded overload
valuemaximum enregistrée
Sensor software version
Date of next calibration.
Displays in red when this date
has passed.
Scrolls through the sensor
information
Exit from the sensor page

User Manual –V1.1
CENTOR WIRELESS
- 12 -
3.2. Disconnecting a sensor
To disconnect a sensor, from the sensor menu, long press the first button. Once the sensor is
disconnected, the Centor Wireless automatically starts searching for available sensors.

User Manual –V1.1
CENTOR WIRELESS
- 13 -
4. Maintenance
4.1. Changing the date and time
The date and time of the Centor Wireless can be set. To do this, start the display and on the start screen
with the Andilog logo press and hold the red circled keys below:
You will then be taken to the date and time setting menu. Use the up and down arrows to change the
values.
•The green tick in short press to validate a value and go to the next
•The red cross to exit without saving
•The green tick with a long press to exit and save
Table of contents
Other ANDILOG Test Equipment manuals
Popular Test Equipment manuals by other brands

TRENDnet
TRENDnet TC-NT2 Specifications

FLIR
FLIR Extech Instruments MS460 user guide

Reed Instruments
Reed Instruments R9030 instruction manual

SIGLENT
SIGLENT SDS1000X+ Series quick start guide

Apera Instruments
Apera Instruments ZenTest PC60-Z user manual

ERICHSEN
ERICHSEN LINEARTESTER 249 operating instructions