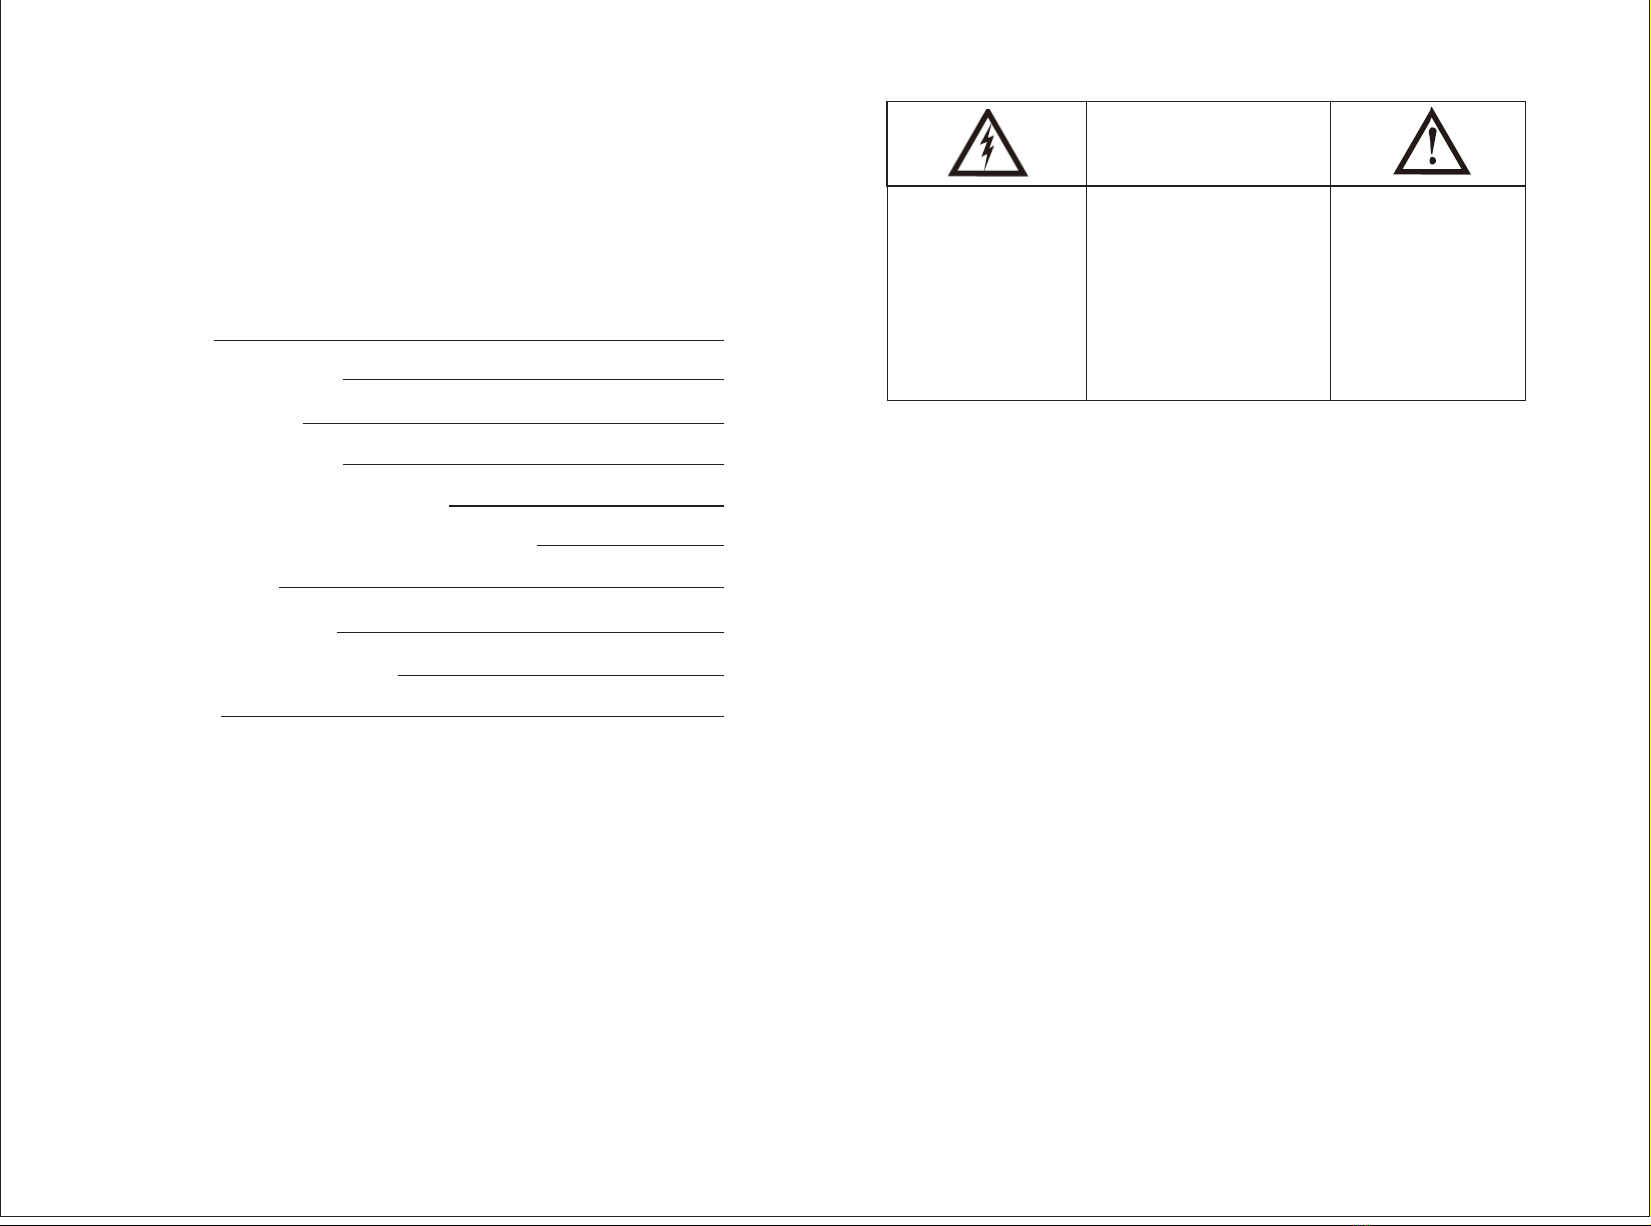
4 5
DESCRIPTION OF TRIPOD STAND REMOTE CONTROL
CAUTION:
Danger of explosion if battery is incorrectly replaced.
Replace only with the same or equivalent type by the technical staff.
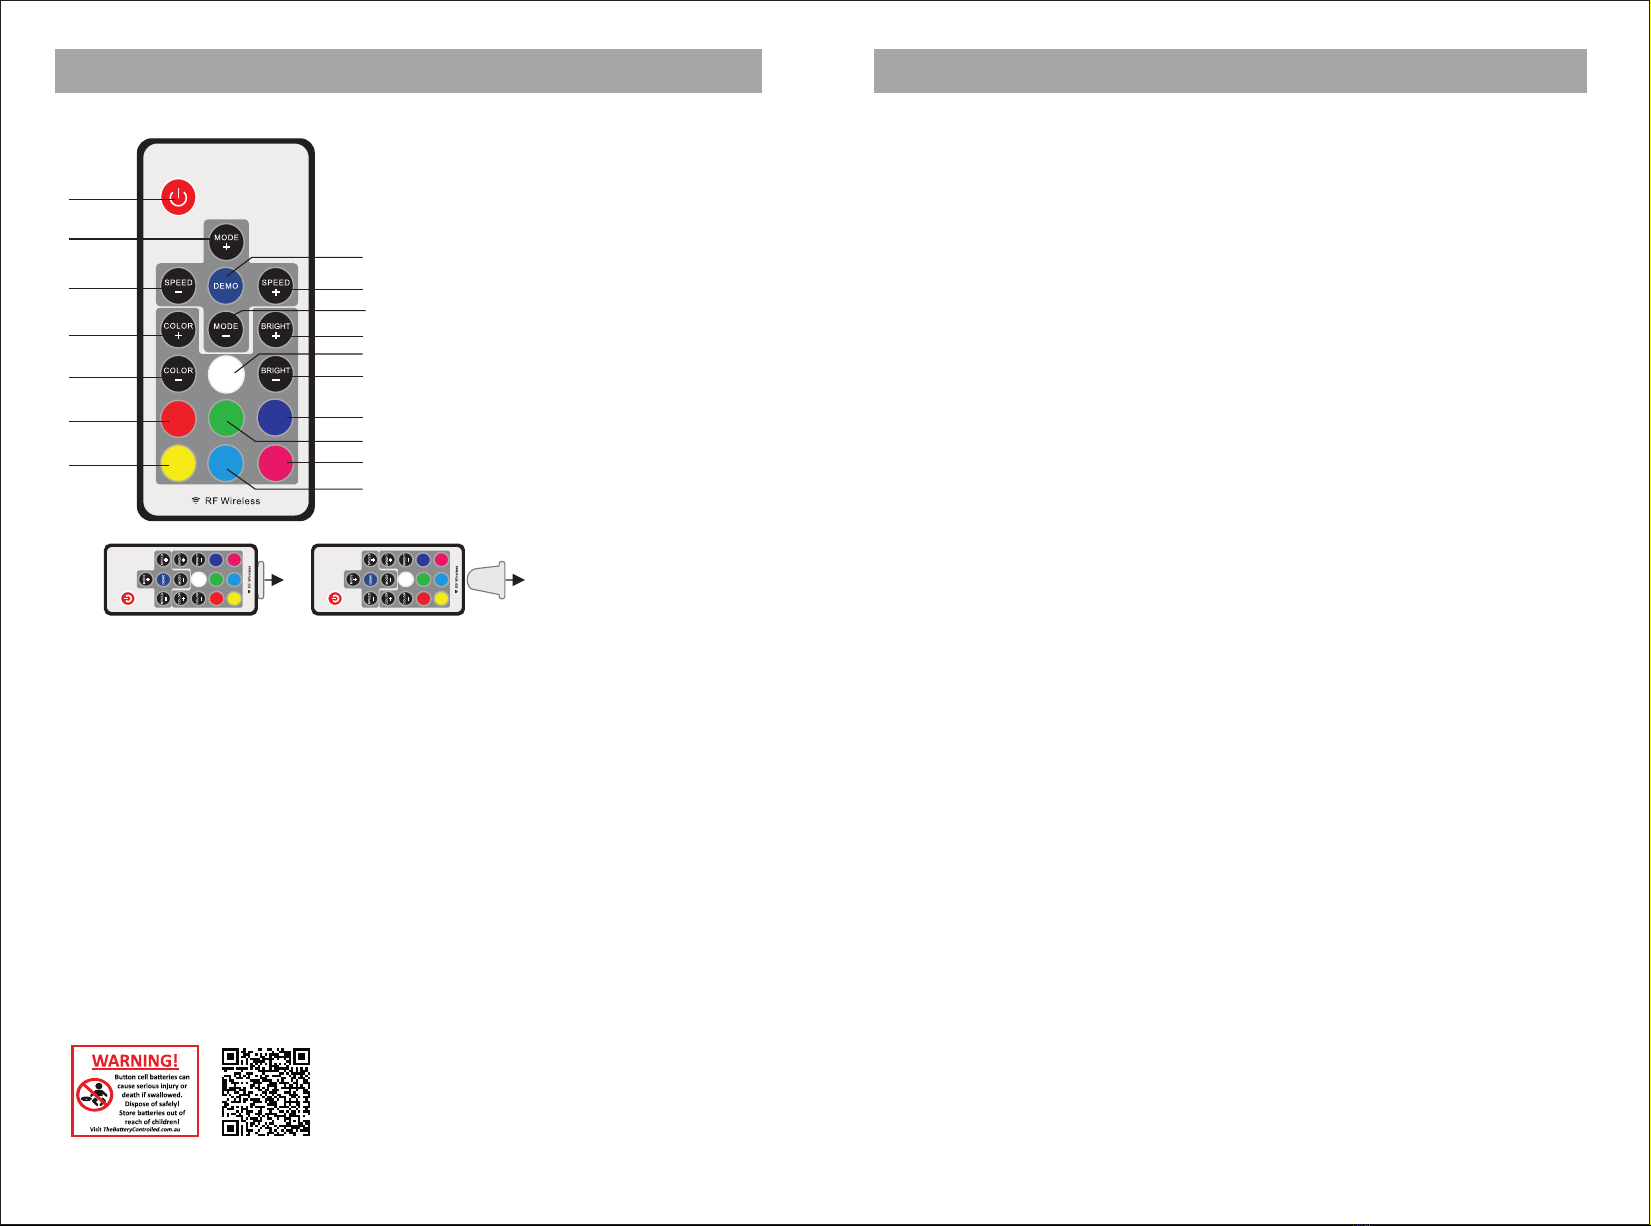
1.Power On/Off Button
2.Mode Switching+ Button
3.Speed- Button(Gradual Change Mode)
4.Color+ Button(Breath Mode)
5.Color- Button(Breath Mode)
6.Red Color Button
7.Yellow Color Button
8.Demo Button
9.Speed+ Button(Gradual Change Mode)
10.Mode Switching- Button
11.Bright+ Button(Color Mixing Mode)
12.White Color Button
13.Bright- Button(Color Mixing Mode)
14.Purple Color Button
15.Green Color Button
16.Pink Color Button
17.Sky Blue Color Button
Remote Control Instruction:
1.Before use the remote control, please take off the transparent plastic insulation
sheet from the bottom slot of remote control and keep it.
2.If not intend to use the remote control, please insert back the transparent plastic
insulation sheet to bottom slot of remote control to keep the battery life.
Getting Started
Caution:
1. Do not plug or unplug the power cable while you have wet hands.
2. To protect this speaker from alightning storm, or when left unattended and unused
for long periods of time, unplug power cable from the wall outlet.
3. When unplugging the power cord from a wall outlet, always pull on the power plug
only.Never unplug it by pulling the power cord.
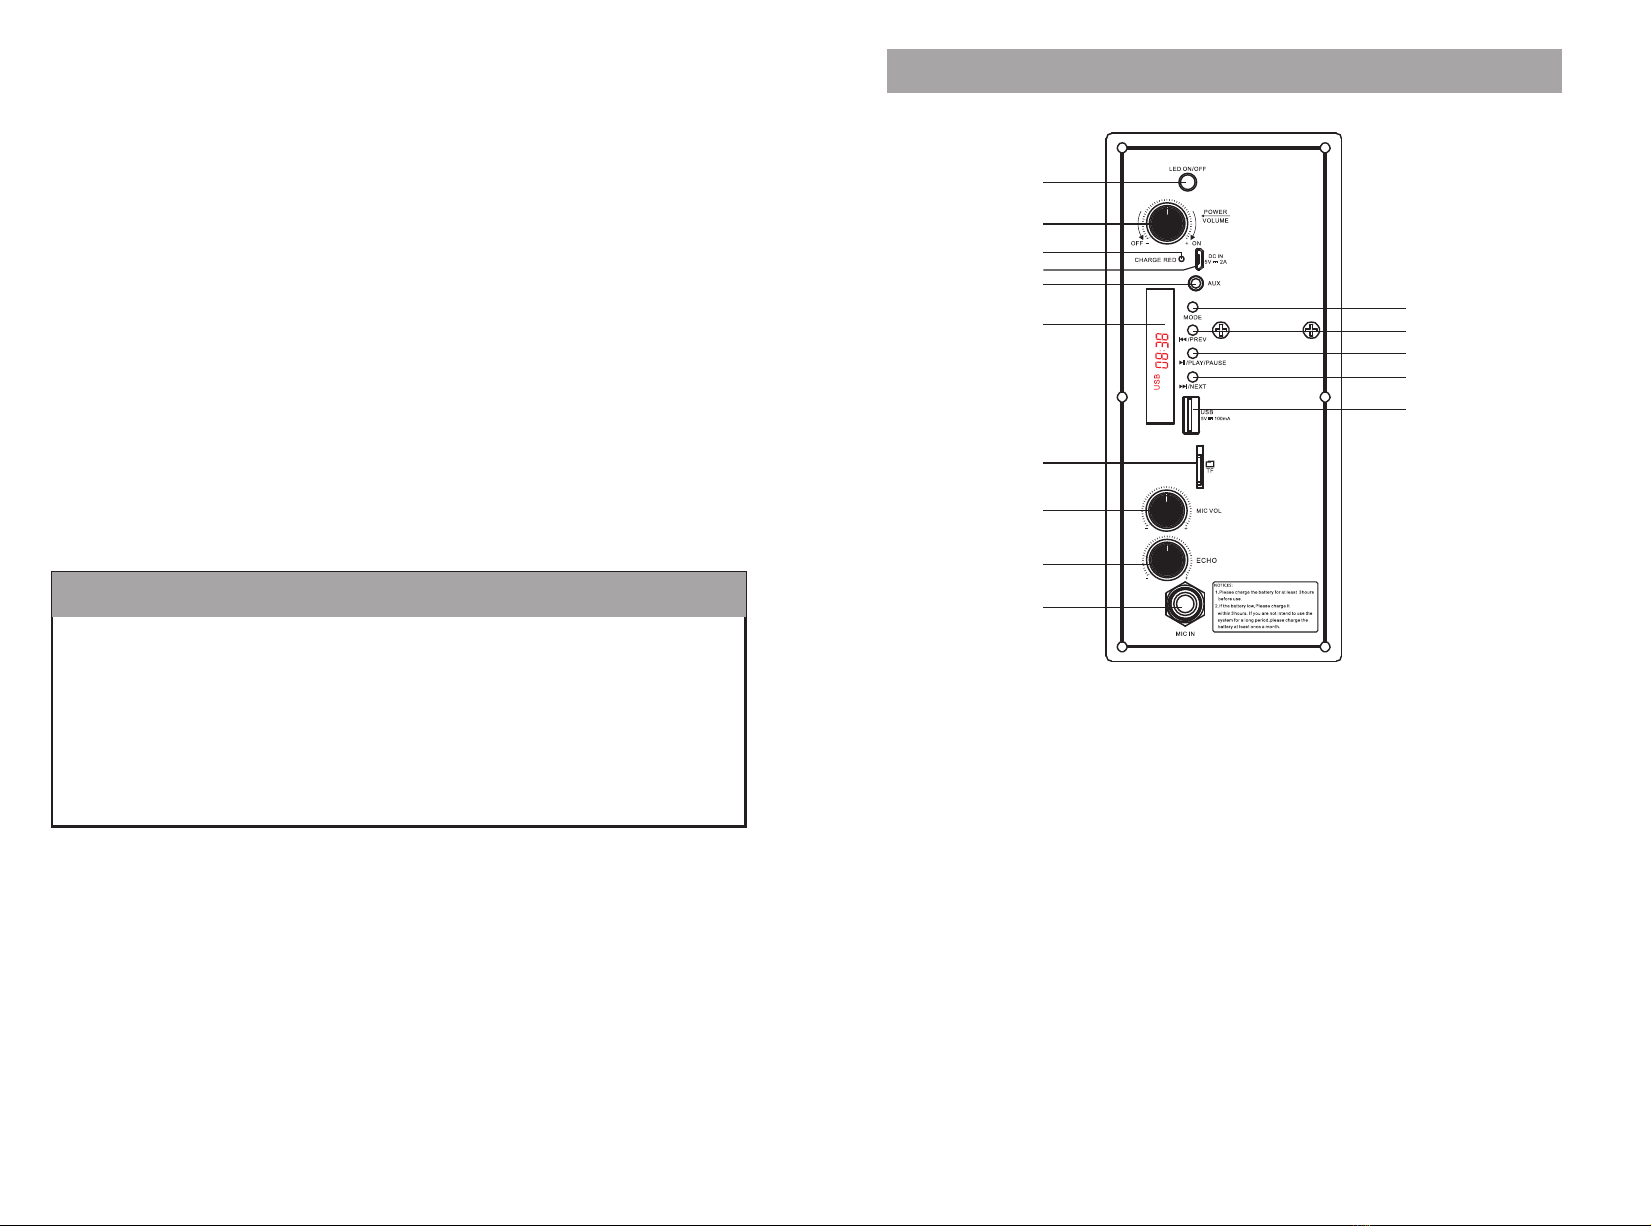
Intrenal Battery Level indicator
1. There is a battery indicator symbol on the display panel. Show the battery capacity level.
2. When the battery capacity is low. The battery indicator will show in half.
3. When the battery indicator keep flashing . Battery is almost run out. Please charge the
speaker.
Charging the internal Battery
The speaker comes with a built-in rechargeable, follow the below steps to charge it:
1.Connect the USB power cable (supplied in the accessories) with USB charger
( not supplied in the accessories) to the DC 5V input slot.
2.The battery light indicator will show RED on the rear function panel.
3.If full charged, the RED indicator light will trun off automatically.
Intrenal Battery Level indicator
1.There is a full grid battery indicator symbol keeping static on the right bottom corner of
the display screen, meaning battery capacity is full.
2.If the half grid battery indicator symbol will light on on the left bottom corner of the display
screen, meaning battery capacity is low.
3.If the half grid battery indicator symbol keeping flashing on the left bottom corner of the
display screen, meaning battery capacity is almost running out, please charge the
battery ontime.
Note: please fully charge the product when it is not going to be used for a long time
and charge once a month to keep longer battery life.
Turning ON/OFF the speaker
1.Press the Power ON/OFF & Volume Knob on the rear function panel to power on or off the
Speaker.
2.Press the Power button on the remote control to Standby mode.
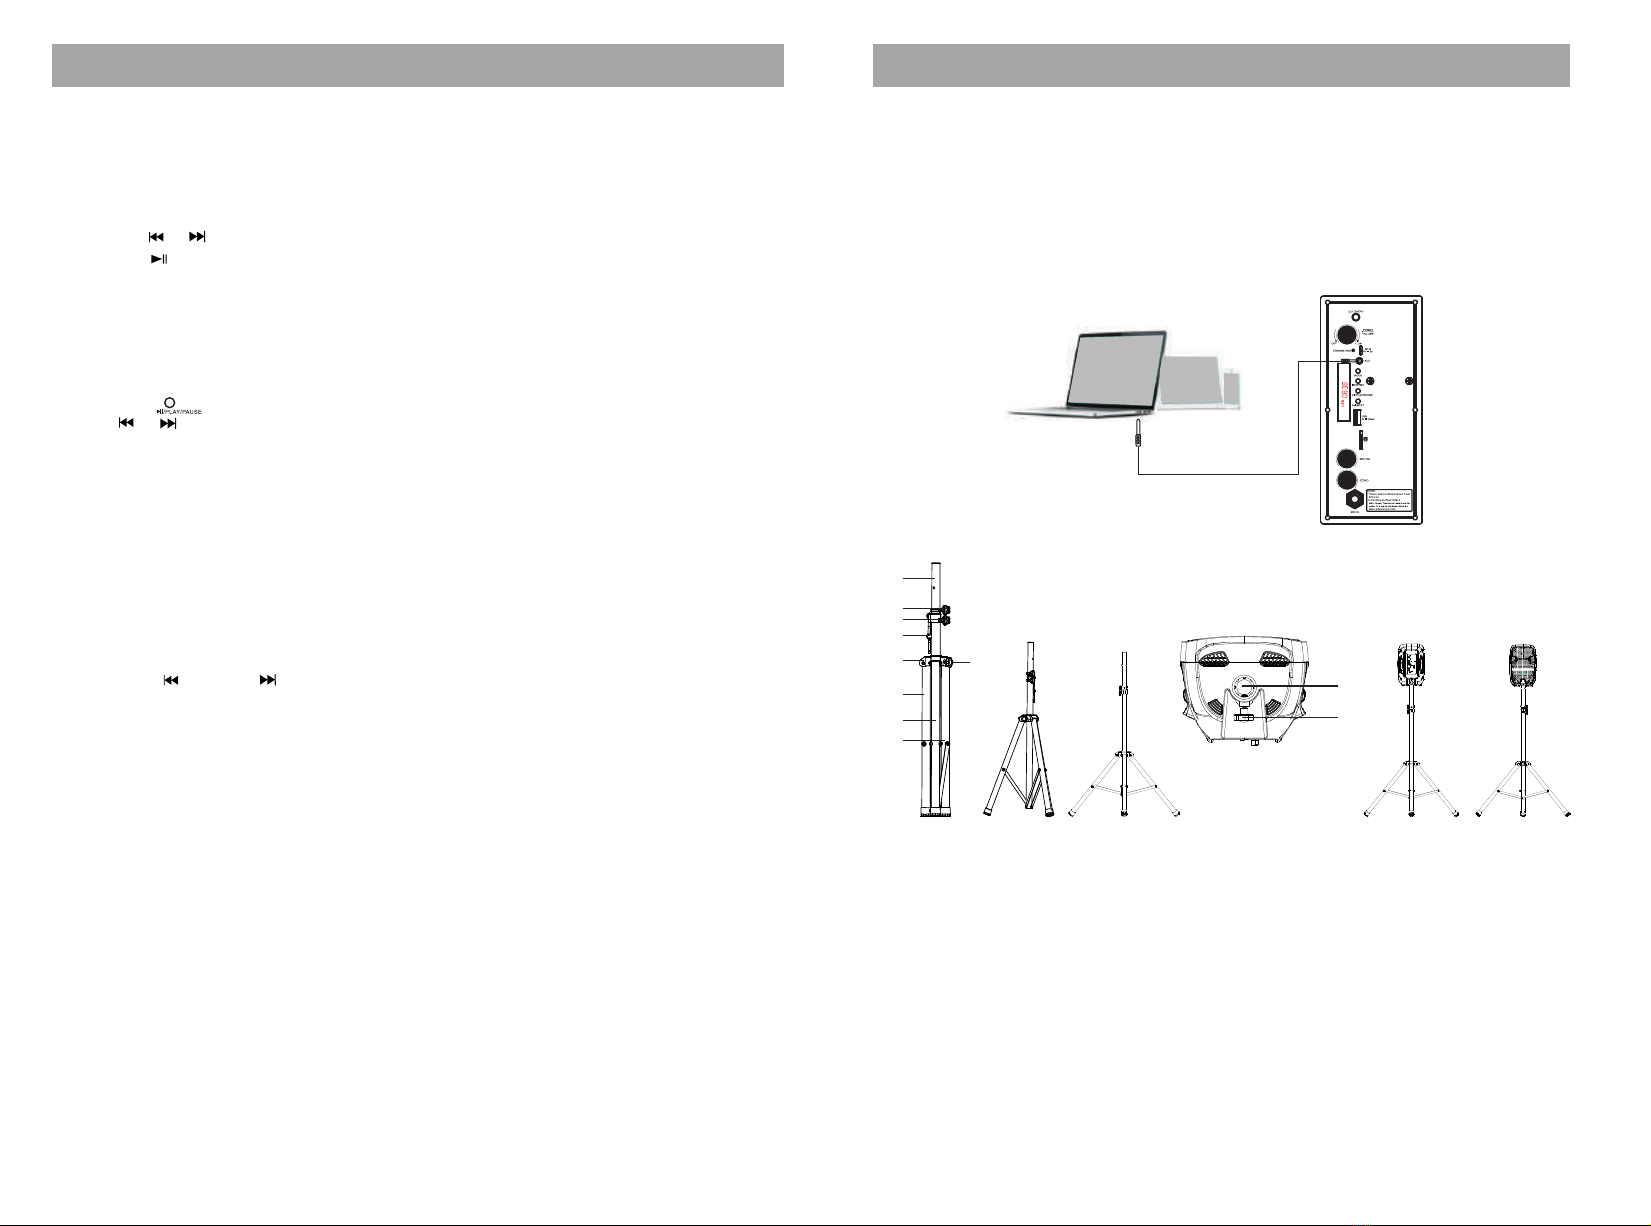
Turn ON/OFF the color light of tripod stand
1.Connect the one end of DC connector of the tripod stand with an adapter ( supplied in the
accessories ), then plugin to the 220-240V 50Hz wall socket to power on the tripod stand.
2.Press the POWER button on or off the remote control can control within 5M with 360
degree. The infrared receiver is located on the tripod stand.
3.Disconnect the DC connector and the AC adapter when not in use with the tripod.
1
2
8
9
11
10
12
13
14
15
16
17
3
4
5
6
7
SWALLOWING MAY LEAD TO SERIOUS INJURY OR DEATH IN AS LITTLE AS 2 HOURS
DUE TO CHEMICAL BURNS AND POTENTIAL PERFORATION OF THE OESOPHAGUS.
DISPOSE OF USED BATTERIES IMMEDIATELY AND SAFELY.FLAT
BATTERIES CAN STILL BE DANGEROUS.
EXAMINE DEVICES AND MAKE SURE THE BATTERY COMPARTMENT IS CORRECTLY
SECURED, E.G. THAT THE SCREW OR OTHER MECHANICAL FASTENER IS TIGHTENED.
DO NOT USE IF COMPARTMENT IS NOT SECURE
IF YOU SUSPECT YOUR CHILD HAS SWALLOWED OR INSERTED A BUTTON BATTERY,
CALL THE 24HOUR POISONS INFORMATION CENTRE IN AUS ON 131126 OR IN NZ 0800
764 766 OR CONTACT YOUR COUNTRY'S EMERGENCY DEPT.