Page 5 of 11 Anyload-manual-indicator-DD-KC1-en-101
the weighing performance. If the weighing remains stable for longer than 2s,
the scale will finish “0.0kg”calibration automatically, it will then begin the next
calibration point; otherwise, “0.0kg” will keep flickering to wait for the scale to
the stablize.
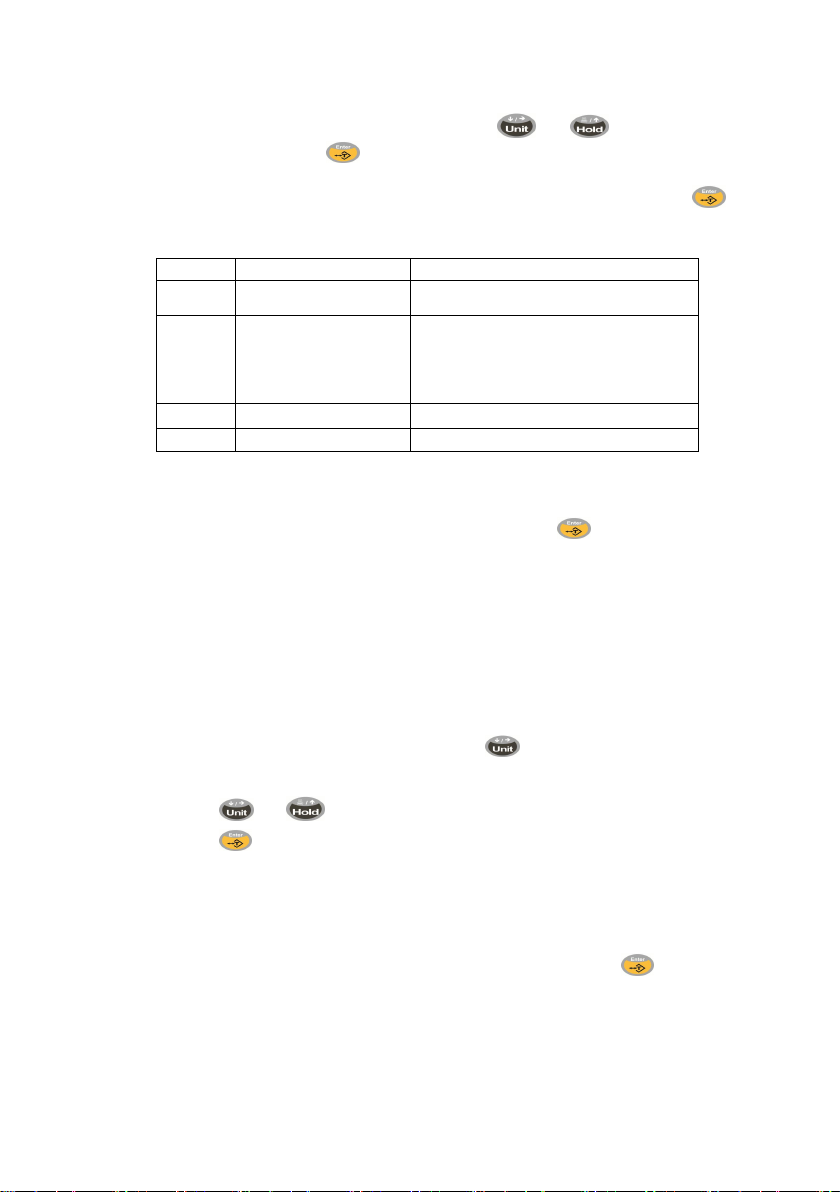
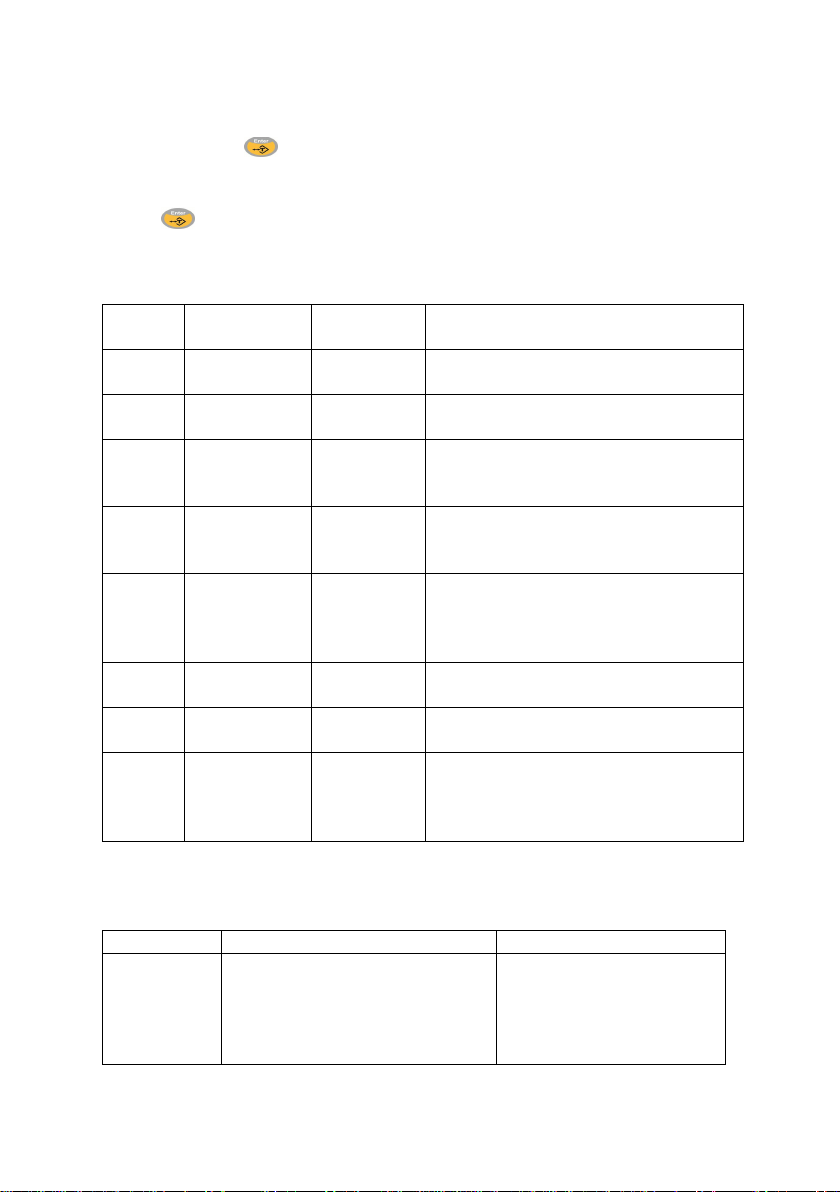
f) Suppose that the next calibration point should be“xx.xkg”,the window will
display “Load”and“xx.xkg” alternately,which means that the weight“xx.xkg”
(WEIGHT)should be loaded onthe platform. If you have to change this weight,
you can press or button to enter the modify menu; then press
button to change the flashing position and press button to make
the flashing position’s number plus 1, and press button to make sure the
modification is finished;
g) After making sure the weight on the platform is“xx.xkg”, press button to
confirm so that the scale begins the “xx.xkg”calibration. In the process of“xx.xkg”
calibration, “xx.xkg” flickers rapidly on the display window;keep the platform
calm, stable, and without other interference factors which will influence the
weighing performance. If the weighing remains stable for more than 2s, the
scale will finish “xx.xkg”calibration and save the calibrated parameters, then will
return to the weighing mode; otherwise, “xx.xkg”will keep flickering until the
scale stable.
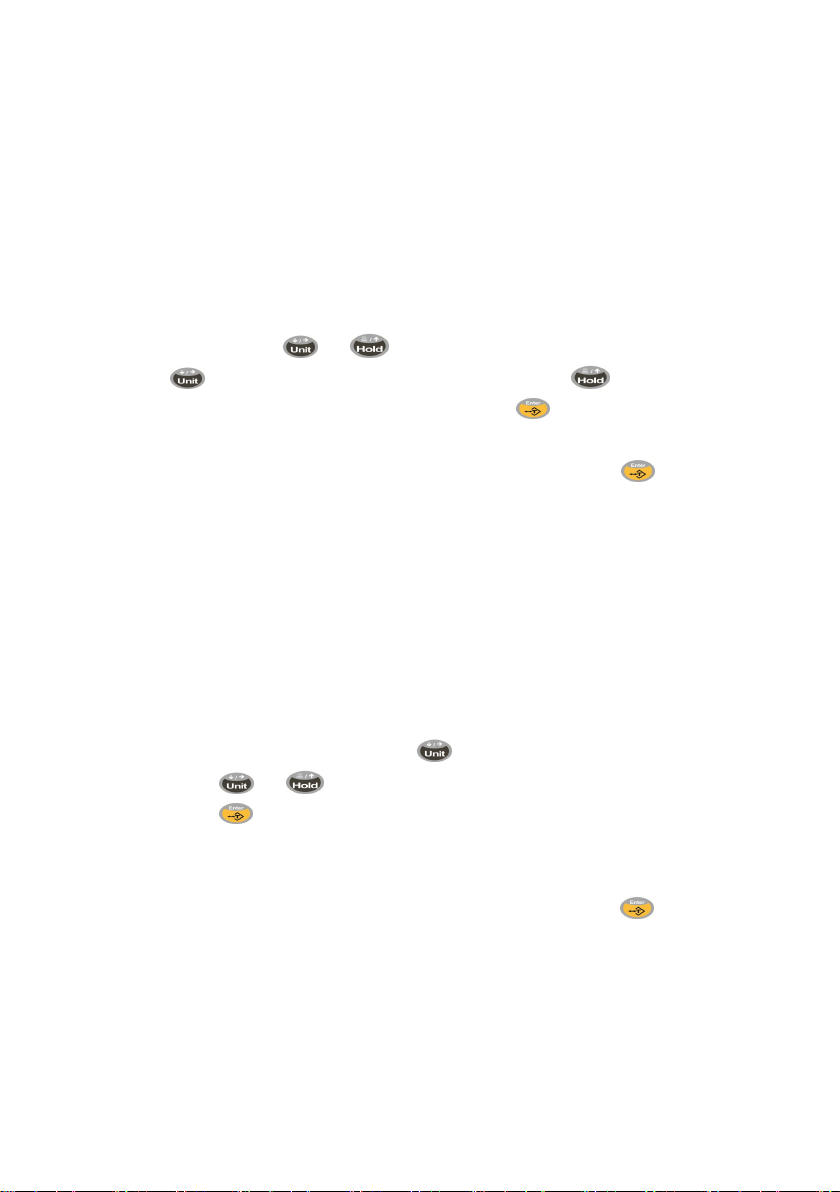
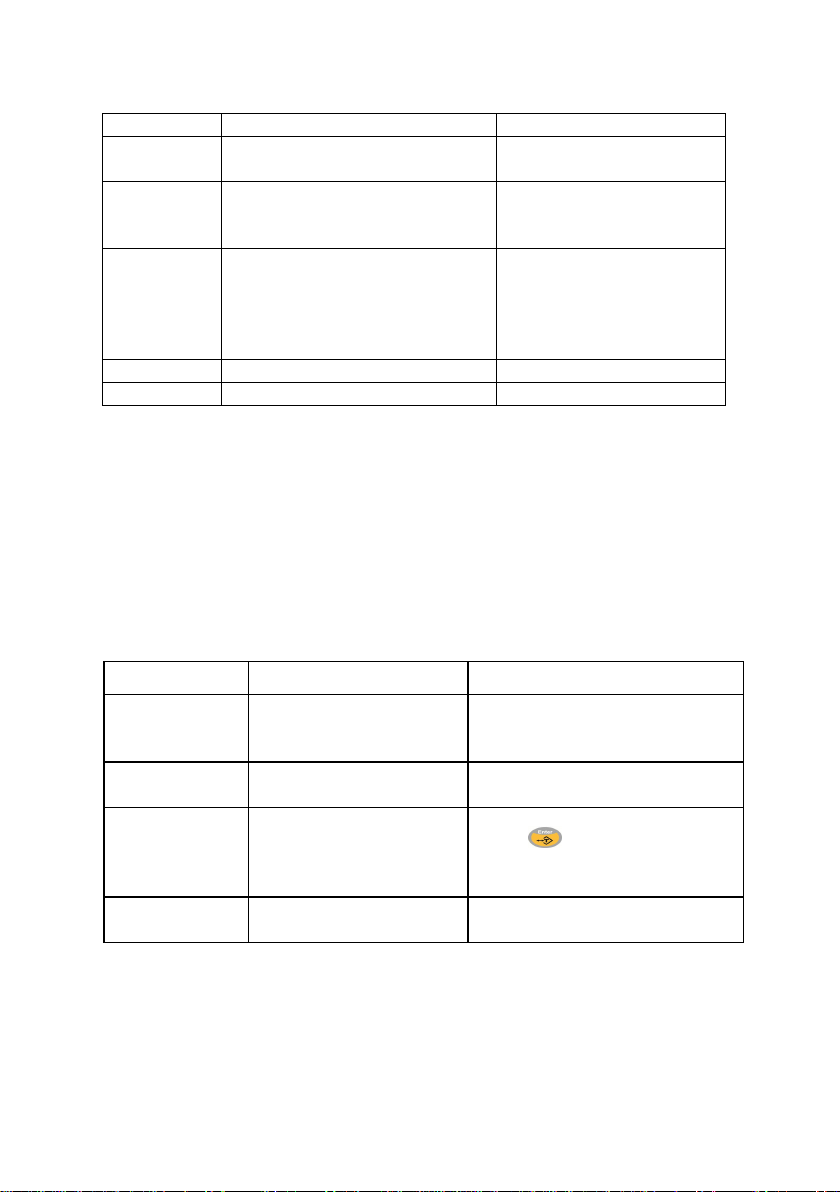
4.4.2 Standard Two Point Weight Calibration
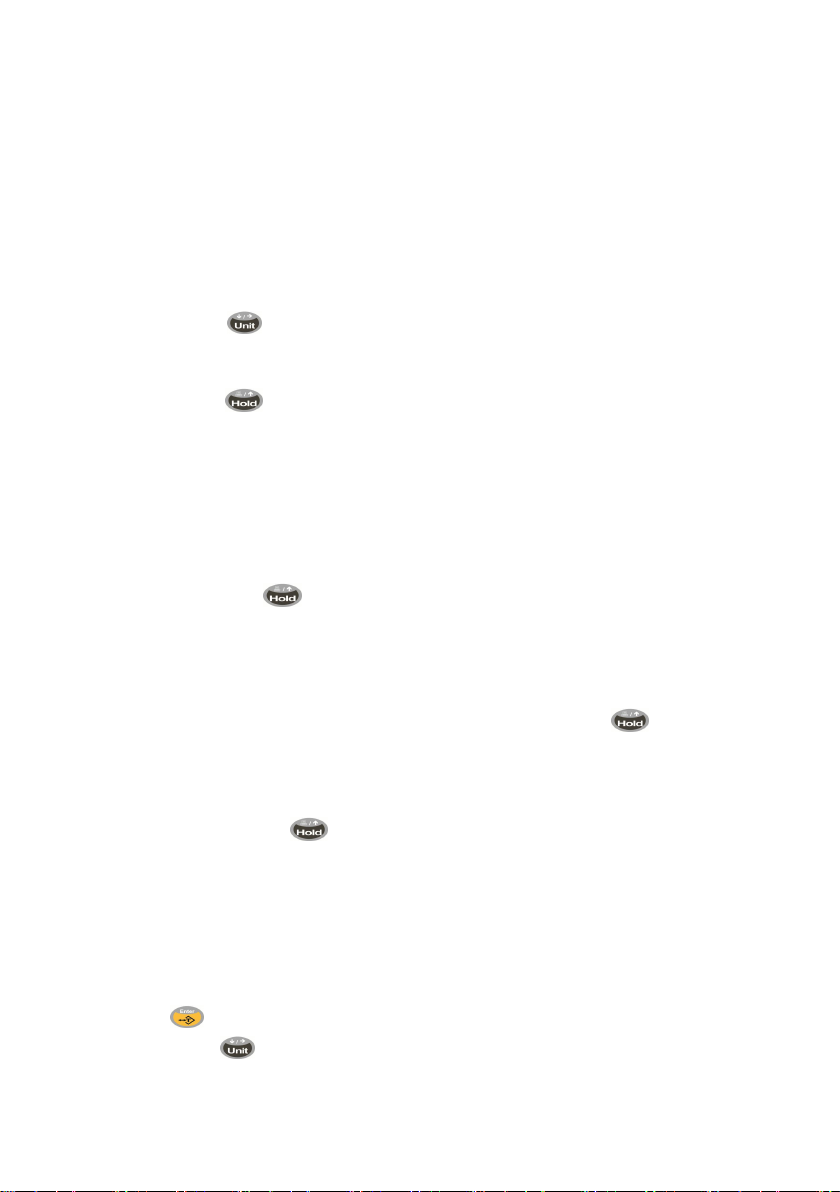
a) At weighing mode, press and hold button until the window displays“------”;
b) Press or button cycle the display until the window displays“Line”;
c) Press button to begin calibration procedure;
d) After the scale begins to calibrate, the window will display“Load”and“0.0kg”
alternately;
e) After you confirm that there is nothing on the platform, press button to
confirm and begin the zero calibration when the window displays“0.0kg”. In the
process of zero calibration,“0.0kg”flickers rapidly on the display window;please
keep the platform calm, stable, and without other interference factors which will
influence the weighing performance. If the weighing keeps stable exceeding 2s,
the scale will finish zero calibration automatically, and then it will begin the next