Applied Comfort COOLFLOW32 User manual

COOLFLOW32
USER MANUAL
TPHE10G10EG
230V,60HZ WITH ELECTRIC HEAT
WALL MOUNTED TWIN PIPE AIR CONDITIONER
WITH HEAT PUMP AND WIFI SMART APP

1
CONTENTS
SAFETY AND INSTRUCTIONS 2
PRODUCT OVERVIEW 7
PRODUCT DIAGRAM 7
F
EATURES 8
WHAT’S INCLUDED 8
INSTALLATION 9
TOOLS REQUIRED 10
I
NSTALLATION 13
O
PERATION 14
C
ONTROL PANEL 14
R
EMOTE CONTROL 14
FUNCTIONS 16
W
IFI SETUP AND SMART FEATURES 18
S
ETUP
REGISTER THE APP
C
ONNECTING USING BLUETOOTH & WIFI 20
23
TROUBLESHOOTING
24
ERROR CODES
19

2
Safety and Instructions
READ ALL INSTRUCTIONS BEFORE USE.
Your safety and the safety of others is very important.
We have provided many important safety messages in this manual and on your appliance.
Always read and follow all safety messages.
You may be killed or seriously injured if you do not follow instructions.
You may be injured or cause damage to the product if you do not follow instructions.
Fuse Parameter for the main control board
Voltage:AC 250V
Current:15 A
Thissymbolshowsthatthisapplianceusesaflammablerefrigerant.
Iftherefrigerantisleakedandexposedtoanexternalignitionsource,there
isariskoffire.
WARNING
CAUTION
Thissymbolshowsthattheoperationmanualshouldbereadcarefully.
This symbol shows that a service personnel should be handling this
equipmentwithreferencetotheinstallationmanual.
Thissymbolshowsthatinformationisavailablesuchastheoperating
manualorinstallationmanual.

3
WARNING
To reduce the risk of explosion, fire, death, electric shock, scalding or injury to
persons when using this product, follow basic precautions, including the following:
INSTALLATION
●Before use, the appliance must be properly installed as described in this manual.
●Contact the authorized service technician for repair or maintenance of this unit.
●Contact the installer for installation of this unit.
●When the power cord is to be replaced, replacement work shall be performed by authorized
personnel only using only genuine replacement parts.
●Installation work must be performed in accordance with the National Electric Code by
qualified and authorized personnel only.
●Connect to a properly rated, protected, and sized power circuit to avoid electrical overload.
Always plug into a grounded outlet.
●Do not under any circumstances, cut or remove the third (ground) prong from the power
cord.
●When installing or moving the appliance, be careful not to pinch, crush, or damage the
power cord.
●Plug in the power plug properly.
●Do not modify or extend the power cord.
●Do not start/stop operation by plugging/unplugging the power cord.
●If the cord/plug is damaged, have it replaced by an authorized service person using
authorized replacement parts.
●Use a dedicated circuit.
●Do not disassemble or modify the product.
●Adhere to all industry recommended safety procedures including the use of long-sleeved
gloves and safety glasses.
●Use care when unpacking and installing. The edges of the product may be sharp.
●Disconnect the power cord or circuit breaker before installing or servicing the appliance.
●Keep packaging materials out of the reach of children. These materials can pose a
suffocation risk to children.
●Store and install the product where the unit’s casing will not be exposed to temperatures
below freezing or exposed to outdoor weather conditions.
In other words, do not allow
the whole unit to be exposed to outdoor conditions
●Do not store or use gasoline or other flammable vapors and liquids in the vicinity of this or
any other appliance.
OPERATION
●Use this appliance only for its intended purpose.
●Never attempt to operate this appliance if it is damaged, malfunctioning, partially
disassembled, or has missing or broken parts, including a damaged cord or plug.
●Repair or immediately replace all power cords that have become frayed or otherwise
damaged
●Do not use a cord that shows cracks or abrasion damage along its length or at either end.
●Do not run cord under carpets or mats where it could be stepped on and damaged.
●Keep the cord out from under heavy objects like tables or chairs.

4
●Do not place the power cord near a heat source.
●Do not use an adaptor or plug the product into a shared outlet.
●Do not tamper with controls.
●If you detect a strange sound, a chemical or burning smell, or smoke coming from the
appliance, unplug it immediately, and contact dealer.
●Never unplug the appliance by pulling on the power cord. Always grip the plug firmly and
pull straight out from the outlet.
●Do not grasp the power cord or touch the appliance controls with wet hands.
●The air conditioner is not intended for use by young children or invalids without supervision.
●Young children should be supervised to ensure that they do not play with the air conditioner.
If water enters the product, turn off the power at the main circuit, then unplug the product
and call for service.
●If the product has been submerged, contact the dealer for instructions before resuming use.
●Unplug the product when unused for long periods.
●Unplug the product before cleaning. In the event of a gas leak (propane gas, etc.) do not
operate this or any other appliance. Open a window or door to ventilate the area immediately.
●This appliance is not intended for use by persons (including children) with reduced physical,
sensory or mental capabilities, or lack of experience and knowledge, unless they have been
given supervision or instruction concerning the use of the appliance by a person responsible
for their safety.
●To clean the interior, contact the dealer. Using harsh detergents may cause corrosion or
damage to the unit.
●Do not use solvent-based detergent on the product. Doing so can cause corrosion or
damage, product failure, electrical shock, or fire.
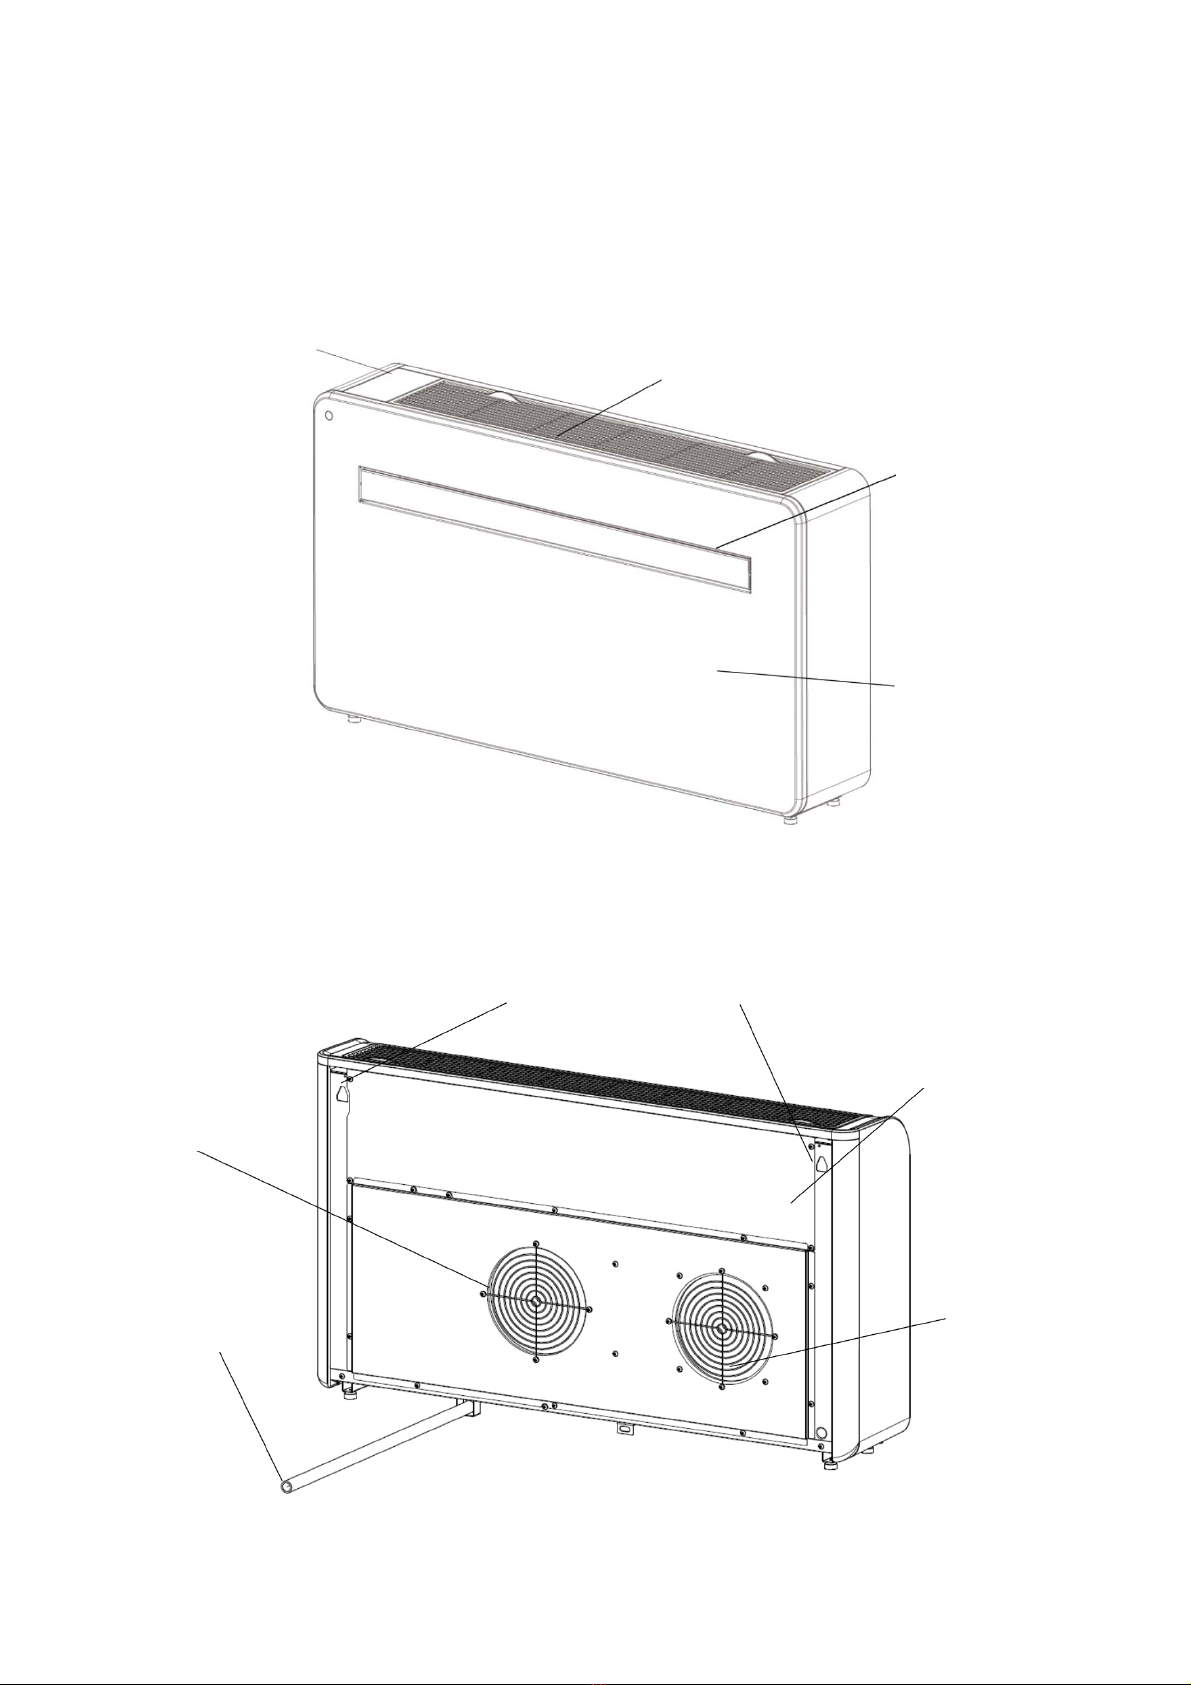
● Keep outdoor louvers unblocked and unobstructed by any obstacle closer than 36〫to the
wall face.
GROUNDING INSTRUCTIONS
●The power cord of this appliance is equipped with a three-prong (grounding) plug. Use this
with a standard three-slot (grounding) wall power outlet to minimize the hazard of electric
shock. The customer should have the receptacle and circuit checked by a qualified electrician
to make sure the receptacle is properly grounded. DO NOT CUT OR REMOVE THE THIRD
(GROUND) PRONG FROM THE POWER PLUG.
Situations when the appliance will be disconnected occasionally; Because of potential
safety hazards, we strongly discourage the use of an adapter plug. However, if you wish
to use an adapter, a TEMPORARY CONNECTION may be made. Use UL-listed adapter,
available from most local hardware stores.
The large slot in the adapter must be aligned with the large slot in the receptacle to
assure a proper polarity connection.
●Attaching the adapter ground terminal to the wall receptacle cover screw does not ground
the appliance unless the cover screw is metal, and not insulated, and the wall receptacle is
grounded to make sure the receptacle is properly grounded.
●Disconnect the power cord from the adapter, using one hand on each. Otherwise, the
adapter ground terminal might break. Do not use the appliance with a broken adapter plug.
Situations when the appliance will be disconnected often; Do not use an adapter plug in these
situations. Unplugging the power cord frequently can lead to an eventual breakage of the
ground terminal. The wall power outlet should be replaced by a three-slot (grounding) outlet
instead.

5
REFRIGERANT (FOR R32 ONLY)
CAUTION: FIRE
READING THE MAUAL CAREFULLY BEFORE USING THE APPLIANCE R32
refrigerant gas complies with international environmental directives. This
appliance contains approximately 19.40 Oz refrigerant gas.
Warnings
Do not use means to accelerate the defrosting process or to clean, other than those
recommended by the manufacturer.
The appliance shall be stored in a room without continuously operating ignition sources
(for example: open flames, an operating gas appliance or an operating electric heater)
Do not pierce or burn.
Be aware that refrigerants may not contain an odour.
The instructions should contain the following information:
That piping material, pipe routing, and installation shall include protection from physical
damage in operation and service, and be in compliance with Federal and Local
Regulations.
All field joints shall be accessible for inspection prior to being covered or enclosed.
-The installation of pipe-work shall be kept to a minimum.
-The provision shall be made for expansion and contraction of long runs of piping;
-The protection devices, piping, and fittings shall be protected as far as possible against
adverse environmental effects, for example, the danger of water collecting and freezing
in relief pipes or the accumulation of dirt and debris;
-The piping in refrigeration systems shall be so designed and installed to minimize the
likelihood of hydraulic shock damaging the system;
-The steel pipes and components shall be protected against corrosion with a rustproof
coating before applying any insulation;
-The flexible pipe elements shall be protected against mechanical damage,
excessive stress by torsion, or other forces, and that they should be checked for
mechanical damage annually;
-The precautions shall be taken to avoid excessive vibration or pulsation.

6
When using the product, the room should keep any required ventilation
openings clear of obstruction. Notice that servicing shall be performed only as
recommended by the manufacturer.
Unventilated area
●That an unventilated area where the appliance using flammable refrigerants is
installed shall be so constructed that should any refrigerant leak, it will not stagnate so
as to create a fire or explosion hazard.
●The non-fixed appliance shall be stored in an area where the size corresponds to the
room area as specified for operation.
●The non-fixed appliance shall be stored in a room without continuously operating open
flames or other potential ignition sources.
●The manufacturer should specify other potential continuously operating sources known
to cause ignition of the refrigerant used.
●The appliance shall be stored so as to prevent mechanical damage from occurring.
●Non-duct connected appliances containing A2L refrigerants with the supply and return
air openings in the conditioned space may have the body of the appliance may be
installed in open areas such as false ceilings not being used as return air plenums, as
long as the conditioned air does not directly communicate with the air of the false
ceiling.
Qualification of workers
●All operators or refrigeration circuit maintenance personnel should obtain a valid
certificate issued by an industry-recognized evaluation agency to determine that they
have the qualifications to safely handle refrigerants as required by the industry-
recognized evaluation scope.
●Only perform equipment maintenance and repairs in accordance with the methods
recommended by the appliance manufacturer. If other professional is required to
assist in maintenance and repairs, they should be carried out under the supervision
of personnel qualified to use flammable refrigerants.

7
PRODUCT OVERVIEW
PRODUCT DIAGRAM
FRONT
BACK
WALLHANGINGMOUNTS
BACKPANEL
AIRINLET
DRAINAGEPIPE AIROUTLET
FRONTPANEL
AIRINLET
CONTROLPANEL
LOUVER

8
FEATURES
Simple operation.
Self-evaporative function with energy saving technology.
Sleek design that seamlessly fits into any style home.
Bright LED screen-indicates temperature and current mode.
On / off timer function-allows you to choose when the unit operates.
WIFI App control providing additional functionality.
Three fan speeds.
Four modes to suit your every need including : Cooling / Heating / Fan / Dry
Silent running option , perfect for a restful night sleep.
WHATS INCLUDED
Sealing strip
*
DIAGRAMS FOR ILLUSTRATIVE PURPOSES ONLY
REMOTECONTROL
VENTCOVERASSEMBLY(X2)
(CHAIN,INDOORRINGAND
OUTDOORCOVER)
WALLBRACKET
PLASTICDUCTING
SHEET(X2)
FIXEDPLATE2PCSTAPPINGSCRE
(4x10mm)
WALLTEMPLATE
7PCSSCREWS(5×60mm)
7PCSWALLPLUGS
(8×40mm)
AIRCONDITIONER

9
INSTALLATION
Apply the sealing strip in the accessories along the edge of the back for the whole
perimeter of the machine, cut off the excessive length if needed.
Note:1.Thesealingstripshouldbeappliedalongtheedgeofthemachine,asshowninFigure1.
2. Pleasepeelthestripinglayeronthesealingstripgraduallywhileapplying.
3. Applyfromthebottomofthemachinefirst.
4. ThepositionofthecornershouldbeappliedasshowninFigure2.
5. Improperapplicationmaycauseextranoise.

TOOLS REQUIRED
BEFORESTARTINGINSTALLATION,PLEASEENSUREYOUHAVEALLSUITABLEEQUIPMENT
AVAILABLEANDUNDERSTANDTHESTEPSINVOLVEDININSTALLATION.IFINANYDOUBT,
PROFESSIONALADVICESHOULDBESOUGHT.
THEINSTALLERMUSTENSURETHATTHEPLANNEDPOSITIONOFTHEAIRCONDITIONERIS
SUITABLE,ANDTHATTHEREARENOCABLESANDPIPESINSIDETHEWALL,ANDNOOTHER
OBSTRUCTIONSFIXEDONTHEWALL,WHICHWOULDPRESENTADANGERAND/ORPREVENT
COMPLETIONOFINSTALLATION.
INSTALLATION
Thisunitmustbeinstalledonanexternalwall,asitventsdirectlyout
ofitsrear.andensurethewallisflat,solidandreliable.
Leaveatleast10cm(4
")ofspacetotheleft,rightandbaseofthe
machine.Atleast20cm(8
")ofspacemustbeleftabovetheunitto
helpairflowsmoothlyandstayawayfromcurtains,plants,faucets,
furnitureandothersappliancesetc.
Pastethesupplied installationtemplatepaperinpositiononthe
wall,ensuringthatthe referencelineislevelusingaspiritlevel.
SPIRITLEVELTAPEMEASURE PENCIL
DRILL
180mmCORE
8mm(5/16")MASONRY
SHARPKNIFE
25mm(1")MASONRY DRILL
10

Theholeforthedrainagepipemustbedrilledusinga25mm(1")Drillbit.
Ensuretheholeisatadownwardangle(min5degrees)sothatthewater
willdraincorrectly.
Usea180mmcoredrilltodrillthetwoholesfortheunits’
Ventilationducts,ensuringthattheholesareatadownwardangle
towardtheoutdoors(min5degrees)andalignedwiththe
template.
Usethetemplatetomarkthepositionofthescrewsforthe
hangingrail,usingaspiritleveltoensureitisstraightandlevel.
Drillthemarkedholesusingasuitable8mm(5/16")drillbitand
insertwallplugs.Lineupthehangingrailwiththeholes,andfix
therailintopositionusingthesuppliedscrews.
Ensurethatthehangingrailissecurelyfastenedontothewall,
andthatthereisnoriskoftheunittippingorfalling.
Themachineperformsbestwhenitisinstalledonawallwithathicknessnotexceeding240mm.
Rolltheplasticventsheetsintoatubeand
feedthemfromtheinsideintotheholes
previouslymade.Ensurethetubessit
flushtotheinteriorwallandthesplicingline
“A”alwaysfacesupwards.
Trimofftheexcessventtubeusingasharpknife,
keepingtheedgeasneataspossible.
11

Inserttheindoorfixingringfromthe
ventcoverontotheindoorsideofthe
airvent.Thenfoldtheexternalvent
coverinhalf.Attachthechainstoeach
sideoftheventcover,beforesliding
thecoveroutsidethroughthevent
hole.
Expandtheexternalcover,beforetightlyfixingthechainsby
hookingontotheindoorfixingring.Thiswillholdtheexternal
coverfirmlyinposition.Repeatforthesecondvent.
Oncethechainsarefittedandsecured,anyexcesschainshouldbe
removedbycuttingthechain.
Lifttheunitontothewall,alignthehangingholeswiththe
hooksonthehangingrailandgentlyresttheunitintoplace.
Atthesametime,slidethedrainpipethroughthedrainage
hole.
12

NOTE:
1st: please ensure that the backside of product is tightly attached on the wall to avoid additional vibration
and noise.
2nd : The end of the external water pipe must be placed in an open space or drain. Avoid damage or
constriction to the drainage pipe to ensure the unit drains.
Fixed plate4x10 tapping screw
13

OPERATION
CONTROL PANEL
REMOTE CONTROL
The air conditioner can be controlled with the remote control. Two AAA-batteries are required.
NOTE: Further details of the functions can be found on the following page.
POWER
PressthePOWERbuttontoturnthemachineonoroff.
MODE
PresstheMODEbuttontoswitchbetweencooling,heating,
fananddrymodes.
FAN
PresstheFANbuttontochangebetweenhigh,mediumand
lowfanspeeds
LED
PresstheLEDbuttontoopenorclosetheLEDbackground
lightofunit,itcanbeachoiceforsleepcondition.
PresstheUPbuttontoincreasethedesiredtemperatureor
timerduration
PresstheDOWNbuttontodecreasethedesiredtemperature
ortimerduration
SILENT
Pressitforsilentmode,InSilentmode,noisewillbe
lower,fanworksinlowspeed,frequencyislow.
SWING
Presstoturnthelouverswingfunctiononandoff
(onlyactivatedbytheremotecontrol&APP)
TIMER
PresstheTIMERbuttontosettheautomaticswitchon/off.
PTC
PressthePTCbuttontoturnthePTCelectricheateronor
off.(onlyactivatedinheatingmode)
TEMP
Itcanbechangedbetween ℉and ℃,bypressing"UP"and
"DOWN" buttononthedisplayatthesametime
14

INSERTING AND REPLACING BATTERIES
YourairconditioningunitcomeswithtwoAAAbatteries.Putthebatteriesinthe
remotecontrolbeforeuse.
1.Removethecoveronthebackoftheremotecontrol.
2.Insertthenewbatteriesandmakesurethatthe(+)and(‐)terminalsofthe
b
atteriesareinstalledcorrectly.
BATTERY NOTES
Foroptimumproductperformance:
1.Donotmixoldandnewbatteries,orbatteriesofdifferenttypes.
2.Donotleavebatteriesintheremotecontrolifyoudon’tplanonusingthe
deviceformorethan2months.
BATTERY DISPOSAL
Donotdisposeofbatteriesasunsortedmunicipalwaste.Refertolocallawsforproperdisposalofbatteries.
TIPS FOR USING REMOTE CONTROL
Theremotecontrolmustbeusedwithin8meters/26feetoftheunit.
Theunitwillbeepwhenremotesignalisreceived.
Curtains,othermaterialsanddirectsunlightcaninterferewiththeinfraredsignalreceiver.
Removebatteriesiftheremotewillnotbeusedmorethan2months.
NOTES
●When there are wide differences between remote controller Illustration and “USER’S
MANUAL”onfunctiondescription,thedescriptionon“USER’SMANUAL”shallprevail.
●Thedevicecouldcomplywiththelocalnationalregulations.InCanada,itshouldcomply
withCANICES‐3(B)/NMB‐3(B).InUSA,thisdevicecomplieswithpart15oftheFCCRules.
Operation is subject to the following two conditions: (1) This devicemaynotcause
harmfulinterference,and(2)thisdevicemustacceptany
interferencereceived,includinginterferencethatmaycauseundesiredoperation.
●ThisequipmenthasbeentestedandfoundtocomplywiththelimitsforaClassBdigital
device, pursuant to part 15 of the FCC Rules. These limits are designed to provide
reasonable protection against harmful interference in a residential installation. This
equipmentgenerates,usesandcanradiateradiofrequencyenergyand,ifnotinstalled
andusedinaccordancewiththeinstructions,maycauseharmfulinterferencetoradio
communications.However,thereisnoguaranteethatinterferencewillnotoccurina
particular installation. If this equipment does cause harmful interference to radio or
televisionreception,whichcanbedeterminedbyturningtheequipmentoffandon,the
userisencouragedtotrytocorrecttheinterferencebyoneormoreofthefollowing
measures:
●Reorientorrelocatethereceivingantenna.
15

●
Increasetheseparationbetweentheequipmentandreceiver.
●
Connecttheequipmentintoanoutletonacircuitdifferentfromthattowhichthe
receiverisconnected.
●Consult the dealer or an experienced radio/TV technician for help. Changes or
modificationsnotapprovedbythepartyresponsibleforcompliancecouldvoiduser’s
authoritytooperatetheequipment.
FUNCTIONS
POWER
Press“POWER”toturntheunitOnorOff.
MODE
Presstochangebetweenthe4differentmodes.Thedisplaywillshowthesymbolforthemodecurrently
selected.
COOLING
Thecoolingfunctionallowstheairconditionertocooltheroomandatthesametime
reducesairhumidity.Thedesiredtemperaturecanbeadjustedusingtheincreaseand
decreasebuttonbetween60℉/15℃ and86℉/30℃.Thefanspeedcanalsobeadjusted
usingthespeedbutton.
DRY
Drymodewillextractmoisturefromtheair,whichwillbedrainedoutsideusingthe
installeddrainpipe.thefanspeedcannotbeadjustedindrymode.
FAN
Infanmodetheappliancewillrecirculatetheairwithintheroom,andwillnotcool,heat
ordehumidify.ThefanspeedcanbeadjustedusingtheSpeedbutton,Butthedesired
temperaturecannotbeset.
HEATING
Theheatingfunctionallowstheairconditionertoheattheroom.Thedesired
temperaturecanbeadjustedusingtheincreaseanddecreasebuttonbetween60℉ and
86℉.Thefanspeedcanalsobeadjustedusingthespeedbutton.
SILENT
SilentmodecanbeactivatedfromAPPortheremotecontrol,Itwillonlyoperateincooling
orheatingmodes,thefanspeedwillchangetolowandnoisewillbelower.
FANSPEED
PresstochangethefanspeedbetweenLow,MediumandHigh.Thefanspeedcannotbe
adjustedinDryorSilentmodes.
TIMER
Theairconditionercontainsa24hourtimer,whichcanbeusedtoeithersetadelayedstart,oraset
periodofoperation.
SHUTDOWNTIMER:
Whiletheunitisrunningpressthetimerbutton,thedisplaywillflash“0”5times.Afterthe5thflash,
usetheupanddownbuttonstoadjustthedurationin1hourincrementsbetween1to24hours.When
thetimerhaselapsed,theunitwillshutdownautomatically.
DELAYEDSTARTTIMER:
Withtheunitinstandby,pressthetimerbutton,thedisplaywillflash“0”5times.Afterthe5thflash,
usetheupanddownbuttonstoadjustthedurationin1hourincrementsbetween1to24hours.After
thetimerhaselapsed,theunitwillstartupinthesamemodewiththesamesettingsaswhenitwas
turnedoff.
16

INCREASEAND
DECREASE
Usedwithincoolingandheatingmodestoadjustthedesiredtemperature60‐86℉/15℃-30℃.Also
usedwhilesettingthetimertoadjusttheduration.
SWING
MODE
Aftermachineturnson,pressthe“SWING”button,louverwillswingcontinuouslyupanddown;by
pressingthebuttonagainthemovementwillstopandthelouverremaininthatposition.Swingmode
canonlybeadjustedfromtheremote,andwillinitiallybeturnedonbydefault.Thelouverwillclose
automaticallyonceyouswitchOFFtheproduct.
COMPRESSOR
PROTECTION
Thereisa3minutesdelayonpoweron.Inordertoprotectthelifeofthecompressorandelectronic
componentspleasedonotswitchontheunitforatleast5minutesafteryouturnedtheunitoff.
PTCelectric
heating
function
TheunithasanadditionalPTCelectricheatingelement.Whentheweatherconditionsoutsideare
cold,youcanpressthePTCbuttonontheremotecontroltoturnontheelectricheatingfunctionto
increasetheheat.TheheatpowerofthePTCisequalto1000W.
PTCturnon
1. Onlyintheheatingmode,pressthePTCbuttonontheremotecontroltosendtheturn‐on
commandtotheunit.Atthistime,theremotecontrolandtheunitdisplay lightsupatthe
sametime.
2. Aftertheunitreceivestheremotecontrolcommand,thesystemwillcarryoutself‐testing,PTCwill
workwhenthefollowingpointsaresatisfiedatthesametime.Otherwise,PTCcannotwork.:
a. Unitisinheatingmode.
b. Tw<25℃/77℉ (outdoortemperaturekeepslowerthan25℃/77℉ for10seconds)
c. Ts‐Tr≥5℃/41℉ (TheSettemperatureismorethan5degreeshigherthantheRoom
temperature).
d. RoomtemperatureTr≤18℃/64℉.
e. CoilTemperatureofevaporatorTe≤48℃/118℉.
f. Compressorhavebeenworkingfor3minutes.
g. Abovedataiscollectedfrom20secondsofcontinuousmonitoringofoperation.
3. PTCwillstopworkingwhenthesystemself‐testingdetectsoneofthefollowingpoints:
a. Outdoortemperaturestayshigherthan28℃/82℉ for10seconds
b. Theroomtemperatureisgreaterthanthesetpoint;
c. RoomtemperatureTr≥23℃/73℉.
d. Compressorstopsworking.
e. Theventilationstopsorthefanisfaulty.
f. 4‐wayvalvegetsdisconnected.
g. CoilTemperatureofevaporatorTe≥54℃/129℉ orsensorerror.
h. Unitdidn’tworkinheatingmode.
i. Unitisindefrostfunction.
17

PTCturnoff
PressesthePTCbuttonagainorchangetoothermodetoturnoffPTCfunction,the lightson
remotecontrolandtheunitdisplaywillbeoffatthesametime.
NOTE:
TheunitwillworkwithoutPTCfunctionasadefaultuntilthe“PTC”buttononremotecontrolis
pressed.
Ifunitisturnedoff,thePTCsettingwillbecleared,anditneedstobesetagain.
WIFI SETUP AND SMART FEATURES
WIFI SETUP
BEFORE YOU START
Ensure your router provides a standard 2.4ghz connection.
If your router is dual band ensure that both networks have different network names (SSID). The provider
of your router / Internet service provider will be able to provide advice specific to your router.
Place the air conditioner as close as possible to the router during setup.
Once the app has been installed on your phone, turn off the data connection, and ensure your phone is
connected to your router via WIFI.
DOWNLOAD THE APP TO YOUR PHONE
Download the ”SMART LIFE” app, from your chosen app store, using the QR codes below, or by searching for
the app in your chosen store.
18

REGISTER THE APP
If you don't have an App account , register an account or sign in with verification code by SMS. This page
describes the registration process.
1. Press on the “Sign Up” button at the bottom of the screen, as shown in the picture 1.
2. The system automatically recognizes your country/ area. You can also select your country code manually.
Enter your mobile phone number/ email address and tap "Get verification code", as shown in the picture
2.
3. If you choose the mobile number option, then enter the verification code in the message sent to you by
SMS. Set a password as prompted and press "Done" to finish your registration. as shown in the picture.
Picture1Picture2Picture3
WiFi CONNECTION MODE
In Standby mode press and hold the fan speed button for 3 seconds (until you hear a bleep) to enter the WiFi
connection mode.
Please ensure your device is in the correct WiFi connection mode for the connection type you are attempting,
the flashing of the WiFi light on your air conditioner will indicate this.
Connection Type Frequency of Flashes
Quick Connection Flashes twice per second
AP Connection (Access Point) Flashes once per three seconds
CHANGING BETWEEN CONNECTION TYPES
To change the unit between the two WiFi connection modes, hold the Speed button for 3 seconds.
19
Table of contents
Other Applied Comfort Air Conditioner manuals

Applied Comfort
Applied Comfort CALM U42 Series Quick start guide

Applied Comfort
Applied Comfort NAEC SERIES User manual

Applied Comfort
Applied Comfort SD User manual

Applied Comfort
Applied Comfort VF20HA09K36E7M90 Service manual

Applied Comfort
Applied Comfort SCA Owner's manual

Applied Comfort
Applied Comfort C42EC07K30E7A90 Service manual

Applied Comfort
Applied Comfort RSHPC Series User manual

Applied Comfort
Applied Comfort CDF Service manual

Applied Comfort
Applied Comfort A26EC09L00EZA30 Quick start guide

Applied Comfort
Applied Comfort VF20HA09K36E7MA90 User manual