manuals.online logo
Brands
  1. Home
  2. •
  3. Brands
  4. •
  5. Appsys ProAudio
  6. •
  7. Media Converter
  8. •
  9. Appsys ProAudio Multiverter MVR mkII User manual

Appsys ProAudio Multiverter MVR mkII User manual

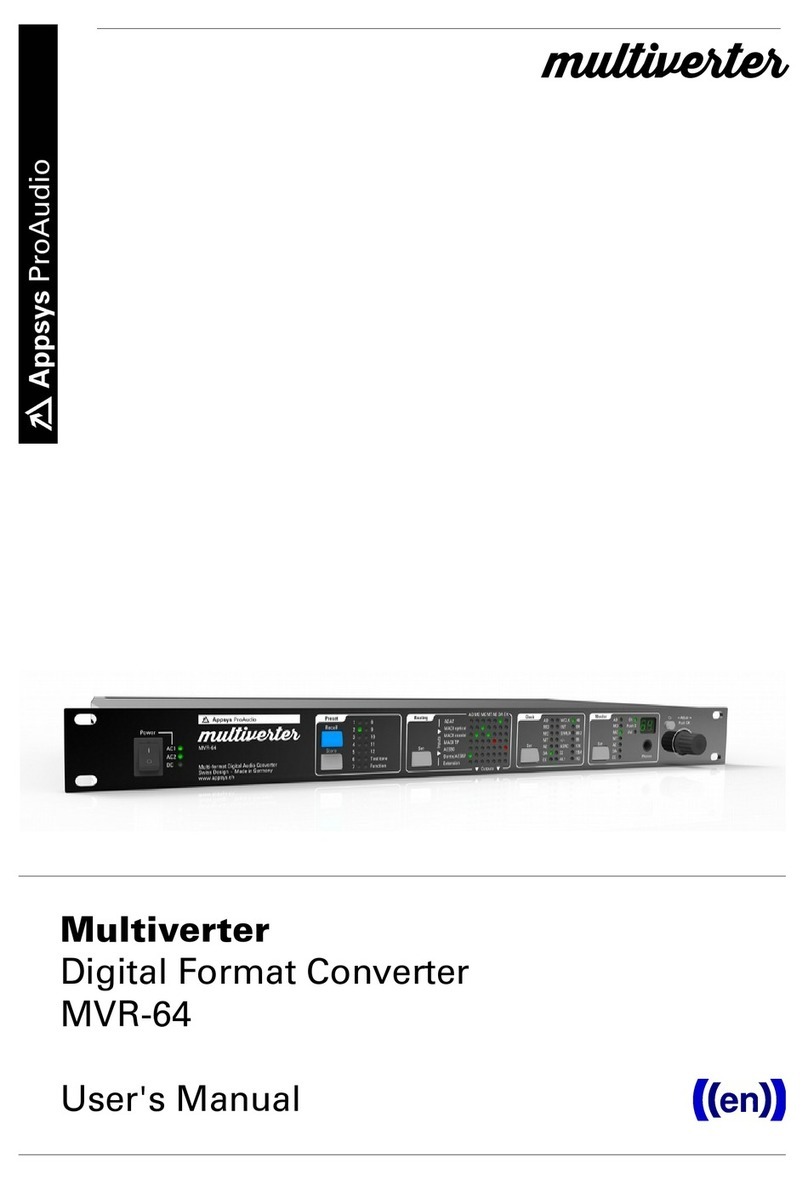
Multiverter
Digital Format Converter
MVR mkII
User's Manual
multiverter
User's Manual
Table of Contents
1. GENERAL.....................................................................................................................................
1.1. Conventions used in this manual.......................................................................................
1.2. Safety precautions..............................................................................................................5
1.3. Foreword..............................................................................................................................5
1. . Box Contents........................................................................................................................5
2. INTRODUCTION.........................................................................................................................6
2.1. Front view............................................................................................................................6
2.2. Rear view.............................................................................................................................6
2.3. Overview..............................................................................................................................7
2. . User interface......................................................................................................................7
3. CONNECTIONS OVERVIEW.....................................................................................................12
3.1. AC Power............................................................................................................................12
3.2. DC Power...........................................................................................................................12
3.3. AES3...................................................................................................................................12
3. . ADAT/SPDIF optical...........................................................................................................13
3.5. MADI SFP 1/2.....................................................................................................................13
3.6. MADI BNC..........................................................................................................................13
3.7. AES50/MADI-TP 1/2...........................................................................................................1
3.8. Dante..................................................................................................................................15
3.9. FlexLink..............................................................................................................................15
3.10. Wordclock.........................................................................................................................16
3.11. Network............................................................................................................................16
3.12. MIDI..................................................................................................................................17
3.13. USB...................................................................................................................................17
3.1 . RS 85...............................................................................................................................17
. PRESETS...................................................................................................................................18
.1. Preset Recall.......................................................................................................................18
.2. Preset Store.......................................................................................................................19
.3. Changed presets...............................................................................................................19
. . Auto-Store..........................................................................................................................20
5. ROUTING..................................................................................................................................21
6. CLOCKING.................................................................................................................................27
6.1. ClockShield........................................................................................................................27
6.2. Clock source selection......................................................................................................27
7. MONITOR...................................................................................................................................32
8. HEADAMP CONTROL / CONTROL DATA FORWARDING......................................................3
8.1. Control Data Forwarding..................................................................................................3
8.2. Headamp control..............................................................................................................3
9. PANEL LOCK.............................................................................................................................37
2
MVR mkII
10. ADVANCED TOPICS................................................................................................................38
10.1. Pinout jumpers................................................................................................................38
10.2. Test tone mode................................................................................................................ 0
10.3. Configuration settings.................................................................................................... 0
10. . List of configuration settings......................................................................................... 3
10.5. Audio Interface self-test.................................................................................................. 6
10.6. LED and button test........................................................................................................ 7
10.7. SRC-6 self-test................................................................................................................ 7
10.8. Remote control on a Network separate from Dante Audio......................................... 8
11. FIRMWARE............................................................................................................................... 9
11.1. Version check.................................................................................................................... 9
11.2. Upgrade............................................................................................................................50
11.3. FPGA/Control Firmware..................................................................................................50
11. . Dante Firmware................................................................................................................50
12. COMMAND LINE REFERENCE..............................................................................................55
13. SPECIFICATIONS....................................................................................................................57
1 . ACCESSORIES........................................................................................................................59
1 .1. MTA-6 Adapter for MADI-TP.........................................................................................59
1 .2. SRC-6 Samplerate Converter Module.........................................................................59
1 .3. "Flexiverter" Extension boxes........................................................................................60
15. APPENDIX...............................................................................................................................61
15.1. Warranty...........................................................................................................................61
15.2. Manufacturer contact.....................................................................................................61
15.3. FCC Compliance..............................................................................................................61
15. . Recycling..........................................................................................................................62
15.5. About this document......................................................................................................62
3
User's Manual
1. GENERAL
1.1. Conventions used in this manual
A button on the front of the device is shown like this: Set
A particular LED on the front of the device is shown like this: ☼ WCLK
Text indicated on the seven-segment display is shown as 02
Operations in a particular control method are indicated by a diamond:
Front panel, ◆ Web ◆or Command line ◆
A section marked with a warning sign mark tells you that
the information is particularly important to avoid damage
or malfunction.
Filled circles with an exclamation mark indicates an action
that must be performed (“Required”)
A section marked with a prohibited sign tells you that the
action indicated is prohibited (“Prohibited”)
A section marked with a “information” icon indicates a
useful tip.
MVR mkII
1. . Safety precautions
This device is intended to be used in a professional
environment with restricted access only.
1.3. Foreword
Thank you for purchasing one of the most innovative digital audio converters on
the market. The multiverter was designed with true vendor independence and
interoperability in mind, with the idea to make all your gear interact seamlessly.
Please don't hesitate to tell us your feedback, thoughts and ideas, we try hard to
make the multiverter your most valuable tool!
1.4. Box Contents
MVR mkII multiverter device, with (1) MADI SFP installed (Multimode 1310nm)
AC power cord (country specific)
This manual
5
. INTRODUCTION
.1. Front view
. . Rear view
MVR mkII
.3. Overview
The multiverter is a unique device which allows you to convert digital audio data in
any direction between the most popular formats. Built in are AES3, ADAT, SPDIF,
MADI SFP (optical), MADI coaxial, MADI-TP, AES50, Dante and AES67. Other
formats or additional ports can be added by connecting external breakout boxes.
All inputs can be routed channel-wise to all of the outputs, with an arbitrary
number of splits and merges supported at the same time.
Channel-wise routing between dierent interfaces is supported via the remote
control via integrated web server over Ethernet or USB, or via command line.
The routing matrix supports 704x704 channels (11x11 interfaces with 6 ch each) at
single speed modes, 352x352 channels at double-speed and 176x176 channels at
quad-speed modes.
Using the optional SRC-6 Samplerate Converter Module, highest quality sample
rate conversion on 128 unidirectional or 6 x6 bi-directional channels is
supported.
The multiverter is also able to remote-control Behringer and MIDAS stageboxes
over AES50, which makes it possible to use these as remote analog front-end
without the need for an additional mixing console.
Troubleshooting is made simple by an integrated headphones amplifier and a test
tone generator. Three power inlets allow operation from either AC or DC (battery
pack) with full redundancy.
.4. User interface
The device has been designed for fast and simple operation, with a no-frills
everything-at-a glance concept. The unit can be operated either
directly on the front panel ◆for routing in 6 ch blocks
via the integrated web server ◆for channel-wise routing (over Ethernet or USB)
via command line◆ (telnet or USB-serial terminal)
via MIDI ◆(Preset recall only)
In this manual, the required steps for each operation mode are indicated by
Front panel, ◆ Web ◆and Command line ◆headers.
All operation modes can be used simultaneously, and any status change is
immediately reflected on all interfaces. For example, it's possible to make some
routing connections on the front panel, and later change them via the web
interface or the command line.
7
User's Manual
◆Front panel
Most settings are directly accessible without the need to walk through lengthy
menus:
To change a setting, first push the appropriate rectangular button (e.g. Set ).
This enters “Menu” mode, indicated by a yellow blinking cursor.
Move the cursor by turning the encoder (rotary knob) left or right to move it to
the desired setting.
When the cursor is at the beginning or end of the column or line, continue
turning to make it wrap around.
Push the encoder knob (or push the appropriate menu button again) to confirm
your changes. To return to the previous state without making any changes, push
the ⮌ Back button.
When the device is normal operation (i.e. not within a menu), turning the encoder
knob changes “Volume” or “Channel” of the monitor headphones, while pushing
the encoder toggles between “Volume” and “Channel” mode.
Note: Channel-wise routing is not available from the front panel due to the lack of
controls.
◆Web
The multiverter can be remotely operated from any browser. This is completely
self-contained, platform independent and does not need any additional software.
Web control is the recommended method because it oers
channel-wise routing and provides the most convenient
graphical interface.
You can run up to four sessions at the same time (i.e. have the page open on
four dierent computers). Any change or status update will propagate within a
few seconds to all connected devices.
Web control has been carefully designed to transfer data only when a change
occurred (and even then only a few bytes) so it generates virtually no additional
load on the Dante network.
There are two methods for accessing the web server:
8
MVR mkII
◆Web via Dante network
This uses the web server running on the built-in Dante module, and can be
accessed on the same IP address as the Dante module1 or its host name.
You can find both out using the Dante controller, see below.
To access the multiverter using its host name, go to
http://MVR-xxxxxx.local
e.g. http://MVR-0b21f9a.local
To access the multiverter using its IP address, go to
http://xxx.xxx.xxx.xxx
e.g. http://192.168.0.204
1 Remote control can also be configured run on a dierent network than audio.
See 10.8 Remote control on a Network separate from Dante Audio
9
User's Manual
◆Web control via USB
This works ONLY with Chrome, Edge and Opera.
Firefox, Safari and others do not support the required
"Web Serial API".
Connect the multiverter's USB port to your PC.
Go to
http://appsys.ch/webremote/MVR-mkII/6.0
Note: your firmware version might be dierent than 6.0 so make sure you're
using the right link.
Click "Connect via USB", select the first port in the list and click OK:
Select the first port in the list, then click "Connect":
10
MVR mkII
◆Command line
Command line control is available via standard telnet, and also on USB UART
(COM port). It provides access to all multiverter functions and routings, and is
perfectly suited for automated tasks or in headless operation.
The telnet server listens on the Dante network, on port 2300. Use a telnet client
to connect to it:
telnet MVR-xxxxxx.local 2300
Alternatively, you may use the IP address of the Dante module, either on the
audio network on a separate control network (see Web Control).
When connected via USB, the multiverter shows up as COM port.
Communication can be done with a standard serial terminal (i.e. PuTTY or
minicom). Communication parameters are 115200,8N1.
To obtain a list of all commands, type help at the MVR> command prompt and
press enter.
To exit a command line session, type ex t end press enter.
◆MIDI
The only command supported via MIDI is "Preset Recall".
See .1. Preset Recall for details.
Besides this command, the MIDI port may be used to receive and transmit MIDI
data in order to embed/de-embed it to any MADI stream. See 8. Headamp control /
Control data forwarding for details.
11
User's Manual
3. CONNECTIONS OVERVIEW
This chapter gives you an overview of all connections on the back of the device.
Please refer to 13. Specifications for full characteristics of each port.
3.1. AC Power
Mains AC inlet, 90-2 0VAC, 0.75A max.
Together with the DC power port, the inputs are fully redundant. If any of the
inputs fail, the other takes immediately over. During the switch-over process, full
operational state is maintained (i.e. no interruptions in the audio flow).
3. . DC Power
Battery / DC inlet, nominal 9-18V, tolerates up to 30V.
Maximum current 2.5A, typical operating current < 1A, standby current ca. 10mA.
Use this port
to operate independently from AC power,
e.g. from a camera battery pack in the field
as battery backup if the AC input(s) fail. To prevent the backup battery from
draining while AC power is present, keep the DC voltage below 16 volts.
3.3. AES3
16x16 channels of balanced AES3 I/O are available, on two DB25 connectors.
All inputs and outputs are fully transformer isolated.
The pinout of the DB25 connectors can be set via internal
jumper blocks (see 10.1 Pinout jumpers). The current setting
is displayed on LEDs beside the ports when nothing is
connected.
White: Tascam/Avid/Digidesign/Universal/RME
Blue: Yamaha/Apogee/Mackie/Lynx/SSL
The AES3 interface is shared with the ADAT/SPDIF interface (ch 1-16: AES3, ch 17-
8: ADAT)
12
MVR mkII
3.4. ADAT/SPDIF optical
Four optical input/output ports are available. Each input and output port can be run
in dierent modes:
ADAT with up to 8 channels per port
SPDIF with up to 2 channels per port
AES3 optical with up to 2 channels per port
For the inputs, the mode is detected automatically. For the outputs, the desired
mode can be set individually via the Web UI on the SETTINGS page (see 10.3
Configuration settings).
The AES3 interface is shared with the ADAT/SPDIF interface (ch 1-16: AES3, ch 17-
8: ADAT).
3.5. MADI SFP 1/
These ports carry MADI data, according to the “optical” transmission method
specified in AES10. The SFP modules use a small LC plug, when connecting to
conventional non-SFP ports an LC-SC adapter cable is required.
The supplied SFP module is designed for up to 2km of multi-mode fiber (1310nm
wavelength), but can easily be swapped with any other SFP to meet all possible
environments. No vendor lock on the SFP is employed (Appsys policy) to provide
best compatibility and user experience.
You can use coaxial SFPs (e.g. available from Ferrofish) to
obtain more MADI BNC connections.
Control data (e.g. for preamp control) can be forwarded over these ports. See 8,
Headamp control / Control data forwarding for details.
3.6. MADI BNC
This port carries MADI data according to the “coaxial” transmission method
specified in AES10.
Control data (e.g. for preamp control) can be forwarded over this port. See 8,
Headamp control / Control data forwarding for details.
13
User's Manual
3.7. AES50/MADI-TP 1/
These ports can be configured to act either as AES50 or MADI-TP port. The desired
operating mode can be configured by software, and the connector pinout can be
jumpered internally (see 10.1 Pinout jumpers)
The pinout of the AES50/MADI-TP connectors can be set via
internal jumper blocks. The current setting is displayed on
the ports when nothing is connected.
White: AES50
Blue: MADI-TP according to AES-X-213
◆AES50 mode:
Behringer/MIDAS SuperMAC™ compatible, supports 8ch@ 8kHz or
2 ch@96kHz per port. AUX data for preamp control is supported for forwarding or
generation (see 8. Headamp control / Control data forwarding)
The LEDs indicate the current status:
Yellow: Link detected
Green: Input data valid and system clock valid
◆MADI-TP mode:
MADI data, according to the “MADI over Twisted Pair cabling” method specified in
the draft standard AES-X-213. Note: this is currently only implemented in RME™
and Optocore™ devices.
To interface to the DiGiCo or Soundcraft/Studer/Harman
variants of MADI-TP, an external MTA-6 adapter is
required. See 1 .1 MTA-6 Adapter for MADI-TP.
The LEDs indicates the current status:
Yellow: Link detected
Green: Input data valid and system clock valid
Control data (e.g. for preamp control) can be forwarded over this port
(see 8, Headamp control / Control data forwarding for details).
1
MVR mkII
3.8. Dante
The Dante interface supports up to 6 x6 ch@ 8k, 32x32ch@96k and
16x16ch@192k. This is currently2 a limitation of the Brooklyn III module.
The Dante interface can be configured using the Dante Controller software,
available from Audinate.
The multiverter is prepared for up to 128ch@ 8k / 6 x6 ch
@96k on Dante, indicated by a second 6 ch-block Dante .
Dante is currently disabled and will be enabled later when
a Brooklyn III firmware supporting extra channels becomes
available from Audinate.
The “Primary” and “Secondary” ports are standard gigabit Ethernet ports,
designed to connect to Dante Digital Audio Network. AES67 mode is alternative to
Dante mode and can be set in the Dante Controller Software.
The port LEDs on "Primary" and "Secondary" indicates the current status:
Yellow blinking: data transfer active
Green: 1Gbit/s connection, o: 100MBit/s
By default, the ports are configured to act as switch (which allows daisy
chaining), but can be changed using the Dante Controller Software as redundant
ports for parallel connection.
3.9. FlexLink
This port is designed to connect break-out boxes to support other, non-built-in
protocols and standards (e.g. AVB), or to connect additional ports for system
extension. The FlexLink port supports three bi-directional lanes with 6 channels
each (total 192x192ch@ 8k) and is also able to supply power to the extension
boxes.
Currently supported (as of 2023-07):
Product Purpose
FLX-AES3 External break-out box with 16x16ch of AES3. Can additionally be equipped with
an AUX card for more protocols or channels.
2 As of 2023-07
15
User's Manual
FLX-AES50 External break-out box with two AES50 ports (total 96ch@ 8k). Can additionally
be equipped with an AUX card for more protocols or channels.
FLX-DANTE External break-out box with two DANTE ports (total 6 ch@ 8k). Can additionally
be equipped with an AUX card for more protocols or channels.
FLX-MADI External break-out box with one MADI SFP port and one MADI coaxial port (total
128ch@ 8k). Can additionally be equipped with an AUX card for more protocols
or channels.
MTA-6 Adapter for DiGiCo/Soundcraft/Studer/Harman MADI-TP variant
Note: The MTA-6 uses the Extension port only for power, not for audio. The port
is fed through on the MTA-6 and remains available for other extension boxes.
Two multiverters can be connected together via the
extension port with super-low-latency, high-bandwidth
when a larger number of dierent ports is required.
Note: Although this port makes use of a standard HDMI connector, it is NOT
compatible with HDMI devices. Don't connect HDMI equipment! The HDMI
connector was chosen because cables are ubiquitous and can easily be replaced.
3.10. Wordclock
The input accepts a square wave signal in the frequency of the sample rate. x2 and
x modes are automatically detected when the square wave has x2/x frequency,
and can be manually set when the square wave has x1 frequency.
A 75 ohms termination resistor can electronically switched (OFF by default).
The output is a square wave signal (50% duty cycle) and is able to drive up to two
75 ohm resistors in parallel. Its frequency is either identical to the sample rate or
always x1 (see 10.3 Configuration settings).
3.11. Network
The "Network" control port is a 100MBit/s network port designed for remote
control. It is internally connected to the Dante module and accessible under the
same IP address.
The LEDs indicate the current status:
Yellow blinking: data transfer active
Green: 100MBit/s connection, o: 10MBit/s
16
MVR mkII
3.1 . MIDI
The only command supported via the MIDI port is "Preset Recall".
See .1 Preset Recall.
The LED near the port flashes when incoming MIDI data is detected. All incoming
data is forwarded to the MIDI OUT port, to allow daisy-chaining of devices.
Control data (e.g. for preamp control) can be forwarded over this port. See 8,
Headamp control / Control data forwarding for details.
3.13. USB
The USB port is used for
Firmware update
Remote control via Web browser. See Web control via USB on page 10.
Remote control via command line (serial terminal, 115200, 8N1)
See Command line on page 11 for details.
The USB port does NOT carry audio data!
To interface the audio system of the multiverter to a
computer, connect is using Ethernet to the Dante port and
use the Dante Virtual Soundcard software.
3.14. RS485
The RS 85 port can be used to tunnel RS 85/RS 22 over MADI, in a method
compatible to DirectOut™ boxes.
17
User's Manual
4. PRESETS
All settings can be individually stored in one of the 16 preset locations, and may be
recalled at any time later. The settings are stored in non-volatile memory and are
retained for years even if the device is switched o or the power cable is
unplugged. Additionally, the settings can be downloaded via the Web UI, and
restored on the same or a dierent device.
4.1. Preset Recall
◆Front panel
To recall a preset:
Push the Recall button from the “Preset” menu.
Select the desired storage location ☼ 1 to ☼ 16 by turning the encoder left or
right.
Note: The items “Test tone” and “Settings” are also accessed through the preset
menu and have special purposes. See 10. Advanced Topics.
Confirm the selected location by pushing the encoder, or push the
⮌ Back button to cancel the operation.
◆Web
From the "PRESET " menu, choose the desired preset number. An asterisk next ▼
to the number indicates that modifications to the recalled preset have been done.
To save the modifications, choose "PRESET / Store".
Note: You can also upload presets from a file to the MVR. This is useful when
transferring setups between dierent multiverters.
◆Command line
preset recall <num>
◆MIDI
Preset recall is done via "Program Change" messages
(program 00 = Preset 1 ... program 15 = Preset 16).
The MIDI channel is set to 1 by default but can be altered using function "07".
(Note: The channel is a per-preset setting, if you need to change it you will need to
do so in all 16 presets).
18
MVR mkII
4. . Preset Store
◆Front panel
To store a preset:
Push the Store button in the “Preset” menu.
Select the desired storage location ☼ 1 to ☼ 16 by turning the encoder left or
right.
Confirm the selected location by pushing the encoder, or push the
⮌ Back button to cancel the operation.
◆Web
Select "PRESET / Store" menu to store the preset as current preset number, or ▼
select "PRESET / Store as..." to choose a dierent number.▼
Note: You can also download presets to a file. This is useful when transferring
setups between dierent multiverters.
◆Command line
preset store [<num>]
4.3. Changed presets
◆Front panel
When a preset is recalled, the corresponding location ☼ 1 to ☼ 16 is lit green.
If any setting is changed afterwards (except for headphones level), the LED turns
red to indicate that the current setting diers from the recalled preset. If you want
your changes to be reflected also in the stored preset, just store the preset again.
Otherwise, the changes are overwritten the next time a preset is recalled.
◆Web
A changed preset is indicated by an asterisk (*) next to the preset number.
Use "PRESET / Store" to permanently store changes into that preset.▼
◆Command line
A changed preset is indicated by "modified: true"
The current preset can be queried by calling preset without parameters.
19
User's Manual
4.4. Auto-Store
In addition to the presets stored in locations 1-16, the multiverter remembers
always the current setting, even when power cycled or left unpowered for a long
time. This means that you can always reset the multiverter and have the settings
fully restored by switching it o and on.
20

Other Appsys ProAudio Media Converter manuals

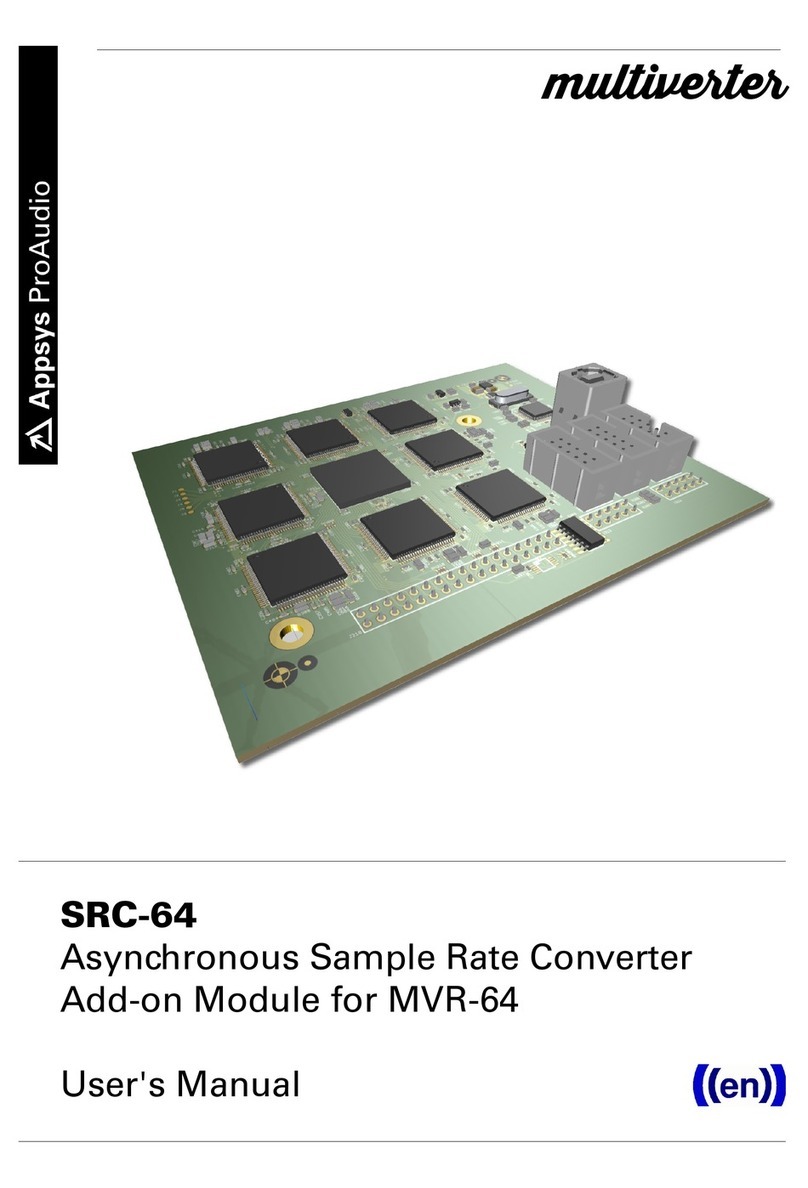
Appsys ProAudio multiverter MVR-64 User manual

Appsys ProAudio

Appsys ProAudio multiverter MVR-64 User manual

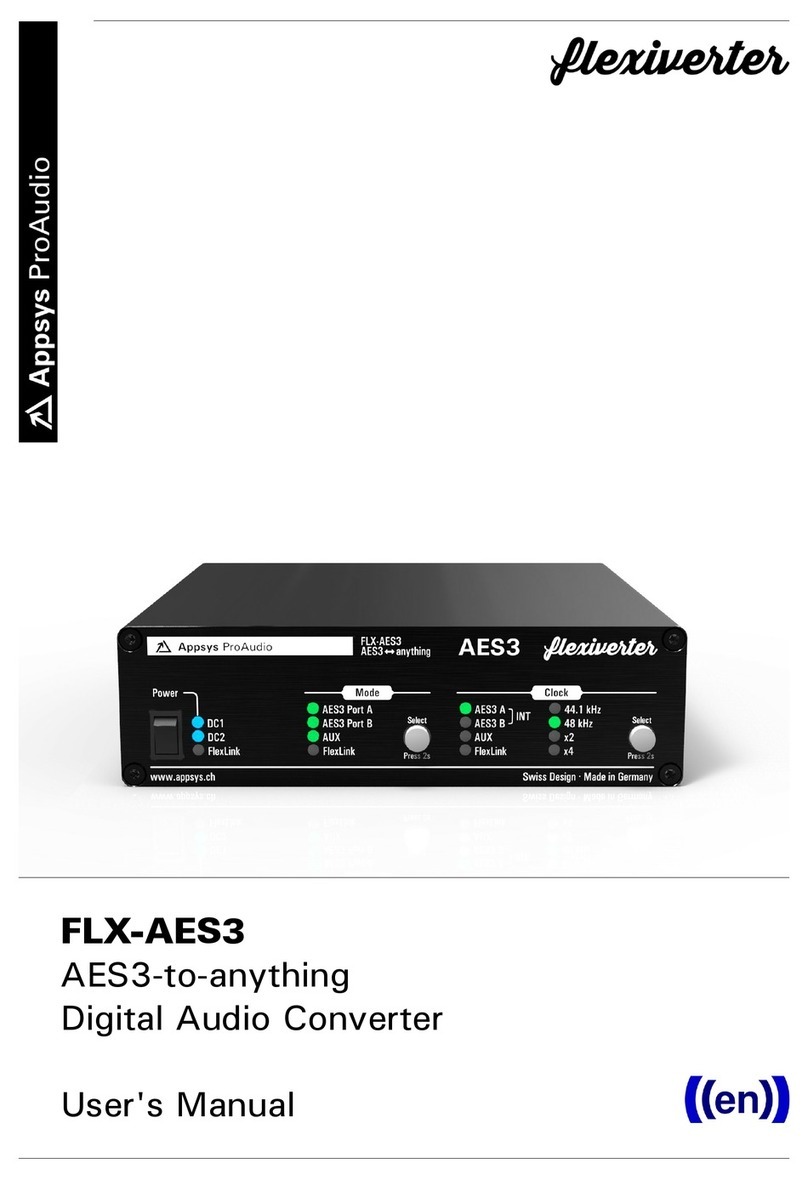
Appsys ProAudio Flexiverter AES3 User manual

Appsys ProAudio

Appsys ProAudio Flexiverter AES3 User manual

Appsys ProAudio multiverter SRC-64 User manual

Appsys ProAudio

Appsys ProAudio multiverter SRC-64 User manual

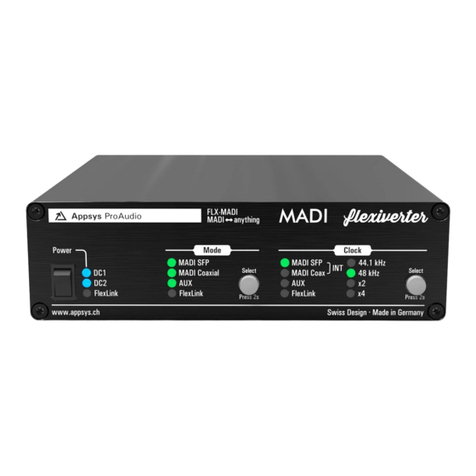
Appsys ProAudio Flexiverter MADI User manual

Appsys ProAudio

Appsys ProAudio Flexiverter MADI User manual

Appsys ProAudio multiverter SRC-64 User manual

Appsys ProAudio

Appsys ProAudio multiverter SRC-64 User manual

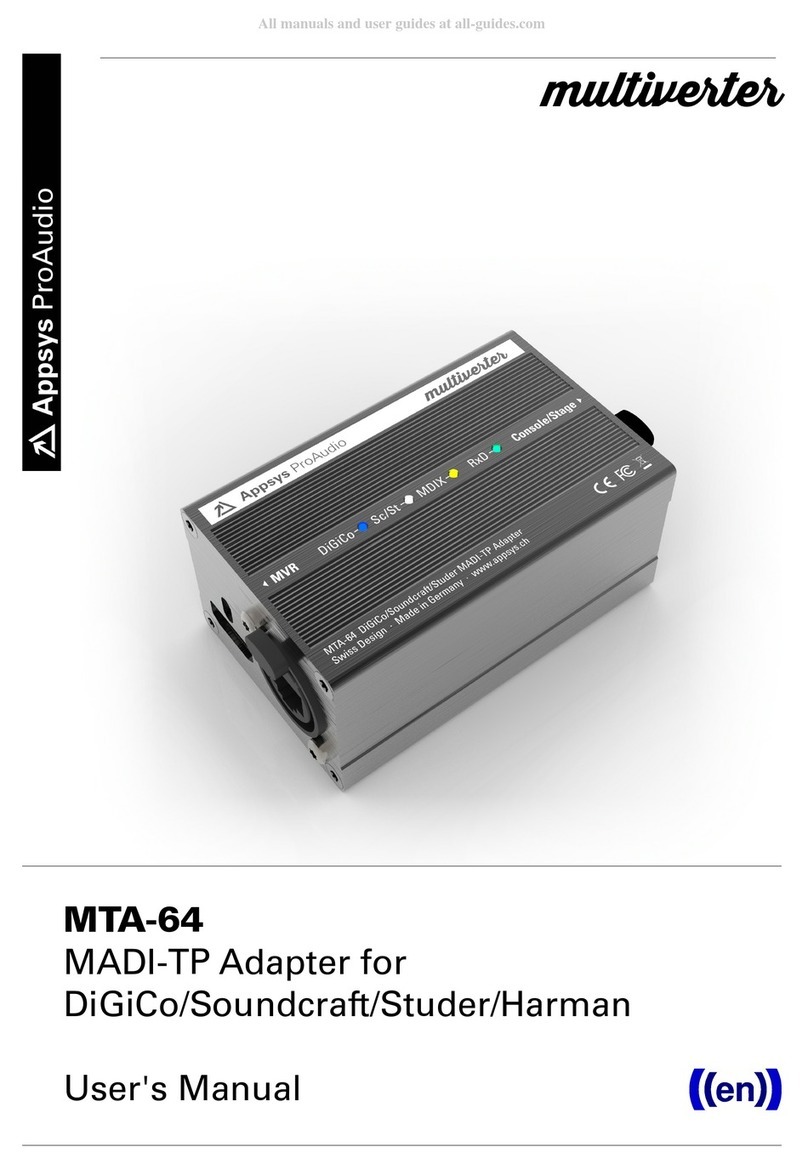
Appsys ProAudio MTA-64 User manual

Appsys ProAudio

Appsys ProAudio MTA-64 User manual

Appsys ProAudio multiverter MVR-64 User manual

Appsys ProAudio

Appsys ProAudio multiverter MVR-64 User manual

Popular Media Converter manuals by other brands

nedis VCON3452AT quick start guide

nedis

nedis VCON3452AT quick start guide

Algodue ELETTRONICA FCA3000 manual

Algodue ELETTRONICA

Algodue ELETTRONICA FCA3000 manual

Harman BSS BLU-USB quick start guide

Harman

Harman BSS BLU-USB quick start guide

ADF Web HD67C56-IP-B2 user manual

ADF Web

ADF Web HD67C56-IP-B2 user manual

Sony LMT-100 operating instructions

Sony

Sony LMT-100 operating instructions

Smart Cabling & Transmission AD001HD4 user manual

Smart Cabling & Transmission

Smart Cabling & Transmission AD001HD4 user manual

Thor Broadcast H-12HDMI-QAM-IPLL user manual

Thor Broadcast

Thor Broadcast H-12HDMI-QAM-IPLL user manual

Tektronix P6701A instruction manual

Tektronix

Tektronix P6701A instruction manual

Vdwall LVP user manual

Vdwall

Vdwall LVP user manual

Roland GI-10 owner's manual

Roland

Roland GI-10 owner's manual

Blackmagicdesign Broadcast Converter Operation manual

Blackmagicdesign

Blackmagicdesign Broadcast Converter Operation manual

SMART-AVI VS4PS installation manual

SMART-AVI

SMART-AVI VS4PS installation manual

Dragino RS485-LN user manual

Dragino

Dragino RS485-LN user manual

Lavry AD122-96 Mark III Operation manual

Lavry

Lavry AD122-96 Mark III Operation manual

LMI Milton Roy Micropace MP-100 instruction sheet

LMI

LMI Milton Roy Micropace MP-100 instruction sheet

Extron electronics IN1403 user manual

Extron electronics

Extron electronics IN1403 user manual

ARRI DEH-2 operating manual

ARRI

ARRI DEH-2 operating manual

MD RX950 manual

MD

MD RX950 manual

manuals.online logo
manuals.online logoBrands
  • About & Mission
  • Contact us
  • Privacy Policy
  • Terms and Conditions

Copyright 2025 Manuals.Online. All Rights Reserved.