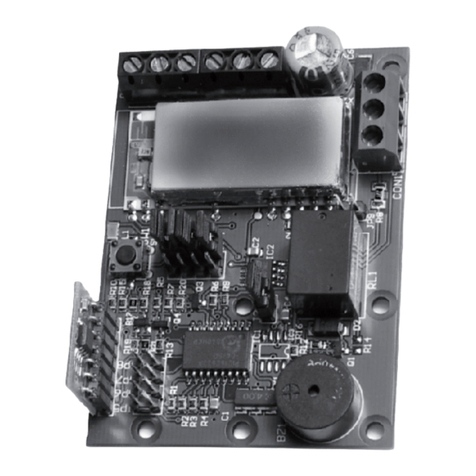
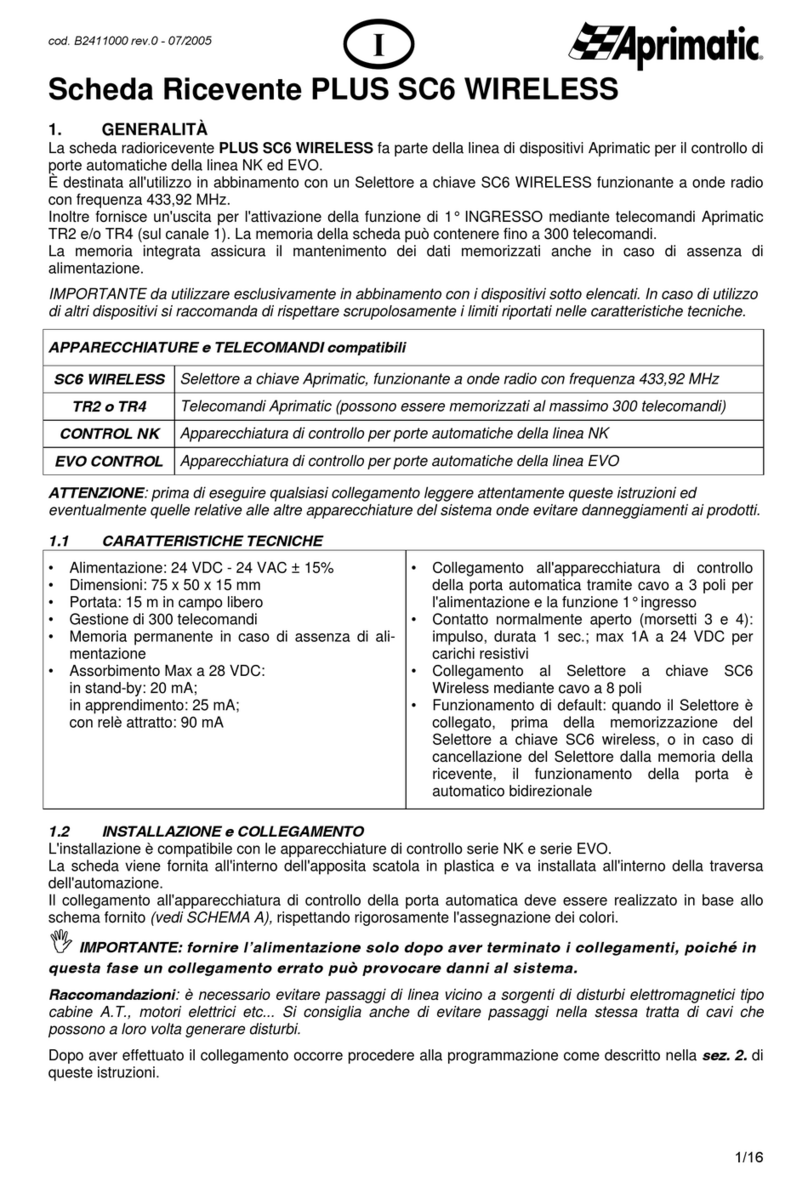
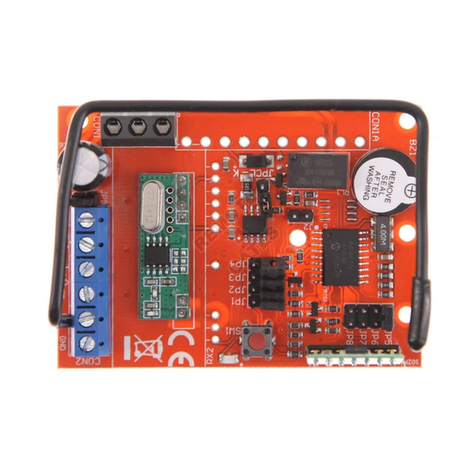
Aprimatic R-EX User manual

DS43380-007 LBT0470
Istru
zioni d’uso
Installations instructions
Instructions pour l’installation
Installation
sanleitung
Instrucciones par
a la instalación
Ricevitore R-EX
R-EX receiver
Récepteur R-EX
Empfänger R-EX
ReceptorR-EX
E
D
F
EN
I

2
ITALIANO / ENGLISH
SPECIFICHE TECNICHE / TECHNICAL DATA
Potenza massima in uscita 500W, il ricevitore R-EX può memorizzare fino a un massimo di 20 radiocomandi.
Maximum output power 500W, the R-EX receiver can store maximum 20 emitters channels
Attenzione: il ricevitoreR-EX non può essere collegato a centraline di comando centralizzato. Quando il ricevitore è in
modalità sicurezza
Attention : the R-EX reveiver it can not be connected to centralized control units. When the receiver is in security mode
PORTATA MASSIMA / CONTROL RANGE
La distanza di trasmissione effettiva può essere influenzata all'ambiente. Es. presenza di altri ricevitori radio, muri in cemento.
Effective transmitting distancemay have deviation due actual enviroment. Eg.presence of other radio receivers, concrete walls.
RADIOCOMANDI COMPATIBILI / MATCHABLE EMITTER
Il ricevitore R-Ex è compatibile con i telecomandi Aprimatic a un canale, 5 canali e 15 canali.
The R-EX receiver it’s matchable with Aprimatic emitter to single, 5 and 15 channels.
Radiocomando a 1 canale cod.43901/001 Radiocomando a 5 canali cod. 43901/005 Radiocoomando a 15 canali cod.43901/015
Single-channel emitter cod.43901/001 5-channel emitter cod.43901/005 15-channel emitter cod.43901/015
MOTORI COMPATIBILI / MATCHABLE MOTOR
La ricevente R-EX è compatibile con tutti i motori tubolari Aprimatic 45S-45M con finecorsa meccanici.
The R-EX receiver is compatible with all Aprimatic 45S-45M Tubular motors with mechanical limit switches.
CONNESSIONE ELETTRICA / MODE OF CONNECTION
POTENZA
OUTPUT POWER
500W MAX
M
AXIMUM
500W
Memorizzazioni
Store Max 20 radiocomandi
Maximum 20 emitters
Alimentazione 230V
frequenza 50 Hz
Power supply 230V / 50Hz
DNero = Discesa
UMarrone = Salita
C Blu = Comune
EVerde / Giallo = Terra
LMarrone = diretta
NBlu = Neutro
EVerde / Giallo = Terra
DBlack = Down
UBrown = Up
CBlue = Common
EGreen/Yellow = Earth
LBrown = Live
NBlue = Neutral
EGreen/Yellow = Earth

3
INSTALLAZIONE CONSIGLIATA / RECOMMENDED INSTALLATION
MEMORIZZAZIONE RADIOCOMANDO / SETTING UP EMITTER
Durante la memorizzazione, il tempo per le operazioni, deve essere inferiore ai 6s, altrimenti uscirà dalla programmazione.
Dare alimentazione, premere entro 6s, in succesione, due volte il pulsante P2 sul retro del radiocomando 1 volta il tasto UP
(salita), ad ogni pressione verrà emesso un “beep” di segnalazione, a conferma si sentiranno 3 “beep”.
During storage, the time for operations must be less than 6s, otherwise it will exit programming.
Give power, press the P2 button on the back of the remote control twice, then press button UP on the front of the remote
control. A "beep" will sound each time you press, confirming you will hear 3 beeps.
Nel caso di radiocomandi multi canale, prima di procedere alla programmazione di ogni singolo canale come descritto sopra per i
modelli SMS e CMS , ricordarsi di selezionare il canale desiderato.
In the case of multichannel radio controls, before proceeding to program each individual channel as described above for the SMS
and CMS models, remember to select the desired channel.
AGGIUNTA RADIOCOMANDO / ADD EMITTER
Durante la memorizzazione, il tempo per le operazioni, deve essere inferiore ai 6s, altrimenti uscirà dalla programmazione.
Premere 2 volte il pulsante P2 sul retro del radiocomando precedentemente memorizzato (a) e una volta P2 del radiocomando da
memorizzare (b), ad ogni pressione del pulsante P2 verrà emesso un “beep” di segnalazione, a conferma si sentiranno 3 “beep”.
During storage, the time for operations must be less than 6s, otherwise it will exit programming.
Press the P2 button twice on the back of the previously memorized remote control (a) and once P2 of the remote control to be
memorized (b), every time the P2 button is pressed a "beep" will sound, confirming you will hear 3 "beeps" .
La distanza minima tra la
ricevente e il pavimento deve
essere
≥
1.5m.
La distanza minima tra la
ricevente e il soffitto deve
essere almeno
≥
30cm.
La distanza minima tra
ricevente e ricevente (nel
caso di installazione con più
riceventi su più motori) deve
essere
≥
30cm.
a
b
The shortest distance
between receiver and ground
must be
≥
1.5m
The shortest distance
between receiver and roof
must be at least
≥
30cm
The shortest distance
between receiver and receiver
(nel caso di installazione con
più riceventi su più motori)
must be
≥
30cm.
P2
P2 P2
PREMERE P2 X 2 VOLTE
PRESS P2 TWICE Premere tasto UP (salita)
Press button UP

4
CANCELLAZIONE RADIOCOMANDO / CANCEL EMMITTER
Durante la memorizzazione, il tempo per le operazioni, deve essere inferiore ai 6s, altrimenti uscirà dalla programmazione.
Premere P2 una volta del radiocomando da cancellare, stop una volta, P2 una volta, a confeerma si sentiranno 3 “beep”.
N.B. La cancellazione di un radiocomando comporta il RESET della memoria del ricevitore e di TUTTI i radiocomandi già
memorizzati precedentemente.
During storage, the time for operations must be less than 6s, otherwise it will exit programming.
Press P2 once on the remote control to be canceled, stop once, P2 once, you will hear 3 "beeps"
N.B. The removal of one radio control, entails the CLEANING of the receiver memory and ALL the radio controls already
memorized previously.
Nel caso di radiocomandi multi canale, prima di procedere alla cancellazione di ogni singolo canale come descritto sopra per i
modelli SMS e CMS , ricordarsi di selezionare il canale desiderato.
In the case of multichannel remote controls, before proceeding to program each individual channel as described above for the SMS
and CMS models, remember to select the desired channel.
Questo prodotto rientra nel campo di applicazione della Direttiva 2012/19/UE riguardante la gestione dei rifiuti di apparecchiature elettriche ed
elettroniche (RAEE).
Per un corretto smaltimento delle apparecchiature elettriche ed elettroniche, delle pile e degli accumulatori, il proprietario deve consegnare il
prodotto presso gli appositi “centri di raccolta differenziata” predisposti dalle amministrazioni comunali.
Il simbolo del bidone barrato, presente sull’etichetta posta sull’apparecchio, indica la rispondenza di tale prodotto alla normativa relativa ai
rifiuti di apparecchiature elettriche ed elettroniche. L’abbandono nell’ambiente dell’apparecchiatura o lo smaltimento abusivo della stessa
sono puniti dalla legge.
This product falls within the scope of application of Directive 2012/19/EU on waste electrical and electronic equipment (WEEE).
For correct disposal of electrical and electronic equipment, batteries and accumulators, the owner must deliver the product to special "collection
centres" provided by municipalities.
The symbol of the crossed-out wheeled bin, present on equipment label, indicates that the product is in compliance with the standard on waste
electrical and electronic equipment. The release into the environment and the illegal disposal of the equipment shall be punished by law.
The instruction in other languages can be download by site www.aprimatic.com or required by email to in[email protected].
Aprimatic s.r.l.
Via Emilia 147
40064 Ozzano dell’Emilia (BO) Italy
www.aprimatic.it – info@aprimatic.it
Tel. 051 69 60 711 - Fax 051 69 60 722
Prodotto in Cina
Made in China
P2 P2
Other Aprimatic Receiver manuals


