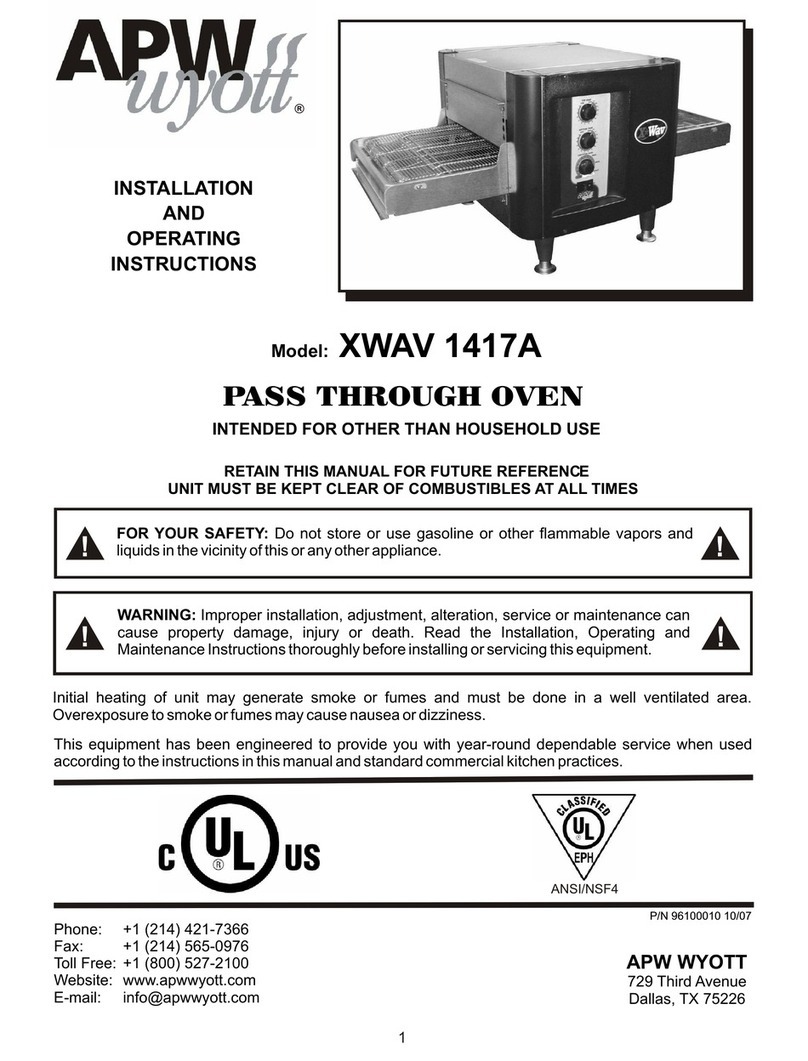
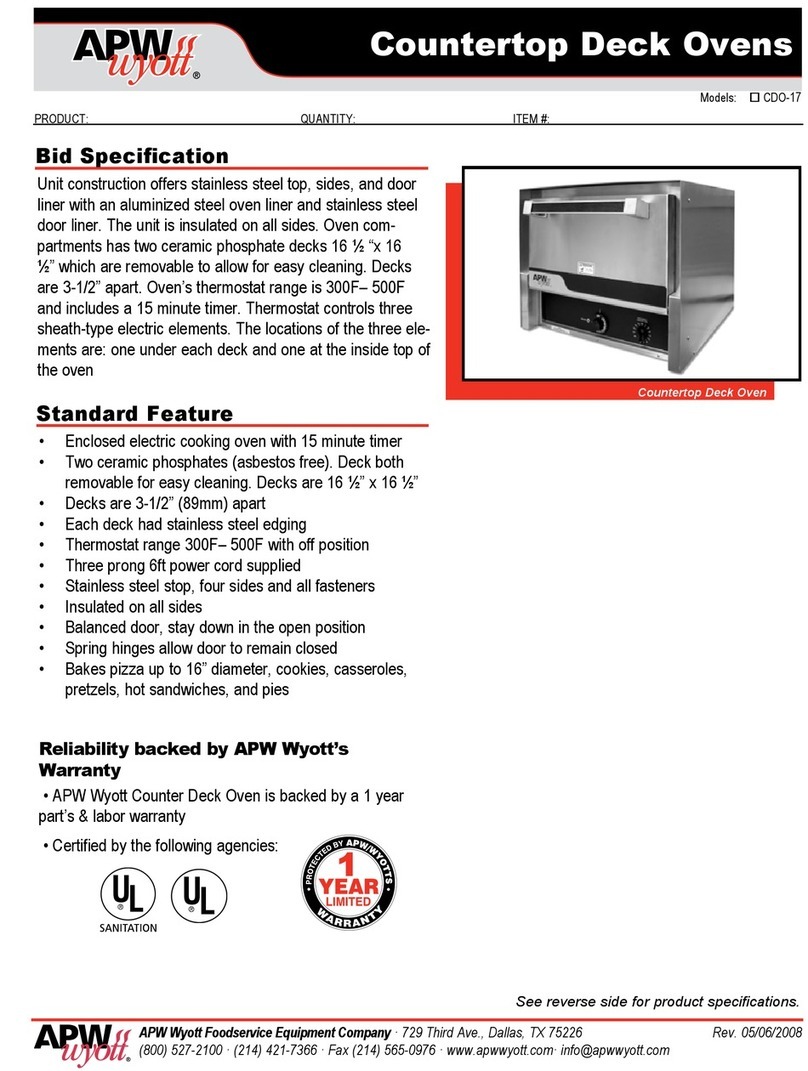
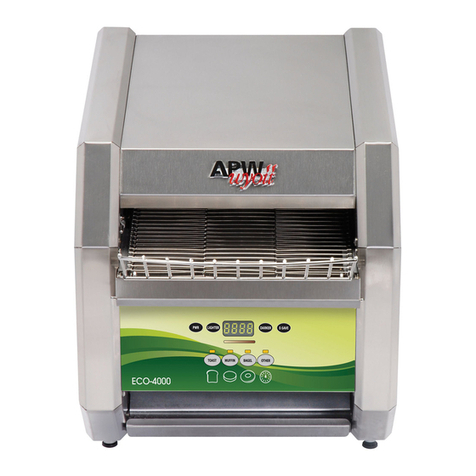
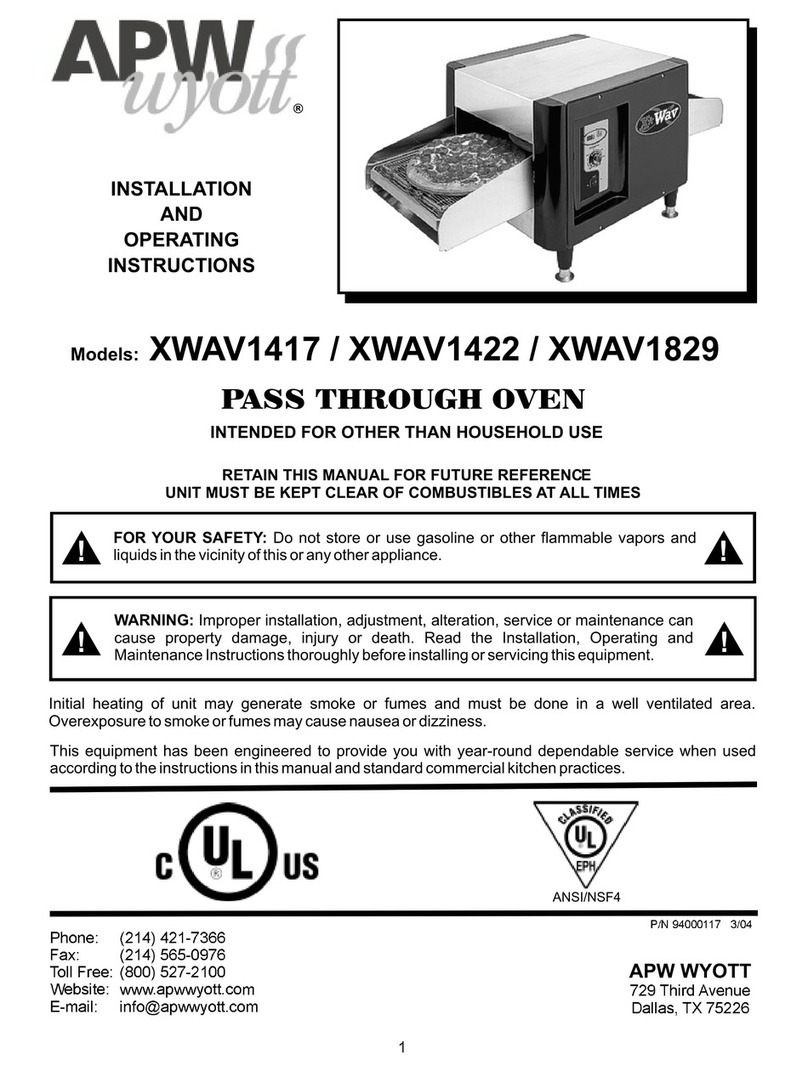
APW Wyott RANSI/NSF4 User manual

Phone: +1 (214) 421-7366
Fax: +1 (214) 565-0976
Toll Free: +1 (800) 527-2100
Website: www.apwwyott.com
INSTALLATION
AND
OPERATING
INSTRUCTIONS
INTENDED FOR OTHER THAN HOUSEHOLD USE
Model: XWAV 1417A
RETAIN THIS MANUAL FOR FUTURE REFERENCE
UNIT MUST BE KEPT CLEAR OF COMBUSTIBLES AT ALL TIMES
P/N 96100010 9/06
1
PASS THROUGH OVEN
APW WYOTT
729 Third Avenue
Dallas, TX 75226
This equipment has been engineered to provide you with year-round dependable service when used
accordingtotheinstructionsinthismanualandstandardcommercialkitchenpractices.
Initial heating of unit may generate smoke or fumes and must be done in a well ventilated area.
Overexposuretosmokeorfumesmaycausenauseaordizziness.
FOR YOUR SAFETY: Do not store or use gasoline or other flammable vapors and
liquidsinthevicinityofthisoranyotherappliance. !!
WARNING: Improper installation, adjustment, alteration, service or maintenance can
cause property damage, injury or death. Read the Installation, Operating and
MaintenanceInstructionsthoroughlybeforeinstallingorservicingthisequipment. !!
R
ANSI/NSF4

2
1. OWNER’S INFORMATION
GeneralInformation:
1. Alwayscleanequipmentthoroughlybeforefirstuse.(Seegeneralcleaninginstructions).
2. Checkratinglabelforyourmodeldesignationandelectricalrating.
3. Forbestresults,usestainlesssteelcountertops.
GeneralOperationInstructions:
1. Allfoodserviceequipmentshouldbeoperatedbytrainedpersonnel.
2. Donotallowyourcustomerstocomeincontactwithanysurfacelabeled“CAUTIONHOT”.
3. Nevertouchceramicorsteelheaters.
WarrantyInformation:
ReliabilityBackedByAPWWyott’sWarranty:
AllAPW Wyott PassThrough Ovens are backed by a one year parts and labor warranty, including On-Site
Servicecallswithin50milesofauthorizedservicetechnicians.
ServiceInformation:
ServiceHotline(800)733-2203
2. SAFETY INFORMATION
APW Wyott equipment is designed, built and sold for commercial use and should be operated by trained
personnel only. Clearly post all CAUTIONS, WARNINGS and OPERATING INSTRUCTIONS near each
unittoinsureproperoperationandtoreducethechanceofpersonalinjuryand/orequipmentdamage.This
productisusedforthecooking,defrostingorre-thermalizationoffoodproductsonly.
Always disconnect power before servicing the unit. Surfaces will remain hot after power has been turned
off.Allowunittocoolbeforecleaningorservicing.Nevercleantheunit byimmersingitinwater.Theunit is
not protected against water jets; DO NOT CLEAN PASS THROUGH OVEN WITHAWATER JET. Always
cleanequipmentproperlybeforefirstuse.
TABLE OF CONTENTS
SECTION ITEM PAGE SECTION ITEM PAGE
1 Owner's Information 2 7 Troubleshooting 6
2 Safety Information 2 8 Preventative Maintenance Schedule 7
3 Specifications 3 9 Wiring Diagrams 7
4 Installation Instructions 3 10 Parts List & Exploded View 10
5 Operation 5 11 Warranty 12
6 Cleaning 6
IMPORTANT FOR FUTURE REFERENCE
Please complete this information and retain this manual for the life of the equipment. For
WarrantyServiceand/orParts,thisinformationisrequired.
ModelNumber SerialNumber DatePurchased
!
!
WARNING: An earthing cable must connect the appliance to all other units in the complete
installationandfromtheretoanindependentearthconnection.
!
!WARNING: In Europe,appliancemust beconnectedby anearthing cable toall other units
inthecompleteinstallation andthencetoan independent earthconnectionin compliance
withEN60335-1and/orlocalcodes

3
3. SPECIFICATIONS
OVERALL DIMENSIONS - XWAV 1417A
D
F
GH
I
J
KL
AC
B
E
L =
A = 24.49”
B = 21.00”
C = 15.14”
D = 18.00”
E = 14.00”
F = 11.80”
G = 10.50”
H = 17.25”
I = 38.25”
J = 3.84”
K = 18.00”
4.00”
Electrical ratings:
Power Cord:
Six (6) foot, 3 wire grounded cord. If the supply cord is damaged, the manufacturer, or an authorized
service agent, must replace it in order to avoid a hazard and warranty. Please contact the factory by
callingthe800#locatedontheunit.
ShippingWeight:
XWAV1417A 98lbs.(44.5kg.)
MODEL WATTS VOLTS AMPS (1 Phase) NEMA PLUG
4100 208 19.7 6-30P
4100 240 17.1 6-30P
XWAV 1417A
4. INSTALLATION INSTRUCTIONS
If the carton appears damaged, or damage is discovered once the carton is opened, stop
immediatelyandcontactthefreightcompanytofileadamageclaim.
CAUTION: The Pass Through Oven is shipped assembled. The unit is shipped with
urethanesupportsbetweenthetopheatersandtheconveyorassembly. Pleaseremove
all urethane supports and packaging materials before operating the unit. Failure to
removeallpackagingmaterialsmayleadtoafireand/ordamagetotheappliance.
!
!

4
1. Removeallexternalpackagingthatisprotectingtopportionofunit.
2. Remove unit from shipping container while in the upright position. The unit can be lifted out of the
carton by grasping under the conveyor on each side of the appliance. Please remove the plastic
bag.
3. Remove all internal packaging to the unit. Important: Remove urethane supports located
inside the tunnel oven between the top heaters and the conveyor. Remove tape from
conveyor trays. Remove tape from extrusion corners. Remove tape from deflecting curtains
locatedjustaboveentranceandexitofconveyor.
4. Visually inspect all external and internal portions of unit for damage. Important: Inspect the
top white ceramic elements located inside the oven tunnel after removal of urethane
supports.Toinspectthesewhiteceramicelements,useasmallmirrorheldundereachelementto
detect cracks. Important: The Ceramic elements are fragile and will break under
stress. Do not twist, pull, push, or otherwise subject the white ceramic elements to
stress.
5. Wipedowntheexterioroftheunitusingadampclothwithwarmwater. Donotuseabrasivepadsor
cleanersastheywilldamagethestainlesssteelsurfaceandhightemperatureplastic.
NOTE:DONOTUSECLEANERSOFANYKINDONTHEWHITECERAMICHEATERS.
6. Removefourfeetfromboxandinstallintothreadednutslocatedatthefourcornersundersideofthe
left and right housings; Also remove conveyor extension tray(s). Conveyor extensions should be
hungoffendofconveyor frame. Asourstandard,Model XWAV 1417Awillonly have oneextension
intendedfortheexitend.
7. Placeunitinoperatinglocation.
Note: Ambient Conditions - Make sure that the operating location is in an area where the
ambient temperature is held constant (minimum 70°F). Please avoid areas such as near
exhaustfansandairconditioningducts.
Warning: Operatingenvironment
Ensurethatoperationlocationisatareasonabledistancefromcombustiblewallsandmaterials
otherwisecombustionordiscolorationcouldoccur.Stand-off/Air-dividerlocatedonrearpanelis
importantinmaintainingproperdivisionofinletandexhaustairflow-Ifremoveditcouldresultin
improperfunctioningofunitandMAYcausepersonalinjuryandWILLvoidyourwarranty.
Caution: Operatingenvironment
Place unit on a stable, level counter at a convenient height for use. Turn the adjustable feet so
that unit is level to countertop. The top of the unit is not intended for use a shelf. Materials
placedthereareatriskforfire.
8. Beforepluggingunitintowall,makesurethattheswitchisintheoffposition.
9. Warning: Ensure no hands, tools or parts or other unintended items are located on the conveyor
asinjurywillresultwhenunitisturnedon.
10. Plugunitintogroundedelectricaloutletwithcorrectvoltage,andplugconfiguration.
Warning: Using any receptacle that is not designed to match the attached cord and plug MAY
causepersonalinjuryandWILLvoidyourwarranty.

5
OvenStacking
The stacking kit will consist of 4 corner posts to be
insertedbetweenstackedunits.
Warning: When stacking, unit must have proper
stacking kit installed. This will prevent overheating
anddamagingofelectricalcomponents.
Warning: Donotstackmorethanthreeunitstallordo
notusemorethantwostackingkits.
Warning: Standoff on rear panel of unit is important
to allow proper inlet and exhaust fan airflow. Do not
cover inlet or exhaust fan openings as this could
damageelectricalcomponents.
1. Ensure bottom unit is mounted on secure
surface,withfeetinstalled.
2. Remove respective corner end caps and
screws. This will allow each of the stacking
spacer retaining fingers to slide into the
extrusions.
3. Removethefeetfromthetopunitasshown.
4. Secure each stacking spacer to the bottom of
the unit as shown by using the bolts and
washers provided. You should have four total
ofeach.
5. Once the stacking kit spacers are secure, place
top unit onto bottom unit. The stacking kit
spacers each have tapered guides to allow the
unittolockintoposition.
6. Refer to Figure 1. Install rear support bracket
and screws as shown. Each stacking kit
requires that two brackets be mounted on the
backside only. One bracket near the strain
reliefandoneattheoppositeend.
7. Refer to Cleaning Instructions for cleaning of
stackingspacersandcleaningbetweenunits.
FIGURE 1
Remove End
Caps & Screws
Before Installing Kit
Stacking Kit
#94000189
5. OPERATION
1. The controls that operate the unit, heaters and
conveyor are located on the front left side of the
unit.
2. The On/Off switch is used to turn the unit on or off.
Once the unit is turned on the conveyor will
automatically run. Warning: Ensure no hands,
toolsorpartsare located on the conveyor as injury
willresultwhenunitisturnedon.
3. The control areas (EGO’s) are used to control top
and bottom heat. The controls allow for separate
upper and lower zones. The settings for the upper
andlowerzonesare1-15;1beingthecoolestand
15beingthehottestsetting.
4. Note:BeforemovingtheOn/Offswitchtothe“On”
position,pleasereadthefollowingstatements:
1 28 seconds
2 29 seconds
3 32 seconds
4 43 seconds
5 52 seconds
6 1:01 minutes/seconds
7 1:16 minutes/seconds
8 1:29 minutes/seconds
9 1:45 minutes/seconds
10 2:07 minutes/seconds
11 2:44 minutes/seconds
12 3:35 minutes/seconds
13 5:26 minutes/seconds
14 9:35 minutes/seconds
15 OFF
SETTING EQUIVALENT COOK TIME
6
Caution: ExternalSurfaceTemperatures
Theunit'sexternal surfacetemperatureswill behot. Use cautionwhen touching theseareas to
avoidinjury.
Warning: SevereBurns-CeramicHeaters
Thewhiteceramicheatersoperateathightemperatures. Donot touch elements after power
is applied to the elements. Incorporated into the front surface of the element is a red color
changing decal. As the element reaches a predetermined temperature, the decal will change
from red to black. The decal will remain black until the element falls below the transition
temperature where it will then return to its original red color. However, the element even if red
willstillbeextremelyhot. ThiscolorchangingfeatureisusedONLYfordeterminingifelementis
operatingproperly.
5. Thedeflectorcurtains locatedattheentranceandexitoftheunitareusedtocontaintheheatinside
the unit, as well as keep any forced drafts from entering the unit. These curtains aid in efficient
operation of the heaters and can be adjusted to increase or decrease the entrance and exit height.
These curtains should be adjusted to the minimum height required above the conveyor for the
productyouareheating.
ControlOperation
Thisoven has2 heatingzones, 1on top,and onein thebottom. Thetopzone (TopHeat) isused to
controlall5ceramicemitters.Thebottomzone(BottomHeat)isusedtocontrolthebottomelement.
6. CLEANING
Insure the appliance has been turned off and has had sufficient time for all surfaces to cool down before
cleaning. Useonlymildsoapandwatertocleanthisappliance.Appliancecleaningshouldbeperformeddaily.
NOTE:DONOTUSEABRASIVEPADSORCLEANINGSOLUTIONSONTHISAPPLIANCE.
DailyCleaning
Removethecrumbpansandwipeoutdebriswithadampragandmildsoapsolution.
Remove the deflector panels located at the entrance and exit of the oven tunnel. Wipe down the area
under the deflector panels, and the deflector panels, with a damp rag and mild soap. Reinstall the
deflectorpanelsbyreversingtheprocedureusedtoremovethem.
Usingadampragwithmildsoapandwater,wipedowntheexteriorsurfacesoftheappliance.
Usingadampragwithmildsoapsolution,wipedownallareasofthe conveyor. DO NOTATTEMPTTO
CLEANTHEUPPERWHITECERAMIC,ORLOWERMETALHEATERS.
When units are in the stacked configuration, it is still necessary to clean between the units. Using a
dampragwithmildsoapandwater,wipedownthetopsandundersidesofallunits. Ensurethereareno
foreignobjectsbetweentheunitsthatcouldcatchfire.
Using a damp rag with mild soap and water, wipe the surfaces of the stacking spacers on all four
corners.
7. TROUBLESHOOTING
Alwaysaskandcheckthefollowing:
Notgettingpower:
1. Istheunitconnectedtoalivepowersourceofthepropervoltage?
2. Checktheratinglabel.Istheunitconnectedtothecorrectpowersource?
3. Checkthecircuitbreaker.
4. Iftheabovechecksout,andyoustillhaveproblems,callyourlocalserviceagent.

7
Conveyornotworking:
1. Pleasereferto“Notgettingpower”section.
2. Istheknobturnedtocorrectsettingperdesiredspeed?
3. Note: At slower settings the conveyor moves very slow and may appear stalled, which is not the
case.
4. Iftheabovechecksout,andyoustillhaveproblems,callyourlocalserviceagent.
Foodnotcookingproperly:
1. Pleasereferto“Notgettingpower”section.
2. Arethecontrollerandspeedcontroladjustedtothedesiredsetting?
3. Arethedeflectorcurtainsintheproperposition?
4. Iftheabovechecksout,andyoustillhaveproblems,callyourlocalserviceagent.
Please follow the cleaning section for the daily preventative maintenance schedule.
DO NOT USEABRASIVES OR CLEANING SOLUTIONS ON THIS APPLIANCE.
Routinely check before every operation that adequate distance is allowed between fans and
anything that would possibly allow foreign debris or substances to be taken in by inlet fan.
Clean fan guards on a daily basis to ensure proper inlet cooling to electrical components and
efficient hot air exhaust.
On a daily basis make sure side walls of tunnel oven remain clean to assist in maintaining even
cooking around product. Be careful not to bump or hit the upper ceramic heaters when wiping
down.
Ensure belt is properly tensioned as to prevent slippage or binding, which causes strain on motor.
DONOTATTEMPTTOMAINTENANCE,SERVICEORCLEANTHEUPPERCERAMICANDLOWER
METALHEATERS.
8. PREVENTATIVE MAINTENANCE SCHEDULE
OVERHEAD
7 TO: EGO- H2
12
2
1
7
88 TO: EGO- H1
9. WIRING DIAGRAMS

8
UNDER CARRIAGE
RIGHT SIDE HOUSING
RED TO "LI" ON SWITCH
BLACK TO"L2" ON SWITCH
MOTOR SPEED POT.
1155
B
BLACK
BLACK
LUE
RED
BLACK
RED
ORANGE
BLACK
BLUE
GREEN
ORANGE
BELT
REVERSING
SWITCH
24
VDC
OUTPUT
+
POWER
SUPPLY
-
208
VAC
INPUT
DRIVE
MOTOR
GREEN
GREEN
ORANGE
INSULATED
CONNECTOR
RED
SCOTCHLOK
1 2 3
WHITE
WHITE
RIGHT
SIDE
HOUSING
POWER SWITCH
OFF
ON
MOTOR SPEED POT.
5
7
11
6
ORANGE
GREEN
BLUE
L1 L2
L2
L1
15
GR
15
8
87
9
9
14
11
12 12
10
10
14
13
13
BLUE
GREEN ORANGE
BLACK TO "N" ON 3 PIN
POWER SUPPLY
5 TO "LI" ON 2 POLE TERMINAL BLOCK
6 TO "L2" ON 2 POLE TERMINAL BLOCK
RED TO "L" ON 3 PIN
POWER SUPPLY
ORANGE TO "ORANGE" ON ON P/S 6 PIN HARNESS
GREEN TO "GREEN" ON P/S 6 PIN HARNESS
BLUE TO "BLUE" ON DRIVE MOTOR HARNESS
7 TO "L1" ON CERAMIC TERMINAL BLOCK
8 TO "L2" ON CERAMIC TERMINAL BLOCK
ATTACH
GROUND
WIRE
TO
SWITCH
&
EGO
PROTECTOR
HOUSING

9
LEFT SIDE HOUSING
L2
TAT
H
L1
L1
L2
T.S
GR
TAT
ORD
CK
E
ON SWITC
ITCH
L2
L1
33
3
6
5
6
4T.S
POWER C
L1= BLA
L2= WHIT
4
5
5 TO "LI"
6
TO
"L2" ON SW

10
ITEM PART NUMBER DESCRIPTION QUANTITY
10. PARTS LIST & EXPLODED VIEW
PARTS LIST
ELEMENT, CERAMIC, 208V1 94000028 AS R'QD
94300001 ELEMENT, CERAMIC, 240V AS R'QD
FIREBAR ELEMENT, XWAV1417, 208V
294100016 1
94400001 FIREBAR ELEMENT, XWAV1417, 240V 1
396100001 ESCUTCHEON, XWAV 1417A 1
496100002 WELD ASSY, CONVEYOR, XWAV 1417A 1
END, CAP, F/L & B/R
593000067 4
END CAP, B/L & F/R
693000070 4
782914 CHAIN, CONVEYOR DRIVE, XWAV1417, 1422, 1829 1
WIRE BELT, XWAV1417 & 1422
894100043 1
994200097 ASSY, MERKLE-KORFF GEAR MOTOR 1
10 94200095 KIT, POWER SUPPLY, 5V/24V OUTPUT 1
11 95000033 TERMINAL BLOCK, CERAMIC AS R'QD
12 85283 FAN CORD 2
13 85287 FAN GUARD 2
14 85284 FAN,COOLING 2
15 30203 TERMINAL BLOCK, 2 POLE 1
16 86295 LEG, BLACK 4
17 94000105 THERMOSTAT 2
18 94100048 POWER CORD, 12/3, 6-30P 1
19 96100010 INSTALLATION/OPERATION MANUAL, XWAV 1417A 1
20 67002 SWITCH, ON-OFF, 30 AMP, DPST 1
21 88705 KNOB, BLACK 3
22 94100029 TRAY, CONVEYOR, XWAV 1417 2
23 94100045 CONVEYOR, EXTENSION, XWAV 1417, XWAV 1422 AS R'QD
24 69104-EGO 208V INFINITE CONTROL-EGO 1
26 94000189 STACKING BRACKET KIT (OPTIONAL) 1
27 94000172 ASSY, POTENTIOMETER 1
28 96100007 PROTECTOR, EGO SWITCH 1
25 89408 SWITCH, LIGHTED ROCKER 1
69103-EGO 240V INFINITE CONTROL-EGO 1

11
EXPLODED VIEW
XWAV
n ion
I stallat
&
Opera ntio
M alanu
Stacking Kit
26
19
2200
2244
77
1122
1144
1133
2211
55
66
1155
1177
88
11881111
99
11
44
33
22
1166
2222
1100
2255
2233
99
12
13
9
5
16
21
8
10
14
18
23
15
1
20
6
4
17
25
7
22
24
28
3
27
2

12
11. APW WYOTT EQUIPMENT LIMITED WARRANTY
APW Wyott Foodservice Equipment Company warrants it's equipment against defects in materials and workmanship, subject to the
following:
Thiswarrantyappliestotheoriginalowneronlyandisnotassignable.
Shouldproductfail tofunctioninits intendedmannerundernormal usewithinthelimits definedinthiswarranty, attheoptionofAPW
Wyottsuchproductwill berepairedorreplaced byAPWWyottoritsAuthorizedServiceAgency.APWWyottwillonly beresponsible
for charges incurred or service performed by itsAuthorized ServiceAgencies. The use of other thanAPWWyottAuthorized Service
Agencies will void this warranty and APW Wyott will not be responsible for such work or any charges associated with same. The
closestAPWWyottAuthorizedServiceAgentmustbeused.
This warranty covers products shipped into the 48 contiguous United States, Hawaii, metropolitan areas ofAlaska and Canada. There
willbenolaborcoverageforequipmentlocatedonanyislandnotconnectedbyroadwaytothemainland.
Warranty coverage on products used outside the 48 contiguous United States, Hawaii, and metropolitan areas of Alaska and Canada
mayvary.ContacttheinternationalAPWWyottdistributor,dealer,orserviceagencyfordetails.
TimePeriod
Oneyear parts, one year labor,effectivefrom the date of purchase by theoriginal owner. TheAuthorized ServiceAgency may,attheir
option, require proof of purchase. Parts replaced under this warranty are warranted for the un-expired portion of the original product
warrantyonly.
Exceptions*Gas/Electric Cookline Models GCB, GCRB, GF, GGM, GGT, GHP-H, EF, EG, EHPThree (3) Year Warranty on all
componentparts,exceptswitchesandthermostats.(2additionalyearsonpartsonly.Nolaboronsecondorthirdyear.)
*BroilerBriquettes,
*HeatStrips ModelsOH&FD Two(2)YearWarrantyonelementonly Nolaborsecondyear.
*GlassWindows,DoorSeals,RubberSeals,LightBulbs
Inallcases,partscoveredbyextendedwarrantywillbeshippedFOBthefactoryafterthefirstyear.
PortableCarryInProducts
Equipment weighing over 70 pounds or permanently installed will be serviced on-site as per the terms of this warranty. Equipment
weighing 70 pounds or under, and which is not permanently installed, i.e. with cord and plug, is considered portable and is subject to
the following warranty handling limitations. If portable equipment fails to operate in its intended manner on the first day of
connection,oruse,atAPWWyott'soptionoritsAuthorizedServiceAgency,itwillbeservicedonsiteorreplaced.
From day two through the conclusion of this warranty, portable units must be taken to or sent prepaid to theAPW Wyott Authorized
Service Agency for in-warranty repairs. No mileage or travel charges are allowed on portable units after the first day of use. If the
customer wants on-site service, they may receive same by paying the travel and mileage charges. Exceptions to this rule: (1)
countertopwarmersand cookers, whicharecoveredunder the EnhancedWarrantyProgram,and(2)toasters orrollergrillswhich have
instoreservice.
Exclusions
Thefollowingconditionsarenotcoveredbywarranty:
*Equipment failure relating to improper installation, improper utility connection or supply and problems due to
ventilation.
*Equipment that has not been properly maintained, calibration of controls, adjustments, damage from improper cleaning
andwaterdamagetocontrols.
*Equipmentthat has not been used in an appropriatemanner,orhasbeensubject to misuse misapplication, neglect, abuse,
accident,alteration,negligence,damageduringtransit,deliveryorinstallation,fire,flood,riotoractofgod.
*Equipmentthathasthemodelnumberorserialnumberremovedoraltered.
If the equipment has been changed, altered, modified or repaired by other than a qualified service technician during or after the
warrantyperiod,thenthemanufacturershallnotbeliableforanydamagestoanypersonortoanyproperty, which may result from the
useoftheequipmentthereafter.
This warranty does not cover services performed at overtime or premium labor rates. Should service be required at times which
normallyinvolve overtimeorpremiumlaborrates,theownershallbechargedforthedifferencebetweennormalserviceratesandsuch
premiumrates.APWWyottdoesnotassumeanyliabilityforextendeddelaysinreplacingorrepairinganyitemsbeyonditscontrol.
InallcasestheuseofotherthanAPWWyottAuthorizedOEMReplacementPartswillvoidthiswarranty.
Thisequipmentisintendedforcommercialuseonly.Warrantyisvoidifequipmentisinstalledinotherthancommercialapplication.
WaterQualityRequirements
Water supply intended for a unit that has in excess of 3.0 grains of hardness per gallon (GPG) must be treated or softened before
being used. Water containing over 3.0 GPG will decrease the efficiency and reduce the operation life of the unit.
Note: Product failure caused by liming or sediment buildup is not covered under warranty.
“THE FOREGOING WARRANTY IS IN LIEU OFANYANDALLOTHER WARRANTIES EXPRESSED OR IMPLIED
INCLUDINGANYIMPLIEDWARRANTYOR MERCHTABILITYORFITNESSFORPARTICLUARPURPOSES AND
CONSTITUTES THE ENTIRE LIABILITY OF APW WYOTT. IN NO EVENT DOES THE LIMITED WARRANTY
EXTENDBEYONDTHETERMSHEREIN.”
1/05
RockGrates,CookingGrates,BurnerShields,Fireboxes 90DayMaterialOnlyNoLabor
90DayMaterialOnly NoLabor.
This manual suits for next models
1
Table of contents
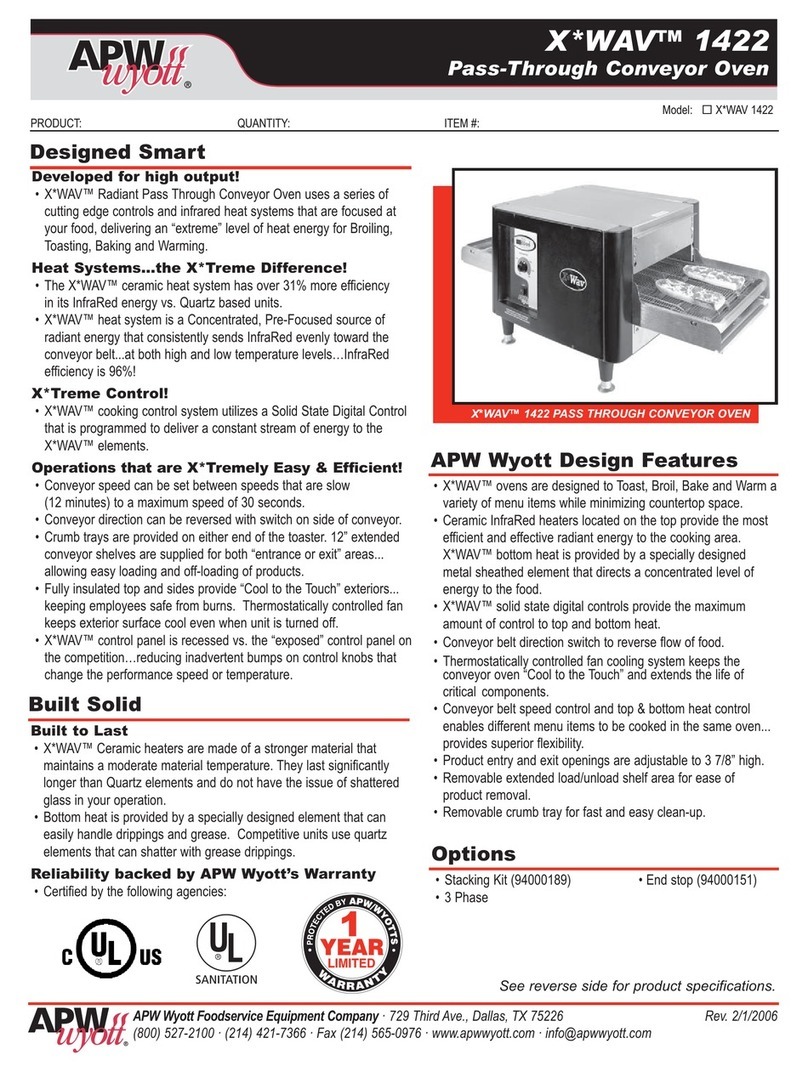
Other APW Wyott Oven manuals

APW Wyott
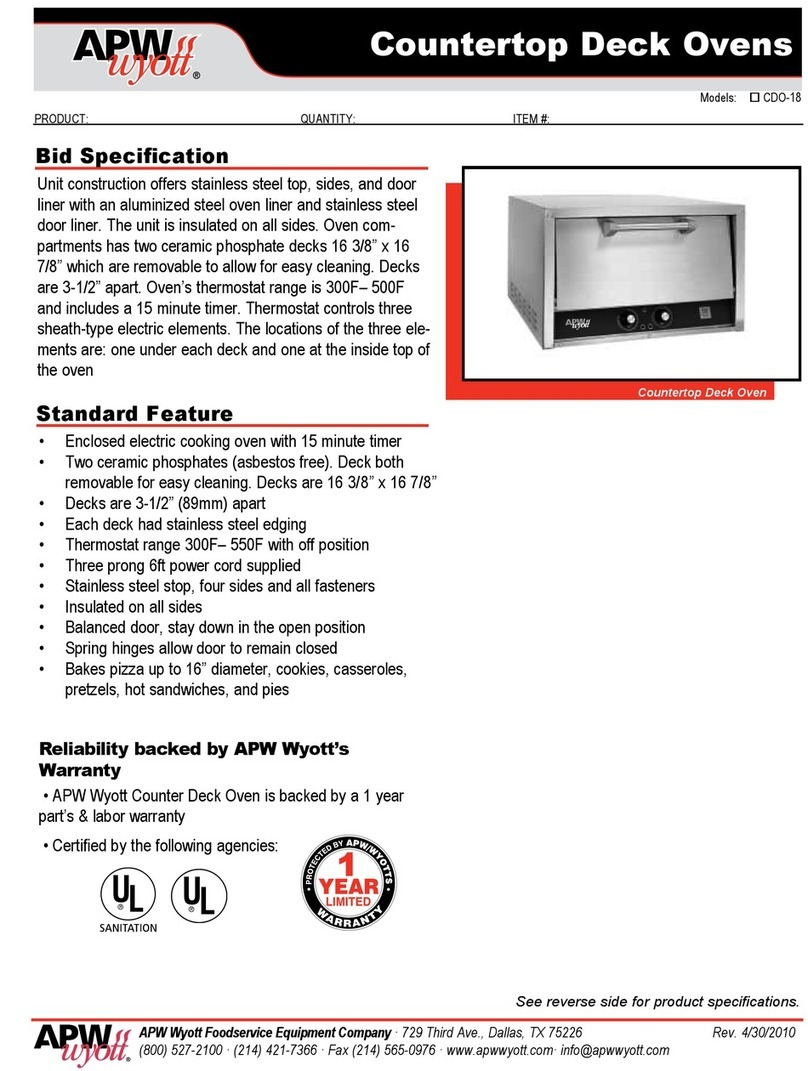
APW Wyott CDO-17 User manual

APW Wyott
APW Wyott XWAV1829 EZ SS User manual

APW Wyott
APW Wyott ECO 4000-350E User manual

APW Wyott
APW Wyott X*WAV 1422 User manual

APW Wyott
APW Wyott X*WAV 1422 User manual

APW Wyott
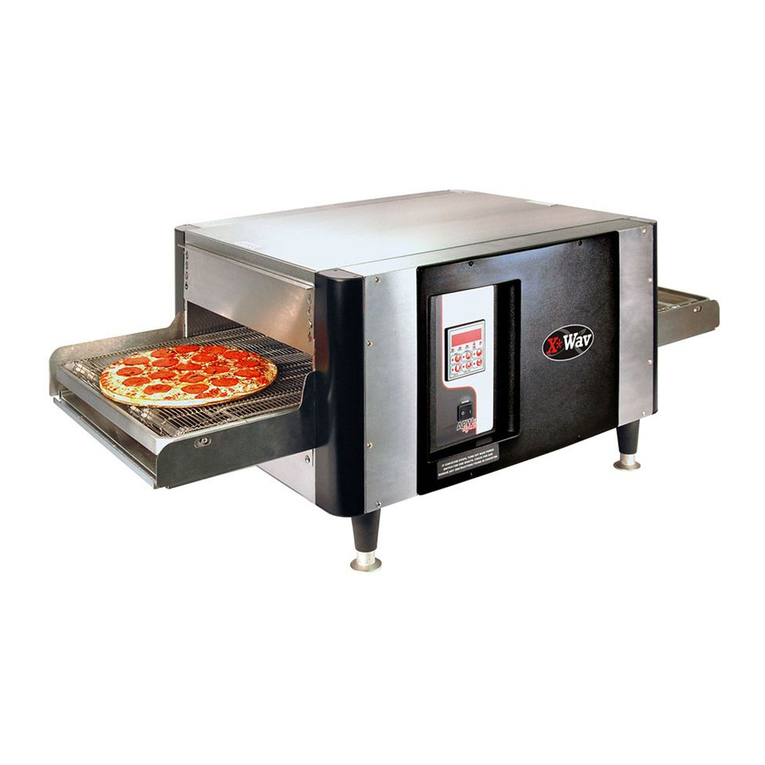
APW Wyott X*WAV 1417 User manual

APW Wyott
APW Wyott XWAV1417A User manual

APW Wyott
APW Wyott QST-350E User manual

APW Wyott
APW Wyott CDO-17 User manual

APW Wyott
APW Wyott X*WAV 1417 User manual