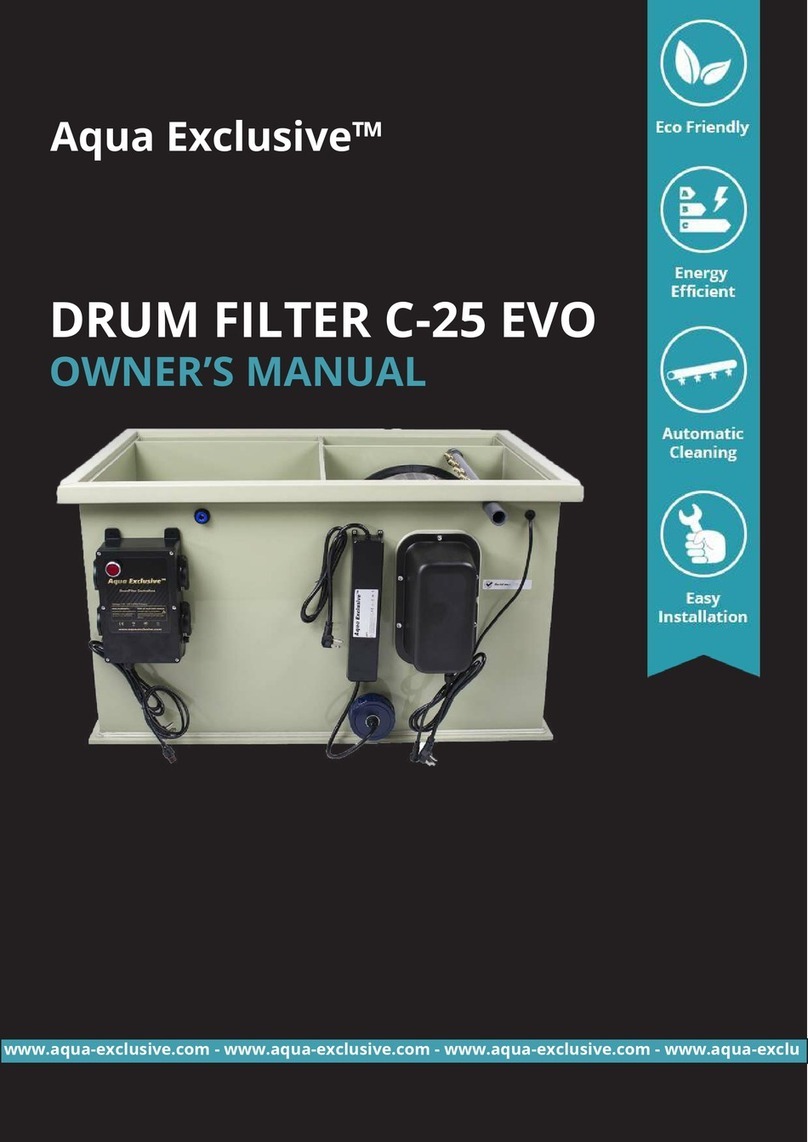
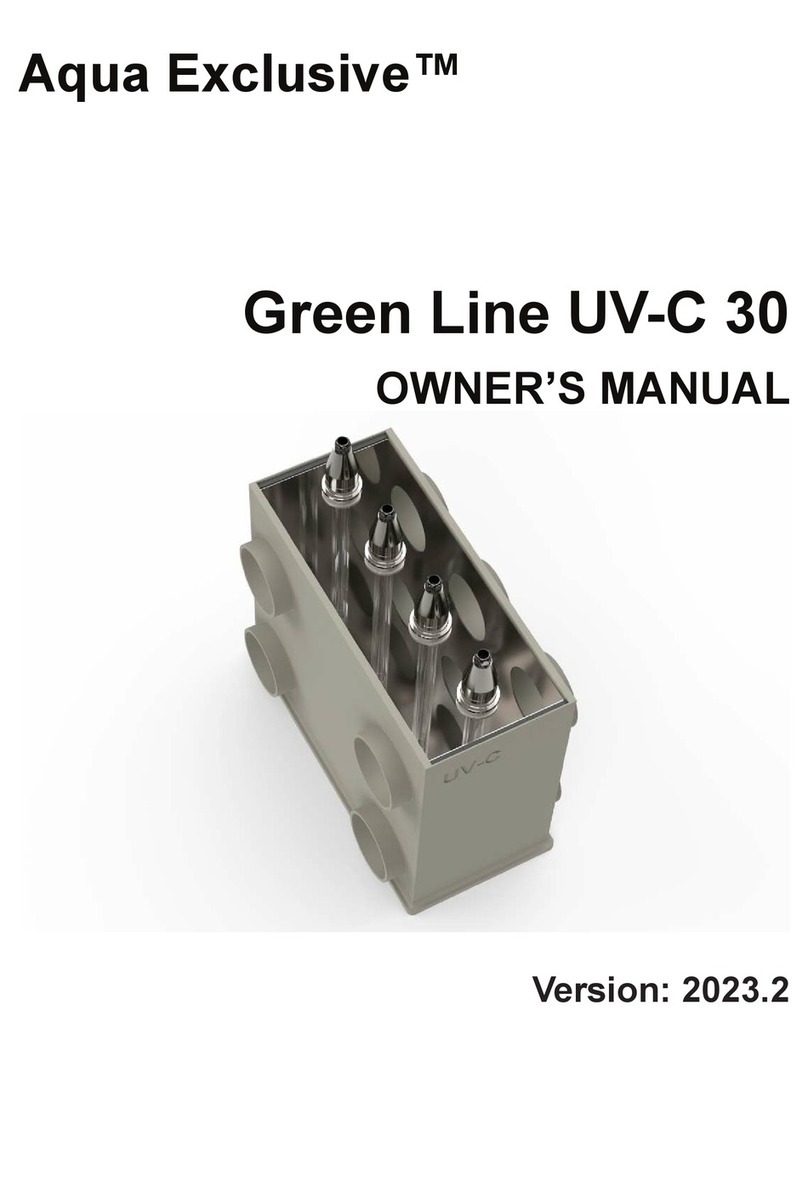
Aqua Exclusive Green Line RDF 30 User manual

Aqua Exclusive™
Version: 2023.2
Green Line RDF 30
OWNER’S MANUAL

YOUR OWNER’S MANUAL
ILLUSTRATIONS AND PRODUCT SPECIFICATIONS
©2006-2023 Aqua ExclusiveTM
For the latest and most accurate information about your lter you can nd the owner’s man-
ual online. To download or view this manual, please go to https://www.aqua-exclusive.com/
manuals.
To ensure that your new lter functions properly and safely, we advise you to read this
manual thoroughly before usage.
The illustrations provided in this document are for demonstration purposes only. All speci-
cations and descriptions contained in this document are veried to be accurate at the time of
printing. However, because continuous improvement is a goal at Aqua Exclusive™, we reserve
the right to make product modications at any time. To communicate any inaccuracies or
omissions in this document, please send an email to: [email protected].
All information in this document and all product software is subject to copyright and other in-
tellectual property rights of Aqua Exclusive™ and its licensors. This material may not be mod-
ied, reproduced or copied, in whole or in part, without the prior written permission of Aqua
Exclusive™. Additional information is available upon request. The following are trademarks
or registered trademarks of Aqua Exclusive™ in the Netherlands and other countries: Green
Line, Green Line RDF, Green Line Bio, Green Line UV-C.

Aqua ExclusiveTM
Contents
1.Green Line RDF...................................................................................................4
1.1 What is the Green Line RDF 30?.........................................................................................4
1.2 How does the Green Line RDF 30 work?...........................................................................4
1.3 Aqua ExclusiveTM Green Line...............................................................................................4
1.4 What is included....................................................................................................................4
1.5 Filter overview.......................................................................................................................5
1.6 Specications.........................................................................................................................6
2. Safety information.............................................................................................7
3. Suitable for many applications........................................................................8
4. Filter installation...............................................................................................9
5. Pump fed or gravity setup..............................................................................10
6. Pump fed setup................................................................................................10
6.1 Advantage pump fed setup...............................................................................................10
6.2 Example pump fed setup...................................................................................................10
7. Gravity setup....................................................................................................11
7.1 Advantage gravity setup.....................................................................................................11
7.2 Example gravity setup........................................................................................................11
8. Water level........................................................................................................12
8.1 Water level pump fed setup..............................................................................................12
8.2 Water level gravity setup....................................................................................................12
9. Flexible couplings.............................................................................................13
10. Slide valve.......................................................................................................13
11. Water level sensor.........................................................................................14
11.1 How to set water level sensor pump fed setup............................................................14
11.2 How to set water level sensor gravity setup.................................................................14
12. Built-in safety.................................................................................................15
12.1 Safety with pump fed setup............................................................................................15
12.2 Safety with gravity setup..................................................................................................15
13. Pond/Circulation pump,...............................................................................15
13.1 Built-in pump protection.................................................................................................15
14. Cleaning process............................................................................................16
14.1 Built-in rinse pump..........................................................................................................16
14.2 Spray nozzles....................................................................................................................17
15. Electronic enclosures....................................................................................17
15.1 How to install the rinse pump box................................................................................18
15.2 How to install the drum lter control box....................................................................19
16. Filling up the system.....................................................................................20
17. Maintenance..................................................................................................21
17.1 Bypass activation..............................................................................................................21
17.2 Replacing lter panel.......................................................................................................21
18. Technical drawing..........................................................................................22
Overview 3

Aqua ExclusiveTM
GREEN LINE OWNER’S MANUAL
Overview
1.1 What is the Green Line RDF 30?
1.2 How does the Green Line RDF 30 work?
The Aqua Exclusive Green Line RDF 30 is a professional and automatic pre-lter system. It is a
mechanical lter and this is the rst step in the ltering process. The task is to remove faeces
and other particles from the water before they break down in ammonia or nitrite. Smaller
particles are harder to capture and result in adverse water quality conditions. Organic load-
ing increases bacterial growth, reduces the biological lter performance and decreases water
quality. The Green Line RDF 30 removes these faeces and particles from the water and dis-
charges them to the sewer. The lter works fully automatically and is suitable for many appli-
cations.
The Aqua Exclusive Green Line RDF 30 has three inlets and two outlets. Water ows through
the inlets into the lter. Then the water is ltered through the periphery of the drum and
particles are carefully separated from the water through the special cell structure of the lter
panel. As solids build up on the lter panel, the automatic system starts rotating the drum
and initiates the cleaning process. Solids are gently rinsed o the lter panel with the special
stainless steel nozzles and collected in the drain gutter and discharged. These nozzles are fed
by a stainless steel high pressure pump that is build inside the lter. The ltration continues
on the clean lter panel during the rinse process, this allowing a continuous ltration process.
This cycle is repeated as often as necessary and fully automatic! Our unique design of the
lter panels prevents fragmentation through careful handling of the solids. This high ltration
eciency is essential in optimizing water quality parameters.
1.4 What is included
• Aqua Exclusive™ Green Line RDF 30
• Drum lter control box
• Rinse pump box
• 24 months manufacturer’s warranty
• Lifetime customer support
The lter is delivered ready to use in a special wooden pallet box. You don’t have to assemble
the lter, what makes it easy to install.
1.3 Aqua ExclusiveTM Green Line
4
Figure 1: Green Line overview

Overview 5
Aqua ExclusiveTM
Overview
Figure 2: Green Line RDF overview
1. Stainless steel 316L nozzle + holder
2. By-pass system
3. Water level sensor holder 1
4. Drain gutter
5. Water level sensor holder 2
6. Spray bar
7. Drum motor
8. Drum
9. Filter panel
10. Sight glass
1. Drain outlet 4” (110mm)
2. Inlet 4” (110mm)
3. Inlet 4” (110mm)
4. Inlet 4” (110mm)
5. Drum Motor Cable
6. Outlet 4” (110mm)
7. Rinse pump cable
8. Water level sensor cable
9. Outlet 4” (110mm)
Figure 3: Green Line RDF front and back view
1.5 Filter overview

Specications
Model: Green Line RDF 30
Brand: Aqua Exclusive™
Product number: 300101 (110v), 300102 (220v)
Model Year: 2023
Type of ltering: Mechanical ltration
Type of lter: Rotary drum lter
Water volume: Up to 60.000 Liters (16000 Gallon)
Minimum water ow: No minimum ow required
Maximum water ow: 30.000 LPH (8000 GPH)
Installation: Gravity / Airlift / Pump fed setup
Filter weight: 35kg (77 lbs)
Inlet pipes: 3x 110mm (4” inch)
Outlet pipes: 2x 110mm (4” inch)
Drain pipe: 1x 110mm (4” inch)
Materials: Stainless steel 316L, Polypropylene, ABS, SBR,
PMMA
Voltage: 2 options: 110v and 220v
Power consumption 24/7: 7 watts
Power consumption during rinse process: 435 watts
Duration rinse process: 12 seconds
Water consumption rinse process: 3 Liters
Filter panel: Standard 70 micron (Optional: 24 up to 300 micron)
Suitable for: Aquaculture, Aquaponics systems, Hydroponics
systems, Fish farms, (koi) ponds, (Large) aquari-
ums, Natural swimming pools and more!
Dimensions (Length x width x height): 850 x 520 x 475 mm (33.5” x 20.5” x 18.7”)
Manufacturer: Aqua Exclusive B.V.
Country of origin: Netherlands
1.6 Specications
GREEN LINE OWNER’S MANUAL
6
Aqua ExclusiveTM Specications

2. Safety information
This system may cause bodily harm or damage to property if you do not use it properly and
in accordance with all safety guidelines, or if you attempt to use it for any purpose other than
that for which it was designed. This system must never be operated by children or anyone
under the age of 16, or by anyone who has a physical, mental or sensory impairment or lack
of experience and knowledge, unless they are under supervision and have been instructed
on the safe usage of the system and are informed of the dangers associated with it. Children
must be made aware that this system is not a toy. Cleaning and maintenance must be per-
formed by an adult. This must never be performed by a child, even if they are under supervi-
sion.
• The device may only be connected to an electrical installation that meets the legal stan-
dards. A residual-current device (30 mA) and earthed wall socket are required. If in doubt,
consult a qualied installer.
• Before commissioning, check the entire device, mains lead and plug for damage. If dam-
age is found, the device may not be used. Contact our support team about the damage.
• Keep the power plug free from moisture. Prevent water from running along the power
lead into the socket.
• When opening the lid/maintenance cover, the power to the device/control box must al-
ways be switched o.
• We advice to install the lter in a dry, sheltered place. Not in direct sunlight. The lter can
be placed outside, but this shortens the lifespan of the lter.
• Not suitable for salt water.
• The device is suitable for fresh water and water temperatures between +4 to +35 °C.
• Outside this temperature range, the lter material may loses its strength and can break.
• The device may only be switched on when there is sucient water ow.
• Connect the system only to a power outlet that has been installed according to industry
standards and does not contain a dimmer.
• For your own safety, always consult a professional electricianin case of any problems.
If you have any questions or concerns about your lter, you can email support@aqua-exclu-
sive.com or open the live chat at www.aqua-exclusive.com. Our support team is 24/7 avail-
able to help you.
Safety 7
Aqua ExclusiveTM
Safety

8 GREEN LINE OWNER’S MANUAL
Aqua ExclusiveTM Installation
The Green Line RDF 30 is a part of the Aqua Exclusive Green Line.
With the launch of the Aqua Exclusive™ Green Line, we bring a professional and complete
automatic lter line to the market. A very ecient and compact lter line with the latest tech-
niques in the eld of water purication. This premium lter line oers exceptional perfor-
mance with very low energy consumption.
The Aqua Exclusive Green Line lter is suitable for many applications because you can com-
pose your own lter setup. The dierent lter parts can be ordered separately so you can
make it suitable for the following applications:
- Aquaculture
- Fish Farms
- Koi Ponds
- Natural ponds
- Natural swimming ponds
- Aquaponics systems
- Hydroponics systems
- Aquariums
- And more...
3. Suitable for many applications

Installation 9
Aqua ExclusiveTM
Installation
In this manual we show you how to install the Green Line RDF 30 on a pond, but the lter is
suitable for almost all freshwater applications. If you plan to install this system in a way that
deviates signicantly from the recommendations in this user manual, allow for a specialist to
inspect the installation to ensure that all technical specications have been met.
The lter must always be placed in a level position. The bottom of the lter must be com-
pletely supported. When positioning the lter, ensure that there is adequate space on all
sides so that you have room to perform maintenance.
The drain gutter can be connected to a sewage connection with a 110mm (4” inch) diameter.
Make sure that the drain gutter is positioned at an adequate incline. It is recommended to
install a pipe with a exible rubber coupling. These can compensate for small dierences in
dimensions and also absorb vibration. They can also be detached to remove the drain gutter.
To maintain a constant water level, you can install an automatic lling station with overow
function for your pond.
Always use high-quality pipes with an adequate wall thickness. Lay the pipes at a downward
angle so that they can be fully emptied during the winter to protect them against frost.
Always use suitable transport and lifting equipment when transporting and assembling this
system.
4. Filter installation

10 GREEN LINE OWNER’S MANUAL
Aqua ExclusiveTM Installation
6. Pump Fed setup
In a pump fed setup, a pump moves the water from the pond the lter. The water ows
through the lter and must be able to ow freely back into the pond. These lters are there-
fore always placed above water level, otherwise the lter will overow.
Figure 4: Pump fed setup overview
6.1 Advantage pump fed setup
6.2 Example pump fed setup
The advantage of a pump fed setup is that the lter is quick and easy to install. The disadvan-
tage is that you use more power than with a gravity setup.
5. Pump Fed or Gravity setup?
Before you start with the installation you need to know how you want to install your lter.
The Green Line RDF 30 can be used for both, gravity and pump fed setup.

Installation 11
Aqua ExclusiveTM
Installation
A gravity fed lter works in the opposite way to a pump fed lter system, with the pump
drawing water away from the lter either via a suction hose, or been situated in the lter’s
nal chamber. Because gravity will always keep the water levels equal, pond water is replaced
in the lter via the bottom drain when the pump pulls water from the lter. Gravity fed sys-
tems are generally more ecient when compared to pump fed systems; bottom drains re-
quire very little maintenance and are able to remove all pond waste, whereas pump cages
can become blocked over time. The pump in this system is pumping clean, ltered water and
therefore does not need as much maintenance. With a gravity setup there are also no cables
or hoses coming from the pond which can look unsightly and may trap debris in the pond.On
top of that, water entering the lter isn’t as turbulent as in a pump fed system.
7. Gravity setup
Figure 5: Gravity setup overview
7.1 Advantage gravity setup
7.2 Example gravity setup
The big advantage of a gravity setup compared to a pump fed setup is that you need less
power to run the same amount of water through the lter. The disadvantage is that it takes
more time to install everything.

Aqua ExclusiveTM Installation
12 GREEN LINE OWNER’S MANUAL
8. Water level
Max. water level line
It is important to maintain the correct water
level for an optimal operation of the lter
system. A lower water level will not make the
system work properly and higher water levels
can cause leaks.
8.1 Water level gravity setup:
- Min. water level: 320mm from the bottom (20mm below the max. level line)
- Max. water level: 340mm from the bottom (max. level line)
8.2 Water level pump fed setup:
- Min. water level: 120mm from the bottom (220mm below the max. level line)
- Max. water level: 340mm from the bottom (max. level line)
Figure 6: Water level gravity setup
Figure 7: Water level pump fed setup

Aqua ExclusiveTM
Installation
Installation 13
It is recommended to use exible rubber couplings when connecting the water lines. These
can compensate for small dierences in dimensions and also absorb vibration. This allows
you to connect the pvc pipes and various lter parts and makes the installation easy.
Figure 9: Green Line RDF, BIO and UV-C
Figure 8: Flexible rubber couplings
9. Flexible couplings
Reducer connector Straight connector End cap
10. Slide Valve
For a gravity setup we advide to install slide valves or ball valves in front of and behind the
lter, so that the lter can be emptied during maintenance.

14 GREEN LINE OWNER’S MANUAL
Aqua ExclusiveTM Water Level Sensor
Figure 10: Water level sensors.
The stainless steel 316L water level sensor measures the water level and sends a signal to the
control box when the drum with lter panel needs to be cleaned. The location of the sensor
depends on whether you have a pump fed setup or a gravity setup, see gure 10. The special
PMMA holder makes it easy to manually adjust the height of the sensor.
11. Water level sensor
Water level
sensor holder 2
(Gravity)
Water level
sensor holder 1
(Pump-fed)
11.1 How to set water level sensor pump fed setup
For a pump fed setup the water level sensor should be installed above water level and up-
wards on holder number 1.
With a pump fed setup you pump water to the lter. As the lter panel gets dirtier, the water
level will slowly rise in the rst chamber because less water can ow through the lter.
When the water pushes the bottom oat up, the rinse process will be activated and the water
will immediately drop. If something is wrong and the water continues to rise, the water will
push the top oat up. This will activate the built-in safety and shuts the system o to prevent
any damage.
11.2 How to set water level sensor gravity setup
For a gravity setup the water level sensor should be installed under water and downwards on
holder number 2.
With a gravity setup you pump water from the lter back to the pond/tank. As the lter gets
dirtier, the water level will slowly drop in the second chamber because less water can ow
through the lter.
When the water drops the top oat will move downwards, and the rinse process will be acti-
vated. If something is wrong and the water continues to drop, the bottom oat will also move
downwards. This will activate the built-in safety and shuts the system o to prevent any dam-
age.

Installation 15
Aqua ExclusiveTM
Cleaning Process
13. Pond/circulation pump
The lter can handle up to 30.000 liters per hour (8000GPH) under optimal conditions. We
don’t advise to connect a larger pump to the lter, but a smaller pump won’t be a problem of
course. The multiple inputs and outputs make it easy to connect 2 or 3 small pumps as well.
12. Built-in safety
By means of the supplied connector it is possible to connect your own pump to the control
box. This means your pump is protected against dry running of the lter due to the built-in
safety in the lter.
13.1 Built in pump protection
The lter is equipped with a built-in safety. This shuts the system down when there are prob-
lems and prevents any damage.
12.1 Safety with pump fed setup
With the pump fed setup, the safety ensures that the lter can never overow. If too much
water is pumped into the lter or the lter has problems, the system will switch everything
o. When the water level drops, everything will turn on again. Provided everything is connect-
ed to the drum lter control box.
12.2 Safety with gravity setup
Dry run protection. With a gravity setup, the safety works dierent then with a pump fed
setup. With a gravity setup, you pump water out of your lter and the lter can run dry. When
the water level drops to far, the lter will switch o everything. When the water level rises
again, the system will turn everything on again. Provided everything is connected to the drum
lter control box.

Aqua ExclusiveTM
GREEN LINE OWNER’S MANUAL
Controlbox
16
14.1 Built-in rinse pump
The lter is equipped with our special stainless steel high pressure pump that supplies the
spray nozzles with the right amount of water and pressure. The pump is located at the bot-
tom of the lter on the clean water side.
14. Cleaning process
The lter cleans itself fully automatically when the lter panel is saturated with dirt. The drum
will start to rotate and the special nozzles will spray the lter panel on the drum clean. The
dirty water gets washed away through the drain gutter.
Drain gutter
Figure 11: Cleaning process
Figure 12: Built-in rinse pump

Installation 17
Aqua ExclusiveTM
Controlbox
15. Electronic enclosures
Our high-quality stainless steel 316L nozzles are made with the utmost precision and provide
a special water jet for optimal cleaning of the lter panel. With our new designed quick re-
lease system you can easily clean the nozzles when neccecery.
14.2 Spray nozzles
Figure 14: Electronic enclosures
Figure 13: Quick release nozzle system

Aqua ExclusiveTM Controlbox
GREEN LINE OWNER’S MANUAL
18
15.1 How to install the rinse pump box
Mount the rinse pump box on a wall. The rinse pump cable coming out of the black box on
the back of the lter must be connected to the rinse pump box. The main supply cable of the
rinse pump box must be connected to the drum lter control box.
Figure 16: Rinse pump box overview
1. Main Supply Cable 2. Rinse Pump Cable
Figure 15: Rinse pump box

Aqua ExclusiveTM
Controlbox
Installation 19
1. Fuse 2
2. Fuse 1
3. Main Supply Cable
4. Water Level Sensor Cable
5. UV-C System Cable
6. On/o Switch
7. Circulation Pump Cable
8. Rinse Pump Cable
9. Drum Motor Cable
Figure 18: Drum lter control box overview
Figure 17: Drum lter control box
15.2 How to install the drum lter control box
Mount the drum lter control box on a wall and connect all cables to the correct connectors
on the bottom of the control box. For details see gure 18.

Aqua ExclusiveTM
20 GREEN LINE OWNER’S MANUAL
Maintenance
16. Filling up the system
Step 1: Open the valves on the inlet and the outlet if present, in order to ll the lter
system with water.
Step 2: Let the lter ll until the correct water level has been reached.
Step 3: Check the water level in the housing.
Step 4: Check all pipes, hoses and connections for leaks.
Step 5: Insert the main supple cable of the control box in a socket and switch on
the system by toggling the ON/OFF switch (gure 18).
Step 6: Hold the manual rinse button (gure 17) for ten seconds to activate the motor
and high pressure pump.
Step 7: The system is now ready and will rinse automatically.
Please note: Immediately after the lter is installed/used, the rinse cycle may be very
short and will increase in length as the contamination/oating debris decreases.
Table of contents
Other Aqua Exclusive Water Filtration System manuals
Popular Water Filtration System manuals by other brands

Pure-Pro
Pure-Pro WF-30 user manual

Watts
Watts pure H2O H2O-FK101 Installation, operation and maintenance manual

Sentera Controls
Sentera Controls FIMX8 Mounting and operating instructions

Zamel
Zamel Exta SEM-01 instruction manual

Emerson
Emerson NL4-FLC Series RE-ASSEMBLY INSTRUCTIONS

A.J.Antunes
A.J.Antunes UF-216C Series owner's manual