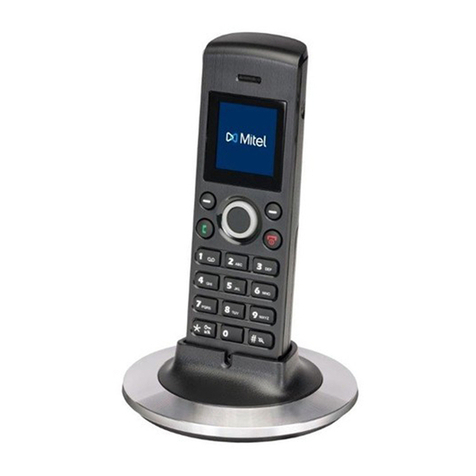
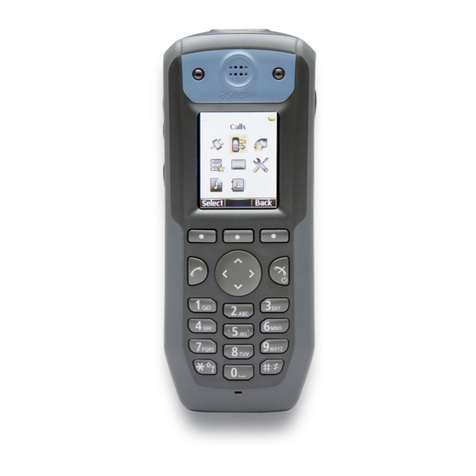
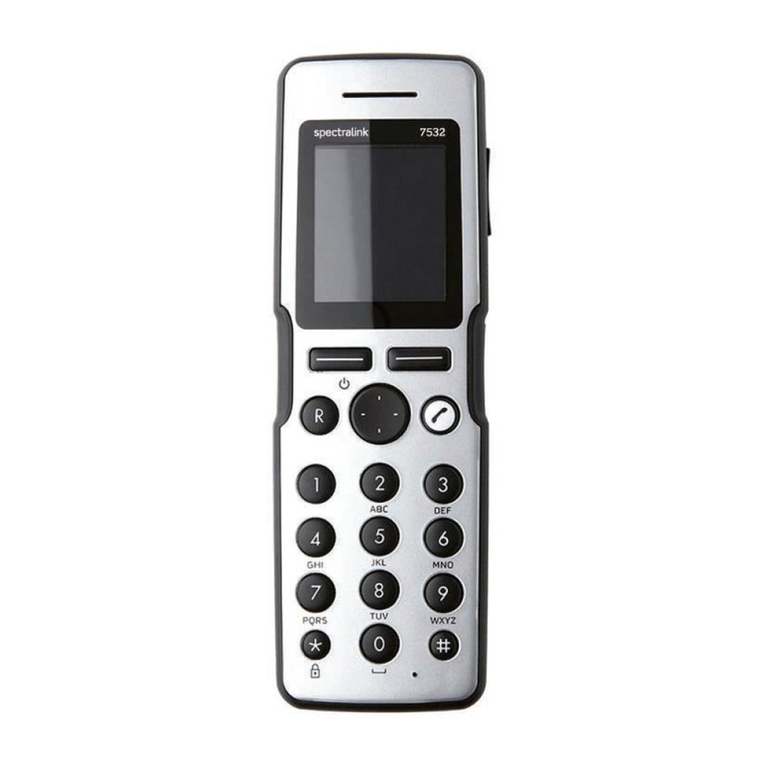
Archos HANDSET DECT User manual

?
ENGLISH
SOFTWARE UPDATE
�On the web at www.archos.com/firmware
As we are often updating and improving our products, your device’s software may have
a slightly different appearance or modified functionality than presented in this Quick Start Guide.
FAQs: to access the FAQs, go to
www.archos.com/support.
Contact our Technical Support Team:
visit www.archos.com/support for
e-mail support.
NEED HELP?
Thank you for purchasing this ARCHOS product.
This guide provides you key information to start using your device.
To receive more complete service, register your product:
- tap the online registration icon ,
- use a computer to go to www.archos.com/register.
THANK YOU!
The Android operating system is periodically updated to
bring new features, improvements and bug fixes.
You can update your device via an OTA notification
displayed in the status bar.
Drag down the status bar and tap the notification.
you can also update your product’s software by going to
(Menu >Settings>About device>Firmware update).

2
7
ENGLISH
BOX CONTENTS
7
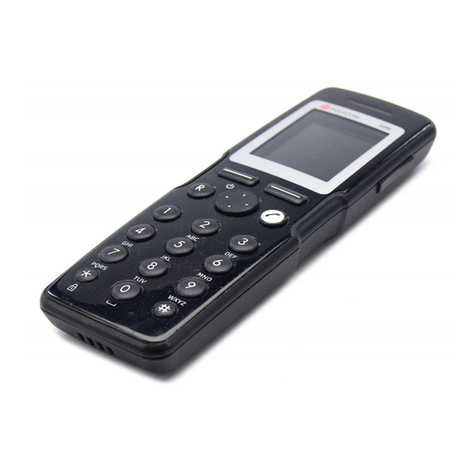
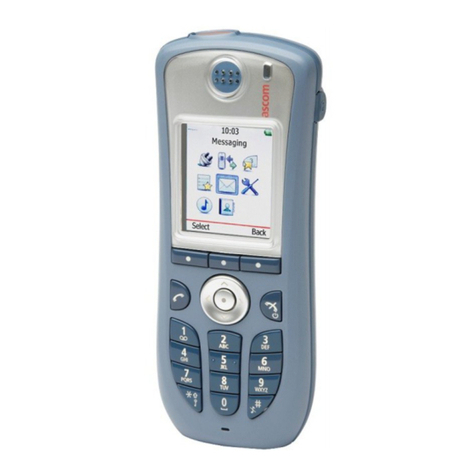
ARCHOS handset
USB cable (2 meters)
Telephone cable
(Different for each country)
DECT base AC adapter
ARCHOS DECT baseDocking station/
Charging station
DESCRIBING THE ARCHOS HANDSET
USB AC adapter for
charging station

3
1
2
34
56
7
8
9
10
11
12
13
ENGLISH
Power Button: press and hold to switch on/off.
Press the Power button once to put your device in
standby mode. When you press and hold on the
Power button, a window appears with a list of op-
tions. Tap “Power Off” > “Power Off” to fully shut
down your ARCHOS
Charging indicator
-Light on: battery charging
-Blinking: battery charged
Headphones input
Micro-USB port: to transfer les using the USB cable
-From your computer to your ARCHOS
-From your ARCHOS to your computer
Back icon - returns to the previous screen.
Menu icon - gives menu options according
to the current screen.
Volume buttons Search icon - allows you to search for a contact or
an item on the device or on Internet.
Home icon
-Short press: return to the Home screen.
-Hold: it displays the recent applications.
Camera
Micro-SD card slot
1
2
3
4
5
6
7
8
9
10
11
12
13
DESCRIBING THE ARCHOS HANDSET
Microphone
Loudspeaker

4
1
2
ENGLISH
STARTING UP
Power connector: to connect the DECT base AC adapter
Telephone plug: to connect the phone cable
DESCRIBING THE ARCHOS DECT BASE
1
2

5
ENGLISH
STARTING UP
Follow exactly the procedure. You must plug in the ARCHOS DECT base before turning on the ARCHOS handset.
1. Connect the DECT base AC adapter to the ARCHOS DECT base and plug it into a wall outlet.
2. Connect the telephone cable to the ARCHOS DECT base and to your telephone outlet.
3. Connect the supplied USB cable to the USB AC adapter and to the docking station.
4. Plug the USB AC adapter into a wall outlet.
5. Place the ARCHOS handset on the docking station.
Connecting
Charging
When the ARCHOS handset is placed on the docking station, the device starts charging.
Notes:
If the device is turned off, the charging indicator is off during the charging process.
To see the charging process, turn on the device.
On the upper right corner, a battery icon is displayed with a lling action.When the device is on and fully charged,
the charging indicator starts blinking.
To scroll up/ to scroll down: place your ngertip on the screen and move it quickly up/move it quickly down
Touch to activate an item: touch with your ngertip.
Touch and hold for an alternate action: to touch and hold an item, touch the item and do not lift your ngertip until
the action occurs.
Drag an item to change its position: to drag an item, touch and hold it for a moment, then without lifting your
ngertip, move your ngertip on the screen until the item reaches its destination.
Swipe left/right to change the view: to swipe, touch the screen and then quickly move your ngertips across the
screen without lifting your ngertip. Do not pause on the screen with your ngertips at the initial point of contact or
you may drag an item.
Double-tap: quickly tap the screen twice on a webpage or other application screen to zoom.
Touchscreen actions

6
ENGLISH
STARTING UP
The rst time you turn on your ARCHOS, you will calibrate your touchscreen.
Then you will go through a setup wizard that helps dene the parameters of your
device main settings.
The different screens you will go through:
1. The Welcome screen: select your language.
2. The Legal and Safety notices screen: read the provided ARCHOS Warranty,
Legal & Safety
3. The Date and Time screen: select your time zone and set the clock and the
date
4. The DECT Setup screen: to register your handset with an ARCHOS DECT base
or another DECT base
Note: the handset purchased with a DECT base is by default registered.
5. The Dial Rules screen: to set up the dialling parameters
6. The Wi connection screen: to connect to available Wi networks
7. The Third party applications screen: to choose between installing or not
installing preloaded applications
8. The Accelerometer calibration screen: calibrate the accelerometer
9. The In-store demo mode (only for retailer)
Going through the wizard

7
2
3
5
4
1
ENGLISH
DESCRIBING THE HOME SCREEN
1. The status bar displays:
-the battery level,
-the WiFi icon,
-the current time,
-the ARCHOS handset number.
2. The default Android applications and the application library AppsLib
-Add contacts
-Download different types of applications from AppsLib
-Play your music, photo and video les
-Surf the Web
3. The User manual and the Online Registration applications
-Access more detailed information about your product functioning and charac-
teristics
-Register your product to benet from the ARCHOS technical support
4. The Settings application
-Access the Phone settings, the Account & sync settings, the Display settings, ...
5. The Telephone button: access the telephone menu
The Application button:
tap this icon to reveal all the Android™ applications
installed on your ARCHOS (games, various tools, etc.).You can copy them onto
the Home screen.You can get more Android™ applications from the AppsLib.
The Web browser shortcut: to open Web pages

8
ENGLISH
The Phone tab allows to dial and make calls.
While dialling, press the Menu button to display the
options available.
You can access other menus while making a call.
The phone icon is then displayed in the status bar.
The Intercom tab displays handset numbers.
Each handset number corresponds to a handset
connected to your ARCHOS DECT base.
For each ARCHOS handset, the handset number is
displayed in the status bar.
The Telephone menu includes ve tabs: the Phone tab, the Intercom tab, the Call log tab, the Contacts tab and
the Favorites tab.
DESCRIBING THE TELEPHONE MENU

9
ENGLISH
The Favorites tab
It displays:
- a list of your favorites
- a list of your contacts called
frequently
To add a contact to your favorites
1. In the Contacts tab, touch
and hold the selected contact.
2. Tap Add to favorites.
The Call log tab
It displays:
- list of incoming calls,
- list of outgoing calls.
Press the Menu button and
select Clear log to erase the call
history.
The Contacts tab
It displays the list of contacts saved on your handset.
Each contact information can be detailed.
You can also access your contacts via the Contacts applica-
tion.
In the Contacts tab, press the Menu button to display available
options:
- search new - new contact - display options - accounts
- import/export
DESCRIBING THE TELEPHONE MENU

10
ENGLISH
CALLING
1. On the home screen of your hand-
set, tap the Telephone button.
2. If the Phone tab is not displayed,
tap it.
3. Dial the number to call and tap the
call button.
OR
Tap the call button and dial the
number to call.
1. On the home screen of your handset, tap the
Telephone button.
2. If the Favorites tab is not displayed, tap it.
3. Tap the telephone icon besides the contact
you want to call.
Note: tap the the contact
name to display details.
1. On the home screen of your handset, tap the Telephone button.
2. If the Contacts tab is not displayed, tap it.
3. Tap the contact name.
The contact details are displayed.
4. Tap the telephone icon .
From the Phone tab From the Favorites tab
From the Contacts tab
Table of contents
Languages:
