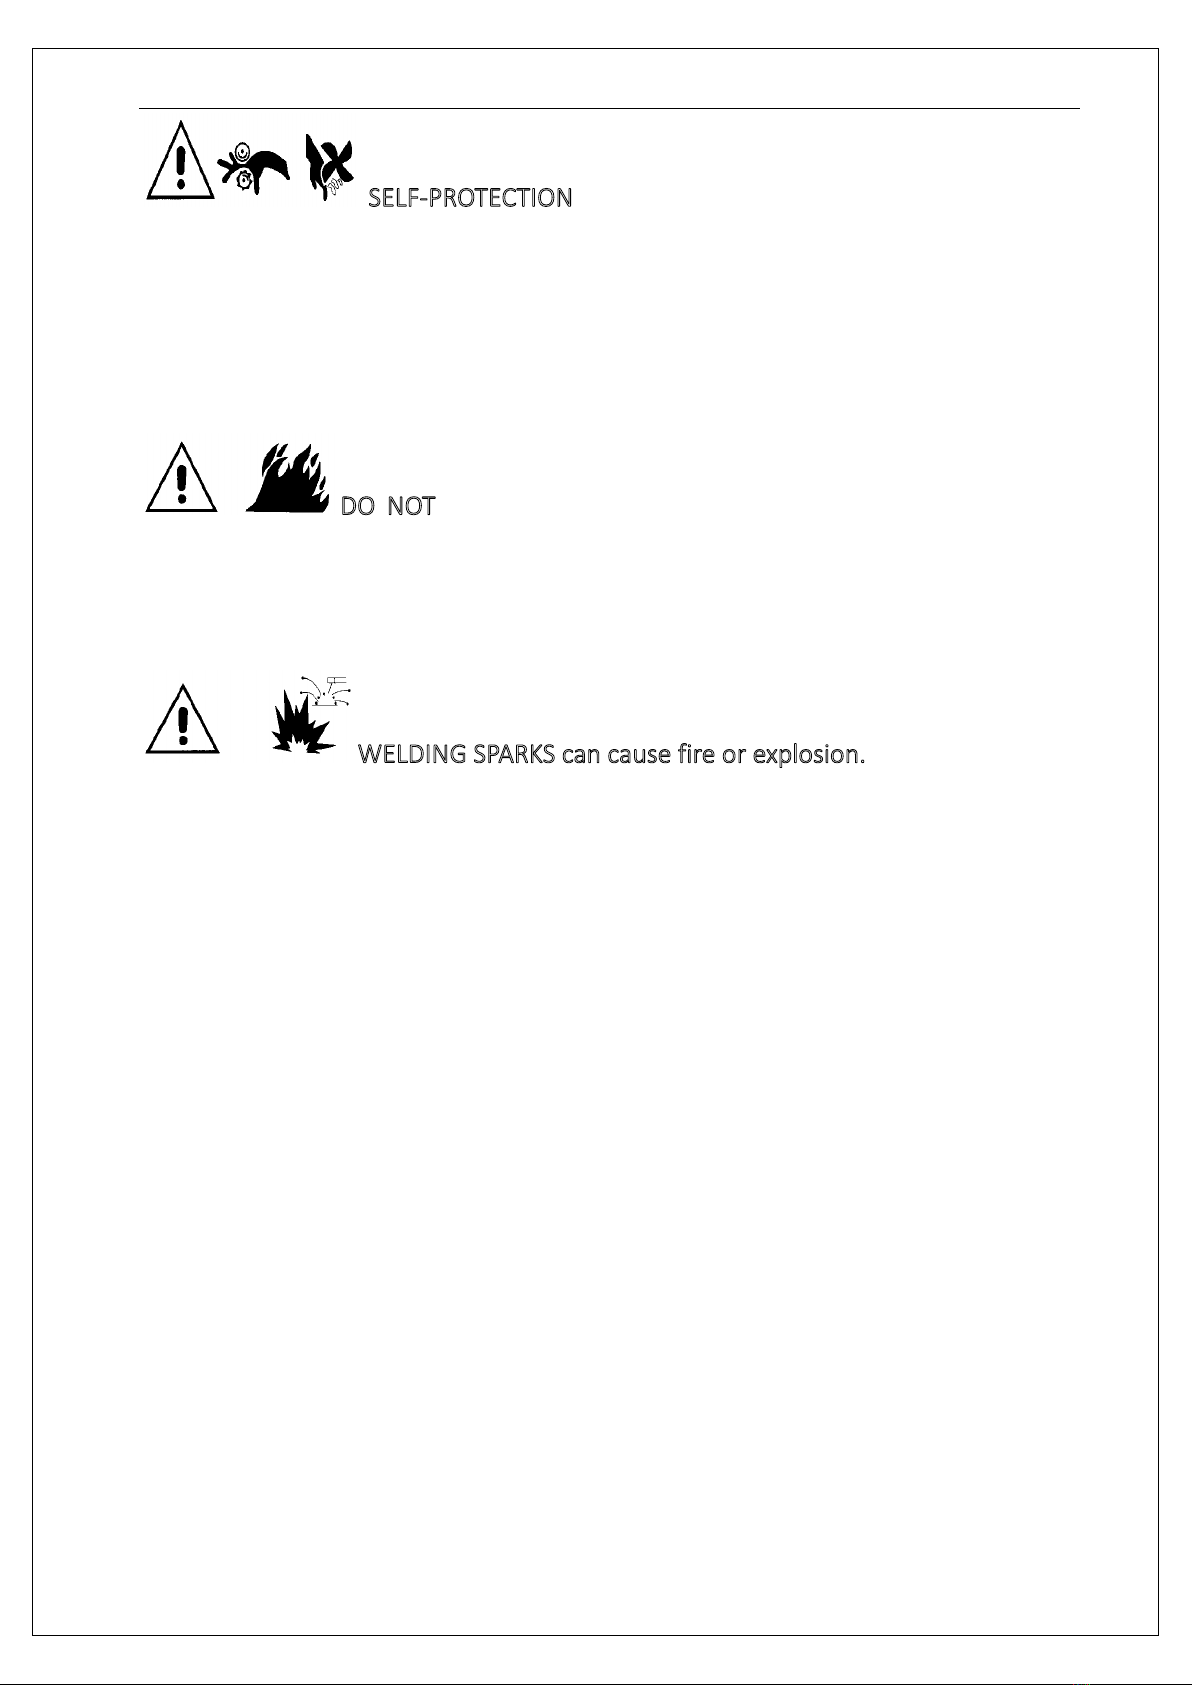
Arcoweld ARCOSTICK MMA 180 User manual


CONGRATULATIONS!
THANK YOU FOR YOUR PURCHASE OF THIS
QUALITY ARCOWELD PRODUCT!
WELCOME TO THE ARCOWELD TEAM!
We look forward to supporting you with dependable service and
our extensive range of first-class products.
Our range can be viewed at - https://arcoweld.com.au/
For support please contact your Authorised distributor or Arcoweld directly
T: + 61 8 9248 3188
F: + 61 8 9248 3166
93 Mulgul Road, MALAGA, WA6090
PO Box 3087, MALAGA DC, WA 6945
Email- [email protected]m.au
Website- www.alloysteel.net

II
CONTENTS
1SAFETY…………………………………………………………………………………………………………………………..1
1.1 SIGNAL EXPLANATION…………………………………………………………………………………………………...1
1.3 THE KNOWLEDGE OFELECTRIC AND MAGNETIC FIELD…………………………………………………………..5
2 SUMMARY…………………………………………………………………………………………………………………….6
2.1 BRIEF INTRODUCTION……………………………………………………………………………………………………6
2.2 WORKING PRINCIPLE…………………………………………………………………………………………………….6
2.3 VOLT-AMPERE CHARACTERISTIC……………………………………………………………………………………….7
3INSTALLATION & ADJUSTMENT……………………………………………………………………………………...8
3.1 PARAMETERS……………………………………………………………………………………………………………….8
3.2 DUTY CYCLE &OVERHEAT……………………………………………………………………………………………….8
3.3 WELDING POLARITY CONNECTION……………………………………………………………………………………..8
3.3.1 MMA………………………………………………………………………………………………………………...8
3.3.2 TIG SET UP………………………………………………………………………………………………………...9
4.2 WELDING CURRENT ADJUSTMENT……………………………………………………………………………………12
4.3 WELDING OPERATION…………………………………………………………………………………………………..12
4.3.1 Striking the arc…………………………………………………………………………………………………12
4.3.2 Manipulation of electrode………………………………………………………………………………..13
4.4 WELDING PARAMETERS………………………………………………………………………………………………....13
4.4.1 Joint form in MMA…………………………………………………………………………………………...13
4.4.2 Electrode selection…………………………………………………………………………………………..14
4.5 ARC WELDING DEFECT AND PREVENT METHOD…………………………………………………………………..14
4.7 OPERATIONAL ENVIRONMENT………………………………………………………………………………………...15
4.8 OPERATIONAL NOTICE…………………………………………………………………………………………………..16
5MAINTENANCE & TROUBLESHOOTING…………………………………………………………………………..17
5.1 MAINTENANCE…………………………………………………………………………………………………………….17
5.2 TROUBLESHOOTING………………………………………………………………………………………………………18
5.3 ELECTRICAL PRINCIPLE DRAWING………………………………………………………………………………………21

1 SAFETY
1.1 Signal Explanation
The above signals mean warning! Running parts and electric shock can cause injury to yourself
or others. The corresponding notices are as follows. It is quite a safe operation after taking
several necessary protection measures.
1.2 Arc Welding Damage
The following points explain some of the dangers that could cause injury to yourself or
others. Please always show care.
Only authorised persons can install, debug, operate, maintain and repair the equipment.
During the operation, only persons relative to the welding operation should be present.
After shutting off the machine power, please maintain and examine the equipment according
to section 5 because of the DC voltage existing in the electrolytic capacitors.
ELECTRIC SHOCK CAN KILL.
Never touch electrical parts.
Wear dry, hole-free gloves and clothes to insulate yourself.
Insulate yourself from work and ground using dry insulation. Make certain the insulation is
large enough to cover your full area of physical contact with work and ground.
Take care when using the equipment in confined spaces, heights and wet circumstances.
Always isolate machine power before installation and adjustment.
Ensure to install the equipment correctly and ground the work or metal to be welded to a
good electrical (earth) ground according to the operation manual.
The electrode and work (or ground) circuits are electrically “hot” when the welder is on. Do
not touch these “hot” parts with your bare skin or wet clothing. Wear dry, hole-free gloves to
insulate hands.
In semiautomatic or automatic wire welding, the electrode, electrode reel, welding head,
nozzle or semiautomatic welding gun are also electrically “hot”.

2
•Ensure the work cable makes a good electrical connection with the metal being welded.
The connection should be as close as possible to the area being welded.
Maintain the electrode holder, work clamp, welding cable and welding machine in good, safe
operating condition. Replace damaged insulation.
Never dip the electrode in water for cooling.
Never simultaneously touch electrically “hot” parts of electrode holders connected to two
welders because voltage between the two can be the total of the open circuit voltage of both
welders.
When working above floor level, use a safety belt to protect yourself from a fall should you
get a shock.
FUMES AND GASES CAN BE DANGEROUS.
Welding may produce fumes and gases hazardous to health. Avoid breathing these fumes
and gases. When welding, keep your head out of the fume. Use enough ventilation and/or
exhaust at the arc to keep fumes and gases away from the breathing zone. When welding with
electrodes which require special ventilation such as stainless or hard facing or on lead or
cadmium plated steel and other metals or coatings which produce highly toxic fumes, keep
exposure as low as possible and below Threshold Limit Values using local exhaust or mechanical
ventilation. In confined spaces or in some circumstances, outdoors, a respirator may be required.
Additional precautions are also required when welding on galvanized steel.
Do not weld in locations near chlorinated hydrocarbon vapors coming from degreasing,
cleaning or spraying operations. The heat and rays of the arc can react with solvent vapors to
form phosgene, a highly toxic gas, and other irritating products.
Shielding gases used for arc welding can displace air and cause injury or death. Always use
enough ventilation, especially in confined areas, to ensure breathing air is safe.
Read and understand the manufacturer’s instructions for this equipment and the consumables
to be used, including the material safety data sheet and follow your employer’s safety practices.
ARC RAYS CAN BURN.
Use a shield with the proper filter and cover plates to protect your eyes from sparks and the
rays of the arc when welding or observing open arc welding.

3
Use suitable clothing made from durable flame-resistant material to protect your skin and that
of your helpers from the arc rays.
Protect other nearby personnel with suitable, non-flammable screening and /or warn them not
to watch the arc nor expose themselves to the arc rays or to hot spatter or metal.

SELF-PROTECTION
Keep all equipment safety guards, covers and devices in position and in good repair. Keep
hands, hair, clothing and tools away from V-belts, gears, fans and all other moving parts when
starting, operating or repairing welding equipment.
Do not put your hands near the engine fans. Do not attempt to override the governor or idler
by pushing on the throttle control rods while an engine is running.
DO NOT add fuel near an open flame welding arc or when engines are
running. Stop the engine and allow it to cool before refueling to prevent spilled fuel from
vaporizing on contact with hot engine parts and igniting. Do not spill fuel when filling tank. If fuel
is spilled, wipe it up and do not start engine until fumes have been eliminated.
WELDING SPARKS can cause fire or explosion.
Remove fire hazards from the welding area. If this is not possible, cover them to prevent the
welding sparks from starting a fire. Remember that welding sparks and hot materials from
welding can easily go through small cracks and openings to adjacent areas. Avoid welding near
hydraulic lines. Have a fire extinguisher readily available.
Where compressed gases are to be used at the job site, special precautions should be used to
prevent hazardous situation.
When not welding, make certain no part of the electrode circuit is touching the work or ground.
Accidental contact can cause overheating and create a fire hazard.
Do not heat, cut or weld tanks, drums or containers until the proper steps have been taken to
ensure that such procedures will not cause flammable or toxic vapors from substances inside.
They can cause an explosion even though they have been “cleaned”.
Vent hollow castings or containers before heating, cutting or welding. They may explode.
Sparks and spatter are thrown from the welding arc. Wear oil free protective garments such as
leather gloves, heavy shirt, cuff less trousers, high shoes and a cap over your hair. Wear ear plugs
when welding out of position or in confined places. Always wear safety glasses with side shields
when in a welding area.
•Connect the work cable to the work as close to the welding area as practical. Work cables
connected to the building framework or other locations away from the welding area increase

the possibility of the welding current passing through lifting chains, crane cables or other
alternate circuits. This can create fire hazards or overheat lifting chains or cables until they fail.
Rotating parts may be dangerous.
Use only compressed gas cylinders containing the correct shielding gas for the process used
and properly operating regulators designed for the gas and pressure used. All hoses, fittings, etc.
should be suitable for the application and maintained in good condition.
Always keep cylinders in an upright position securely chained to an undercarriage or fixed
support.
Cylinders should be located:
-Away from areas where they may be struck or subjected to physical damage.
-Asafe distance from arc welding or cutting operations and any other source of heat, sparks,
or flame.
Never allow the electrode, electrode holder or any other electrically “hot” parts to touch a
cylinder.
Keep your head and face away from the cylinder valve outlet when opening the cylinder valve.
Valve protection caps should always be in place and hand tight except when the cylinder is in
use or connected for use.
1.3 The knowledge of Electric and Magnetic Fields
Electric current flowing through any conductor causes localized Electric and Magnetic Fields
(EMF). The discuss on the effect of EMF is ongoing all the world. Up to now, no material
evidences show that EMF may have effects on health. However, the research on damage of EMF
is still ongoing. Before any conclusion, we should minimize exposure to EMF as few as possible.
In order to minimize EMF, we should use the following procedures:
Route the electrode and work cables together – Secure them with tape when possible.
All cables should be put away and far from the operator.
Never coil the power cable around your body.
Make sure welding machine and power cable is as far away from the operator as possible
according to the actual circumstances.
Connect the work cable to the workpiece as close as possible to the area being welded.
Persons with heart-pacemaker should be away from the welding arc.

SUMMARY
6
2 Summary
2.1 Brief Introduction
Arcostick welders are general MMA arc welder which adopts the latest pulse width modulation
(PWM) technology and the insulated gate bipolar transistor (IGBT) power module.
Arcostick series welders have excellent performance: constant current output makes welding arc
more stable; fast dynamic response speed reduces the impact from the arc length fluctuation to
the current; accurate stepless current adjustment and pre-setting function. There are also some
automatic protection functions for under voltage, over current, overheat, etc. inside the welders.
Should these problems occur the alarm on the front panel will light up and at the same time the
output current will be cut off. It can self-protect and prolong the using life and greatly improved
the reliability and practicability of the welders.
Arcostick series welders can also realize TIG operation. In MMA operation, if the electrode
touches workpiece over two seconds, the welding current will drop to the minimum current
automatically to protect the electrode. In TIG operation, the minimum current will be outputted
firstly until the arc is ignited by the lifting method, the output current will rise to the preset value,
which can protect the electrode. At the same time, the arc force and hot start will be provided
with MMA operation.
MMA——Manual Metal Arc welding;
PWM——Pulse-Width Modulation;
IGBT——Insulation Gate Bipolar Transistor;
TIG——Tungsten Inert Gas welding.
2.2 Working Principle
The working principle of Arcostick series welders is shown as the following figure. Single phase
220V±10% work frequency (50/60 Hz) AC is rectified into DC, then is converted to medium
frequency AC (about 20KHz) by inverter device (IGBT module), after reducing voltage by medium
transformer (the main transformer) and rectified by medium frequency rectifier (fast recovery
diodes) and is outputted by inductance filtering. The circuit adopts current feedback control

SUMMARY
7
technology to insure current output stably. Meanwhile, the welding current parameter can be
adjusted continuously to meet with the requirements of welding craft.
Rectify Inverter
Medium
frequency
transformer
Medium
frequency
rectify
Hall device
Current positive-
feedback control
Single phase,
AC DC AC DC
220V±10%(50/60
HZ)
AC DC
2.3 Volt-Ampere Characteristic
Arcostick welders have excellent volt-ampere characteristic as per the following graph. In MMA
welding, the relation between the rated loading voltage U2and welding current I2 is as follows:
When I2 ≤600A,U2=20+0.04 I2(V); When I2>600A,U2=44(V).
64
44
20
0600 I
2
(A)
U
2
(V)
Working
point
Volt-ampere characteristic
The relation of the rated loading
voltage&welding current

8
3 Installation & Adjustment
3.1 Parameters
Duty Cycle (10 mins): 130A@20%, 70A@60%, 55@100%
3.2 Duty cycle & Overheat
The letter “X” stands for duty cycle, which is defined as the proportion of the time that a
machine can work continuously within a certain time (10 minutes).
The rated duty cycle means the proportion of the time that a machine can work continuously
within 10 minutes at a rated welding current.
The relation between the duty cycle “X” and the
output welding current “I” is shown as the right
figure.
If the welder is over-heated, the IGBT over-heat
protection unit inside it will output an instruction
to cut output welding current and brighten the
over-heat pilot lamp on the front panel. At this
time, the machine should be relaxed for 15
minutes to cool the fan. When operating the machine again, the welding output current or the
duty cycle should be reduced.
3.3 Welding polarity connection
3.3.1 MMA
Choosing the connection of DCEN or DCEP is pictured above.

9
The different electrodes need different connections i.e.- polarity.
Please refer to the electrode manual.
3.3.2 TIG SET UP
2~4mm
1、Place the welding
gun aslant. 2、Scrape the electrode
with the workpiece. 3、Lift arc.
Steps of striking the arc.
Striking the arc for TIG operation:when tungsten electrode touches the workpiece,the
short-circuit current is only 10A. After generating arc, current can rise to the preset welding
current. If the tungsten electrode touches the workpiece when welding, the current will drop to
10A within 2s, which can reduce tungsten spoilage,prolong the using life of the tungsten
electrode,and preventing tungsten clipping.
●For TIG operation, the shielded gas is
inputted to welding torch directly, and
the method of lifting arc is adopted.
(Scratch TIG and MMA)

INSTALLATION AND ADJUSTMENT
MMA180 OPERATION
Front Panel Layout
2. MMA/Lift Tig Switch
1. AmpDisplay
5. Volt Display
6. Over Current Light
7. High Temperature Light
8. VRD Light
3. Amperage Adjustment
9. Positive Polarity Output
4. Negative Polarity Output

INSTALLATION AND ADJUSTMENT
MMA180 OPERATION
Back Panel
10. Primary Power Lead
11. Machine On/Off Switch

OPERATION CONTROLAND CONNECTORS
12
4.2 Welding current adjustment
ArcoStick 180
Welding current range is 5~180A).
Arcostick series welders have the function of welding current pre-setting. Before
welding, the welding current display will show the amperage. It is convenient to set
parameters and adjust accurately.
4.3 Welding operation
4.3.1 Striking the arc.
Striking- Take the electrode upright to touch the workpiece, after forming a short
circuit, quickly lift about 2~4 mm, and arc will be ignited. This method is difficult
to master but with practice will provide good results.
electrode
workpiece
electrode electrode
workpiece workpiece
Take the electrode upright The Electrode touch the workpiece Lift up for about 2-4mm
upright
up
touch
2~4mm

OPERATION CONTROLAND CONNECTORS
13
Lifting arc: Touch the
electrode on the
workpiece. As you raise
the electrode the arc will
commence.
4.3.2 Manipulation of electrode
In MMA welding, there are three motions to balance being electrode angle, the
electrode movement from side to side as well as the electrode travel speed.
The operator can choose the manipulation of electrode based on welding joint design,
welding position, electrode spec, welding current and operation skill, etc.
The details please refer to《Welding Dictionary》P69, Volume 1 of Edition 2.
4.4 Welding parameters
4.4.1 Joint form in MMA
In MMA welding, the common basic joint form: butt joint, lap joint, corner joint
& T joint.
butt joint lap joint corner joint T joint
electrode
workpiece
weld
1
2
3
2
1-electrode moving; 2-the electrode swing right & left; 3-the electrode move along weld

OPERATION CONTROLAND CONNECTORS
14
4.4.2 Electrode selection
The electrode diameter selection is based on the workpiece thickness, welding
position, joint form, welding layer, etc. Please refer to the following table.
The welding current reference for different electrode diameter
Electrode
diameter/mm 1.6 2.0 2.5 3.2 4.0
Welding current/A 25~40 40~60 50~80 100~130
150~210
The relation between the welding current(I)’factor(K) & electrode diameter(d) (I=K×d: Carbon electrode)
Electrode
diameter/mm
1.6 2~2.5 3.2
Factor/K 20~25 25~30 30~40
Notice: the above parameters originate from《Welding Dictionary》P66~P67, Volume
1 of Edition 2.
Electrode should be dry before using.
This is to prevent hydrogen induced cold cracking. In the welding process, the arc
must not be too long; otherwise, it will cause unstable arc burning, large spatter,
light penetration, undercut, blowhole, etc. If the arc is too short, it will cause
electrode sticking.
In MMA welding the arc length is usually equal to 0.5~1.0 time of the electrode
diameter. The basic electrode’s arc length is not beyond the electrode diameter,
it’s better to choose the short arc welding method; the electrode’s arc length is
equal to the electrode diameter.
4.5 Arc Welding Defect and Prevent Method
Defect name
Caused reasons
Prevent methods
Welding
seam doesn’t
meet the
requirement
The groove angle is not correct.
The root face and assembly gap are not equal
Welding technics parameters are
unreasonable
The welder’s operation skill is lower
Choose the proper groove angle & assembly
gap, improve the assembly quality
Choose the proper welding parameters
Improve the operation skill of welders
Undercut
Over current
Arc length is too long
The electrode angle is wrong
Manipulation of electrode is not proper
Choose the proper welding current & speed
The arc is too long.
The electrode angle is incorrect
Manipulation of electrode should be correct

OPERATION CONTROLAND CONNECTORS
15
Incomplete
penetratio
n
The groove angle or gap is too small, the
root face is too big
Welding parameters are not suitable, or the
assembly is not good
The welder’s operation skill is lower
Choose correct groove size
Assemble correctly to and ensure clearance
Choose a suitable welding current & speed
Improve the operation skill of welders
Incomplete
fusion
The welding thermal input is too low
The arc direction is lean
There are rust & dust on the side of groove
The slag between the layers is not cleared
well
Choose the correct welding parameters
Enhance the clearness of layers
Clean the area.
Remove all slag.
Overlap The temperature of molten pool is too high
The liquid metal cools too slowly.
Choose correct parameters.
Pay attention to the molten pool and its
location.
Crater The crater time lasts too short
Over current in the welding of thin plate
Hold the arc at the finish of the weld to fill the
crater of the weld pool before finishing the
weld.
Reduce current.
Blowhole
Dust, oil rust or water on the work piece
surface and groove
The coating of electrode is in poor condition.
Under current or over speed in the welding
The arc is too long or lean burning, the
molten pool protection is not good
Over current, the coating of electrode falls
off and protection is lost.
Manipulation of electrode is not correct
Clear out the dust around groove for about
20~30mm
Dry the electrodes to guidelines.
Choose correct parameters
Keep a close arc
Inclusion & slag
inclusion
The slag clears bad in the middle layer in the
welding process
Under current or over speed in the welding
Welding operation is not correct.
The welding material cannot match the work
piece
The groove design & processing are not
proper
Choose the correct electrode
Clean slag from between runs.
Choose correct parameters.
Utilize correct electrode angle and
manipulation.
Hot crack
In the process of solidification, inter crystal
segregation is caused. At the same time,
with the effect of welding stress, the hot
crack is formed.
Strictly control the percentage of S and P in
welding material.
Adjust the structure of welding material.
Adopt the basic electrode.
Cold crack
Three reasons will cause cold crack:
The structure turned from the marten site
The residual stress caused by big restraint
intensity
The residual hydrogen in welding gap.
Adopt low hydrogen type basic electrode.
Preheat as required.
Reduce the percentage of hydrogen
Adopt appropriate parameters and heat input
After welding, do dehydrogenation at once.
4.7 Operational Environment
·Height above sea level is below 1000m.
·Operation temperature range: -10℃~+40℃.
·Relative humidity is below 90 % (+20℃). relative humidity is below 50 % (40℃).
·The inclination of the power source must not exceed 10°.
·Protect the machine against heavy rain or in hot circumstance against direct
sunshine.
·The content of dust, acid, corrosive gas in the surrounding air or substance

OPERATION CONTROLAND CONNECTORS
16
cannot exceed normal standard.
·Take care that there is enough ventilation during welding. There is at least 30cm
free distance between the machine and wall.
4.8 Operational Notice
·Read 1 carefully before attempting to use this equipment.
·Connect the ground wire with the machine directly and refer to 3.5.
·Input power must be AC as one phase, 50Hz, 220V±10%.
· Do not touch the output electrode with any part of your body.
-Do not watch the arc in unprotected eyes.
·Ensure good ventilation of the machine to improve duty cycle
·Turn off the equipment engine when the operation is finished
·Do not restart equipment if it turns off due to internal failure until issue is
resolved.

OPERATION CONTROLAND CONNECTORS
17
5 Maintenance & Troubleshooting
5.1 Maintenance
In order to guarantee that arc welding machine works efficiently manner it must be
maintained regularly. Maintenance items in detail are in the following table.
● Warning: For safety while maintaining the machine, please shut off the supply
power and wait for 5 minutes, until capacity voltage drops to safe voltage 36V.
Frequency
Maintenance items
Daily
examination
Observe whether panel knob and switch in the front and at the back of arc
welding machine are flexible. If the knob has not been put correctly in place,
please correct; If you can't correct or fix the knob, please replace immediately;
If the switch is not flexible or it can't be put correctly in place, please replace
immediately; Please get in touch with our company maintenance service
department if there are no accessories.
After turning unit on - watch/listen to ensure there are no electrical odors or
noises. Please contact local this area our company agent or the branch
company.
Observe whether the display value of LED is intact. If the display number is not
intact, please replace the damaged LED. If it still doesn’t work, please maintain
or replace the display PCB.
Observe whether the min/max value on LED accords with the set value. If there
is any difference and it has affected the normal welding arc, please adjust it.
Check whether fan is damaged and is normal to rotate or control. If the fan is
damaged, please change immediately. If the fan does not rotate after the arc
welding machine is over heated, observe whether there is something blocked in
the blade, if it is blocked, please remove. If the fan does not rotate after
removing blockage you can move the blade by rotating in the correct direction
of fan. If the fan rotates normally, the start capacitor should be replaced; If not,
change the fan.
Observe whether the fast connector is loose or overheated. if the arc welding
machine has the above problems, it should be tightened or changed.
Observe whether the current output cable is damaged. If it is damaged, it
should be wrapped up, insulated or changed.
Monthly
examination
Use dry compressed air to clear the inside of arc welding machine. Especially for
clearing up dust on radiator, main voltage transformer, inductance, IGBT
module, the fast recover diode and PCB, etc.
Ensure all fittings are tight and not rusty over time. Please remove any surface
rust on parts to ensure it works well.
Quarter-
yearly
examination
Check whether the actual current accords with the displaying value. If it does
not accord, they should be regulated. The actual current value can be measured
by the adjusted plier-type ampere meter.
Yearly
Measure the insulating impedance among the main circuit, PCB and case, if it
Table of contents
Other Arcoweld Welding System manuals

Arcoweld
Arcoweld ArcoCut G-40i User manual

Arcoweld
Arcoweld Arcostick MMA 130 User manual

Arcoweld
Arcoweld ArcoTig HF200P User manual

Arcoweld
Arcoweld ArcoTiG HF 315 AC/DC User manual

Arcoweld
Arcoweld Arcostick MMA 160 Minespec User manual

Arcoweld
Arcoweld ArcoMiG LCD 250C User manual

Arcoweld
Arcoweld ARCOCUT G-100i User manual
Popular Welding System manuals by other brands

Rtech
Rtech TIG200PD-DV Operation instructions

TEAM WELDER
TEAM WELDER MIG 250 S operating instructions

Elite
Elite ARC 180 instruction manual

FRONIUS
FRONIUS MHP 500 S R/G/PAP/FSC operating instructions

FRONIUS
FRONIUS TPS 270i C operating instructions

Elettro C.F.
Elettro C.F. TIG 2210 instruction manual