8OPERATING INSTRUCTIONS
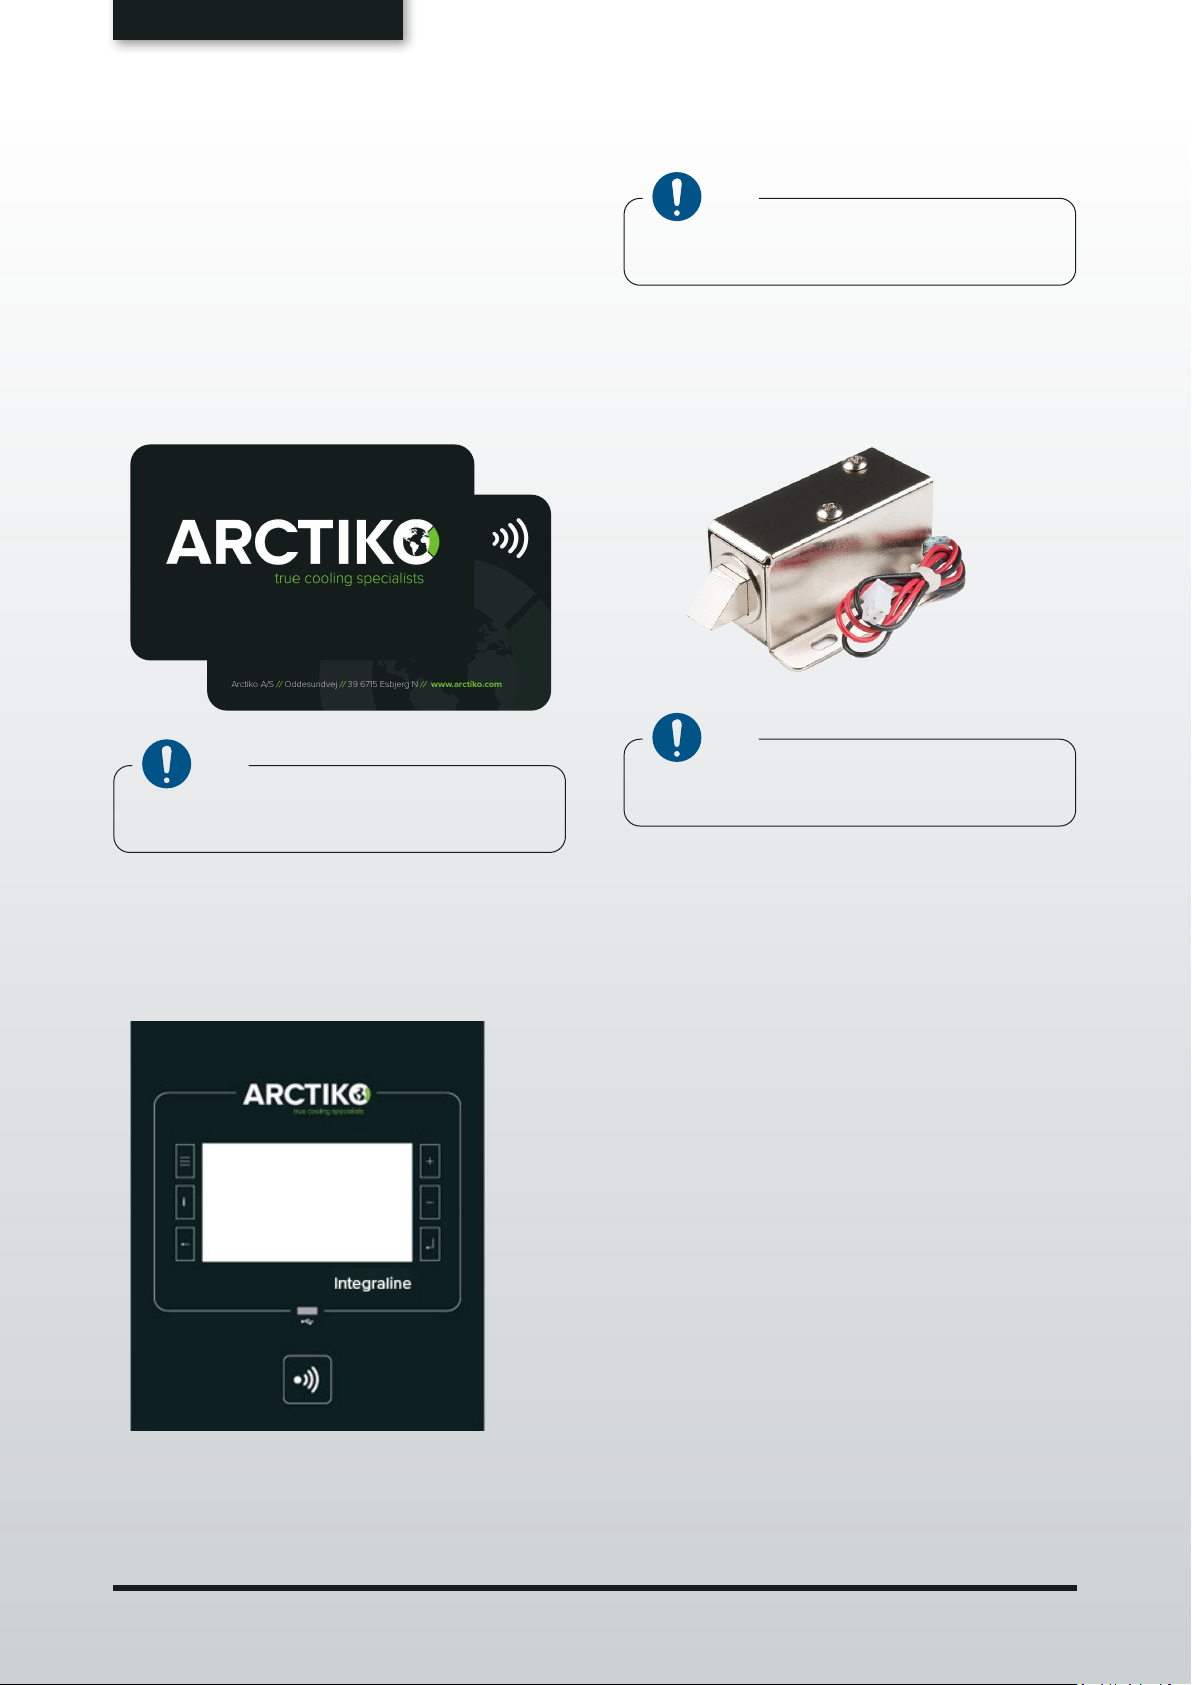
CARD LOCK GUIDE
The procedures presented in this chapter describe
the registration of admin and user cards/passwords
step by step.
ADMIN REGISTRATION & PASSWORD
SETUP
1. Pressing the three horizontal stripes on the left
of the display enables the user menu. Press the
SETTINGS button to access the SETTINGS menu.
Installation and operating manual Rel. 2.0 26
Pressing one of the menu keys changes the style of the icon to blue
STAND-BY: the long pressure of the icon turns off the device
SETPOINT: accesses the compartment temperature setting panel
LIMITS: accesses the setting panel of the temperature alarm limits
ACCESS LOG list of access and actions
ECOMODE: accesses the setting panel of the energy savings mode
EVENTS: accesses the event list (recorded alarms and faults)
GRAPH: accesses the calendar of records and graph display
DEFROST: starts a manual defrost
SETTINGS: accesses the SETTINGS menu
SERVICE: accesses the SERVICE menu
(*) The panels connected to the control board show the ACCESS icon in place of the
HUMIDITY SET icon that leads to the log frame of the accesses for multipassword
system or with badge reader.
2. The following screen will appear. Now press the
PASSWORD button, to access the PASSWORD
settings.
Installation and operating manual Rel. 2.0 36
DATE/HOUR: accesses the setting panel of the system date/time
DISPLAY: accesses the setting panel of the screensaver, buzzer and logos
PASSWORD: accesses the setting panel of the passwords, admin, user, service
BACKUP: accesses the backup data download panel
CARD FORMAT: allows deleting the thermoregulation data
UPDATE: accesses the configuration panel of the connected devices
CLOUD: accesses the network parameter setting menu
ALARM TEST: accesses the recording menu of the alert telephone numbers
LANGUAGE: accesses the setting panel of the language
UNIT NAME accesses the editing panel of the Home Page title
3. The following screen will appear.
Installation and operating manual Rel. 2.0 39
The ADMIN password allows to set the USER single and multi-user password to access to the following
menu:
SETTINGS / UPDATE / FORMAT / CLOUD
SERVICE / EDITOR MODEL / SERIAL NUMBER EDITOR
On first entry, the value is zero so the value that will be set using the keypad and confirmed with the
ENTER key will define the ADMIN password. Defined password ADMIN, the next input is displayed by three
asterisks and must be made using the keypad. Confirming an incorrect value back to SETTINGS MENU
otherwise continues for viewing or changing the password USER single or multi-user or the same password
ADMIN.
The SERVICE password is set independently of other passwords. On first entry, the value is zero and
therefore the value that will be set to define the SERVICE password. Called the SERVICE password, the
next password input is displayed by three asterisks and must be made using the keypad. Confirming an
incorrect value, the display returns to the SETTINGS MENU otherwise can be changed via the keypad
confirm the new value with the ENTER key.
The SELECT button leads to spin on modifiable password
If the password ADMIN = 0 or typed it correctly then the next time you press the SELECT button brings
about password ADMIN / USER / MULTI fields ( Fig.1 )
If the password ADMIN > 0 then the next press the SELECT button cycles among the ADMIN password
fields and SERVICE ( Fig.2 )
The password is edited using the keypad ; It erases one digit at a time by pressing C
The ESCAPE key returns to the SETTINGS MENU without saving and password might have been set
The ENTER key returns to the SETTINGS MENU by saving the passwords set
ADMIN PASSWORD USER [SINGLE] - SERVICE
Fig.1 Fig. 2
The first entry, marked with orange, is the admin
user. The admin password is set to 111 as default
and cannot be changed.
4. Entering the admin password is required before
other users can be setup. Enter the admin
password (3-digit number set to 111 per default)
and press enter.
Installation and operating manual Rel. 2.0 39
The ADMIN password allows to set the USER single and multi-user password to access to the following
menu:
SETTINGS / UPDATE / FORMAT / CLOUD
SERVICE / EDITOR MODEL / SERIAL NUMBER EDITOR
On first entry, the value is zero so the value that will be set using the keypad and confirmed with the
ENTER key will define the ADMIN password. Defined password ADMIN, the next input is displayed by three
asterisks and must be made using the keypad. Confirming an incorrect value back to SETTINGS MENU
otherwise continues for viewing or changing the password USER single or multi-user or the same password
ADMIN.
The SERVICE password is set independently of other passwords. On first entry, the value is zero and
therefore the value that will be set to define the SERVICE password. Called the SERVICE password, the
next password input is displayed by three asterisks and must be made using the keypad. Confirming an
incorrect value, the display returns to the SETTINGS MENU otherwise can be changed via the keypad
confirm the new value with the ENTER key.
The SELECT button leads to spin on modifiable password
If the password ADMIN = 0 or typed it correctly then the next time you press the SELECT button brings
about password ADMIN / USER / MULTI fields ( Fig.1 )
If the password ADMIN > 0 then the next press the SELECT button cycles among the ADMIN password
fields and SERVICE ( Fig.2 )
The password is edited using the keypad ; It erases one digit at a time by pressing C
The ESCAPE key returns to the SETTINGS MENU without saving and password might have been set
The ENTER key returns to the SETTINGS MENU by saving the passwords set
ADMIN PASSWORD USER [SINGLE] - SERVICE
Fig.1 Fig. 2
Pressing the enter button will enter the admin
password and activate the menu, in which new/
other users can be set up.
USER REGISTRATION & PASSWORD
SETUP
User passwords are predefined to be maximum
five digits. After completing the previous steps, the
password settings menu will appear again.
1. Use the select button to move down to multiple
password, marked with green, and press enter.
Installation and operating manual Rel. 2.0 40
After you correctly set the ADMIN password or if is equal to zero, through the SELECT key move to multiple
password position and press the ENTER key (Fig.1) that presents the USERS TABLE (Fig.2). The icons and
strings with gray style indicate not configured fields, green style configured fields. Click any of the fields
to set the user password, record the badge, if the badge reader device is connected, and associate the
user name; the display shows the numeric keypad and password to set lit in green (Fig.3A). After setting
the numeric password, click on the BADGE icon (Fig.3b) if the badge reader device is connected (see par.
13:42) and finally click on the id free user string to edit the user name to be associated (Fig. 3C); in this
position the keypad enables all alphanumeric keys. When complete, the display goes to the users table
updated to the latest recording.
Fig. 1
Fig. 2 WHITE: ENABLED; GRAY: DISABLED
A B C
Fig. 3
Ability to store up to 16 digital 5-digit password and
associate them with a user name for easy recognition
of the accesses.
The ADMIN SERVICE level menu and follow the
criteria of single 3 -digit password ;
Unlocking the system in single USER password
conditions valid or enabled multi-passwords : the first
access to a protected menu system is unlocked and
allows access to all the permissions menu (USER or
ADMIN or SERVICE). The release time is such as to
perform multiple consecutive operations without re-
entry of the password .
Locking recovery :
1. Automatic, second timeout preset ;
2. Re-closing door ;
3. Turning off the machine ;
4. Access denied as a result of incorrect password
2. After pressing the enter button, the user table
appears. Select a free user ID.
Installation and operating manual Rel. 2.0 40
After you correctly set the ADMIN password or if is equal to zero, through the SELECT key move to multiple
password position and press the ENTER key (Fig.1) that presents the USERS TABLE (Fig.2). The icons and
strings with gray style indicate not configured fields, green style configured fields. Click any of the fields
to set the user password, record the badge, if the badge reader device is connected, and associate the
user name; the display shows the numeric keypad and password to set lit in green (Fig.3A). After setting
the numeric password, click on the BADGE icon (Fig.3b) if the badge reader device is connected (see par.
13:42) and finally click on the id free user string to edit the user name to be associated (Fig. 3C); in this
position the keypad enables all alphanumeric keys. When complete, the display goes to the users table
updated to the latest recording.
Fig. 1
Fig. 2 WHITE: ENABLED; GRAY: DISABLED
A B C
Fig. 3
Ability to store up to 16 digital 5-digit password and
associate them with a user name for easy recognition
of the accesses.
The ADMIN SERVICE level menu and follow the
criteria of single 3 -digit password ;
Unlocking the system in single USER password
conditions valid or enabled multi-passwords : the first
access to a protected menu system is unlocked and
allows access to all the permissions menu (USER or
ADMIN or SERVICE). The release time is such as to
perform multiple consecutive operations without re-
entry of the password .
Locking recovery :
1. Automatic, second timeout preset ;
2. Re-closing door ;
3. Turning off the machine ;
4. Access denied as a result of incorrect password
It is possible to register up to sixteen (16) users.
The names “Dr Rossi” and “Dr Bianchi”, marked with
white, indicate that these are enabled/active users.
The gray text indicates a disabled/inactive user.
CARD LOCK GUIDE