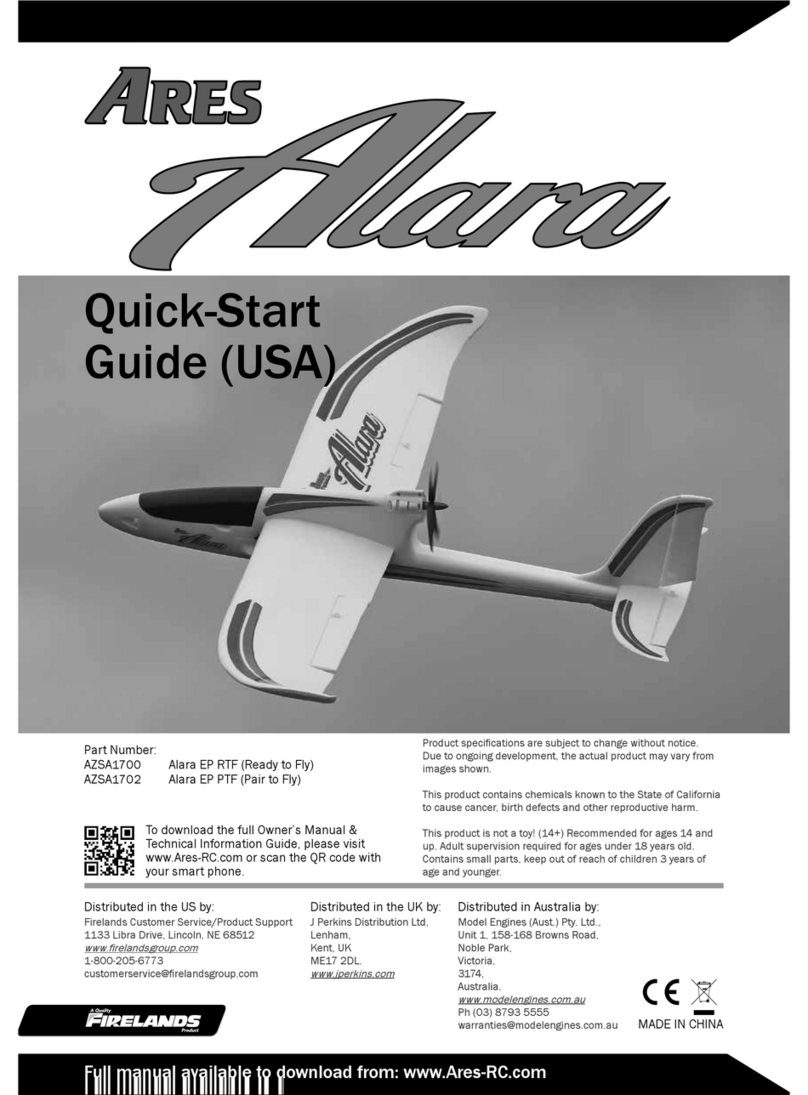
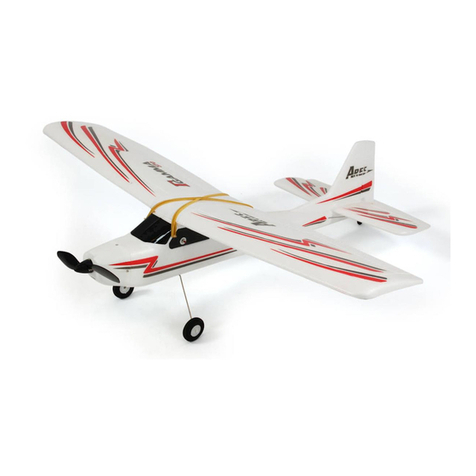
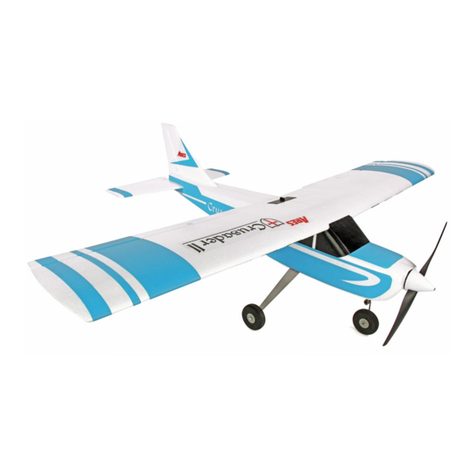
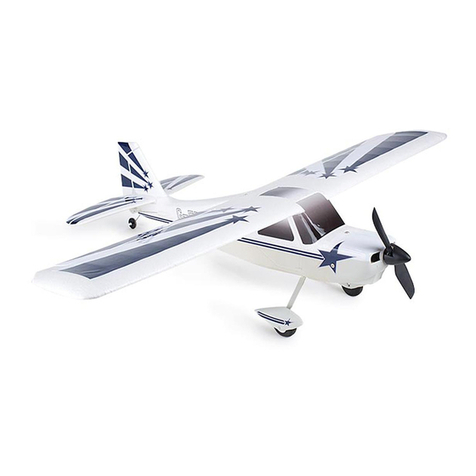
Ares CRUSADER II User manual

Full manual available to download from: www.Ares-RC.com
Product specications are subject to change without notice.
Due to ongoing development, the actual product may vary from
images shown.
This product contains chemicals known to the State of California
to cause cancer, birth defects and other reproductive harm.
This product is not a toy! (14+) Recommended for ages 14 and
up. Adult supervision required for ages under 18 years old.
Contains small parts, keep out of reach of children 3 years of
age and younger.
MADE IN CHINA
To download the full Owner’s Manual &
Technical Information Guide, please visit
www.Ares-RC.com or scan the QR code with
your smart phone.
Distributed in the UK by:
J Perkins Distribution Ltd,
Lenham,
Kent, UK
ME17 2DL.
www.jperkins.com
Distributed in Australia by:
Model Engines (Aust.) Pty. Ltd.,
Unit 1, 158-168 Browns Road,
Noble Park,
Victoria,
3174,
Australia.
www.modelengines.com.au
Ph (03) 8793 5555
Distributed in the US by:
Firelands Customer Service/Product Support
1133 Libra Drive, Lincoln, NE 68512
www.relandsgroup.com
1-800-205-6773
customerservice@relandsgroup.com
AZSA3000 Crusader II 370 v2 RTF: US
AZSA3000EU Crusader II 370 v2 RTF: EU
AZSA3000UK Crusader II 370 v2 RTF: UK
AZSA3000M1 Crusader II 370 v2 RTF: Mode 1 AU
AZSA3001 Crusader II 370 v2 PTF (Pair-To-Fly)
Quick-Start Guide

QUICK-START GUIDE
Full manual available to download from: www.Ares-RC.com
1Remove the components from
the box and ensure you have the
following parts:
Fuselage assembly, a left- and
right-hand wing panel, stabilizer, n
and rudder, charger, mains power
adaptor, LiPo battery, propeller,
spinner, prop driver, wheels and
undercarriage legs, main spar,
wing xing plate and retainer, glue
and tool set plus KA-6 transmitter.
This Quick Start guide is written for the RTF (Ready to Fly) version of the Crusader II.
If you have the PTF (Pair to Fly) version, your model comes complete with a pre-installed
Hitec Red-enabled receiver. Simply pair (connect) with your existing 2.4GHz Hitec or Hitec
Red-enabled transmitter using the pairing guide on last page of this Quick Start guide.
A full instruction manual is available to download from www.ares-rc.com
2Apply a generous but even spread
of glue (in the area indicated by the
cross hatched lines) to the top and
bottom surface of the horizontal
stabilizer.
3Slide the horizontal stabilizer into
its slot at the rear of the fuselage
and push it fully home.
4Apply a generous but even spread
of glue on either side of the
vertical stabilizer (as indicated by
the cross hatched lines).

Full manual available to download from: www.Ares-RC.com
5Slide the vertical stabilizer into its
slot at the rear of the fuselage and
push it fully home.
6Check the orientation of the main
undercarriage then slot each leg
into the mount making sure to align
the rectangular hole in the leg with
the matching hole in the mount.
7Insert the undercarriage nose
leg into the joiner tube, position
the at section of the leg directly
behind the Allen screw, then
securely tighten the screw to clamp
the leg in place.
8Join the two wing panels using the
main spar noting that these do not
need to be glued together.
9Connect the aileron leads to
the Y-lead extensions that are
plugged into Channel 1 of the KA-6
receiver.
Main Spar

QUICK-START GUIDE
Full manual available to download from: www.Ares-RC.com
11 Insert the wing bolt and push it
rmly down to lock it in position.
A rm twist in either direction will
release it.
12 Read and fully understand the LiPo
care and safety precautions in the
full online manual at www.Ares-RC.
com and never leave LiPo batteries
unattended whilst charging. Plug
the mains power adaptor into a wall
socket and connect the charger to
the power adaptor using the circular DC socket. Switch the wall unit on and
note that the green LED ‘Power’ indicator on the charger will light.
13 Place the charger on a at,
heat-resistant surface with a
good airow all around. Connect
the supplied 3S 2200mAh Li-Po
battery to the charger using the
white three pin balance plug,
taking care to ensure its correct
orientation. The red ‘Charger’ LED
will light indicating that the battery is charging. When fully charged the red
LED will stop glowing, whereupon the battery can be disconnected.
14 Open the battery hatch on the
underside of the fuselage, insert
the LiPo and slide it as far forward
as it will go.
To attach the wing to the fuselage
locate the dowels at the leading
edge then insert the wing bolt
plate at the trailing edge to pull the
two halves together.
10

Full manual available to download from: www.Ares-RC.com
15 Remove the transmitter battery
cover and insert four AA alkaline
cells (not included) taking care to
observe the correct polarity.
16 16
Switch ON your transmitter,
ensure the LED is lit solid red and
move the throttle stick to its low
position.
Switch ON your transmitter,
ensure the LED is lit solid red and
move the throttle stick to its low
position.
17 Centre all the trim levers noting
that trim center is indicated by an
audibly longer beep tone.
18 Connect the battery to the
Electronic Speed Controller (ESC).
A series of three regular beeps,
followed by two audibly dissimilar
beeps will be heard indicating that
the ESC is armed and operational.
Mode 2 Mode 1

QUICK-START GUIDE
Full manual available to download from: www.Ares-RC.com
21 Check that the ailerons are
centered and, if not, adjust the
clevises to suit.
20 With the control surfaces centered,
connect the elevator and rudder
clevises to the outer hole of each
control horn noting that you may
have to screw the clevis in or out
to ensure that the control surface
remains in the neutral position.
19 Stow the leads carefully, then
close and lock the hatch. In the
unlikely event that the servos
do not operate see the PAIRING
instructions at the back of this
guide.
22 22
Make sure the control surfaces
operate in the correct direction.
With the model in front of you,
facing away, move the rudder
stick to the left and check
that the rudder moves left in
response. Right rudder stick will
move the rudder to the right.
Make sure the control surfaces
operate in the correct direction.
With the model in front of you,
facing away, move the rudder
stick to the left and check
that the rudder moves left in
response. Right rudder stick will
move the rudder to the right.
Mode 2 Mode 1

Full manual available to download from: www.Ares-RC.com
23 Check the alignment of the nose wheel. With the
rudder in the neutral position this will need to be
straight. If it’s slightly off center, adjust it in the
following manner:
1. Lift the wing, disconnect the aileron leads,
and stow it carefully to one side.
2. Locate the nose wheel steering pushrod on
top of the rudder servo.
3. Undo the pushrod’s screw-lock connector with a crosshead screwdriver.
4. Adjust the pushrod to bring the wheel into alignment.
5. Tighten the screw-lock connector, reconnect the aileron leads & reattach the
wing.
24
25
24
25
Pull the elevator stick back and
check that the elevator moves
in an upward direction. Push the
elevator stick forward and check
that the elevator moves in a
downward direction.
Moving the aileron stick to the
left should cause the right-hand
aileron to move in a downward
direction whilst the left-hand
aileron moves upward. Moving
the aileron stick to the left will
have an opposite effect.
Mode 2
Mode 2
Mode 1
Mode 1

QUICK-START GUIDE
Full manual available to download from: www.Ares-RC.com
27 Open the battery hatch, unplug the Li-Po battery and switch OFF the
transmitter. Assemble the propeller and spinner in the following sequence:
b
cFit the propeller over the shaft
and seat it comfortably against
the upstands of the backplate.
Add the spinner backplate.
Drop the circular propeller driver
over the propeller shaft, noting its
orientation.
a
dAdd the washer then loosely t the
prop nut.
26 26
Open the throttle slowly and
check that the motor shaft turns
in an anticlockwise direction
(when viewed from the front).
Open the throttle slowly and
check that the motor shaft turns
in an anticlockwise direction
(when viewed from the front).
Mode 2 Mode 1

Full manual available to download from: www.Ares-RC.com
eAdd the prop shaft to the motor
shaft, push it back as far as it will
go, then securely tighten the prop
nut, noting that a loose propeller
can cause considerable damage
and serious injury.
fFit the spinner and secure
the screw using a crosshead
screwdriver.
28 With the LiPo battery inserted, check that your Crusader sits level when
balanced on either side of the fuselage at a point 60–70mm back from the
leading edge of the wing.
60-70mm
(2-3/8” to 2-3/4”)

QUICK-START GUIDE
Full manual available to download from: www.Ares-RC.com
30 Your Crusader is now ready to y.
You’re going to love it, however
make sure you choose a suitably
calm day for the test ight. We
recommend that the services of
an experienced model pilot be
employed to assist with the rst
ight. Please see the full online
manual for further information.
29 29
With the throttle stick in the
low position, switch ON the
transmitter once more and
connect the battery to the ESC
whilst keep well clear of the live
propeller. Close the battery hatch
and check once more that the
control surfaces move in the
correct manner.
With the throttle stick in the
low position, switch ON the
transmitter once more and
connect the battery to the ESC
whilst keep well clear of the live
propeller. Close the battery hatch
and check once more that the
control surfaces move in the
correct manner.
Mode 2 Mode 1

Full manual available to download from: www.Ares-RC.com
Transmitter Pairing
Having followed Steps 1 to 19, in the unlikely event that your Crusader does not operate
please follow the 4 stage pairing process detailed here:
If you’re completing the PTF version of the Crusader using a Hitec air transmitter, follow your
transmitter’s guide to pairing and power ON the receiver when prompted, noting that the
KA-6 receiver is an autopair receiver and does not require that you press a pair/link button.
PAIRING GUIDE
1If already tted, remove the
Crusader’s propeller. Place the
transmitter and receiver (you can
leave this in the model) within
200cm of each other (but not
less than 45cm) then power the
transmitter ON.
2Power the receiver ON by
connecting the LiPo battery to the
ESC, as before. The Receiver’s LED
will initially ash red / blue, then
change to fast-ashing red. For
initial pairing the receiver must be
powered on within 5 seconds of the
transmitter. Once paired this time
constraint is no longer necessary.
3Pairing will be complete when the
receiver’s fast-ashing red LED
turns solid red. This usually works
without issue, however if you are
attempting to operate multiple
aircraft at the same time be sure
that you only turn one transmitter
and aircraft on at a time, waiting for
the two to pair before moving to the
next. If a mis-pair occurs simply turn off both units and begin the process again.
4You should now have full control of
your Crusader. Return to Step 20 of
this guide to complete the set-up of
your model.
45–200cm
LED

QUICK-START GUIDE
Full manual available to download from: www.Ares-RC.com
NOTE: If you experience any problems,
please consult online troubleshooting guide.
000638-001 (REV A)
This manual suits for next models
5
Table of contents
Other Ares Toy manuals

Ares
Ares OPTIM 300 CP User manual

Ares
Ares Nano-Micro Stick 75 User manual

Ares
Ares TIGER MOTH 75 User manual

Ares
Ares Nanos FP75 User manual

Ares
Ares Chronos FP 110 User manual
Ares
Ares Crusader II RTF Manual

Ares
Ares sopwith pup Manual

Ares
Ares fokker D.VII User manual

Ares
Ares Gamma 370 Pro User manual

Ares
Ares V-Hawk X4 Manual

Ares
Ares Decathlon User manual

Ares
Ares ultra-micro trainer 100 User manual

Ares
Ares Gamma 370 Pro User manual

Ares
Ares Tiger Month 75 User manual

Ares
Ares sopwith pup User manual
Ares
Ares AZSA1700 User manual

Ares
Ares Optim 80 CP User manual

Ares
Ares Alpine 1200 Operator's manual

Ares
Ares Gamma V2 Float Set User manual

Ares
Ares Ethos FPV User manual