A Guide to - Wall Mounting & Fixings
Revision 2 - 7/10/09
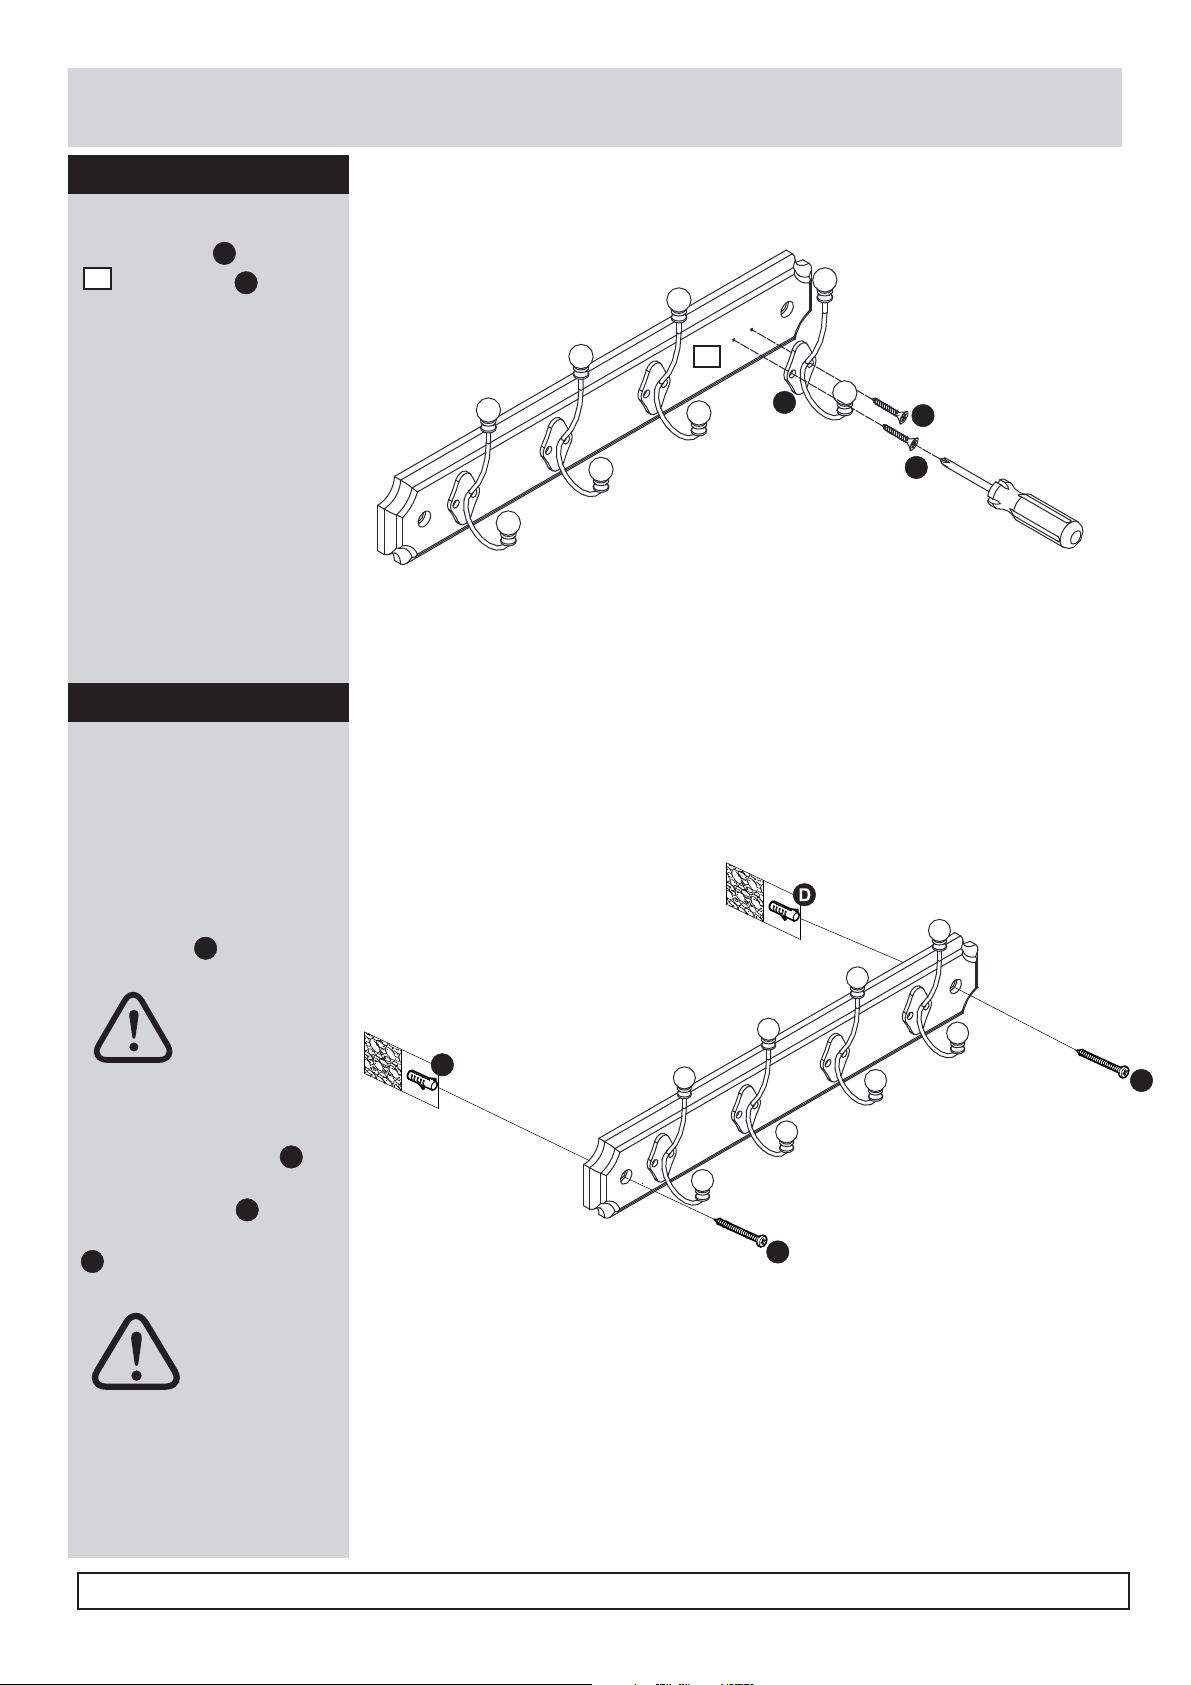
Important note:
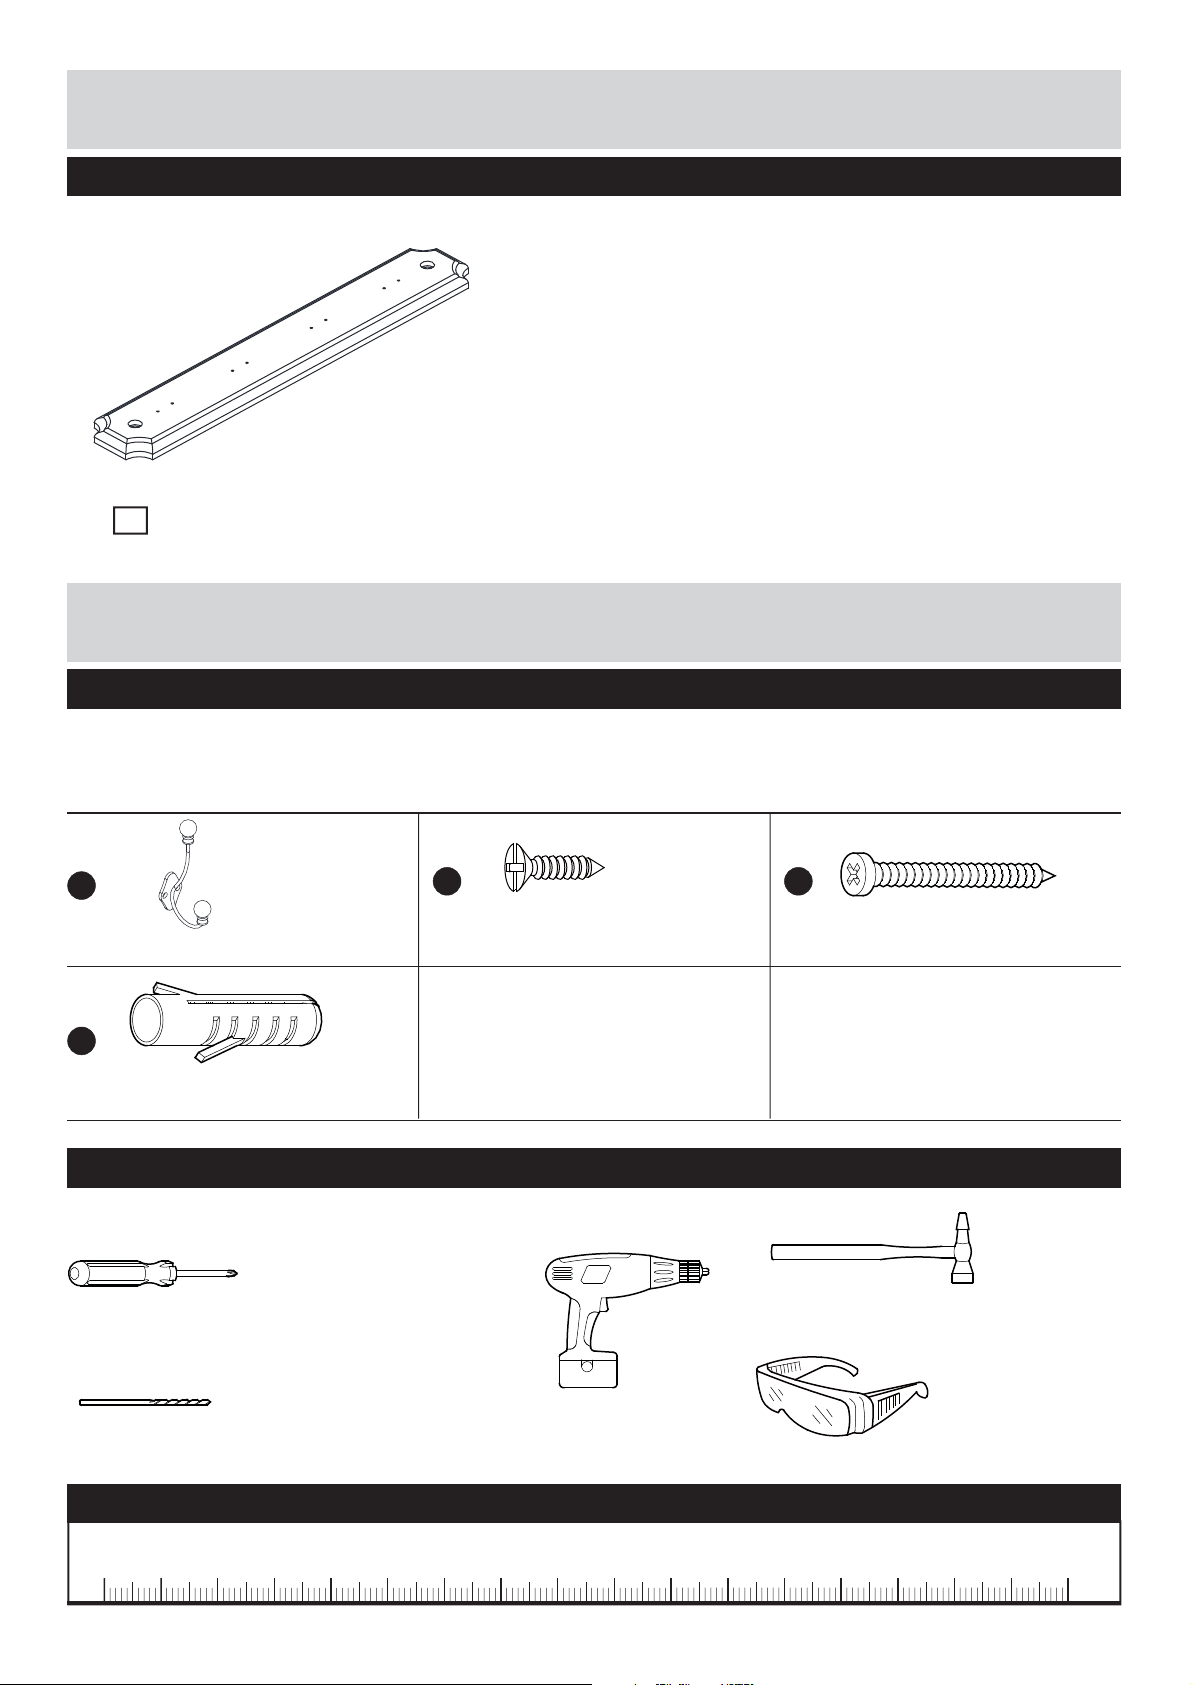
Types of walls
Care &
Maintenance
No.1 “General Purpose” wall plug
No.6 “Shield Anchor” wall plug
Heavy loads
No.3 “Cavity Fixing” wall plug
No.4 “Cavity Fixing-Heavy Duty”
wall plug
No.5 “Hammer Fixing” wall plug
No.2 “Plasterboard” wall plug
Generally aerated blocks should not
be used to support heavy loads, use
a specialist tting in this case. For light
loads, general purpose wall plugs can
be used.
For use with heavier loads such as TV
& HiFi speakers and satelite dishes etc.
For use with plasterboard partitions or
hollow wooden doors.
For use when tting or supporting
heavy loads such as shelving, wall
cabinets and coat racks.
For use with walls stuck with
plasterboard. The hammer xing allows
it to be xed to the wall rather than the
plasterboard. Always check the xing
is secure to the retaining wall.
For use when attaching light loads on
to plasterboard partitions.
Safety: Always check the fitting
and location to ensure your safety
in and around the home.
Fitting: From time to time check
the fitting to ensure the wall plugs
or screws do not become loose.
You can use one of the following types of wall plug if your walls are made
of brick, breeze block, concrete, stone or wood.
Important: When drilling into walls always
check that there are no hidden wires or pipes etc.
Hints:
1: General rule: Always use a larger screw and wall plug
if you are not sure.
2: Ensure you use the recommended drill bit to match the wall
plug and hole size.
3: Ensure you drill the hole horizontally, do not force the drill or
enlarge the hole.
4: Take extra care when drilling high walls, ceilings and ceramic
tiles. Ensure wall plugs are inserted beyond the thickness of
the ceramic tiles to avoid the tiles splitting or cracking.
5: Ensure wall plugs are well tted and are a tight t in the
drilled hole.
If plastic wall plugs
are supplied with your
product:
Make sure that the screws and wall plugs being used
are suitable for supporting your unit. Consult a qualified
tradesperson if you are unsure.
- these are only suitable for
use in masonry walls.
If you are in any doubt about
the correct wall plugs for
your wall, seek professional
advice.
Failure of the product due to
using incorrect xings is the
responsibility of the installer.