ARIBEX Nomad Pro Veterinary User manual
Handheld X-ray System for
Intraoral Radiographic Imaging
OPERATOR MANUAL
MANUFACTURED BY
DO NOT OPERATE THIS DEVICE UNTIL YOU HAVE READ THIS MANUAL and reviewed the accompanying materials.
Disclaimer:
NOMAD®Pro Veterinary is sold with the understanding that the user assumes sole responsibility for radiation
safety (as well as any state, provincial, or local regulatory compliance) and that Aribex, Inc., its agents or representatives, do
not accept responsibility for:
a) injury or danger to personnel from X-ray exposure,
b) image over/under exposure due to poor operating techniques or procedures,
c) equipment not properly serviced or maintained in accordance with instructions contained in this publication, and
d) equipment which has been damaged, modified, or tampered with in any way.
Aribex
and
NOMAD
are registered trademarks within the United States and other countries.
NOMAD Dental
,
NOMAD Pro
,
PORTA-X
, and the ARIBEX and NOMAD logos are trademarks of Aribex, Inc. worldwide. U.S. patents issued: 7,224,769 and
7,496,178. United States and international patents pending. All other brand and product names are trademarks or registered
trademarks of their respective companies.
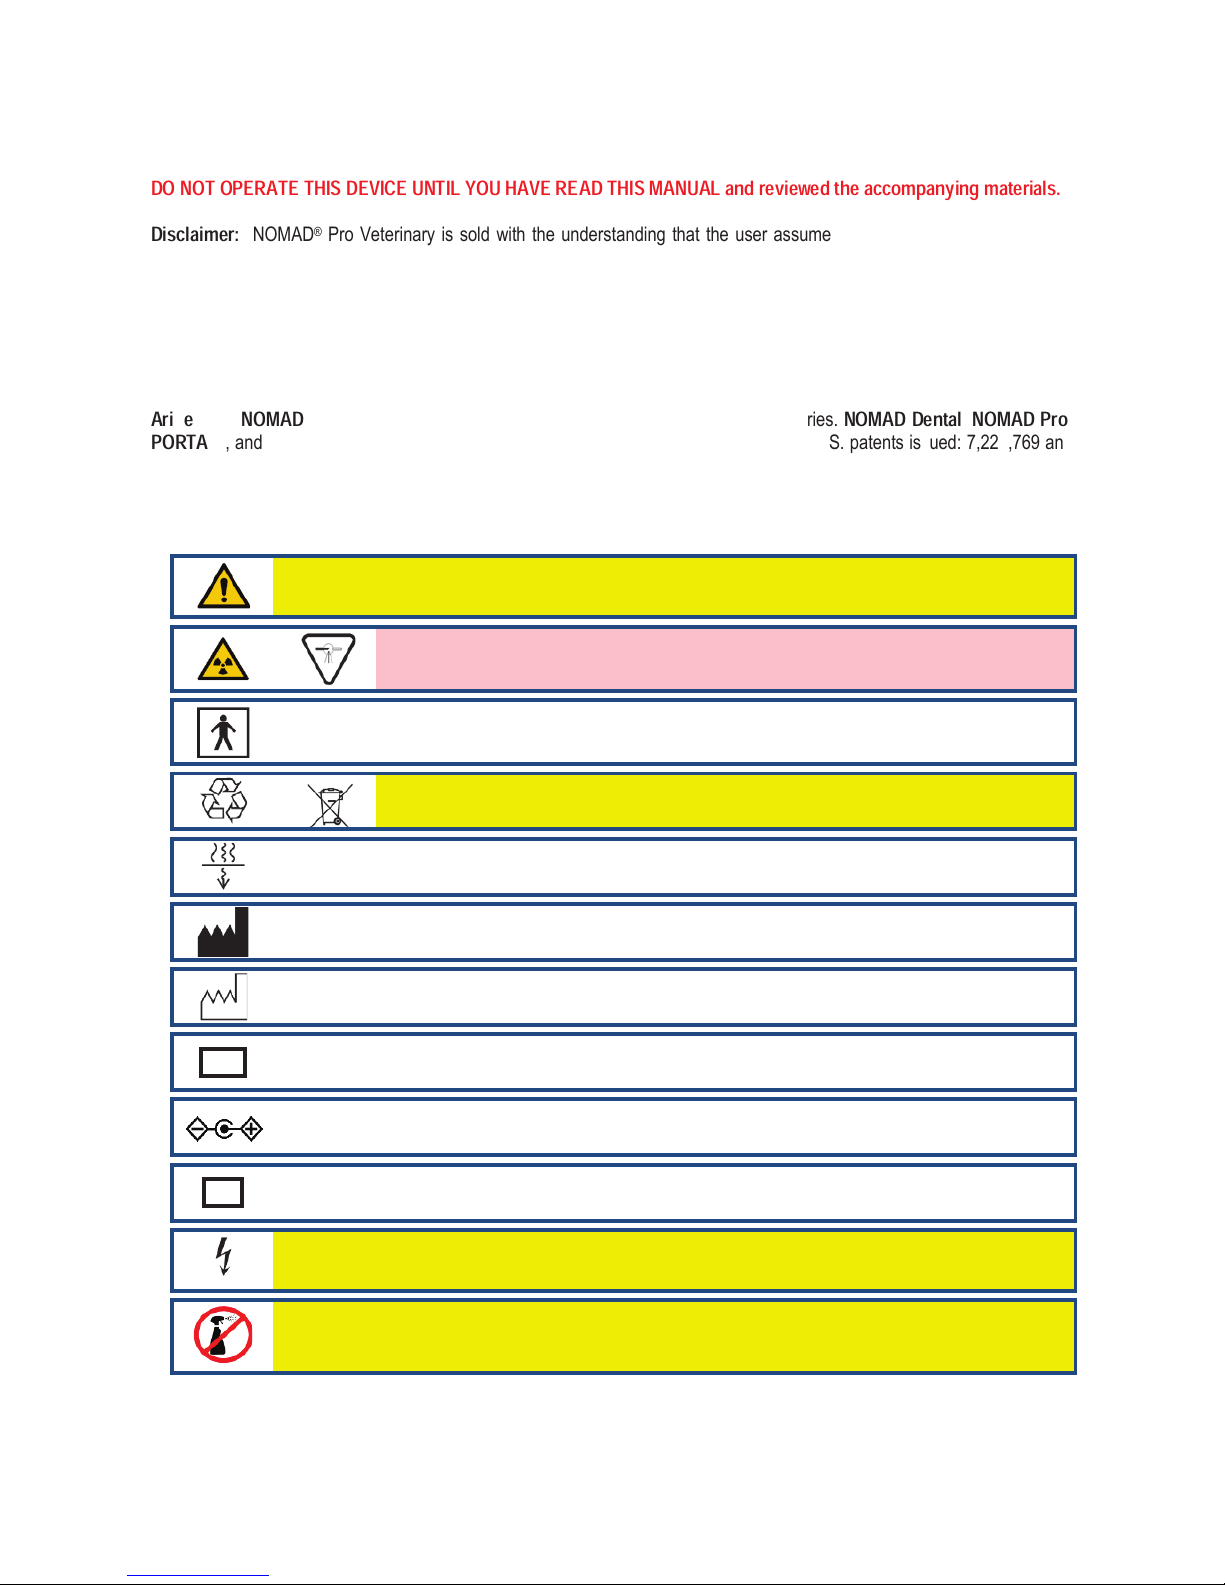
The symbols used in this publication or used to mark the equipment have the following meanings:
Attention, consult accompanying documents
Ionizing Radiation
Type BF Equipment (providing a degree of protection against electric shock,
pertaining particularly to allowable leakage currents)
Instructions for handling product at end of life
Reference to a radiation filter or a value of filtration
Manufacturer of the device
Date of device manufacture
REF Model number or corresponding name
Power supply positive/negative orientation
SN.Unique serial number for the device
Dangerous Voltage
Do not spray disinfectant or cleaners directly on the NOMAD PRO, handset,
charger cradle or AC power supply. Damage to your device may occur.

Operator MANUAL
Table of Contents
1.0 Getting Started..........................................................................1
1.1 Intended Use ................................................................................................................... 1
1.2 Unpack, Check, and Register NOMAD Pro System ........................................................ 1
1.3 Charging the Handsets .................................................................................................... 2
2.0 Safety Precautions ....................................................................3
2.1 Radiation Safety .............................................................................................................. 3
2.2 Usage and Duty Cycle ..................................................................................................... 5
2.3 Cleaning .......................................................................................................................... 6
2.4 Security, Storage, and Transportation ............................................................................. 6
3.0 Setup and Power Check ............................................................7
3.1 The Backscatter Shield.................................................................................................... 7
3.2 Attaching a Charged Handset.......................................................................................... 8
3.3 Checking for Power ......................................................................................................... 8
3.4 Optional Checks .............................................................................................................. 9
4.0 Operation.................................................................................10
4.1 Power On....................................................................................................................... 10
4.2 Ensuring Battery Charge Is Adequate ........................................................................... 10
4.3 Lock / Unlock the X-ray.................................................................................................. 10
4.4 Ensuring the Right Exposure Time Is Set ...................................................................... 11
4.5 Ready the Device .......................................................................................................... 11
4.6 Initiating and Completing an X-ray Exposure................................................................. 12
4.7 Power Off....................................................................................................................... 12
4.8 Exposure Techniques .................................................................................................... 14
4.9 Settings Menu................................................................................................................ 15
4.10 Technique Factor Settings and Adjustments ............................................................... 17
5.0 Handset Replacement and Care .............................................18
6.0 NOMAD Pro Care and Upkeep .................................................19
6.1 Alarms and Alerts .......................................................................................................... 19
6.2 Troubleshooting............................................................................................................. 22
6.3 Repair and Maintenance................................................................................................ 24
7.0 Technical Description .............................................................25
7.1 Basic Technical Specifications....................................................................................... 25
7.2 Wiring Diagram .............................................................................................................. 26
7.3 X-ray Tube Specifications and Characteristics .............................................................. 27
7.4 EMC Data ...................................................................................................................... 30
7.5 Optional Calibration Checks .......................................................................................... 32

Thank you for choosing the AribexNOMAD Pro Veterinary as your X-ray
solution!
At Aribex we value your business and we would like to hear from you, because your
feedback or suggestions are important to us. If you have comments, please email us:
NOMAD@aribex.com
NOMAD®Pro Dental Features:
¾Performance – battery power source delivers dependable high voltage (60kV, true DC)
and direct current (2.5mA).
¾Consistent Emission Radiation – high-frequency, constant-potential X-ray generator
provides high quality images, with a lower radiation dosage to the patient than standard
AC X-ray systems.
¾Radiation Protection – operator shielded from source and backscatter radiation.
¾Simple Operation – by selecting patient size, receptor type and tooth type the factory
preset exposure time is digitally displayed on the user-friendly control panel along with
indicators for machine and battery status.
¾Lightweight and Ergonomic – design provides complete flexibility and convenience,
enabling exposures without moving the patients to the X-ray source.
¾Exposure Safety Feature – cannot emit X-rays with insufficient voltage (low battery).
¾Engineered for Compatibility – works with both film and digital imaging systems.
¾Authorized Service – complete support and maintenance from Aribex and through our
authorized distributors.
¾X-ray Locking Feature – enables the safe training, demonstration, and storage of the
device without undue concern related to unintended or unauthorized radiation emission.
OPERATOR MANUAL..
1
1.0 Getting Started
1.1 Intended Use
The NOMAD Pro Veterinary X-ray System is designed to be used for veterinary medicine by trained
veterinary professionals for producing diagnostic dental X-ray images.
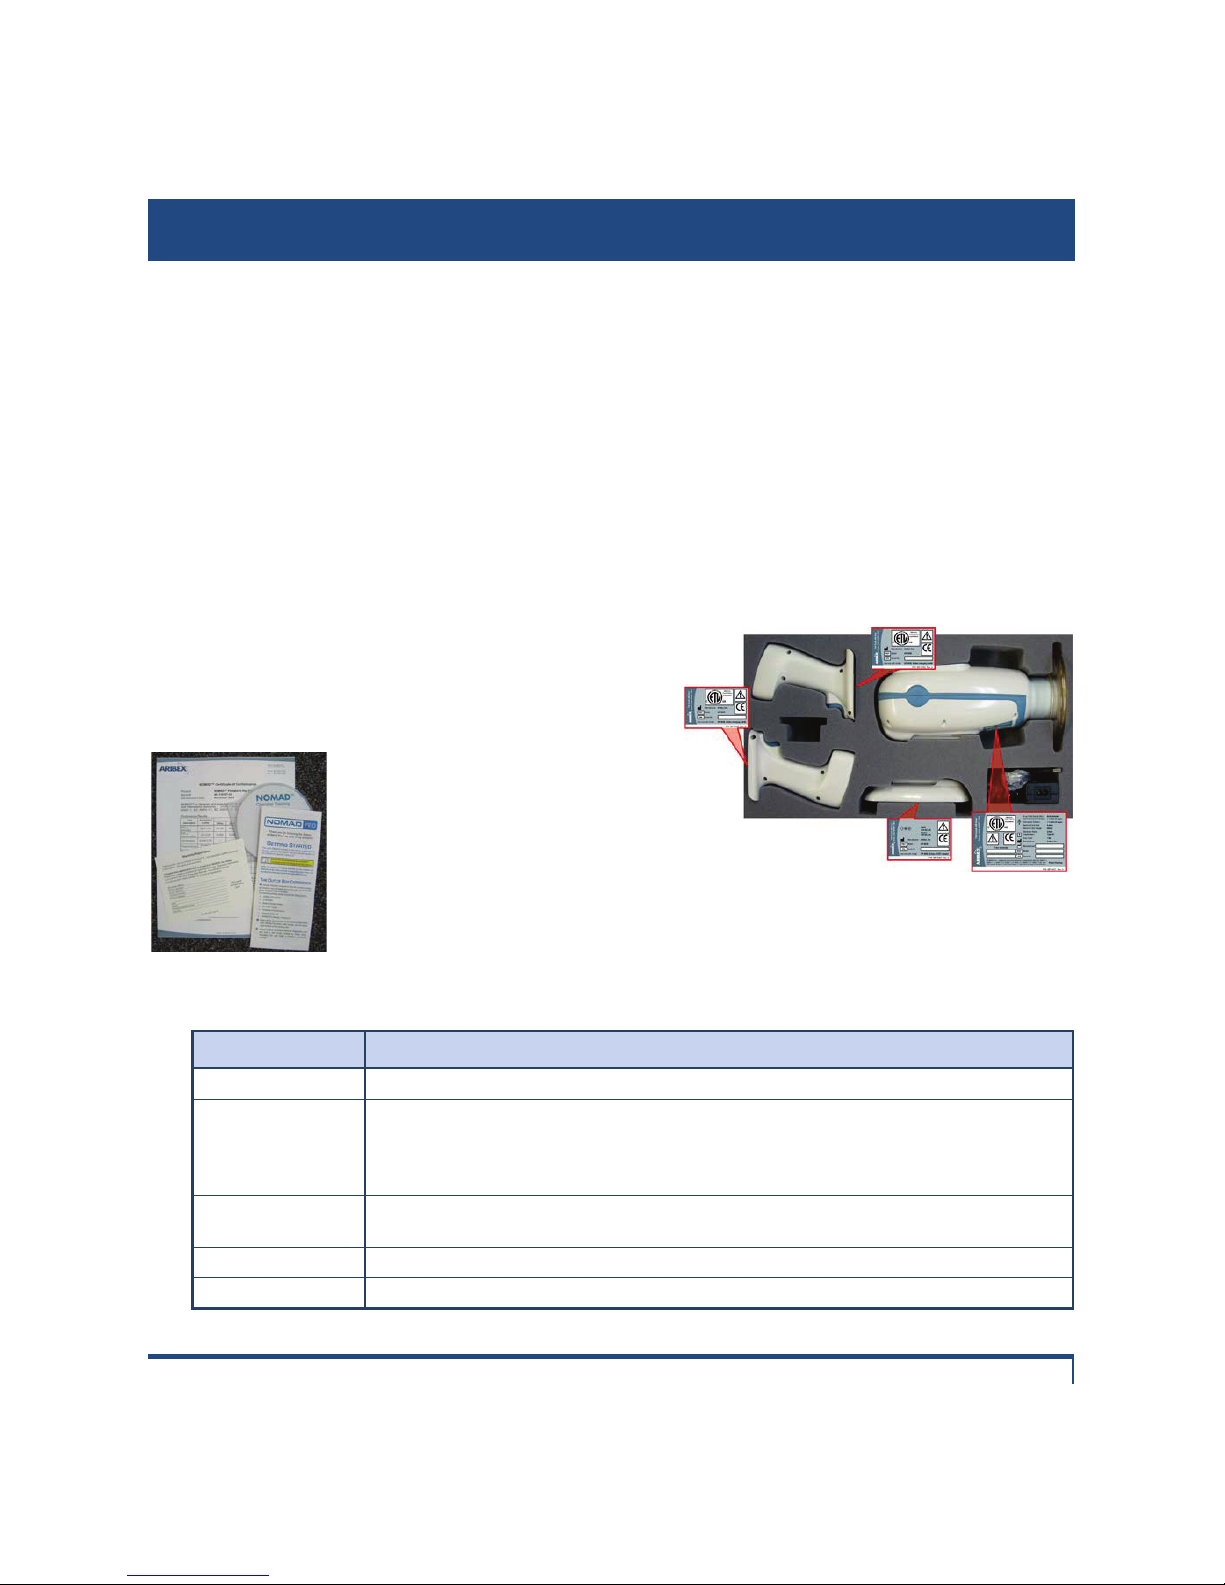
1.2 Unpack, Check, and Register NOMAD Pro System
nUnwrap individual components from the protective
plastic and check for any noticeable signs of damage.
The standard package system includes the following
items:
¾NOMAD Pro Device
(08500049)
¾2 Handsets (08500056)
¾Charging Cradle (08500060)
and the AC/DC Power Supply
(08500070)
¾Certificate of Conformance, Getting Started guide (08500305), Warranty /
Registration Card, and NOMAD Pro Operator Training CD (08500304)
oPreliminary Checks:
Item Check
Device Labels
Verify that the serialized Device label is in place (located on lower side of unit).
Other Labels
Verify that the serial number on the Warranty/Registration card matches the device serial
number and the device serial number on the carrying case. Verify that the Handsets label
(located on the top of each Handset) and the Charging Cradle label (located on the bottom of
the Charging Cradle) are all in place.
Collimator Cone and
Backscatter Shield These two items provide operator protection and should be inspected for shipping damage.
Trigger Switch
Should freely move in and out when depressed and released.
Device Housing
Should be free of cracks or fractures.
Other manuals for Nomad Pro Veterinary
1
Table of contents
Other ARIBEX Dental Equipment manuals


