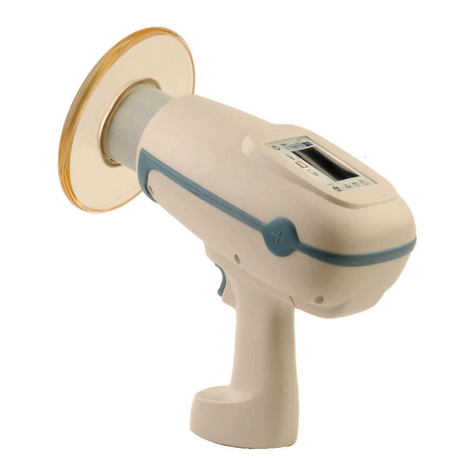
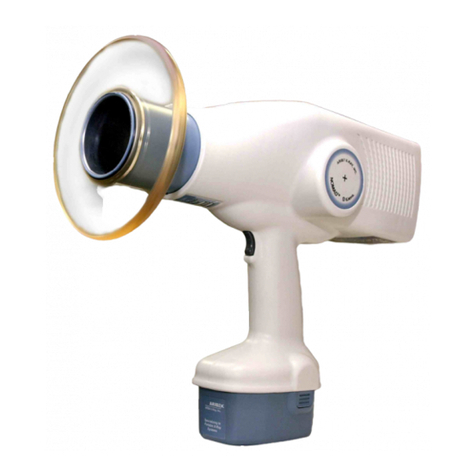
ARIBEX Nomad Pro Veterinary User manual

TM
MANUFACTURED BY
GETTING STARTED
This quick reference guide is intended to supplement the
Operator Manual
and operator training materials located
on the
NOMAD Pro Veterinary Operator Manual
CD.
NOTE: The manual and training materials are also
available for download on the Aribex website at
www.aribex.com or they can be ordered in hard copy
format: support@aribex.com
nUnwrap each component from the protective plastic
and check for any noticeable signs of damage – do not
use the device if it shows signs of damage.
The standard package system includes the following
items.
¾NOMAD Pro Veterinary X-ray Head,
¾2 Handsets,
¾Battery Charger Cradle,
¾AC to DC Power Supply,
¾Certificate of Conformance,
¾Warranty Card, and
¾NOMAD Pro Veterinary Operator Manual CD.
oVerify that the serial number on the Warranty /
Registration card matches the X-ray head serial
number and the device serial number on the
carrying case.
pPlease complete the product Warranty / Registration
card and mail it with proper postage to Aribex today.
Completing the card fulfills a condition of warranty
coverage.
Review the Operator Manual and training material
contained on the CD shipped with this device.
BASIC OPERATION
nAttach a fully charged handset.
oTurn the power on by pressing the
Power
( )
button.
pSelect
Patient Size
(Larger or Smaller
).
qSelect
Image
Receptor
type (Film
, Phosphor Plate ,
or Sensor ).
rSelect the
Tooth
Group
(Molars ,
Pre-Molars , or
Incisors/Canines ). For more on adjusting the
time settings see the
Operator Manual
contained on
the CD.
sPosition the NOMAD Pro relative to the receptor.
tPull and release the trigger once to put the NOMAD
Pro into the
READY
state.
uPull and hold the trigger (a second time) until the
X-RAY COMPLETE
is displayed and the audible
tone indicates the exposure is done.
vTurn off the power by pressing the
Power
( )
button.
Do not operate NOMAD Pro or the handset, charger cradle,
or AC power supply if equipment was subjected to moisture.
Do not spray disinfectant or cleaners directly on the NOMAD
Pro, handset, charger cradle or AC power supply. Damage to
your device or a shock hazard may result. Consult the
Operator Manual on the CD for proper cleaning instructions.
Do not open the housings. Doing so will void the warranty.
There are no user-serviceable parts inside the NOMAD Pro,
handset, charger cradle or AC power supply.
Locate the charging system away from the normal patient
environment.
NOMAD Pro should not be operated if it has been dropped or
performance degrades; it should be returned to Aribex for a
safety check.
HANDSET (BATTERY)
CARE
The following are important handset care notes:
¾Each handset can go through the full
discharge/charge cycle approximately 300 times.
Routinely change out a discharged handset with
fully charged one as needed.
¾Remove the handset from the charging cradle once
it is fully charged.
¾Battery charge will diminish during extended
inactivity –
fully recharge handsets every 3
months during inactivity.
Never place a low
charge battery into long-term storage.
¾Do not store handsets in extreme conditions: below
–20°C (–4°F) or above +60°C (+140°F), or beyond
95% relative humidity (non-condensing). The
optimal storage location is cool, dry, and away from
direct sunlight.
¾Do not store or carry handsets so that conductive
objects can contact exposed battery contact
springs.
¾When the charging cradle senses a bad handset
battery, the indicator lights will illuminate red rather
than green. In this case, the batteries are
inoperable and must be serviced.
¾Handset communications and mechanical integrity
are checked by pulling the handset trigger when it
is on the charging cradle – good communication
exists when the indicator lights illuminate orange.
Do not attempt to charge a handset with damaged batteries.
Risk of fire or explosion exists if batteries inside the handset
are replaced by unauthorized service personnel; do not use
batteries from other sources.
Properly dispose of spent or damaged handset; return to
Aribex or an authorized distributor for replacement and
recycling. Do not place in municipal waste stream.
LIMITED WARRANTY
COVERAGE. Aribex, Inc. warrants its medical and dental x-ray
equipment to be free from any defects in material or workmanship for a
period of one (1) year from the date of purchase. Aribex, Inc. also
warrants any accessories purchased from Aribex to be free from any
defects in material or workmanship for the period of one (1) year from the
date of purchase.
The liability of Aribex, Inc. is limited to repair or replacement of any parts
that Aribex or its authorized resellers determine to be defective. Contact
Aribex for a Return Material Authorization (RMA) number and shipping
instructions. Parts proving defective shall be repaired or replaced free of
charge (labor and domestic shipping included), if defective equipment is
returned freight collect to Aribex (Utah, USA) or the location of the
authorized service center. Equipment repaired or replaced under
warranty shall continue to be warranted for the balance of the original
warranty term. All warranty claims must be made not later than ten (10)
business days following the expiration of the applicable warranty period.
LIMITATIONS OF COVERAGE. This warranty does not apply to
equipment that is or has been abused, misused, or altered (including
opening enclosure or tampering), improperly maintained, subjected to use
beyond rated conditions, or damaged as a result of any carelessness or
accidents. This warranty does not cover ordinary wear and tear or
maintenance.
LIMITATIONS OF LIABILITY. Aribex, Inc. makes no other warranty,
either expressed or implied, with respect to any equipment purchased
from Aribex, including without limitation any implied warranties of
merchantability or fitness for a particular purpose, whether or not Aribex
may have been informed of the actual uses to which any of such
equipment may be put. Aribex, Inc. shall not under any circumstance be
liable for incidental, indirect, consequential, punitive or exemplary
damages, including without limitation damages for delay or lost profits,
and in no event shall liability of Aribex arising from the purchase, sale or
use of the equipment, or breach of any warranty made above, exceed in
the aggregate the purchase price paid therefore.
Aribex, Inc.
11727, Fruehauf
Drive Charlotte,
NC 28273 U.S.A.
Phone: 801-226-5522
Fax: 801-434-7233
Email: NOMAD@aribex.com
http://www.aribex.com
U.S. patents 7,224,769 and 7,496,178
United States and international patents pending
English is the original draft language for this manual.
© Aribex, Inc. 2005, 2010
All Rights Reserved
P/N 08500314 R01 4/15/16
0473
ISO 13485 / ISO 9001
CERTIFIED COMPANY

THE NOMAD® PRO
DIFFERENCE
NOMAD Pro is safe to be used as a handheld X-ray
source. There is no need to leave the room during an
exposure.
Aside from the direct beam, X-ray devices have two
potential operator radiation sources: 1) leakage radiation
and 2) backscatter radiation bouncing back off the
subject.
1) Leakage
– Unique internal shielding of NOMAD Pro
encases the X-ray tube eliminating leakage
radiation. As demonstrated by the data below, this
makes it safe to use NOMAD as a handheld device
during exposures.
2) Backscatter
– When properly oriented, the
transparent shield on NOMAD Pro collimator acts as
a barrier against backscatter radiation, making it
safe for the operator to stay in the room.
As a result of the internal and backscatter
shielding, operator X-ray exposure is far below
federal regulatory limits.
RADIATION SAFETY
Operators must follow all applicable regulatory guidelines and in-
house radiation protection program in regard to patients and
operators who are pregnant or expect to become pregnant.
Operators must be fully acquainted with industry safety
recommendations and established maximum permissible doses.
Do not enable NOMAD Pro until patient and operator are positioned
and ready for the exposure, preventing interruption and inadvertent
exposure of anyone to X-rays.
Do not attempt an exposure if anyone other than patient is in the
direct beam. If others are assisting, then they should wear
protective covering.
An exposure can be terminated for any reason by abruptly
releasing the depressed trigger.
Optimal operator radiation backscatter protection exists when:
a)
The backscatter shield is positioned at the outer end of the
collimator cone.
b)
The backscatter shield is close to the patient.
c)
The patient is situated to accommodate exposures that allow
the NOMAD Pro to be positioned perpendicular to the operator.
d)
The operator remains within the significant zone of occupancy
immediately behind the device shield.
As shown in graphic representations, maximum protection (green
area) from backscatter radiation (red area) exists when the NOMAD
Pro is positioned near the patient, is perpendicular to the operator
with the patient (oval) positioned/tilted as needed, and the
backscatter shield is fully extended toward the patient.
Proper postioning Held back Shield slid back Non-perpendicular
PROTECTION:MAXIMUM MINIMIZED
Operation outside the protection zone (or with a diminished
protective zone) requires proper precautions such as the use of
lead aprons.
ALARMS AND ALERTS
Alert
Function / Resolution
ENABLING
X-RAYS
Initiated by a single pull and
release of the trigger, within 1
second. If no further action is
taken the device will shift into the
READY
state. Do not pull trigger
again until the
READY
state is
indicated.
No audible signal
READY
0.20sec
READY
message will display
on-screen following the
ENABLING
X-RAYS
message. The
READY
state will last for 15 seconds, or
until one of the buttons on the
user interface panel is pressed,
or until the exposure is initiated
by a second pull of the trigger.
Double ascending
tone
X-RAYS ON
0.20sec
At the end of the successful
exposure the yellow LED turns
off, and display panel briefly
indicates
X-RAY COMPLETE
and
the screen returns to the normal
mode.
Single tone during
exposure
Alarm
Function / Resolution
COOLING
DOWN
[count down]
Inititated if the operator presses
the trigger to activate the
READY
state before the duty cycle time
has lapsed. Countdown timer will
be displayed showing time
remaining until normal operation
mode resumes.
Double tone at the
start and end of
cool down
RECHARGE
HANDSET
Ensure the Handset is locked in
place. If battery voltage is lower
than required for the X-ray
exposure, the device will not
allow the exposure. Replace the
current handset with a freshly
charged handset.
5 audible tones
INCOMPLETE
(PRESS ANY KEY)
0.38sec.
Activates if trigger is released
before the timed X-ray exposure
finishes. This condition is cleared
by pressing any button on the
user interface panel or by tuning
the power off then on.
Depress the trigger for the
duration of the exposure time.
Occupational Dose Limit1
500mSv
50mSv
Occupational Dose Limit Requiring Dosimetry1
Average Using NOMAD with D-Speed Film2
0.43mSv
0.22mSv
Average Using NOMAD with F-Speed Film or Digital Sensor2
1) Standards for Protection against Radiation, 10
CFR 20 (US Federal
Standards), 1994
(see also NCRP Report No. 116)
2) "Radiation Exposure with the NOMAD Portable X
-ray System", Goren AD
et
al, Dentomaxillofacial Radiology, 37 (2008), S. 109-12; normalized average
(includes leakage and backscatter radiation) assumes 7,200 exposures per year,
and the average length of exposure for D
-speed = 0.50 seconds, F-speed = 0.25
seconds, digital sensor = 0.20 seconds
Comparative Data for Hand and Extremity Exposure (Annual)
Occupational Dose Limit1
50mSv
5mSv
Occupational Dose Limit Requiring Dosimetry1
Average Natural Background Radiation2
3.65mSv
Comparative Data for Whole Body Exposure (Annual)
1) Standards for Protection against Radiation, 10 CFR 20 (US Federal
Standards), 1994
(see also NCRP Report No. 116)
2)
NCRP Report No. 145 (National Council on Radiation Protection and
Measurements), p7
-9
3) "Estimated Cosmic Radiation
Doses for Flight Personnel", Feng YJ et al,
Space Medicine and Medical Engineering
, 15(4) 2002, p265-9
4)
Normalized average assumes 7,200 exposures per year, and the average
length of exposure for D
-speed = 0.50 seconds, F-speed = 0.25 seconds, digital
sensor = 0.20 seconds
2.19mSv
Average Occupational Radiation for Flight Crews3
1.00mSv
General Public Dose Limit1
0.30mSv
Average Using NOMAD with D-Speed Film4
0.12mSv
Average Using NOMAD with F-Speed Film or Digital Sensor4
0.20–0.70mSv
Range for Dental Personnel Using Conventional X-rays2
X-ray Source
Focal Spot
Fixed Beam
Limiting Device
Backscatter
Radiation
Shielding
Primary
Protective
Shielding
Other manuals for Nomad Pro Veterinary
1
Other ARIBEX Dental Equipment manuals
Popular Dental Equipment manuals by other brands
Ivoclar Vivadent
Ivoclar Vivadent Wieland Zenotec Select Hybrid Cleaning instructions
Bien Air
Bien Air iOptima INT installation instructions
Tecno-gaz
Tecno-gaz B-MAX Instructions for use
Renfert
Renfert Twister Frequently asked questions
Dr. Mach
Dr. Mach YLED-1F user manual
Orascoptic
Orascoptic Spark Series Instructions for use and care
Satelec Acteon
Satelec Acteon Piezotome 2 user manual
Ivoclar Vivadent
Ivoclar Vivadent Programat EP 5010 operating instructions

ImageWorks
ImageWorks Panoura X-ERA Installation and assembly manual

Gendex
Gendex Expert DC installation manual
KaVo
KaVo INTRAcompact 2967 CHC Instructions for use
Bio-Art
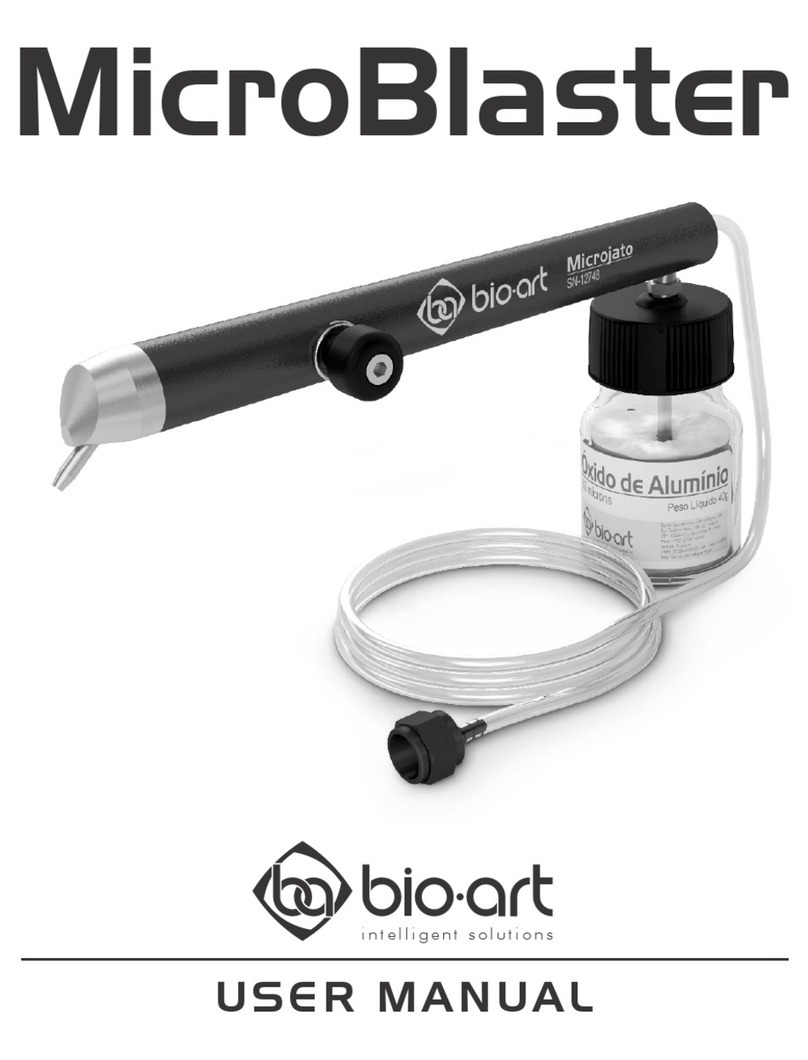
Bio-Art Microblaster user manual
