Armodilo Bluetooth Keyboard Tray User manual

Apple Bluetooth
Keyboard Tray Assembly

2
How-To-Videos
For help with assembly, assembly
with cabling, charging and various
other topics please visit our
online how-to-videos at:
www.armodilo.com

3

4Assembly Instructions ›Keyboard Tray
Thank you
Thank you for purchasing the Keyboard Tray Add-on.
Each Keyboard Tray has been manufactured
to the highest quality specications and
checked by one of our quality assurance
team members to meet our highest
standards. If you have any questions
regarding your accessory
please contact us for
immediate assistance.
Need help?
Call or e-mail us
Monday–Friday
8:30–4:30 EST
1.800.975.5946

5Assembly Instructions ›Keyboard Tray
Taking Care of Your Keyboard Tray
Your Armodilo Keyboard Tray has been designed to be maintenance free.
As with anything a little tender loving care will go a long way to ensuring your
Keyboard Tray lasts for years to come and will provide you with endless
hours of showcasing prowess.
Assembly
When assembling and disassembling your Keyboard Tray follow the instructions and avoid
using force at any time. Improper threading or over tightening of any of the screws could
result in premature thread or part wear which is not covered under the warranty.
Cleaning
The Keyboard Tray is anodized to give it a durable nish. When cleaning use a damp lint
free cloth. Do not use any cleaning agents since they could harm the nish.
Important: Read all the setup instructions and safety information provided in
this user manual carefully.

6Assembly Instructions ›Keyboard Tray
The Keyboard Tray gets mounted to the “Kiosk” Housing using the VESA Mount
Points
1. Grab the Keyboard Tray so that it is oriented as show
2. Align the Keyboard Tray to the back side of the “Kiosk Housing” aligning the four
holes in the Keyboard Tray with the VESA Mount Points
Important: DO NOT OVERTIGHTEN any of the bolts or screws. Damage can result
from excessive force on the bolts or set screws that hold the components together.
1
2
Assembly Instructions › Keyboard Tray

7Assembly Instructions ›Keyboard Tray
3. Insert four VESA Mount Screws through the Keyboard Tray and into the “Kiosk”
Housing as shown. Tighten these using the supplied Hex Wrench
4. Insert the Apple® Bluetooth Keyboard into the Keyboard Tray
Note: To keep the keyboard from moving on the Keyboard Tray or to secure it
further using the optional lock tabs as shown on the next page, it may be useful
to add a strip of velcro to the underside of the keyboard and one to the
keyboard tray to limit sliding the keyboard side to side in both installations.
3
4

8Assembly Instructions ›Keyboard Tray
1. Optional security lock tabs are provided*
for locking the keyboard into the tray
2. Align the lock tab with the hole in the
keyboard tray on both sides
3. Secure the lock tab to the keyboard tray
using the supplied bolts provided
DO NOT OVERTIGHTEN THESE SCREWS
* Available only on version #2
5
6
7
Assembly Instructions › Optional Security Locks

9Assembly Instructions ›Keyboard Tray

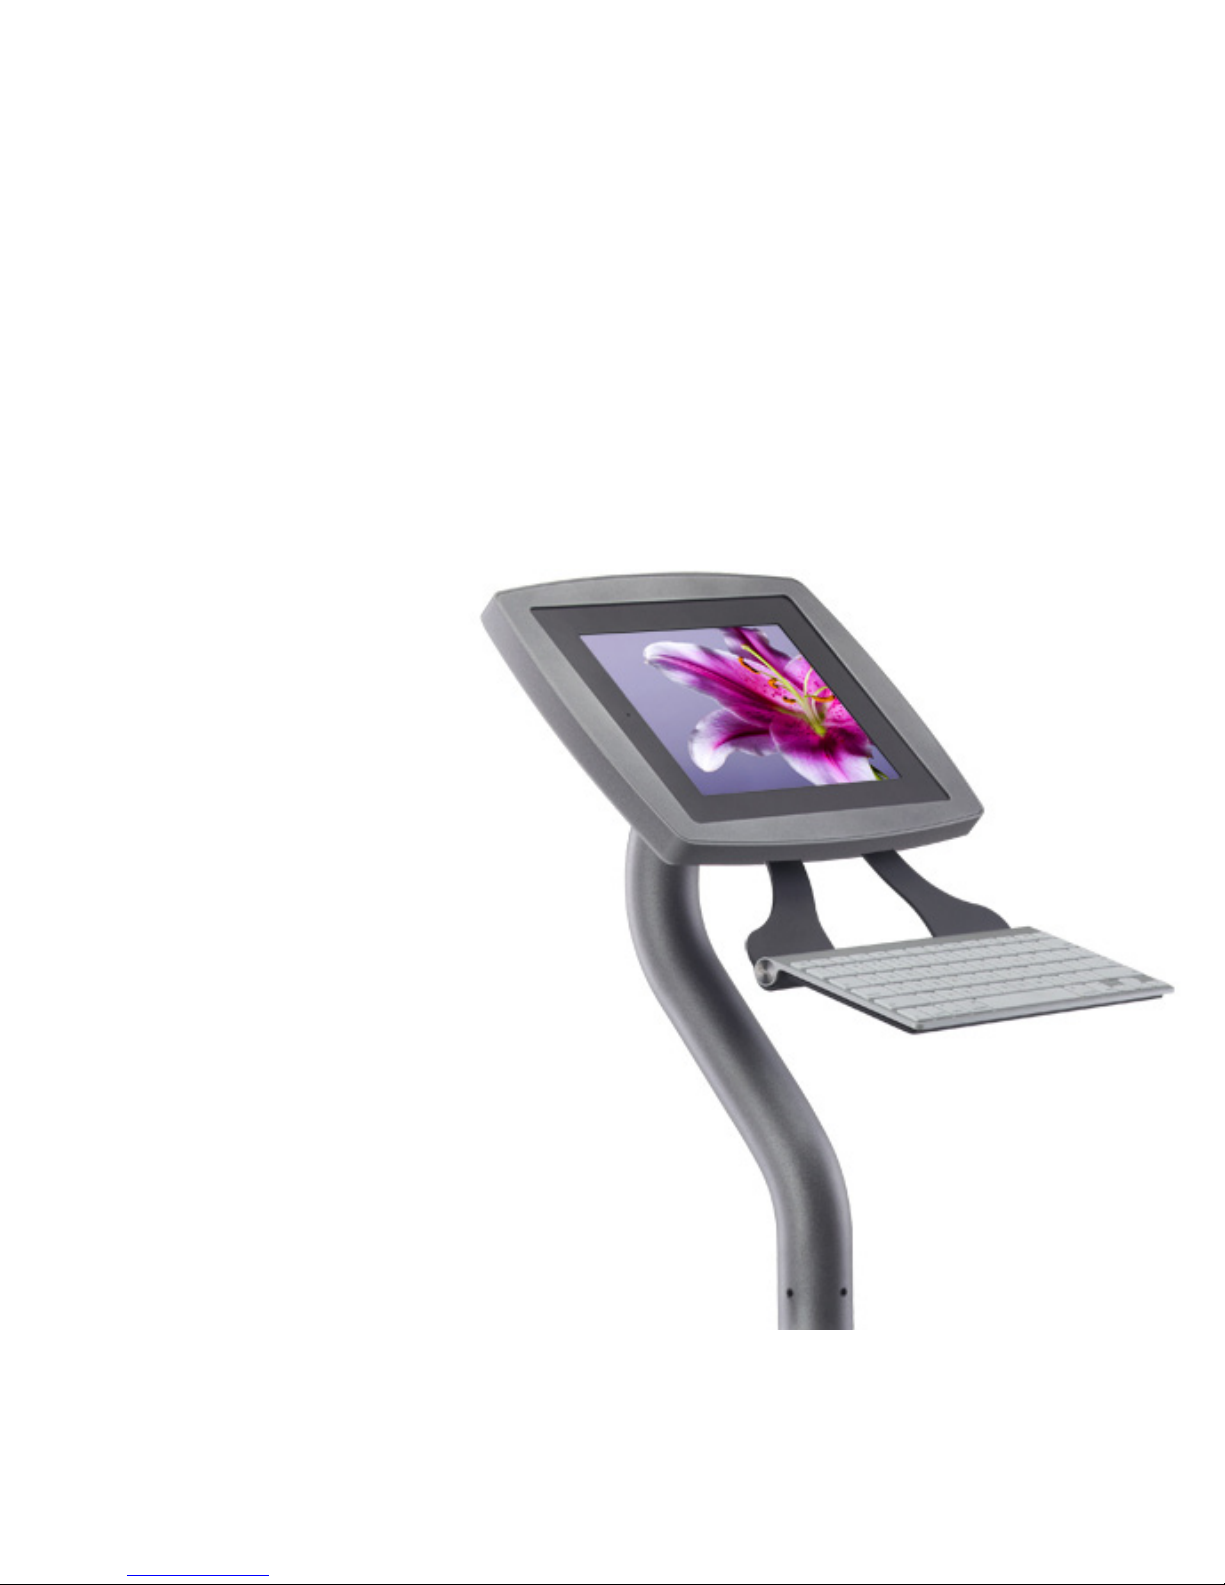
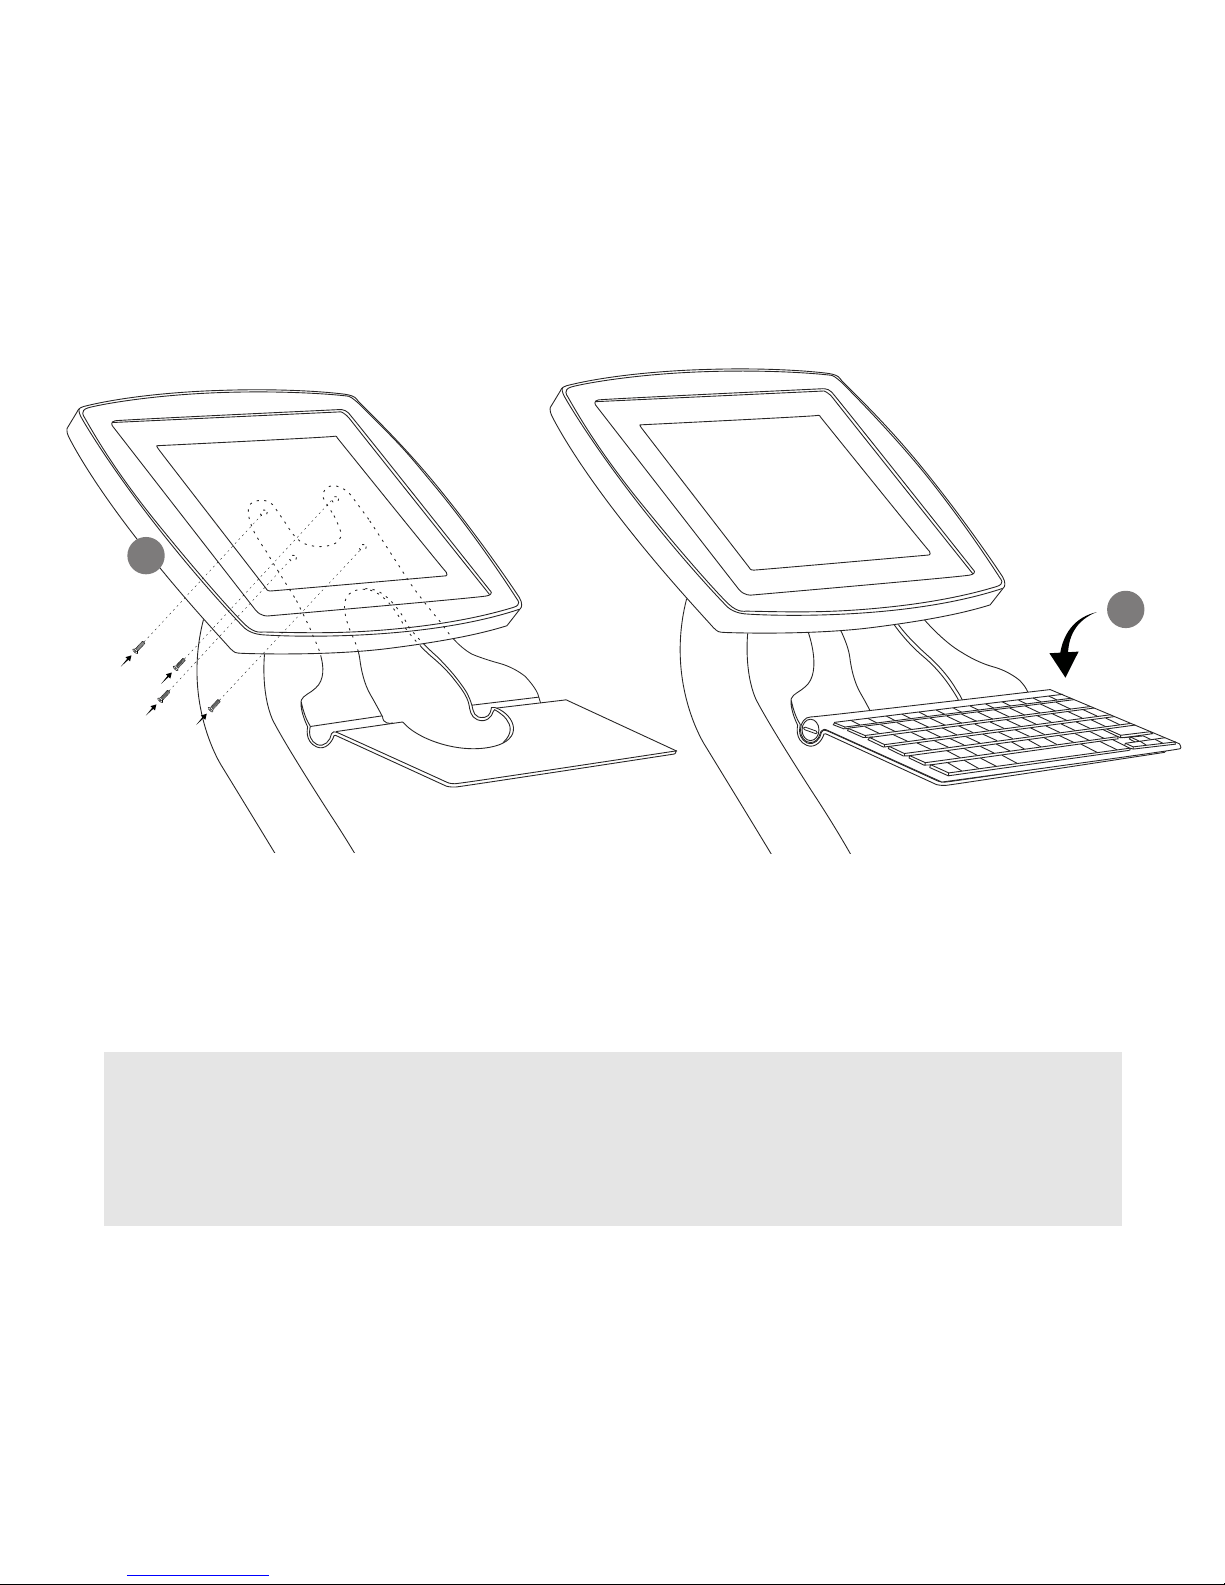
10 Keyboard Tray Warranty Information
Warranty Information
Armodilo™Display Solutions warrants your accessory to be free from physical defects
in materials and workmanship for a period of 1 year from the date of the original
purchase. If you discover a defect covered by this warranty we will repair or replace
the part at our discretion using new or refurbished components.
Product failures not covered by this warranty: This warranty covers defects in
manufacturing that arise from the correct use of the device. It is limited to defects
in materials or workmanship and does not cover damage caused by abuse, misuse,
unauthorized modication, lightning or power surge, extreme heat or cold, and
corrosive environments. The warranty also DOES NOT COVER the normal wear and
tear on screws, bolts, tools and all paint/nishes.
Limits of Liability: If these products fail or do not perform as warranted your sole
recourse shall be to repair the product as described above. We will not be liable to
you or anyone else for damages that result from the failure of this product. These
damages include but are not limited to the following; lost prots, lost savings, lost
data, damage to other equipment and incidental or consequential damages arising
from the use of or inability to use this product. Express or implied warranties are
disclaimed. IN NO EVENT WILL ARMODILO DISPLAY SOLUTIONS BE LIABLE
FOR MORE THAN THE AMOUNT OF YOUR PURCHASE PRICE, NOT TO EXCEED
THE CURRENT LIST PRICE OF THE PRODUCT. Armodilo Display Solutions specically
disclaims all other warranties, expressed or implied, and the user shall deem the
installation or use of this product an acceptance of these terms.

11Keyboard Tray Warranty Information
Obtaining Service Under Warranty
How to obtain service under this warranty: RMA numbers are required for all
Solutions technical support member veries your have a hardware problem that
requires you to return your product you will be issued an RMA number.
You must acquire an RMA number and deliver the defective part to Armodilo
Display Solutions in order to obtain service under this warranty. A sales receipt
is required to verify the original retail purchase. All returned parts must have
the RMA number visible on the outside of the packaging. You must either use the
original packaging or pack the unit securely to avoid damage during shipping.
Return Authorizations are valid for 30 days after the RMA number is issued.
Ship your product to the following address:
Armodilo Display Solutions
RMA#:XXXX
27 Coral Gables Crescent
Elmira, ON N3B3P4
Canada
Armodilo Display Solutions will pay the return shipping costs for products under
warranty. Armodilo Display Solutions is not responsible for the cost of shipping to
Armodilo Display Solutions or the payment of any customs clearance fees or duties.

12
Table of contents
Popular Accessories manuals by other brands

Niles
Niles MS-1 Installation & operating guide

ekwb
ekwb EK-FC980 GTX WF3 Backplate Installation and mounting manuals

Honeywell
Honeywell Ex-Or MSB1001DT Installation and commissioning instructions

BAC
BAC SP2B series Rigging and installation instructions

PHYWE
PHYWE Cobra SMARTsense Humidity quick start guide

BCP
BCP SKY2599 instruction manual