2REV 7 02/17/2015A-2587
A-2587
ARNOTT FRONT AIR SPRING
FOR 2005-2011 MERCEDES-BENZ ML-CLASS
FOR 2007-2012 MERCEDES-BENZ GL-CLASS
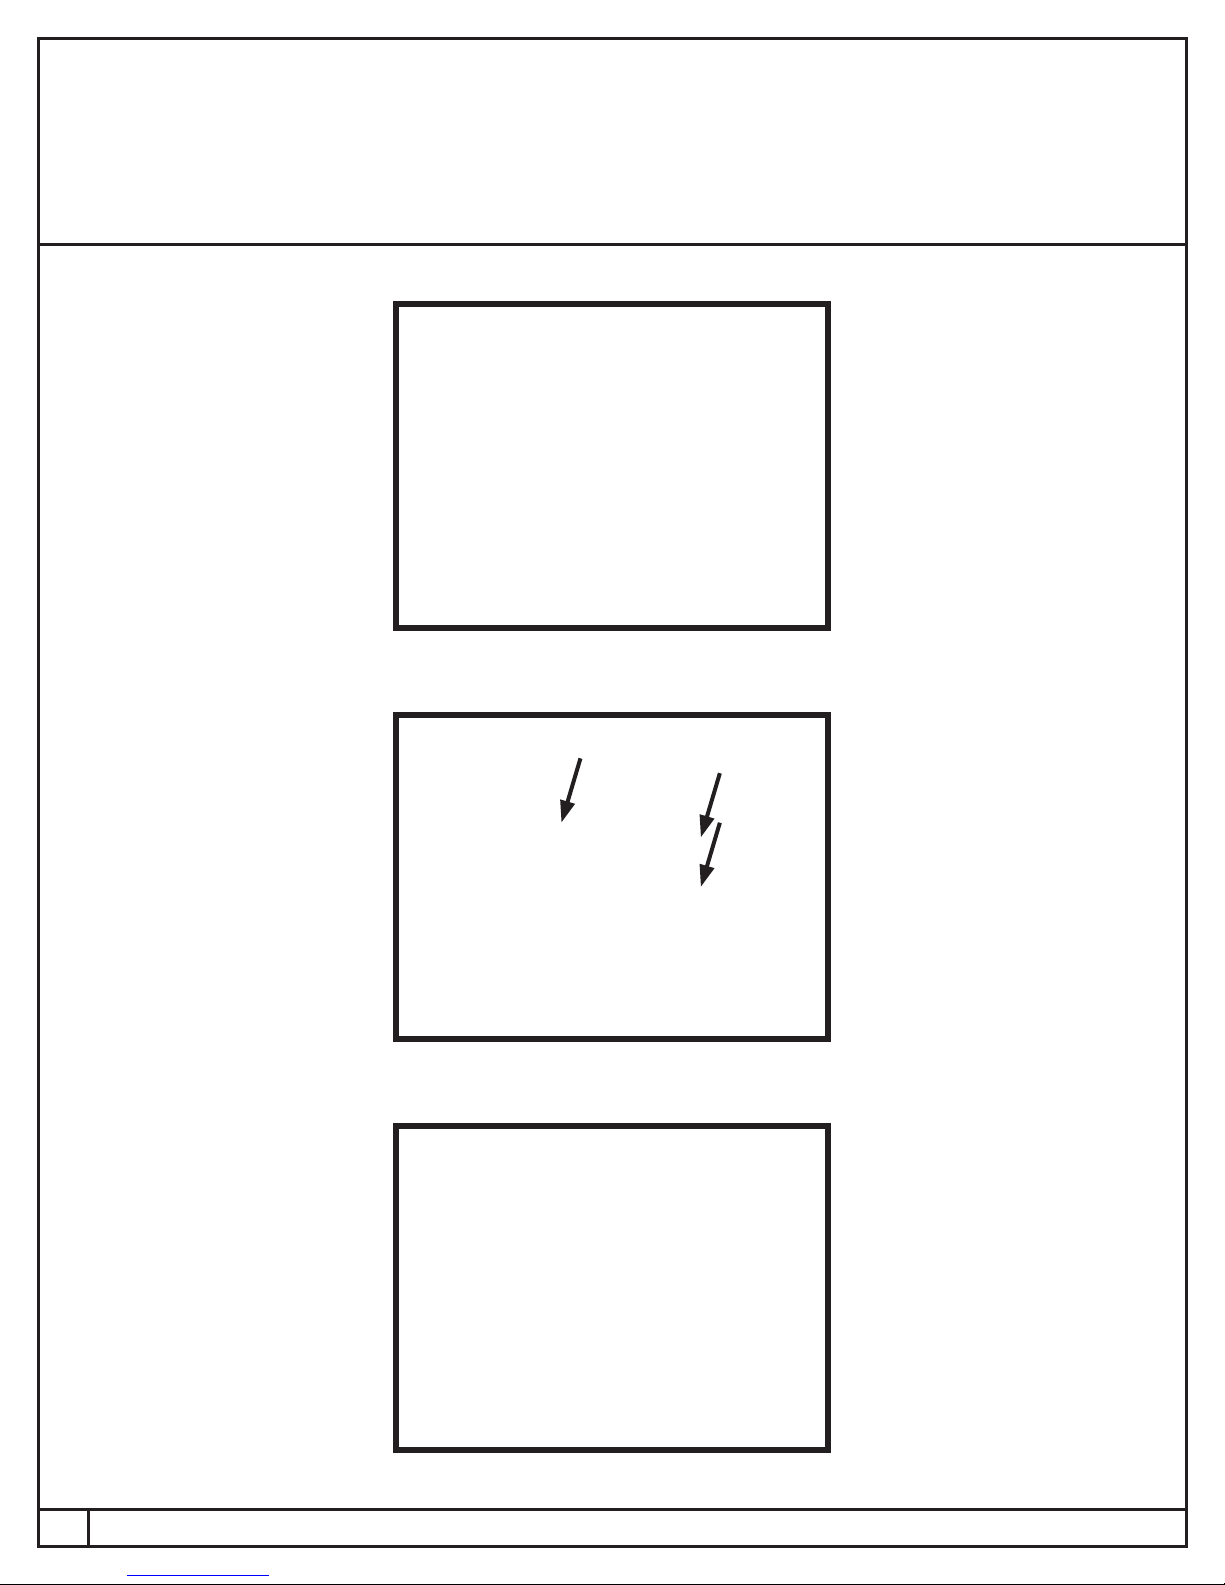
AIR STRUT REMOVAL
1. Set the steering to straight ahead.
2. Raise the vehicle.
3. Remove the front wheel.
4. Disconnect the air shock ads control cable connector (located in the fender well).
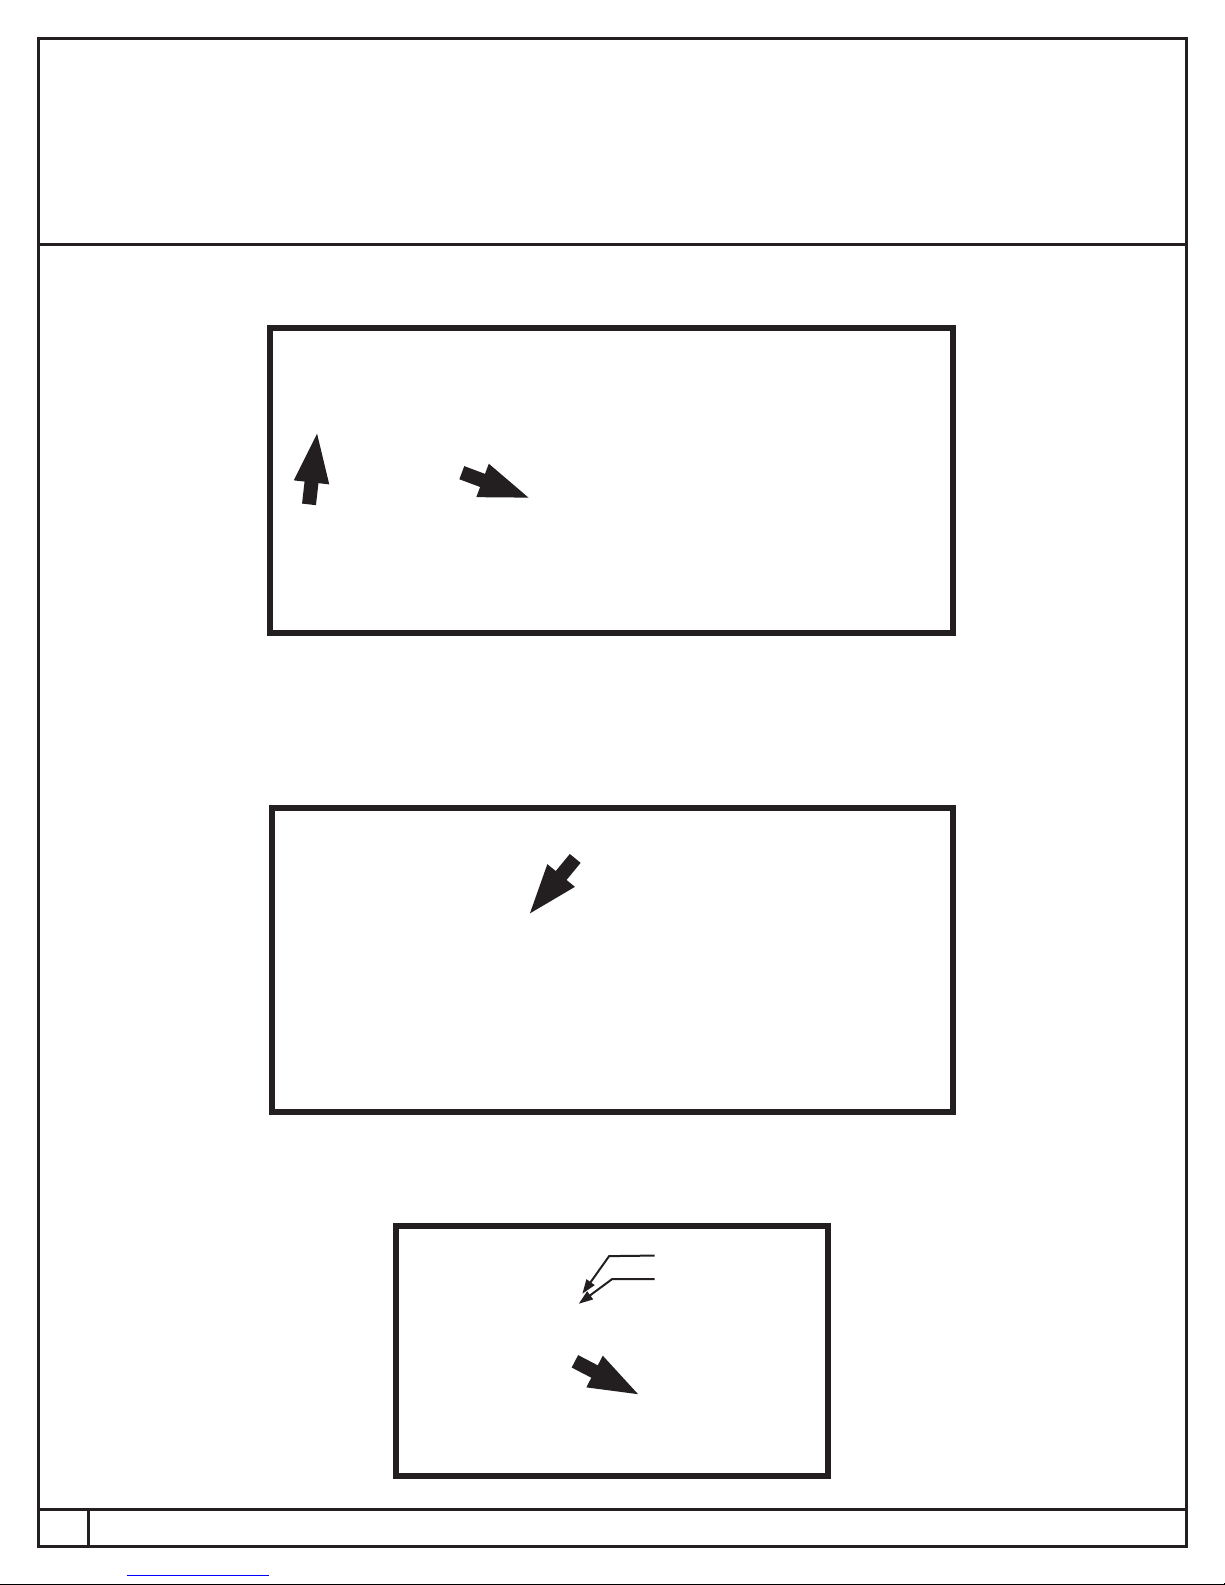
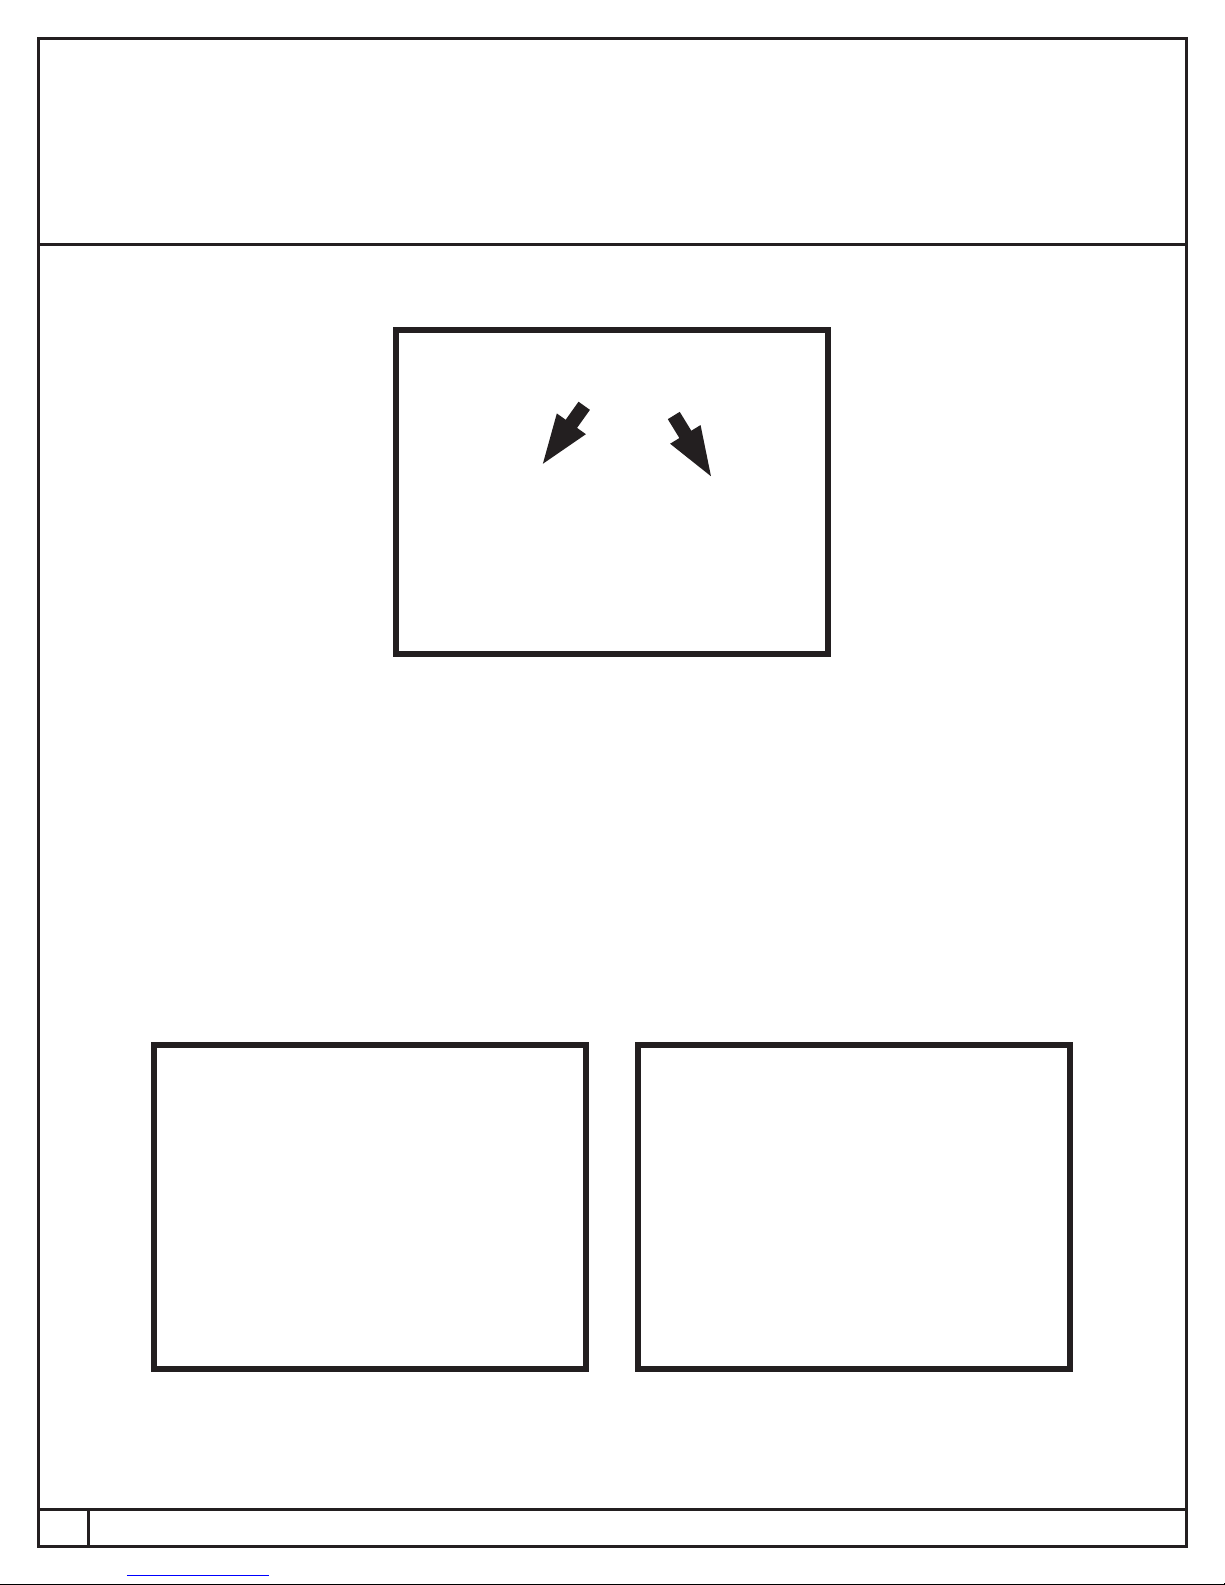
5. Disconnect the sway bar arm linkage. (FIGURE A)
FIGURE A
GENERAL INFORMATION:
Reading this manual signies your agreement to the terms of the general release, waiver of liability, and hold harmless agreement,
the full text of which is available at www.arnottinc.com.
• Not to be stored below 5oF (-15oC) or above 122oF (50oC).
• Avoid damage to air lines and cables.
• Removal and installation is only to be performed by fully qualied personnel.
• Use car manufacturer’s diagnostic software.
CAUTION:
Damage to the vehicle and air suspension system can be incurred if work is carried out in a manner other than specied
in the instructions or in a different sequence.
To avoid the possibility of short circuits while working with electric components consult your owner's manual on how to
disconnect your battery.
Consult your vehicle owner's manual, service manual, or car dealer for the correct jacking points on your vehicle and for
additional care, safety and maintenance instructions. Under no circumstances should any work be completed underneath
the vehicle if it is not adequately supported, as serious injuries and death can occur.