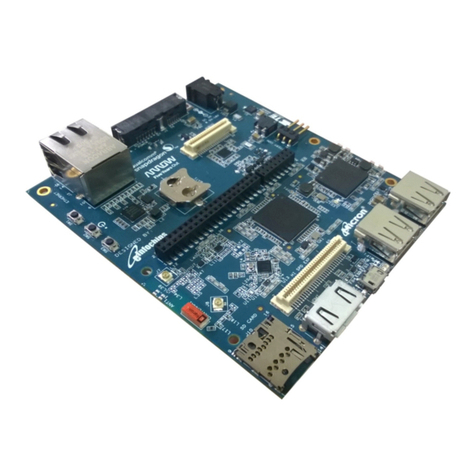
7. Connecta USB cable from PCto the mini B connector on the underside of the board. Theboard will power up.
8. In Control Panel, open the “Devices and Printers”page to identify the COMport number assigned to the board.
9. Open a serialterminalprogram to connect to the board’s consoleoutput. Recent versionsof Windows™ do not
includea serialterminal program. Renesas cannot provide anyrecommendations; however, we have tested PuTTY,
TeraTerm with thisproduct. Other terminal programs are available.
3. Running the Demonstrations
10. The demonstrationsassume that your network is configured for DHCP and an internet connection is configured.
a. If your network cannot support this configuration, please see the support section below for fixed IP
configuration.
11. On the Web Interface, (see 2) select the “Demos” tab.
12. Select one of the Demonstrations presented.
13. Followthe instructions on the page.Detailed instructionsfor each application are includedin an associated
Application Note.
4. Next Steps
14. When you haveexperienced the demonstrations, to go further by reviewing the code and making any changes,
please return to the “Setup” tab.
15. Press the Install e2studio button, and the installation of the tools and demonstration source code will begin.
16. Please refer to “description.txt” in each sample project for sample code specification and operating procedure.
17. The Hardware Manual supplied with thisStream it! kit is current at the time of publication. Please check for any
updatesto the manualfromthe Renesas website.
18. To learn more onhow to use e2 studio, open the program’s help filesby using Help> Help Contents.
