Page 6 ScanDo HD User’s Manual
ScanDo HD
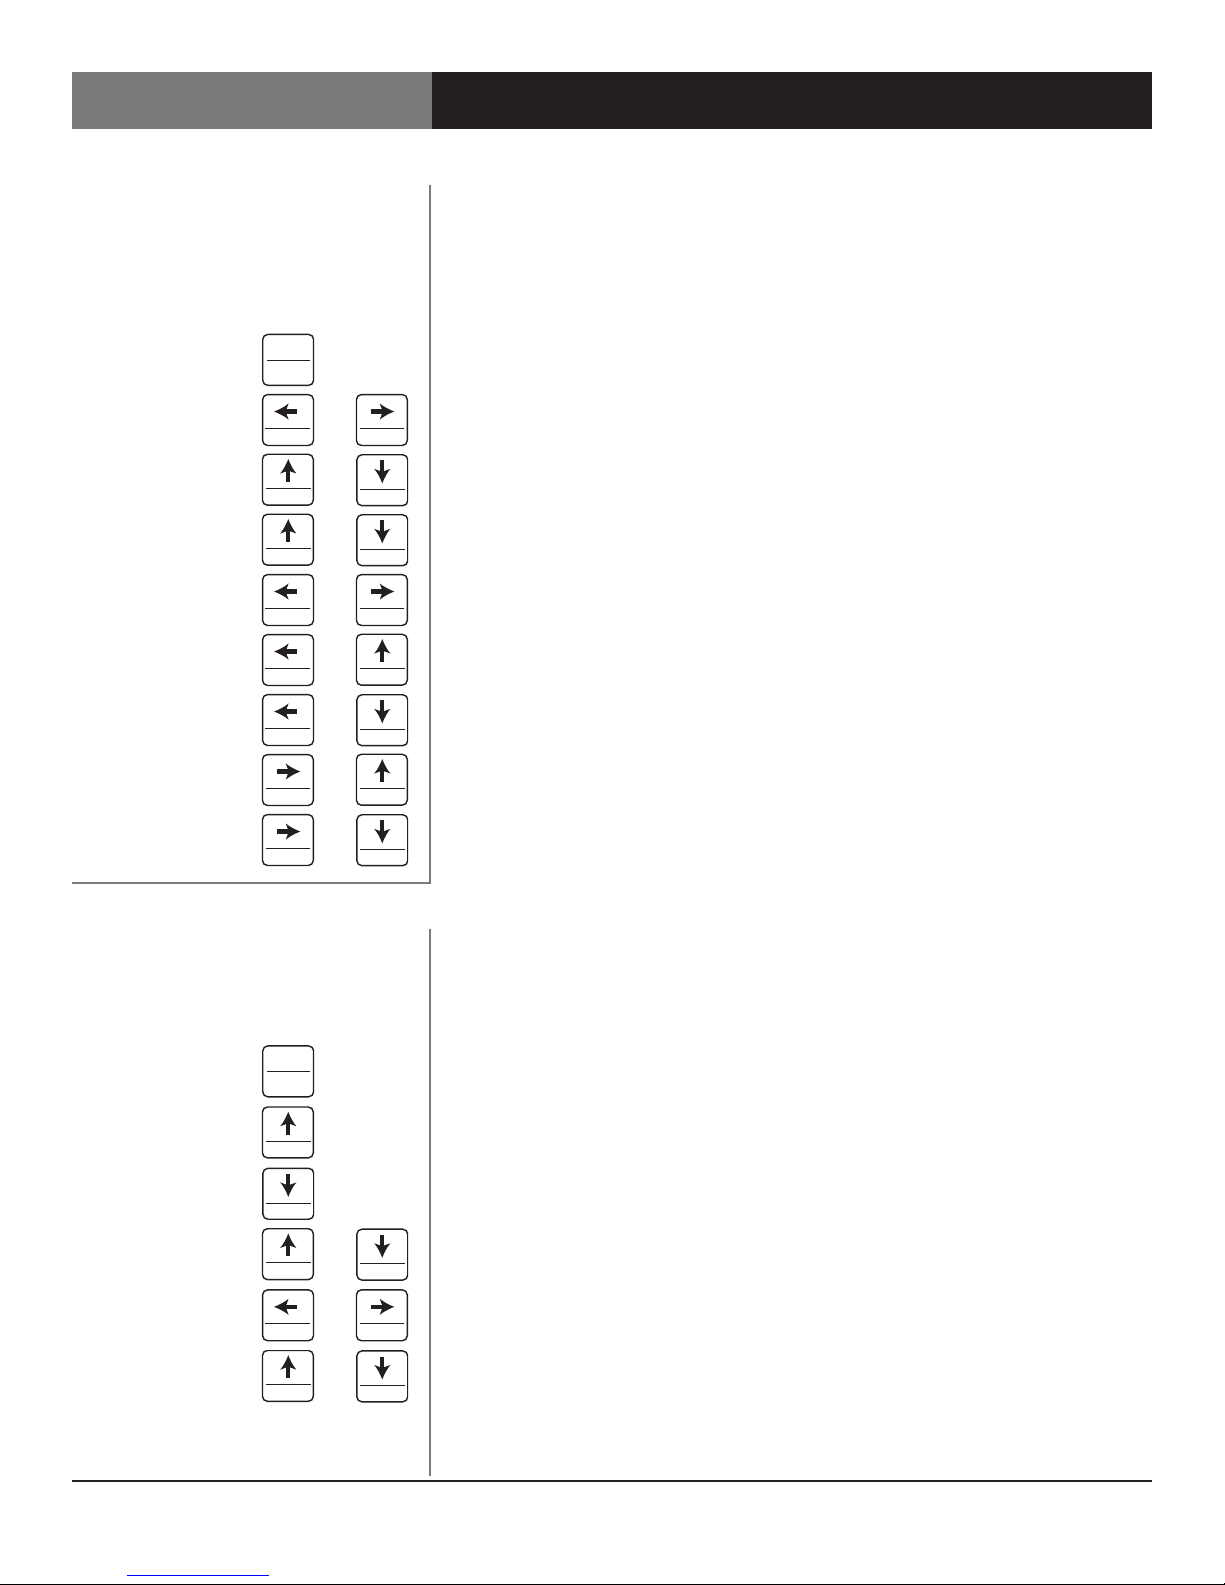
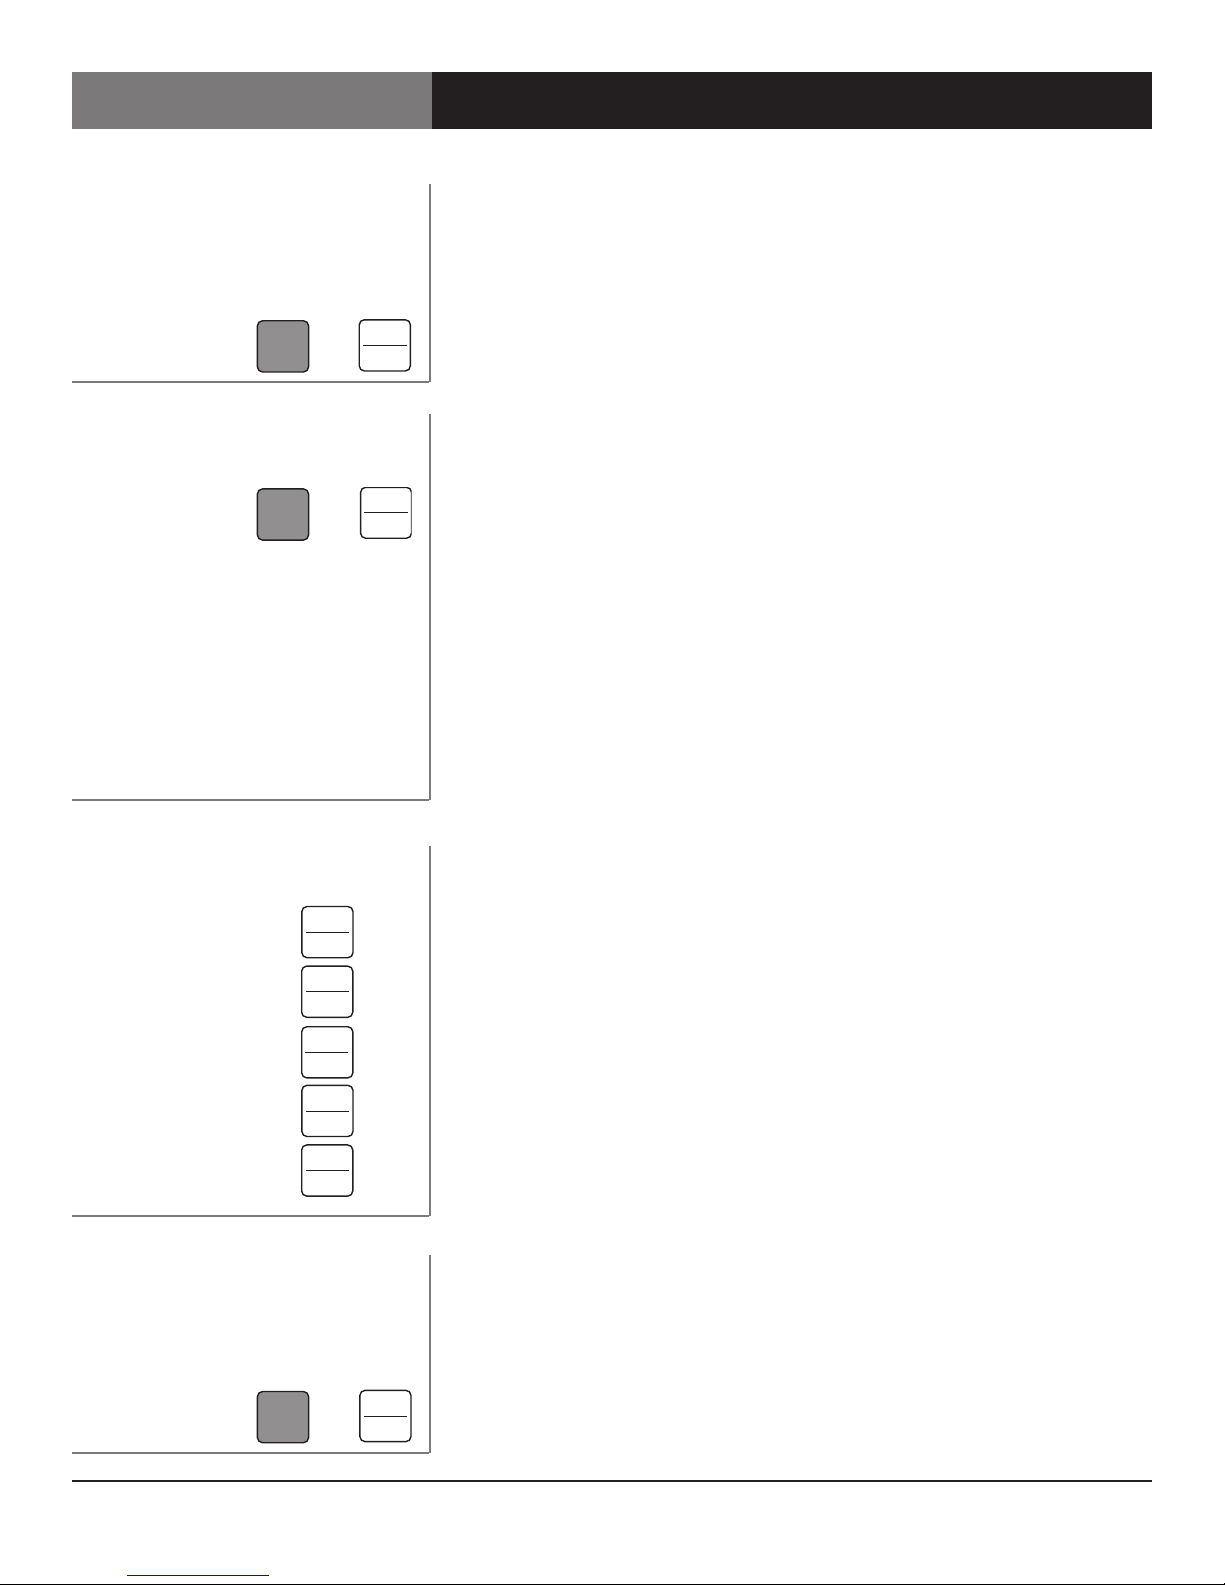
Output Format Button:
Cancel Changes:
then
Special Operation Notes:
For NTSC or PAL output formats, you
need only select 483 or 576. All other
selections are implied when either of
these Line Count selections are made.
If, at any time, the ScanDo HD detects
that no more valid selections can be
made, no additional LEDs will illuminate
and it will set your selections as the
Output Format after a 2-3 second delay.
If you accidentally enter Output Format
mode, please wait 4-6 seconds and the
ScanDo HD will not change the Output
Format and will exit Output Format
mode.
The desired output format is established by pressing the Output Format button
on the front panel. The following represents the output settings you can modify
while in Output Format mode:
Line Count:
Determines the number of active horizontal lines in the image.
Vertical Rate:
Determines the base vertical refresh rate of the output. This is the number of
frames per second if the output is progressive and the number of fields per
second if the output is interlaced.
Rate Division:
Determines if the base Vert Rate is to be divided by 1.001 or not. For example, to
set the output vertical field rate to 59.94 the user would set the Vert Rate to "60",
the Rate Div to "1/1.001".
Interlaced/Progressive/Psf:
Determines if the output format is to be Interlaced, Progressive or Progressive
Segmented Frame (Psf). Not all options are available for all Line Counts and Vert
Rates in accordance with SMPTE standards.
Note: The allowed output format combinations of the above are specified in the
Specifications section of this manual.
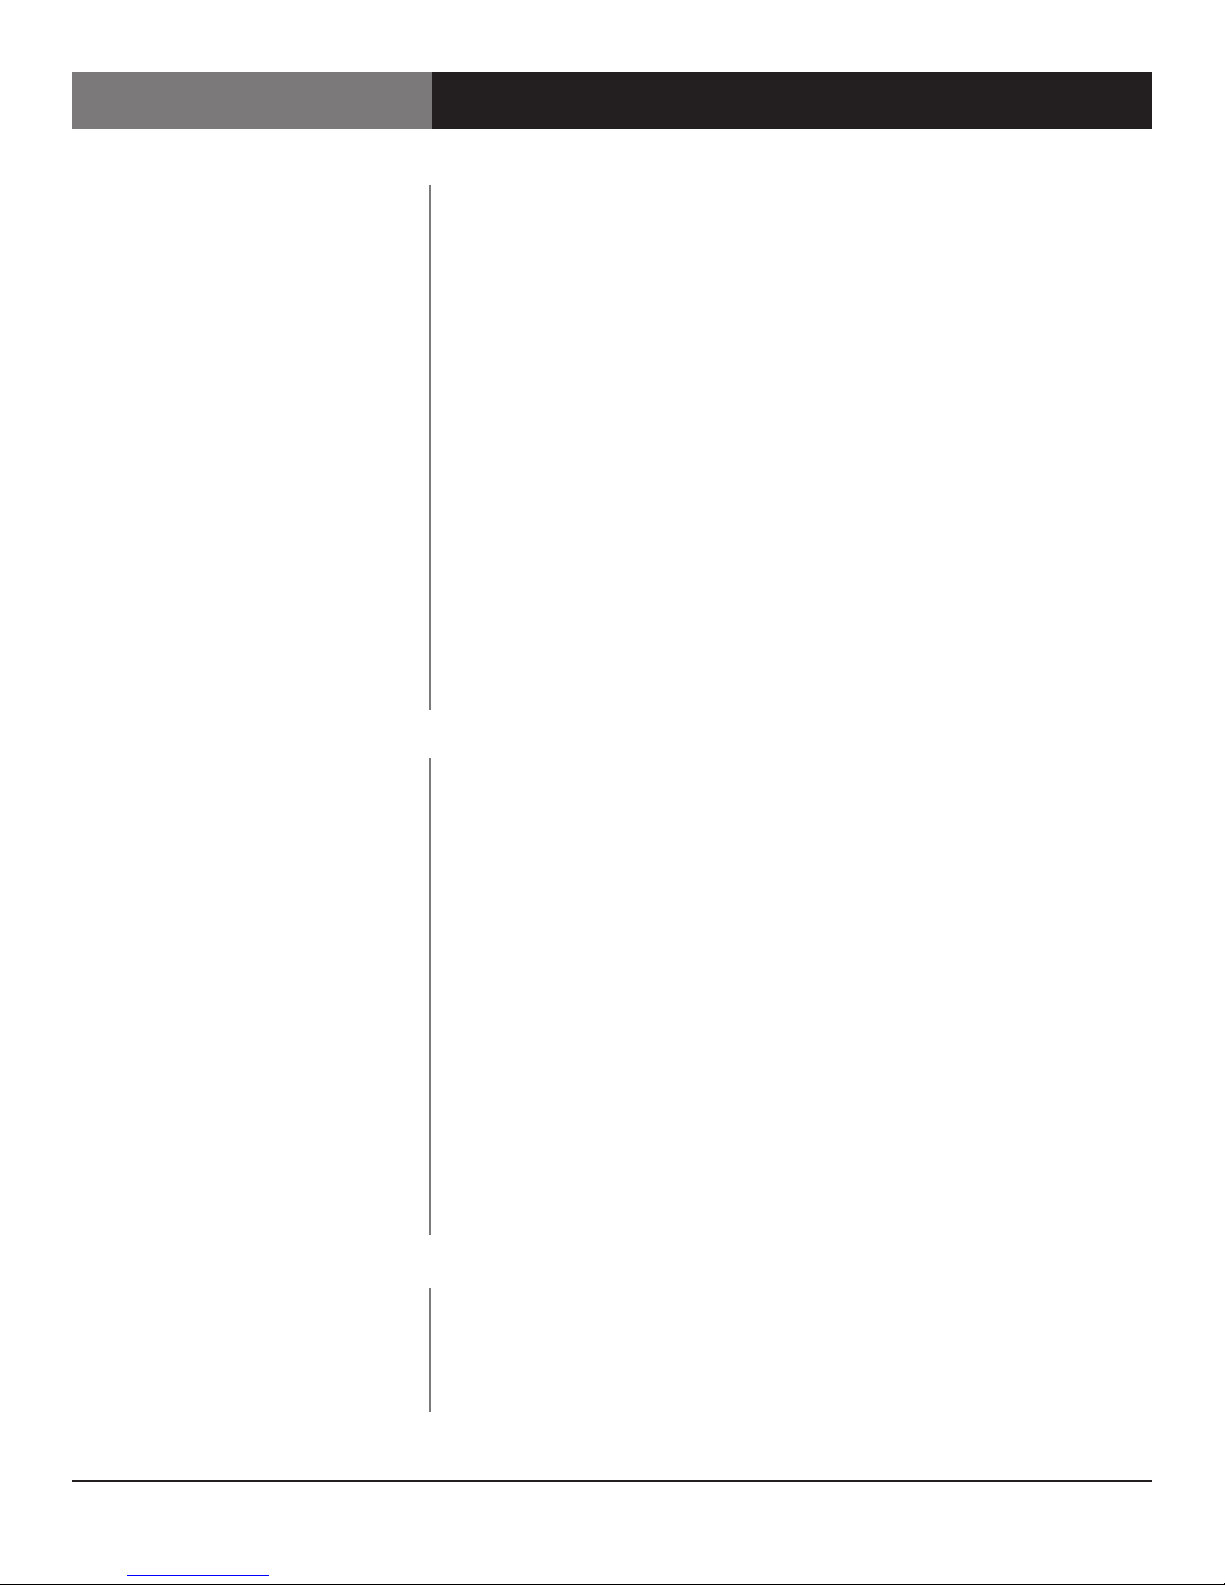
To set a specic output format:
Step 1: Press the OUTPUT FORMAT button. Available resolutions will illuminate
in the Line Count row. The flashing LED indicates your selection. Use
the LEFT and RIGHT Arrow keys to change your desired Line Count.
Step 2: After making your Line Count selection, use the DOWN arrow key to
navigate to the Vertical Rate row. The available Vertical Rates for your
chosen Line Count will illuminate. The flashing LED indicates your
selection. Use the LEFT and RIGHT Arrow keys to make your selection.
If the default options are desired, go to Step 5.
Step 3: After making your Vertical Rate selection, use the DOWN Arrow key to
navigate to the Rate Division row. The available Rate Divisions for your
chosen Line Count and Vertical Rate will illuminate. The flashing LED
indicates your selection. Use the LEFT and RIGHT Arrow keys to make
your selection.
If the default options are desired, go to Step 5.
Step 4: After making your Rate Division selection, use the DOWN arrow key to
navigate to the Interlaced, Progressive & Psf row. The valid Interlaced,
Progressive or Psf settings will illuminate and the default selection
will blink. Use the LEFT and RIGHT arrow keys to make your selection.
If the default options are desired, go to Step 5.
Step 5: Press the OUTPUT FORMAT button. The LEDs will illuminate
momentarily. After a few seconds, only your selections will remain
illuminated. The Output Format has now been changed and is active.
Setting the Output Format
Operating the ScanDo HD - General Front Panel Operation
Alternate
Function
Genlock
Anti-icker
Processing
Control
Output
Format
Pan
Zoom
Genlock
Phasing
Recall Test
Preset
Select
Store
IP
Address
F3F2F1
Decrease
Increase
Delay Advance
Capture
EDID
Cancel
Keypanel Fiber Reset
Ethernet
OSD
Factory
Defaults
Alternate
Function
Genlock
Anti-icker
Processing
Control
Output
Format
Pan
Zoom
Genlock
Phasing
Recall Test
Preset
Select
Store
IP
Address
F3F2F1
Decrease
Increase
Delay Advance
Capture
EDID
Cancel
Keypanel Fiber Reset
Ethernet
OSD
Factory
Defaults
Alternate
Function
Genlock
Anti-icker
Processing
Control
Output
Format
Pan
Zoom
Genlock
Phasing
Recall Test
Preset
Select
Store
IP
Address
F3F2F1
Decrease
Increase
Delay Advance
Capture
EDID
Cancel
Keypanel Fiber Reset
Ethernet
OSD
Factory
Defaults