ArtFox ATMIC 3000 User manual

ATMIC 3000
User manual
Please read over this manual before operation the light

Safety Information
Warning:This product is tight for professionals to use, unauthorized use of non-professionals do
not, to avoid danger.
Prevention of electric shock
Replacing light bulbs, fuses or any other components, and it is not in use, disconnect the AC.
The power of the ground state will always maintain a good ground.
se the power supply shall comply with the requirements of the standard specification and fitted
with overload protection devices and grounding facilities.
Do not let the light rain and was wet.
Replace the lamp must be installed to install required, or by the Company to replace the
professional technician.
When the shading of glass open, damaged or not, do not operate when the lamps.
Do not stare directly into the lamp, when the light bulb flashing when not to stare directly at
lights.
When the lamp aging or broken light bulbs need to be replaced in order to avoid outside.
Do not short circuit or fuse directly replace the defective fuse, you must first wife according to
the original manufacturer for replacement models and parameters.
Check whether the current rating of all power cables connected to the fixture.
Flammable materials (alcohol, gasoline, paper) from the lamp body for at least a distance of 0.5
meters, the lamp surface temperature to avoid ignition of other flammable materials.
Surface of the lamp close to the fire source within 1 meter.
And the exhaust fan and air vents to keep the distance about 0.1 meters.
Do not replace the parts do not belong to the company.
Light body temperature can reach 120 °, lamp cooling time after the operation at least 15
minutes.
Ambient temperature exceeds 40 ° C, do not operate with a strobe light.
To prevent you and other people were injured by falling lamps
When the device is suspended above the ground level when the test installation of at least 10
times
Check all the outside lid, light hook, rope, safety and other accessories are well prepared
Do not operate lights near the staircase
Strobe advance notice before use.
Avoid exceeding the period of continuous strobe, strobe frequency is 10-20 times / sec.
Power Connector
Provide automatic adjustment of any 50-60Hz AC, from 90 to 260 volts, no need for regulation,
attention XOP 15-OF lamps can not AC125V the following conditions.
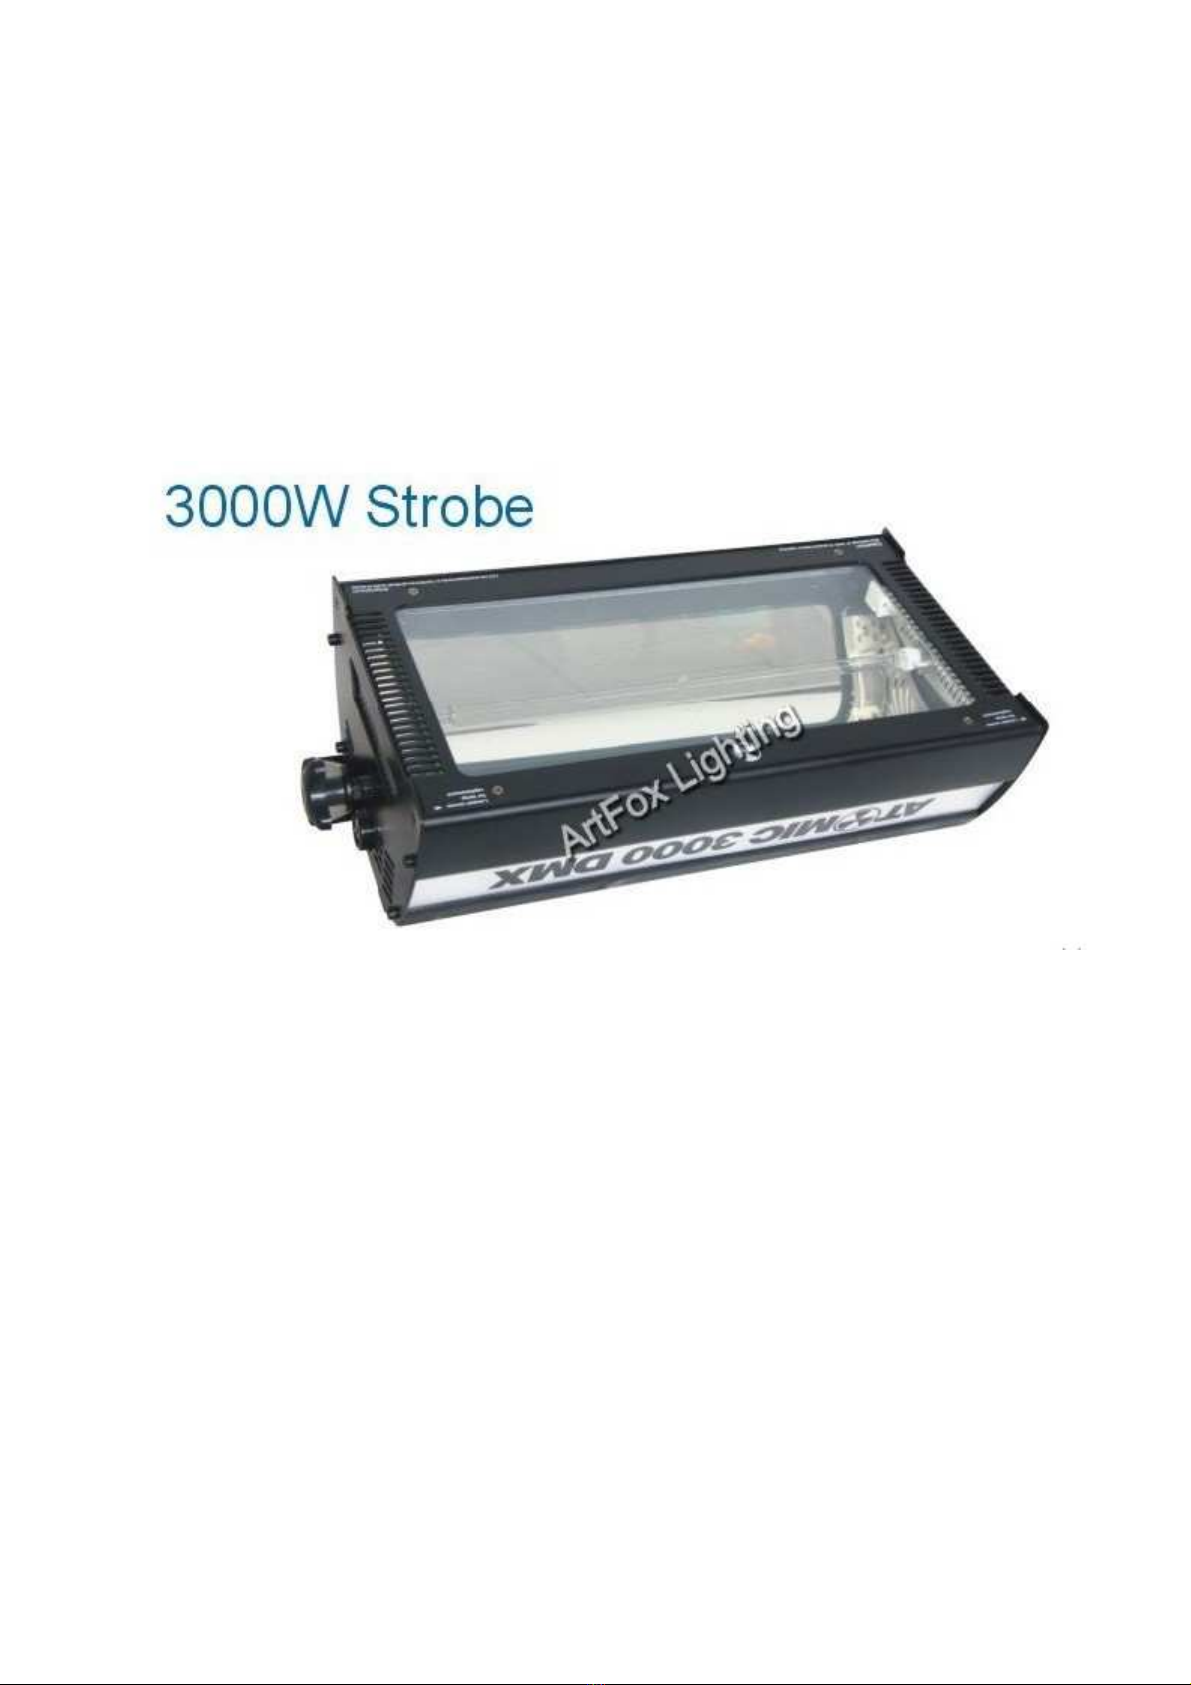
ATMIC 3000 models to be under the lamp, power supply and use To avoid overload, each
at least 16-20A lamp power, use the 2 5m square meters of cable
Install a plug to the lamp power supply line, to facilitate the connection power supply;
Follow the color coded wiring cable lamps:

Color of line Mark Sign Remarks
Brown Live wire “L”
Blue Zero curve “N”
Yellow/Green Groundwire
Installation
ATMIC 3000 can be installed anywhere.
Holder to be installed before installation, and installed rope Insurance.
Warning: To use a secure attachment
Calibration before installation:
·Lighting installation where at least 10 times more lighting can support the weight of light,
·Lamps from the mounting surface at least 1 meter away from the lighting at least 0.5 meters
away from the surface of any flammable and combustible objects
·At least 0.1 m clearance hole next to the debris within;
·Lamps cannot be within the scope of 1 m was.
Bulb
This section describes the choice of lamp and bulb replacement of the installation and how to
change light bulbs.
ATMIC 3000 over heating protection.
Lamp power setting
ATMIC 3000
provides the level of brightness adjustment device, high brightness strobe
device to provide maximum brightness, low brightness devices reduced by approximately 50%
brightness, lamp life can be extended through the function DIP switch DIP switch 6 to operate,
the function set DIP switch 6 ON is a high-brightness operation, the function of DIP switch 6 set
to OFF is low light operation. As shows:
High brightness settings Low brightness settings
Lamp Compatibility

There are 2 different models of
ATMIC 3000
lamp: Philips XOP7-OF and XOP 15-OF.
XOP-7 models for AC 90-120 volts AC, 200 volts for the following; XOP -15 models for AC AC
from 200 to 260 volts for 200 volts or more.
WARNING: Installing any other lamp may ause damage or may damage the
lamp Insuran e
Important: Please use the bulb from the fa tory.
Repla ement lamp
After the lamp cover with a green LED light bulb can tell you the last life; If the LED is not
bright, but light bulbs flashing, on behalf of the lamp has been aging; If the LED is not flashing,
the control signal may be a problem.
Repla ement lamp
Warning: Che k the lights before opening the front over is off the power!!!
1. Before demolition of the lamp, wait 1 minute, so that the residual PCB board capacitance
electric charge electric shock.
2. Light body to be cooled down before open the lamp cover.
3. Make sure the power is disconnected
4. Please lamp disassembly required
Control operation
This section tells how to do ATMIC 3000
Data onne tion
ATMIC 3000
to provide the data connection 3-pin and 5 pin socket outlet in all the output
pin 1 ground protection, pin 2, then negative, then positive pin 3. There is no connection 4-pin
and 5 pin. Connection, data transmission is to use a data input line and a data output line. Data
cable connection
1. DMX signal input connector of the controller can use 3-pin or 5-pin socket.
2. Connect to the last one in the M-3000 plug the output of a signal termination to avoid signal
reflection interference.
Device attachment
·RS-485 device using a shielded twisted pair: standard cable in the long run, cannot guarantee
the reliability of data transmission control. 24 type cable for the 300 meters run. Long distance
running in the recommended installation of a large cable or signal amplifier.
·Output signal lines do not split into two signal lines output.
·Not to overload the connection. A signal line can connect a maximum of 32 ATMIC 3000 lights.

·Finally, the signal line connected to the output jack of a strobe light into a signal the best
terminator. Signal termination is a public signal line Caron, 2 feet and 3 feet in a 1/4W120
European resistance welding, the control signal so that it will not absorb reflection and cause
interference.
DMX Control
DMX mode control functions from the DIP DIP switch selection
DMX Mode 1 allows strobe from the controller adjust the speed from 0 times / sec to
maximum speed, and production came to light effects, select DMX mode 1 is a function of
the DIP switch 5 set to ON, the rest of the DIP switch 1-4 off Case diagram as follows:
DMX mode 2 is to control the brightness strobe, strobe duration and speed, compared to
more advanced mode of the first channel DMX mode 2 is selected function DIP switch DIP
switch 1-5 off Case diagram as follows:
DMX mode 3 is the brightness of the strobe, strobe duration and increased the rate of 6
special effects Select DMX mode 3 is 1,2,3,5 DIP switch off function will turn on DIP switch
4 (set ON) Case diagram as follows:
Set the address ode of light
Lamps on the rear panel has a 10-bit DIP switch, which is to select the address code 1-9 use,
Address code can be 1-511 arbitrary choice。
Establish DMX address code
1 Select an address controller installed in the lamp. DIP switch address code query the table
below;
2 The DIP switch 1 to 9
(1) Open on or off
(0) listed in the table below, turn off the DIP switch 10。
Found on the address code in the table. Read the DIP switch settings on the left of 1-5 and 6-9
above, the DIP switch address code. "0" means off and "1" means open. DMX operation code

switch 10 is usually closed.
DIP Switch address setting
CH 12 CH 14 CH 46 CH 100
Address setting for example

Specifications
The DMX Strobe is dimmable from 0-100%. Flash duration is controllable and for ultimate flexibility and
variety of effect variable adjustment of flash rate (20ms to 2 seconds) and flash intensity is possible;
The DMX Strobe is both intense and intelligent. DMX controllable it employs a smart integrated heat control
that eliminates the need for cool down time;
·Wrap your strobe effects in a wealth of color with the - defining the effect to the moment;
·3000W long-life Xenon lamp included 5600 K color temperature;
·Continuous blinder effect with auto fade;
·Quiet temperature-controlled fan cooling Smart integrated heat control eliminates cool down time;
·Atomic Detonator remote control socket kit for lamp change auto-ranging.
220~240V nominal 50 Hz
·Power consumption: 3000 W
·Control mode: DMX-512; stand-alone; master/slave; Detonator remote control Preprogrammed special
effects.
Table of contents
Other ArtFox Spotlight manuals
Popular Spotlight manuals by other brands

Desisti
Desisti Muses of Light ERATO instruction manual

LIVARNO LUX
LIVARNO LUX HG00108A Assembly, operating and safety instructions

LIVARNO LUX
LIVARNO LUX 300304 Assembly, operating and safety instructions

IMG STAGE LINE
IMG STAGE LINE Leuchtkraft PARC-100E/RGB instruction manual

KICK ASS
KICK ASS KASBSPOTLT user manual

LIVARNO LUX
LIVARNO LUX HG00108A, HG00108B Assembly, operating and safety instructions