manuals.online logo
Brands
  1. Home
  2. •
  3. Brands
  4. •
  5. Artillian
  6. •
  7. Tools Storage
  8. •
  9. Artillian 1RMTBXS Operating instructions

Artillian 1RMTBXS Operating instructions

1 of 3
INSTALLATION & OWNER’S MANUAL
Rev. A, 04/30/2020 p/n: IM-1RMTBXS
ARTILLIAN ROPS MOUNTED
TOOLBOX, SMALL, 20”X10”X11”
P/N: 1RMTBXS
Approximate Installation Time
Experienced Dealer Technician – 2 Minutes
Average Dealer Technician – 2 Minutes
Do-It-Yourself – 2 Minutes
Approximate Product Specifications
Overall dimensions: 20” L x 10” W x 11” H
Weight: 13.71 lbs. (not including mounting bar)
Capacity: 30 lbs.
The Small Artillian ROPS Mounted Toolbox is a plastic storage container
with an internal tote tray and 10 gauge steel support brackets. The box is
rated for 30 pounds. Integrated Cam Lever Latches securely lock onto the
Artillian ROPS Mounted Tool Bar (sold separately) in seconds without the
use of tools.
Bring the box to where the tools are, fill it up, and carry it back to your
tractor. Drop it onto the Tool Bar, cam over the latches, and you are on
your way!
The quick release latches allow for easy removal of the toolbox for storage
or replacement with one of the many other Artillian ROPS Mounted Tool
Bar Accessories.
For use on the Artillian ROPS Mounted Tool Bar (P/N: 1RMTB) (sold separately)
CAUTION Do not exceed the rated capacity for the Toolbox. Doing so may result
in damage to the Toolbox and/or the Tool Bar and will void the warranty.
The contents of this envelope are the property of the owner. Leave with the owner when installation is complete.
2 of 3
Fig. 1 (attaching a tool box)
FEATURES AND OPERATION
Fig. 2 (cam lever in the open position)
Fig. 3 (cam lever in the closed position)
rotate both cam levers up
to install the toolbox
padlock holes
rotate both cam levers down
to secure the toolbox
ATTACH TO MOUNTING BAR:
1. Figure 1 shows a toolbox installed onto an Artillian
ROPS Mounted Tool Bar.
2. To install the toolbox, rotate both cam levers UP,
then place onto the Tool Bar. See fig. 2.
Note: if the Cam Lever Latches do not sit flush on the Tool Bar, one
of the clamp plates may not have been fully open. Simply remove the
toolbox, rotate the cam levers up and tilt the toolbox away from you to
ensure the clamp plates are fully open, then reinstall on the Tool Bar.
3. To secure the toolbox to the Tool Bar, rotate both
cam levers DOWN until they cam over. See fig. 3.
NOTE: For additional security, the toolbox can be locked to the Tool
Bar by inserting a padlock through the holes in the mounting bracket
where shown in fig. 3.
4. To remove the toolbox from the Tool Bar, rotate
both cam levers UP, then lift the toolbox.
FEATURES AND OPERATION
1. For optimal functionality, the cam lever latches are
factory assembled with some friction between the
cam lever and the housing. This ensures the cam
lever doesn’t accidentally flip closed while the user
attempts to install it on the bar. If the cam levers
loosen up over time, simply tighten the nut and bolt
that secure the lever to the housing until the
desired resistance on the cam lever has been
achieved.
3 of 3
ROPS MOUNTED TOOL RACK
P/N: 1RMTRK
ROPS MOUNTED TOOLBOX, LARGE
P/N: 1RMTBXL
MORE ACCESSORIES COMING SOON!
OTHER ACCESSORIES:
TOOLBOX SUPPORT BRACKET, SMALL
P/N: 8SV-WA-00364 (QTY.: 2)
SERVICE PARTS:
TOOLBOX, DRILLED, 20”X10”X11”
P/N: 8SV-9TB-02A
CAM LEVER LATCH
P/N: 8SV-110-00071 (QTY.: ONE)
SAFETY WALK ADHESIVE STRIPS
P/N: 9SV-9PR62-375 (QTY.: 12)
ROPS MOUNTED CHAINSAW MOUNT
P/N: 1RMCSM
(chainsaw shown for illustration purposes)
ROPS MOUNTED FUEL CAN HOLDER
P/N: 1RMFCH
(Fuel can, wedges, & maul shown for illustration purposes)
ROPS MOUNTED TOOL BASKET
P/N: 1RMTBSK

Other Artillian Tools Storage manuals

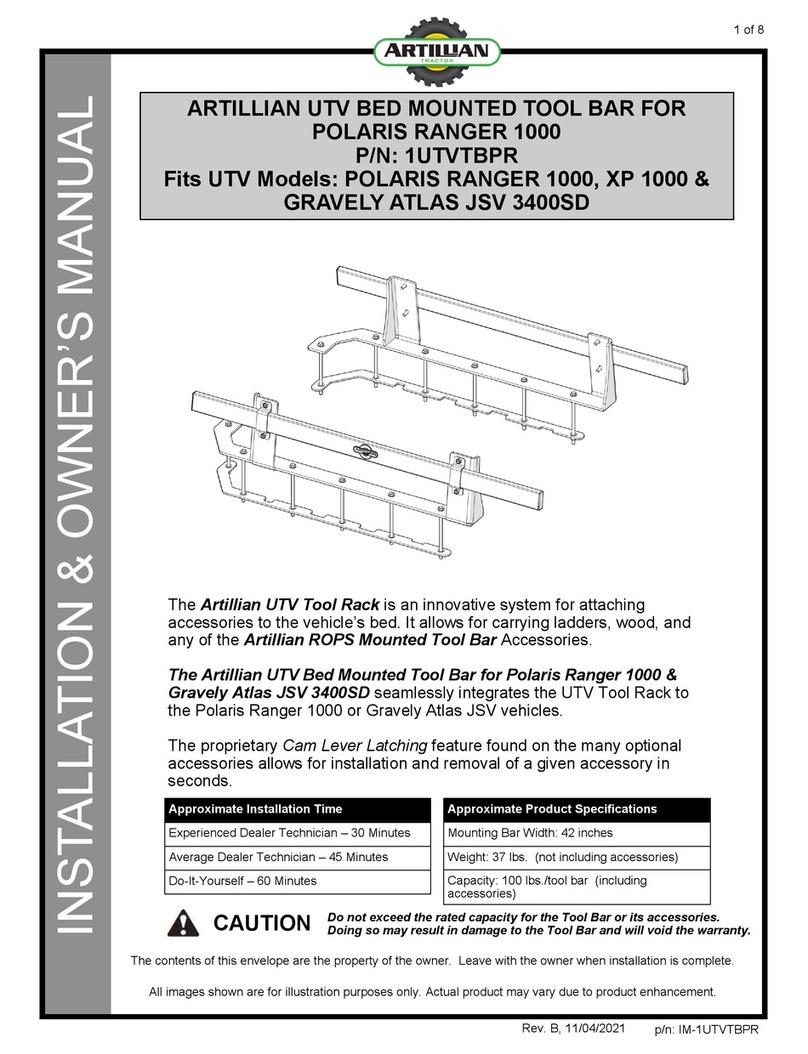
Artillian 1UTVTBPR Operating instructions

Artillian

Artillian 1UTVTBPR Operating instructions

Artillian 1RMTBXL Operating instructions

Artillian

Artillian 1RMTBXL Operating instructions

Artillian 1RMTBXL Operating instructions

Artillian

Artillian 1RMTBXL Operating instructions

Popular Tools Storage manuals by other brands

GÜDE SET GWS 6 TLG Translation of the original instructions

GÜDE

GÜDE SET GWS 6 TLG Translation of the original instructions

Würth ORSY Flex 350 operating instructions

Würth

Würth ORSY Flex 350 operating instructions

Profiwerk Freiburg 42978909 Assembly instructions

Profiwerk

Profiwerk Freiburg 42978909 Assembly instructions

Husky H46X18MWC9RED Use and care guide

Husky

Husky H46X18MWC9RED Use and care guide

Hard Head 006418 operating instructions

Hard Head

Hard Head 006418 operating instructions

Hilka PTC-111 Assembly instructions

Hilka

Hilka PTC-111 Assembly instructions

kincrome Black Series Operation manual

kincrome

kincrome Black Series Operation manual

Homak Pro BK04072601 manual

Homak

Homak Pro BK04072601 manual

Suncast BMCCPD7204 quick start guide

Suncast

Suncast BMCCPD7204 quick start guide

Husky HOTC8422BL2M Use and care guide

Husky

Husky HOTC8422BL2M Use and care guide

Edsal MRWB-6 manual

Edsal

Edsal MRWB-6 manual

Husky H6CH36LEG Use and care guide

Husky

Husky H6CH36LEG Use and care guide

Tennsco 1340397 Assembly Instructions/Parts Manual

Tennsco

Tennsco 1340397 Assembly Instructions/Parts Manual

Ranger design T4-RA36-3 installation guide

Ranger design

Ranger design T4-RA36-3 installation guide

kupper 70220 Series Assembly instruction

kupper

kupper 70220 Series Assembly instruction

VEVOR GT-SR50-5 user manual

VEVOR

VEVOR GT-SR50-5 user manual

Craftsman F1198A5 owner's manual

Craftsman

Craftsman F1198A5 owner's manual

Grizzly G0528 parts list

Grizzly

Grizzly G0528 parts list

manuals.online logo
manuals.online logoBrands
  • About & Mission
  • Contact us
  • Privacy Policy
  • Terms and Conditions

Copyright 2025 Manuals.Online. All Rights Reserved.