Ascension laserBIRD Operating instructions

-~
ARTISAN
®
~I
TECHNOLOGY
GROUP
Your definitive source
for
quality
pre-owned
equipment.
Artisan Technology
Group
Full-service,
independent
repair
center
with
experienced
engineers
and
technicians
on staff.
We
buy
your
excess,
underutilized,
and
idle
equipment
along
with
credit
for
buybacks
and
trade-ins
.
Custom
engineering
so
your
equipment
works
exactly as
you
specify.
•
Critical
and
expedited
services
•
Leasing
/
Rentals/
Demos
• In
stock/
Ready-to-ship
•
!TAR-certified
secure
asset
solutions
Expert
team
ITrust
guarantee
I
100%
satisfaction
All
tr
ademarks,
br
a
nd
names, a
nd
br
a
nd
s a
pp
earing here
in
are
th
e property of
th
e
ir
r
es
pecti
ve
ow
ner
s.
Visit our website - Click HERE


laserBIRD
Installation and Operation Guide
REVISION NUMBER:
940020 Rev C
06/06/2002
TRADEMARKS
Microsoft Windows 98, Windows 2000, and Windows NT
are registered trademarks of Microsoft Corporation.
All other products mentioned in this manual are trademarks
or registered trademarks of their respective companies.
laserBIRD is a trademark of Ascension Technology Corporation
2002 Ascension Technology Corporation. All rights reserved.
P.O. Box 527
Burlington, VT 05402
Phone (802) 893-6657 • Fax (802) 893-6659


TableofContents
Introduction........................................... i
About This Manual............................... i
How this manual is organized ....................i
Manual Conventions..................................ii
Getting Assistance...............................iii
Preparing for Setup ............................. 5
System Requirements ................................5
Software Requirements..........................5
Hardware Requirements .......................5
Unpacking the System...............................6
Package Checklist.................................6
Additional Items You'll Need.................7
Handling Precautions.................................7
Quick Start: Setup and Checkout....... 9
Cable Connections.....................................9
Installing the Utilities ..............................10
System Checkout: Running the Demo....11
Configuration and Basic Operation . 15
Default Configuration..............................15
Configurable Power-up Settings:........16
Default Reference Frame...................................19
Dual Scanner Operation.....................21
Changing Your Settings...........................23
Mounting the Hardware...........................24
laserBIRDAlignment Procedure.............26
Setting the Reference Frame...............27
Setting the Angle Align........................31
Basic Operation .......................................33
Scanner ...............................................33
Lasers ................................................................33
Sensor..................................................34
Operating Region................................34
Performance Motion Box ..................................37
Software Operation - Tools for
Successful Tracking........................... 39
Software Overview..................................39
Windows®Driver ................................39
Flock of Birds Interface ......................39
RS232 Signal Description ...................40
Using the 'reset on CTS' feature.........................40
Command Summary............................41
Command Utilization..........................43
RS232 Command Reference ...................45
ANGLES..............................................46
ANGLE ALIGN ...................................47
BORESIGHT.......................................48
BORESIGHT REMOVE.......................49
CHANGE VALUE................................50
EXAMINE VALUE...............................50
BIRD STATUS.................................................52
SOFTWARE REVISION NUMBER................52
BIRD COMPUTER CRYSTAL SPEED...........53
POSITION SCALING ......................................53
FILTER ON/OFF STATUS..............................53
DC FILTER CONSTANT TABLE ALPHA_MIN
..........................................................................54
DISABLE/ENABLE DATA READY OUTPUT
..........................................................................54
SET DATA READY CHARACTER................54
ERROR CODE .................................................55
DC FILTER TABLE Vm..................................55
DC FILTER CONSTANT TABLE
ALPHA_MAX..................................................55
SYSTEM MODEL IDENTIFICATION ...........56
CHANGE/EXAMINE ANGLE ALIGN...........57
CHANGE/EXAMINE REFERENCE FRAME.57
BIRD SERIAL NUMBER................................57
DISABLE/ENABLE RUN TIME STATUS .....57
PREDICTION...................................................58
MATRIX...............................................60
OFFSET...............................................62
POINT .................................................64
POSITION/ANGLES............................66
POSITION/MATRIX............................67
POSITION/QUATERNION .................68
QUATERNION....................................69
REFERENCE FRAME.........................70
REPORT RATE....................................71
RESET .................................................72
RUN.....................................................73
SLEEP .................................................74
STREAM..............................................75
STREAM STOP....................................76
Error Reporting........................................77
Error Code Listing ..............................78
Sample Program.......................................79
Troubleshooting, Maintenance, and
Repair ..................................................80
User Maintenance....................................80
Software Updates.................................80
Troubleshooting.......................................81
Using the Utility for Troubleshooting..83
Repair: Contacting Ascension Technology
Corporation..............................................84
Warranty..................................................84
Replacement Parts ...................................85
Regulatory Information and Product
Specifications.......................................86
FCC Regulations......................................86
CE Specifications.....................................87
EC Declaration of Conformity.................89
Specifications...........................................90
Performance......................................................90
Physical:............................................................90


i
ii
i
Introduction
Congratulations on your purchase of the Ascension Technology Corporation (ATC)
laserBIRD motion tracking system. Our company is proud of the quality of all our
motion tracking products.
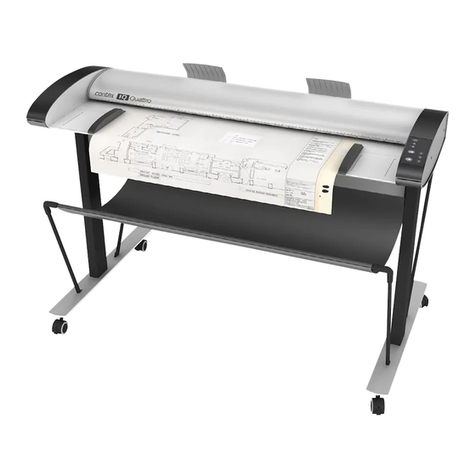
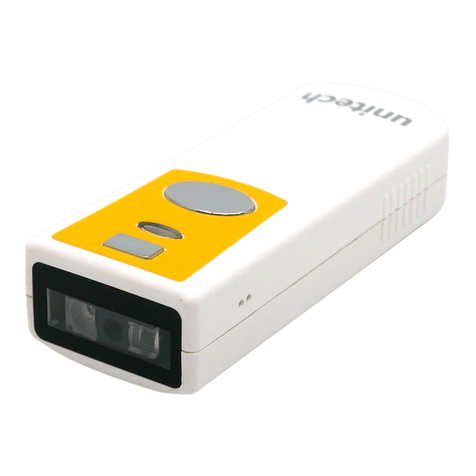
The laserBIRD is an optical scanning system that tracks the position and orientation of a
sensor in six degrees of freedom. Fan-shaped laser beams are scanned throughout a
conical-like motion region, and are detected by photodiodes mounted in the laserBIRD
sensor. Information from these detectors is used to compute sensor position and
orientation, which is reported serially to a host computer through an RS232 interface.
This manual is designed to help you set up and install the laserBIRD hardware and
software, and to assist you in configuring the system for optimal tracking. Please take the
time to read this manual carefully. Properly setting up your system will maximize its
performance for your application.
About This Manual
The laserBIRD Installation and Operation Guide contains everything you'll need to install and
run the laserBIRD tracker. It provides simple steps to operate and test the system quickly,
and it details the methods for communicating with the laserBIRD directly. In addition, it
explains the tools available for configuring your system and how to find support.
How this manual is organized
This manual contains six chapters.
Chapter 1: Preparing for Setup
!" Lists system software and hardware requirements
!" Outlines the components of your system
!" Details handling precautions
Chapter 2: Quick Start: Setup and Checkout
!" Describes how to connect your system components
!" Guides you through a quick checkout, using the demo software

ii
iiii
ii
Chapter 3: Configuration and Basic Operation
!" Outlines configurable features, through use of the LaserBIRD Utility
!" Provides diagrams to assist mounting
!" Details the basic principles of tracker operation
Chapter 4: Software -Tools for Successful Tracking
!" Outlines the methods for communicating with the laserBIRD directly.
!" Details the RS232 interface protocol and command set.
!" Describes a sample program for demonstrating basic communication
structure
Chapter 5: Troubleshooting, Maintenance, and Repair
!" Offers user maintenance suggestions
!" Lists common setup problems and solutions.
!" Explains how to contact Ascension Technology Corporation if you need
assistance.
!" Lists replacement part numbers
Chapter 6: Regulatory Information and Product Specifications
!" Lists applicable standards, specifications, and certifications for this
system.
Manual Conventions
This manual uses a number of conventions to explain procedures, and present
information clearly.
Notes Throughout the manual, notes describe hardware or software features you should
be aware of.
Tips Tips provide valuable suggestions for getting the most out of your laserBIRD
Names of files, directories and programs The names of files, directories and
programs are italicized (for example, winBIRD.exe)
!Note: This
call-out explains
important
information about
the features of you
r
system
!Tips: This
call-out provides
advice for
maximizing the
performance of
y
our s
y
stem

iii
iiiiii
iii
Caution! Caution! Messages alert you to important operating instructions. If you are
ever unsure about an action you are about to take, contact Technical Support.
Getting Assistance
If you are experiencing a problem with the installation, set up, or operation of your
laserBIRD tracking system, please consult the troubleshooting table in Chapter 5 of this
manual. It provides many common setup problems and their solutions. If you continue
to experience problems after following the recommended actions, contact Ascension
Technology Corporation for technical support.
World Wide Web:
http://www.ascension-tech.com/support/troubleshoot/
E-mail: [email protected]
Telephone:
Call (802) 893-6657 between 9 a.m. and 5 p.m. U.S. Eastern Standard
Time, Monday through Friday.
Fax: (802) 893-6659
"CAUTION!
This call-out points
out steps that
should be avoided
to prevent damage
to your system.


laserBIRD™ Installation and Operation Guide
5
55
5
Preparing for Setup
This chapter describes everything you will need to setup your laserBIRD
system.
System Requirements
Software Requirements
Two Windows® based utilities are included on the laserBIRD CD-ROM :
1. winBIRD™ - a demonstration utility
2. laserBIRD Utility - A utility for changing the default configuration of your system.
These utilities require:
Windows98®, 2000®, or NT®
Hardware Requirements
COM port(s): The laserBIRD reports data serially to a host computer, via an RS232 cable.
An unused COM port is required per laserBIRD system.
Power: The laserBIRD power supply will operate from 100 to 240V, at frequencies of 50-
60Hz.
CD-ROM drive: Only required for accessing the utilities, shipped on a CD-ROM. You may
also download these utilities from the Internet by visiting Ascension's web site.
Chapter
1
!Note: A
Windows® OS
is only required
for using the
utilities.
Communicate
directly with the
laserBIRD using
the ATC Flock o
f
Birds protocol.
See Chapter 4.
!Note: The
data format you
select may
require a baud
rate of 115.2K
to report all 240
records/sec.
See the RS232
Commands
section for
details

laserBIRD™ Installation and Operation Guide
6
66
6
Unpacking the System
Package Checklist
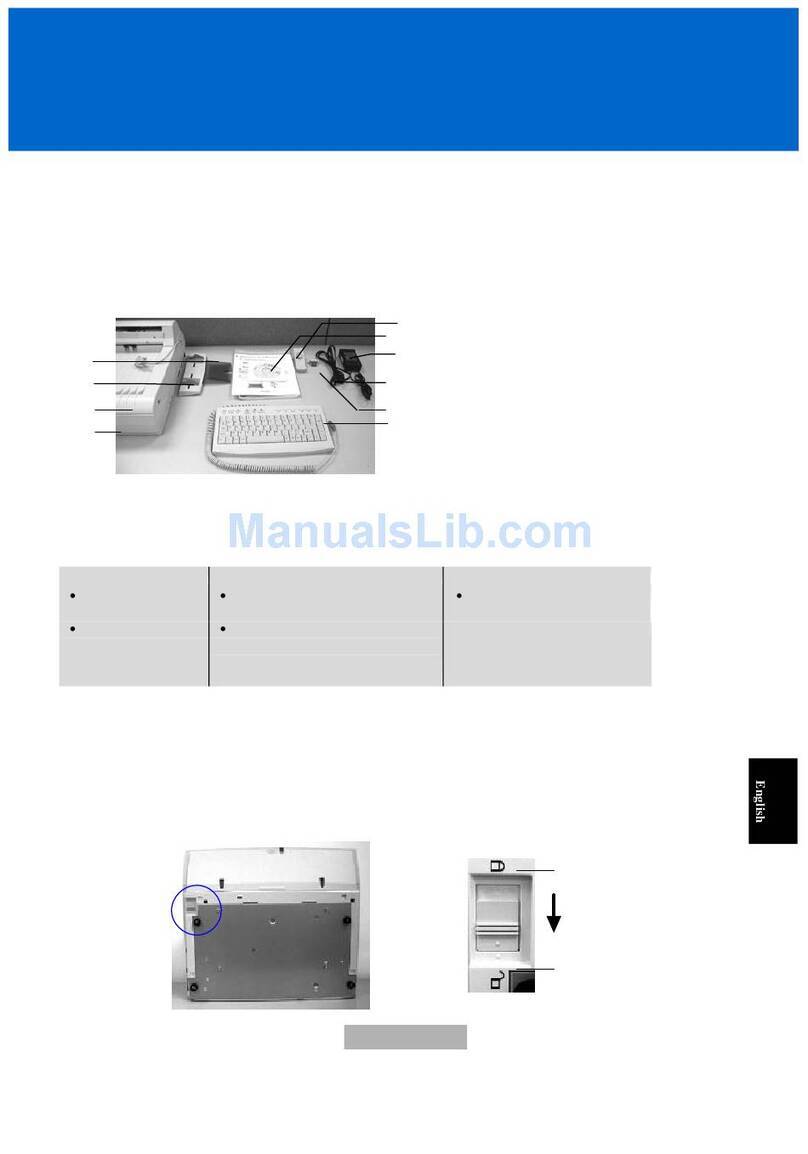
Your laserBIRD system is packaged in an extremely durable shipping case. Inside it you will find
the following items. Please make sure that you have everything listed before proceeding to the
setup and checkout section.
NOTE: If you have purchased a second system, this will be packaged in a separate case. (Please
be sure to read the section in Chapter 3 regarding Dual Scanner Operation).
laserBIRD
Scanner :
laserBIRD Sensor with cable :
1-External DC power supply w/AC cord
!Tip: If your
laserBIRD shipping
case is cold, open
it and allow the
components to
stabilize to your
ambient
temperature. The
scanner utilizes
highly polished
mirrors which if
contaminated with
condensation, may
degrade accuracy.

1: Preparing for Setup
7
77
7
1-RS232 cable !"laserBIRD CD-ROM :
Installation and Operation Guide (this
manual)
Additional Items You'll Need
!" Small regular screwdriver: used for tightening the power connection
Optional:
!" Mounting Hardware - The laserBIRD scanner has four mounting holes for 3mm
screws. The two mounting holes in the sensor housing are countersunk for 3mm
flat head socket screws.
Handling Precautions
The laserBIRD scanner and sensor, along with their attached cables and connectors are sensitive
electronic components. To obtain consistent and reliable performance and maintain your warranty,
treat them carefully.
Never attempt to open the Scanner unit. The Scanner contains no user serviceable parts,
and opening it may jeopardize system performance or user safety.
!" Avoid contact with the round windows in the Scanner and the small detectors in the
sensor. These are optical components, and surface contamination or scratching may
lead to degraded performance.
"CAUTION!
The laserBIRD is a
Class I (eye-safe)
laser device.
However, attempts
to adjust/alter the
internal Scanner
components, may
jeopardize this
status and cause
injury.

laserBIRD™ Installation and Operation Guide
8
88
8
!" Never carry, throw or swing the sensor or scanner by the cables.
!" Never over-bend the cable at the sensor or scanner housing. Repeated over-bending
may lead to sensor failure.
!" Never add your own sensor cable extensions or connectors. Our sensor cable is
precisely shielded and calibrated to minimize noise and ensure accurate performance.
If you add an extension cable, you compromise performance, regulatory approvals,
and void your warranty.
!" To clean your equipment, wipe it with a cloth dampened with cleaning solution
according to your organization's standards. Do not immerse the Scanner, sensor, or
cables in liquids.
!" Keep the Scanner, sensor, and cables away from sources of heat.
!" To minimize excessive wear to the Scanner's internal mechanical components and
extend tracker life, shut down the Scanner when not in use. This can be done by
disconnecting power, holding the system in reset using the CTS Reset feature (if
enabled), sending the SLEEP command, or enabling the Sleep on Reset setting with
the laserBIRD Utility.
SENSOR CONNECTOR
The sensor connector has coaxial pins which carry data from the detectors. Treat the
connections carefully.
1. When installing the connector, rotate the body until the keys mate with those of the
receptacle in the Scanner. Then turn the locking collar, until it clicks.
2. When removing the sensor from the Scanner, push the locking collar of the connector
toward the Scanner, before turning to unlock it.

laserBIRD™ Installation and Operation Guide
9
99
9
Quick Start: Setup and
Checkout
This chapter demonstrates how to connect your components, and install the
demonstration utility, so that you can quickly checkout your system and
begin tracking.
Cable Connections
The laserBIRD hardware can be setup and ready to run in four easy steps:
1. Connect the Sensor :
2. Connect the DC Power Cable :
Chapter
2

laserBIRD™ Installation and Operation Guide
10
1010
10
!Note:
winBIRD™ is a
Windows® utility
that will allow you
to check out your
setup. It is not
required for normal
operation.
3. Connect the RS232 cable to the laserBIRD and the COM port on the Host PC :
4. Connect the AC Power cord to the laserBIRD power supply and the AC source
(wall outlet)
What you'll notice:
!" After a short delay (see call-out at left), an audible noise will be heard from
the Scanner. This is the internal mirror shaft, rotating at 3600RPM.
Installing the Utilities
1. Insert the laserBIRD CD into your PC's CD-ROM drive.
2. Click on the Install laserBIRD Utility option, and follow the prompts in the Setup Wizard.
3. Click on the Install winBIRD™ option, and follow the prompts in the Setup Wizard.
Note: A DOS based demo utility, CBIRD.exe, is also available in the \Direct sub-directory of the
CD-ROM.
!Note: When
you plug in your
AC Power cord,
there will be a
slight pause, ~3
seconds, while the
system initializes
and the speed of
the rotating shaft is
set. This is normal
operation.

2: Quick Start: Setup and Checkout
11
1111
11
!Note: If you
have purchased a
second system that
will be running in the
same general region,
you must change the
Scanners' default
configurations. See
the Dual Scanner
Operation section of
Chapter 3.
System Checkout: Running the Demo
With the utilities installed and the system running, you are ready to run the demo software and
checkout your system.
Dual Scanner Operation: See the call-out on the left. You may choose to skip to Chapter
3 now and return after you've configured your systems.
1. Start the
demo utility
by selecting
winBIRD
from the
Ascension
Technology
program
group in the
Windows®
Start menu.
This will open the winBIRD window. The top of the screen contains the menu bar and toolbars,
providing links to main winBIRD functions. At the beginning of a session most of these will be
disabled, each becoming available as procedures are fulfilled.
2. Click
Setup on
the menu
bar, and
select
RS232.

laserBIRD™ Installation and Operation Guide
12
1212
12
!Note: The
laserBIRD always
runs in Standalone
mode. 'Not
Standalone' or
'Group' mode' is
used with other
ATC trackers.
3. Change the 'Baud Rate' to setup your
COM port for the laserBIRD's default
setting: 38400
4. and enter the correct Com Port for the
laserBIRD:
When you click OK, the main screen will indicate that the utility is establishing communication
with the system: 'Waking up bird…'
After a brief pause, the text will change to indicate 'Setup complete', and several of the icons on
the toolbar will be enabled.
5. Select 'Take Data' from the menu bar and
choose the option you would like for
displaying the data..
What you'll see:
If you've selected 'Animate', the
screen will display a tri-color axis. This
axis graphically represents the sensor's
translations and rotations in the motion
region.
If you've selected 'Stream' mode, the screen will continuously update two rows of
data. The three values in the first row represent sensor position, in inches, relative
to the Scanner. The three values in the second row give sensor orientation in
degrees.
'Point' mode is a snap-shot form of the 'Stream' mode.

2: Quick Start: Setup and Checkout
13
1313
13
6. Use the demo utility to become familiar with the sensor's motion region, and the
tracker's capabilities. If the utility does not run, or the laserBIRD does not operate as
described, please consult the troubleshooting table in Chapter 5 of this manual for
assistance.
7. Proceed to Chapter 3 for tips on configuring the laserBIRD for your installation.
Table of contents

