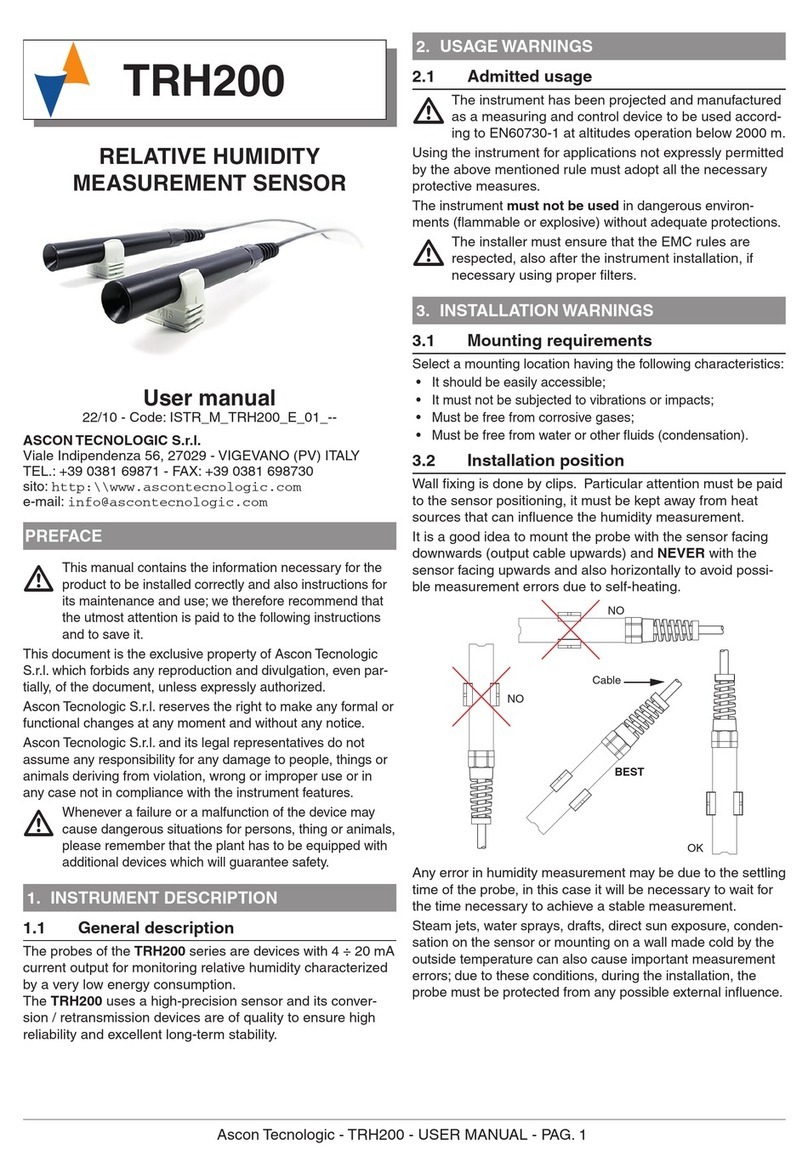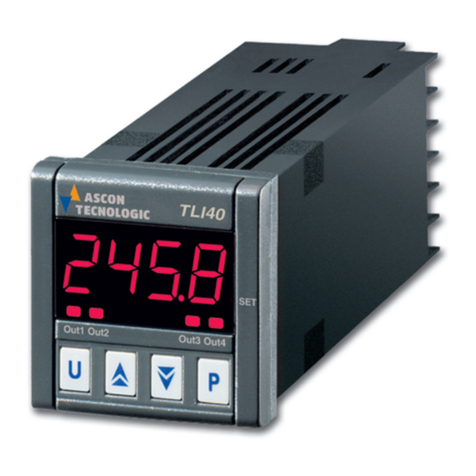
Indicators
with independent Timer option
Quick Guide -Code: FKxxVENG
Ascon Tecnologic S.r.l
Via Indipendenza, 56
27029 Vigevano (PV) - ITALY
Tel.: +39 0381 69871
FAX: +39 0381 698730
http:\\www.ascontecnologic.com
info@ascontecnologic.com
1.1 K3_V Series
1.2 K4_V Series
1.3 K85V Series
2.1 K31V Series
2.2 K38V Series
2.3 K4_V Series
2.4 K85V Series
Note: The complete manual is available, free of
charge, at:
www.ascontecnologic.com
2.5Mounting requirements
This instrument is intended for permanent installa-
tion, for indoor use only, in anelectricalpanel which
encloses the rear housing, exposed terminals and
wiring on the back. Select a mounting location hav-
ing the following characteristics:
1. It should be easily accessible;
2. There is minimum vibrations and no impact;
3. There are no corrosive gases;
4. There are no water or other fluid (i.e.
condensation);
5. The ambient temperature is in accordance with
the operative temperature (0... 50 °C)
6. The relative humidity is in accordance with the
instrument specifications (20... 85 %)
The instrument can be mounted on panel with a
maximumthickof15mm. When themaximumfront
protection (IP65) is desired, the optional gasket
must be monted.
2.6Genereal notes about wiring
1.
Do not run input wires together with power cables;
2. External components (like zener barriers, etc.)
connected between sensor and input terminals
may cause errors in measurement due to
excessiveand/ornotbalancedlineresistance or
possible leakage currents;
3. When a shielded cable is used, it should be
connected at one point only;
4. Pay attention to the line resistance; a high line
resistance may cause measurement errors.
5. Before connecting the instrument to the power
line, make sure that line voltage is equal to the
voltage shown on the identification label.
6. The power supply input is NOT fuse protected.
Please, provide a T type 1A, 250 V fuse externally.
Notes:Safety precautions.
a)
To avoid electrical shock, connect power at last;
b)
For supply connections use No. 16 AWG or lar-
ger wires rated for at last 75°C;
c)
Use copper conductors only;
d)
Before connecting the instrument to the power
line, make sure that line voltage is equal to the
voltage shown on the identification label.
e)
The power supply input is NOT fuse protected.
Please, provide a T type 1A, 250 V fuse exter-
nally.
3.1 How to enter the configuration mode
1. Push the button for more than 3 seconds.
The display will show alternately
0
and
PASS
;
2. Using and/or buttons set the
programmed password.
Notes:
a)
The factory default password for configuration
parameters is 30.
b)
The parameter changes are protected by a time
out. If no key is pressed for more than 10 sec-
onds the instrument automatically returns back
to the Standard display, the new value of the last
selected parameter will be lost and the parame-
ter modification procedure closed.
Sometimes can be useful to enter the parameter
configuration procedure with no timeout (e.g. for
the first time an instrument is configured). In
this case, use a password equal to the previ-
ously set password + 1000 digits (e.g. 1000 + 30
[default] = 1030).
It is always possible to manually end the
parameter configuration procedure (see the
next paragraph).
c)
During parameter modification the instrument
continues to perform the Alarms and timer func-
tions. In certain conditions, when a configura-
tion change can produce a bump to the process,
it is advisable to temporarily stop the alarm
functions during the programming procedure (its
alarms output will be Off).
A password equal to 2000 + the programmed
value (e.g. 2000 + 30 = 2030).
The alarms will restart automatically when the
configuration procedure will be manually closed
3. Push the button
If the password is correct the display will show
the acronym of the first parameter group
preceded by the symbol .
In other words the display will show .
The instrument is in configuration mode.
3.2 How to exit the configuration mode
Push button for more than 5 seconds. The instru-
ment will come back to the “standard display”.
1 - OUTLINE DIMENSIONS (mm)
2 - CONNECTIONS DIAGRAMS
64
28
5.578
35
Panel + Gasket
12 mm max.
Brackets
29
71
Panel + Gasket
9 mm max.
Bracket
type 1 Bracket
type 2
48
489.5 98
44.5
13 14 15 16 17 18 19 20 21 22 23 24
123 45 67 8 9101112
Out1 Out2 Out3
70 27 21 12
84
45
60
OUT 12VDC (max. 20 mA)
INPUT
OUT1OUT2OUT3OUT4
Power
supply
RELAYS: Out-1, 2: 8A-AC1 (3A-AC3)/250VAC
RELAYS: Out-3, 4: 5A-AC1 (2A-AC3)/250VAC
SSR: 10mA/10VDC
TC/mV
Pt100
4... 20 mA active
PTC-NTC
4... 20 mA passive (2 wires)
Ext.
gen.
0/4... 20 mA active
0... 50/60 mV; 0... 1 V; 0/1... 5 V; 0/2... 10 V
RS485
BGNDA
DI2DI1
OUT1 OUT2
Power
supply
RELAY: 8A-AC1 (3A-AC3)/250VAC
SSR: 8mA/8VDC
TC/mV
Pt100
4...20 mA active
PTC-NTC
Out 10VDC max. 20mA
Ext.
gen.
0/4...20 mA active
0...50/60 mV; 0...1 V;
0/1...5 V; 0/2...10 V
CNC NO CNC NO INPUT
4...20 mA passive (2 wires)
OUT1OUT2OUT3 Power
supply
Out1, Out2: Relay 8A-AC1 (3A-AC3)/250VAC
Out3: Relay 5A-AC1 (2A-AC3)/250VAC
SSR: 8mA/8VDC
TC
Pt100
4... 20 mA active
PTC-NTC
Out 12 VDC max. 20 mA
Ext.
gen.
0/4...20 mA active
0... 50/60 mV; 0... 1 V; 0/1... 5 V; 0/2... 10 V
INPUT
4...20 mA passive (2 wires)
DI1
DI2
3 -
CONFIGURATION PROCEDURE
OUT 10VDC (max. 20 mA)
INPUT
OUT1 OUT2OUT3
Power
supply
Relays: Out-1, 2: 8A-AC1 (3A-AC3)/250VAC
Out-3: 5A-AC1 (2A-AC3)/250VAC
SSR: 20mA/10VDC
TC
Pt100
4... 20 mA active
PTC-NTC
4... 20 mA passive (2 wires)
Ext.
gen.
0/4... 20 mA active
0... 50/60 mV; 0... 1 V; 0/1... 5 V; 0/2... 10 V
RS485
B GNDA
DI2DI1
Digital input
KxxV
WARNING!
Whenever a failure or a malfunction of the device may cause dangerous situations for persons,
things or animals, please remember that the plant must be equipped with additional safety de-
vices which will guarantee safety.
3.3 Keyboard functions during
parameters modification
A short pression allows to exit the current param-
eter group and select a new parameter group.
A long pression allows to close the configura-
tion parameter procedure (the instrument re-
turns to the “standard display”).
When the display is showing a group, the key
allows to enter in the selected group.
When the display is showing a parameter, the
key allows you to store the value shown and go
to the next parameter within the same group.
Increases the value of the selected parameter.
Decreases the value of the selected parameter.
Note:
The group selection is cyclic as well as the
selection of the parameters in a group.
3.4
Factory reset - Default parameters
loading procedure
Sometimes, e.g. when you reconfigure an instrument
previously used for other works or from other people
or when you have made too many errors during con-
figuration and you decided to reconfigure the instru-
ment, it is possible to restore the factory configuration.
This action allows you to put the instrument in a de-
fined condition (in the same condition it was at the
first Power ON).
The default data are the typical values loaded in the
instrument prior to shipping from factory. To load the
factory default parameter set, proceed as follows:
1. Press the button for more than 5 seconds;
2. The display will show alternately “PASS” and “0”;
3. Using and buttons, set the value -481;
4. Push button;
5. The instrument will turn OFF all LEDs then it will
show “dFLt” messages and than it turn ON all
LEDs of the display for 2 seconds and than it will
restart as at the first power ON.
The procedure is complete (the default value of
each parameter is listed in the “Parameters Ta-
bles” paragraph).
4.1 Out of Range Signals
The display shows the OVER-RANGE and UNDER-
RANGE conditions with the following indications:
The sensor break will be signalled as an out of range:
Note:
When an over-range or an under-range is
detected, the alarms operate as in presence of
the maximum or the minimum measurable
value respectively.
To check the out of span Error condition, proceed as
follows:
1. Check the signal source and the connecting line.
2. Make sure that the input signal is in accordance
with the instrument configuration. Otherwise,
modify the input configuration (see section 4).
3. If no error is detected, send the instrument to
your supplier to be checked.
4.2List of possible errors
ErEP
- Possible problem of the instrument memory.
The message desappears automatically. If the error
continues, send the instrument to the supplier.
5.1 Proper Use
Every possible use not described in the complete
manual (www.ascontecnologic.com) must be consid-
ered as a improper use.
This instrument is in compliance with EN 61010-1
"Safety requirements for electrical equipment for
measurement, control and laboratory use"; for this
reason it coud not be used as a safety equipment.
Ascon Tecnologic S.r.l. and its legal representa-
tives do not assume any responsibility for any
damage to people, things or animals deriving from
violation, wrong or improper use or in any casenot
in compliance with the instrument's features.
5.2 Warranty and repairs
This product is under warranty against manufacturing
defects or faulty materials that are found within 12
months from delivery date.
The warranty is limited to repairs or to the replace-
ment of the instrument.
Thetamperingoftheinstrument or animproper use of
the product will bring about the immediate withdrawal
of the warranty's effects.
In the event of a faulty instrument, either within the pe-
riod of warranty, or further to its expiry, please contact
our sales department to obtain authorisation for send-
ing the instrument to our company.
The faulty product must be shipped to Ascon Tecno-
logic with a detailed description of the faults found,
without any fees or charge for Ascon Tecnologic, ex-
cept in the event of alternative agreements.
Beforesupplyingtensiontotheinstrument,makesure
that it is perfectly dry.
4 - ERROR MESSAGES
Over-range Under-range
5 - GENERAL NOTES
]InP Group (parameters relative to the inputs)
4 - PARAMETERS TABLES
no. Parameter Description Range Default Vis.
Promo.
1
HcFG
Parameteravailable by
serial link nIt showsthe
current hardware
TC/RTD
TC/PTC
Current
Volt
According
to the
Hardware
Not
displayed
2
SEnS
Sensorselection(according to the hw)
A-4
TC, Pt100 inputJ, crAL, S, r, t, ir.J, ir.cA, Pt1, 0... 50 (mV),
0... 60 (mV), 12... 60 (mV) J
TC, PTC, NTC inputJ, crAL, S, r, t, Ir.J, Ir.cA, Ptc, ntc, 0... 50 (mV),
0... 60 (mV), 12... 60 (mV) Ptc
Current input 0... 20 (mA), 4... 20 (mA) 4.20
Voltage input 0... 5(V), 1... 5(V), 0... 10(V), 2... 10(V), 0... 1 (V) 0.10
3
dP Decimal figures0... 3 0 A-5
4
SSc Initial scale readoutFrom -1999 to FSC (E.U.) -1999 A-6
5
FSc Final scale readoutFrom SSc to 9999 (E.U.) 9999 A-7
6
0.Pot Offset value (to shift the
zero readout) From SSc to Fsc (E.U.) 0 = °C
7
unit Engineering unit °C or°F 0 = °C A-8
8
FiL Digital filteronthe
measured valueFrom 0 (oFF) 20.0 (s)1.0
C-0
9
diF1 Digital input 1 function
oFF = No function
AAC = Alarm Reset
ASi =Alarm acknowledge (ACK)
HoLd = Hold of the measured value
r.Pic = Peaksreset
0.Pot = Start of the 0.Pot procedure
r.PoP = Start of the 0.Pot proc. and Peaksreset
t.rHr=TimerRun/Hold/Reset [transition]
t.run =TimerRun [transition]
t.rES=Timerreset [transition]
t.rH =Timerrun/hold [Status]
uP. d u=
Digital inputsinparallel to
and
keys
nonE A-13
10
diF2 Digital input 2 functionnonEA-14
