10
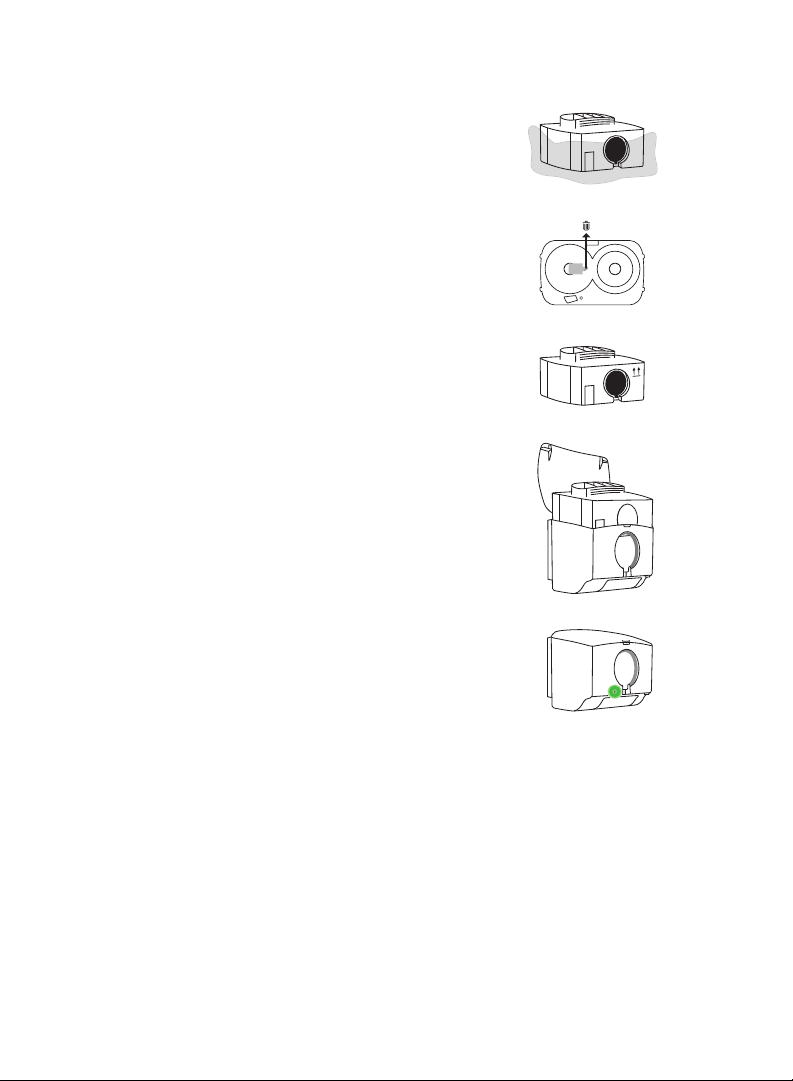
Clean Cassee Disposal
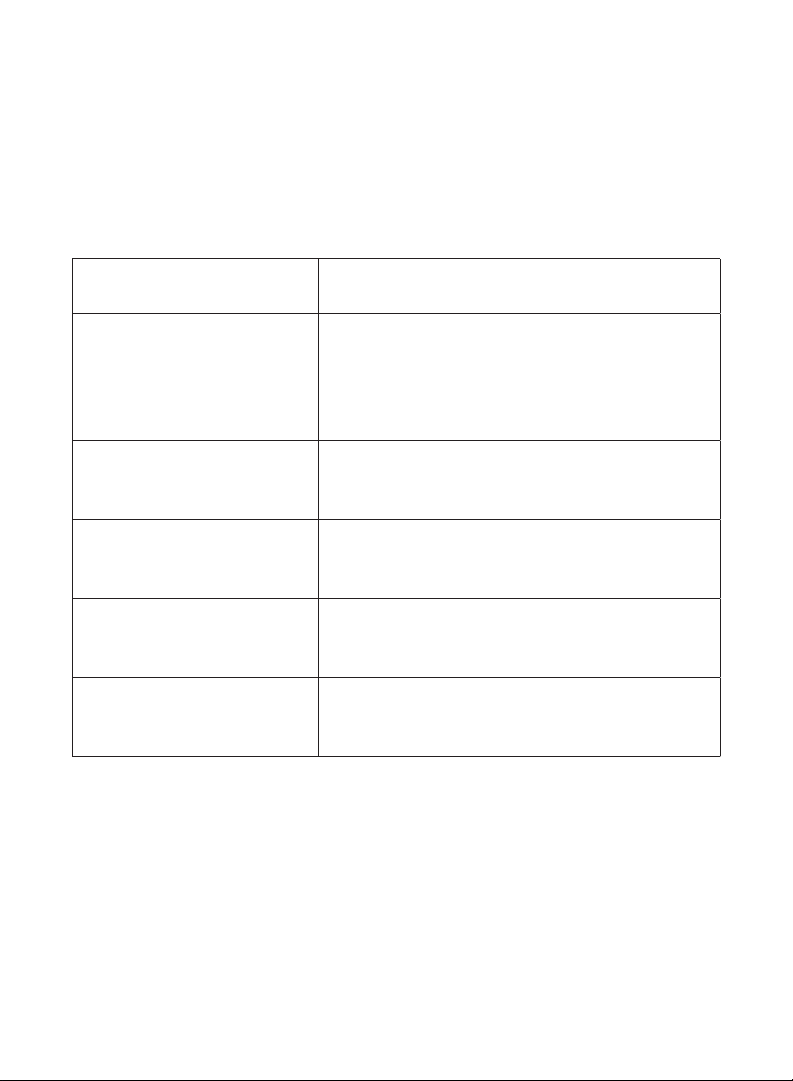
Light Indicators for Normal Operaon
The Clean Cassee is made from recyclable plascs but contains other materials
that cannot be recycled. AsepScope oers a Clean Cassee recycling service.
Contact customer service for details.
Illuminang green light ring
(in sequence)
Wait, disk being advanced into posion
Solid green light ring (briey
illuminated)
Disk cover is in posion and ready for
applicaon (Note: the light ring will not remain
green, however, a disk cover can be applied
whenever a disk cover is fully visible in the
applicaon window.)
Blinking red Clean Cassee
indicator light
<15 disk covers remaining in the Clean Cassee,
replace Clean Cassee immediately to prevent
disrupon of dispenser use
Blinking red baeries
indicator light
<10% of baery life remaining, replace
3-Alkaline C baeries immediately to prevent
disrupon of dispenser use
Solid green Clean Cassee
indicator light
(briey illuminated)
An authencated Clean Cassee has been
installed and dispenser is ready for use.
Solid green baeries
indicator light
(briey illuminated)
Baeries installed properly