manuals.online logo
Brands
  1. Home
  2. •
  3. Brands
  4. •
  5. Asko
  6. •
  7. Washer
  8. •
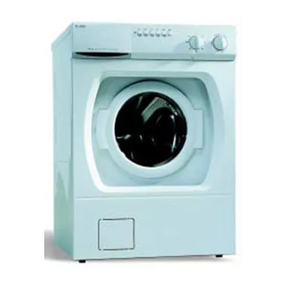
  9. Asko W640 User manual

Asko W640 User manual

Other manuals for W640

2

This manual suits for next models

1

Other Asko Washer manuals

Asko 600 Series User manual

Asko

Asko 600 Series User manual

Asko W6342 User manual

Asko

Asko W6342 User manual

Asko W6424 User manual

Asko

Asko W6424 User manual

Asko Steel Seal W6098 1 Series User manual

Asko

Asko Steel Seal W6098 1 Series User manual

Asko PROFESSIONAL WMC84P User manual

Asko

Asko PROFESSIONAL WMC84P User manual

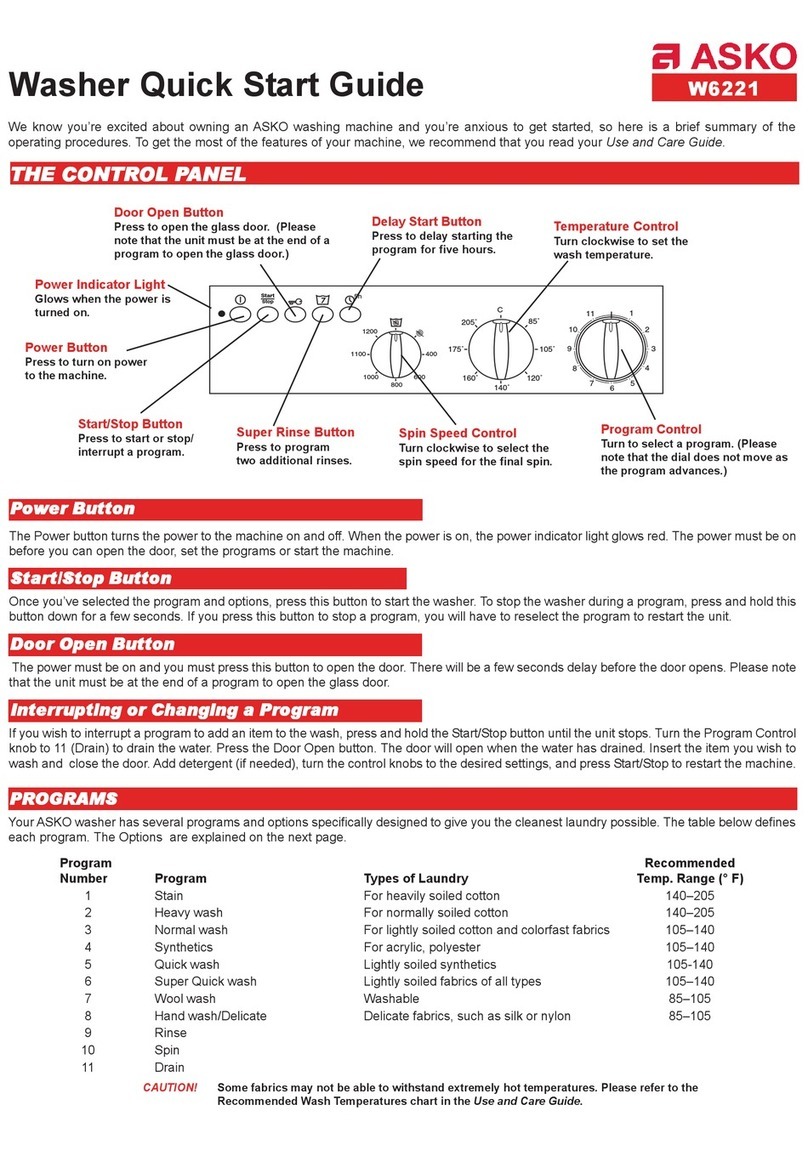
Asko W6221 User manual

Asko

Asko W6221 User manual

Asko WM75.B User manual

Asko

Asko WM75.B User manual

Asko W6984W User manual

Asko

Asko W6984W User manual

Asko W2086C.UK/1 User manual

Asko

Asko W2086C.UK/1 User manual

Asko WL6532 XXL User manual

Asko

Asko WL6532 XXL User manual

Asko W6461 User manual

Asko

Asko W6461 User manual

Asko Professional WMC64P User manual

Asko

Asko Professional WMC64P User manual

Asko W6441 User manual

Asko

Asko W6441 User manual

Asko PEL W65 EDP User manual

Asko

Asko PEL W65 EDP User manual

Asko W6424 User manual

Asko

Asko W6424 User manual

Asko W6OO-SERIES User manual

Asko

Asko W6OO-SERIES User manual

Asko W6222 User manual

Asko

Asko W6222 User manual

Asko W6222 User manual

Asko

Asko W6222 User manual

Asko WM33A User manual

Asko

Asko WM33A User manual

Asko Allergy W6888 User manual

Asko

Asko Allergy W6888 User manual

Asko W6221 User manual

Asko

Asko W6221 User manual

Asko WM75.B User manual

Asko

Asko WM75.B User manual

Asko WM75.C-P User manual

Asko

Asko WM75.C-P User manual

Asko W6761 User manual

Asko

Asko W6761 User manual

Popular Washer manuals by other brands

Zanussi ZWF 14080 W user manual

Zanussi

Zanussi ZWF 14080 W user manual

Zanussi FV 825 N Instruction booklet

Zanussi

Zanussi FV 825 N Instruction booklet

LG WM8000HVA Specifications

LG

LG WM8000HVA Specifications

Whirlpool 3RGSC9400 Use and care guide

Whirlpool

Whirlpool 3RGSC9400 Use and care guide

Zanussi TJ 1284 H instruction manual

Zanussi

Zanussi TJ 1284 H instruction manual

AEG KO-LAVAMAT 74740 User information

AEG

AEG KO-LAVAMAT 74740 User information

Beko WSRE7512PRA user manual

Beko

Beko WSRE7512PRA user manual

Whirlpool LA5OOOXP Use and care guide

Whirlpool

Whirlpool LA5OOOXP Use and care guide

Miele PW 6207 operating instructions

Miele

Miele PW 6207 operating instructions

GE GE Profile WWSE3160AAA Specifications

GE

GE GE Profile WWSE3160AAA Specifications

Bush WMNB712EB instruction manual

Bush

Bush WMNB712EB instruction manual

ALLIANCE UW60AV Information manual

ALLIANCE

ALLIANCE UW60AV Information manual

Bosch WAN280H3 User manual and installation instructions

Bosch

Bosch WAN280H3 User manual and installation instructions

Maytag MAT15MNAW installation instructions

Maytag

Maytag MAT15MNAW installation instructions

LG T2109VSAL owner's manual

LG

LG T2109VSAL owner's manual

Indesit IWC 61481 Instructions for use

Indesit

Indesit IWC 61481 Instructions for use

Electrolux EWF12843 user manual

Electrolux

Electrolux EWF12843 user manual

Indesit WIN 70 Instructions for use

Indesit

Indesit WIN 70 Instructions for use

manuals.online logo
manuals.online logoBrands
  • About & Mission
  • Contact us
  • Privacy Policy
  • Terms and Conditions

Copyright 2025 Manuals.Online. All Rights Reserved.

P4
P1 P2 P3
Menu Enter
Start /Stop
THE CONTROL PANEL
Models W660 and W640 have ASKOs state-of-the-art EasyControl panel, as ill strated below. To select a wash program, simply press
one of the preset program b ttons then press Start. Refer to Preset Programs below for a definition of these programs.
Door Open Button
Press to open the
glass door.
Preset Programs
Press one of these buttons to
select a program.
LED Window
Displays the wash program, spin speed,
temperature settings, and program run time.
Power Button
Press to turn on
power to the
machine.
Program Selection Controls
These buttons allow you to customize the preset program settings,
such as wash temperatures, spin speed, rinses, display language,
etc. Refer to the Use and Care Guide for instructions.
Power Indicator Light
Glows when the power
is turned on.
Start/Stop Button
Press to start or
stop a program.
Preset Programs
This model has fo r preset programs, as defined in the table below. To select a program, simply press one of the program b ttons then press Start.
Preset Wash Spin # of Short Long
Program Wash C cle T pes of Laundr Temp (1) Speed (1) (2) Rinses Spin Spin
P1 (3) Normal White cotton 140° F 1600 rpm (4) 5 2 yes
P2 (3) Normal Normal/Perm Press 105° F 1600 rpm (4) 5 2 yes
P3 S per Q ick Lightly soiled fabrics 105° F 1600 rpm (4) 2 0 yes
P4 Wool/Hand Washable wool, silk, nylon 85° F 800 rpm 3 1 no
NOT S: (1) Yo can temporarily adj st the temperat re settings and spin speed. (See Temporary Program Changes below.)
(2) These are the maxim m spin speed settings allowed for the program (except S per Q ick).
(3) P1 and P2 are factory-programmed with a Q ick Main Wash. (See the Use and Care Guide.)
(4) Model W640 has a maxim m spin speed of 1400 rpm.
Temporary Program Changes
Yo can make temporary changes to the wash temperat re and/or spin speed on the preset programs. Simply press the b tton for the preset
program yo want to se then follow the instr ctions below. The settings will revert to normal at the end of the program.
Temperature  Press ntil the desired temperat re displays in the LED window. If yo also want to change the spin speed, read the
following paragraph, otherwise, press Start.
Spin Speed  Press ntil the desired spin speed displays in the LED window then press Start.
Yo can easily c stomize the preset programs to best fit yo r la ndry needs. See C stomizing the Preset Programs in yo r Use and Care Guide.
Power Button
The Power b tton t rns the power to the machine on and off. When the power is on, the power indicator light glows red. The power
m st be on before yo can open the glass door, set the programs or start the machine.
Start/Stop Button
This b tton starts or stops a program. To stop a program, press and hold this b tton for a few seconds. If yo stop a program sing
the Start/Stop b tton, yo will have to reselect a program and press Start/Stop to restart the machine.
Door Open Button
The power m st be on and yo m st press this b tton to open the glass door. There will be a few seconds delay before the door opens.
If yo need to open the door d ring a wash or rinse cycle, press and hold Door Open for a few seconds. The machine will stop and
a tomatically drain eno gh water so the door can be opened safely. The program will res me when yo close the door. For instr ctions
on how to open the door man ally in case of power fail re, refer to yo r Use and Care Guide.
We know yo re excited abo t owning an ASKO washing machine and yo re anxio s to get started, so here is a brief s mmary of the
operating proced res. To get the most of the feat res of yo r machine, we recommend that yo read yo r Use and Care Guide.
Washer Quick Start Guide W640/W660
Start /Stop
P1 Normal wash
P2 Normal wash
P3 Super Quick wash
P4 Wool/hand wash
P1 P2 P3 P4 Start Stop 105˚ 43
rpm
1400
UNDERSTANDING THE LED WINDOW
The LED window is easy to read and nderstand. It displays the wash program selection along with the wash temperat re, spin speed, and
program r n time. The ill stration below explains what each item on the LED window is.
rpm
Spin speed for the selected program.
Program Time
When you start a program, the total time
the program runs is displayed. As the
program progresses, the time remaining
displays. The program time toggles
between the hours (e.g., 1h) and the
minutes (e.g., 22).
Temperature
Wash temperature for the
selected program.
Stop
Indicates that the program has ended
or that you pressed Stop.
Start
Indicates that you pressed Start
and the program is running.
Preset Programs
Displays the program that
is selected/running.
Program
When you press the Power button,
the display toggles between the
program numbers and the wash
program names, (e.g., Normal,
Super quick, etc.)
Door Open
Displays when you press
the Door Open button.
THE DETERGENT DRAWER
The detergent drawer on ASKO washers a tomatically dispenses the detergent and
fabric softener at the appropriate times. The drawer is located to the left of the control
panel. Simply p ll the drawer o t and po r the meas red amo nts of detergent and
softener into the proper compartments (as ill strated) and close the drawer.
DETERGENT AND FABRIC SOFTENER AMOUNTS
Beca se ASKO washers se less water than conventional top-loading washers, yo need less detergent and fabric softener. We recommend
that yo se a low-s dsing powder detergent only, preferably a high-efficiency (HE) detergent designed specifically for front-loading washers.
(Liq id detergents tend to s ds more, which make them more diffic lt to rinse o t.)
Detergent  The amo nt of detergent needed varies, depending on the detergent yo se. For high-efficiency detergent specifically for
front-loading washers, yo sho ld se the amo nts recommended by the man fact rer. For reg lar la ndry detergent, 1 to 3 tablespoons of
detergent is all ou need for a normal wash load. More heavily soiled items, however, may need slightly more detergent. Also, the amo nt
of detergent needed can vary d e to differences in water hardness. (Refer to yo r Use and Care Guide for more details.) If yo choose to se
a liq id detergent, start o t with a very small amo nt, s ch as one or two tablespoons.
Fabric Softener  We recommend that yo se only 2 tablespoons of fabric softener. If more softening is desired, try sing slightly more
with the next load.
Prewash detergent
Main wash
detergent
Fabric
softener
We recommend that ou dont use bleach in our ASKO washer.
The t mbling wash action, temperat re control options and
extended wash times are s fficient to remove most stains.
NOTE:
The detergent drawer is equipped with an optional
child safety catch. (See your Use and Care Guide.)
Refer to yo r Use and Care Guide for additional programming and operational information as well as care and cleaning instr ctions.
QUICK START PROCEDURES
1.
2.
3.
4.
5.
6.
7.
Press the Power b tton to t rn on the machine.
Press the Door Open b tton to open the inner door and load the wash. (The door will open in a few seconds.)
Check that the door is clear of la ndry then close it firmly. (The door wont sh t if its slammed.)
Po r the detergent and fabric softener into the proper compartments in the detergent drawer, as ill strated below.
(Dont p t detergent in the prewash compartment nless yo plan to prewash.)
Close the detergent drawer sec rely. (Do not slam it closed.)
Press the b tton for the desired program. If desired, change the temperat re and/or spin speed.
Press Start. The machine will start.
W640/W660
Art. no. 80 637 68 Rev 03