Assistive Technology ATSFD1 User manual

ATSFD1
User Manual
Touch N’ Talk FD1
2-Way Waterproof
Voice Pendant Medical Alert System
with Fall Detection

2
TABLE OF CONTENTS
Overview Page 3
Contents of the System Page 3
REQUIRED SETTING
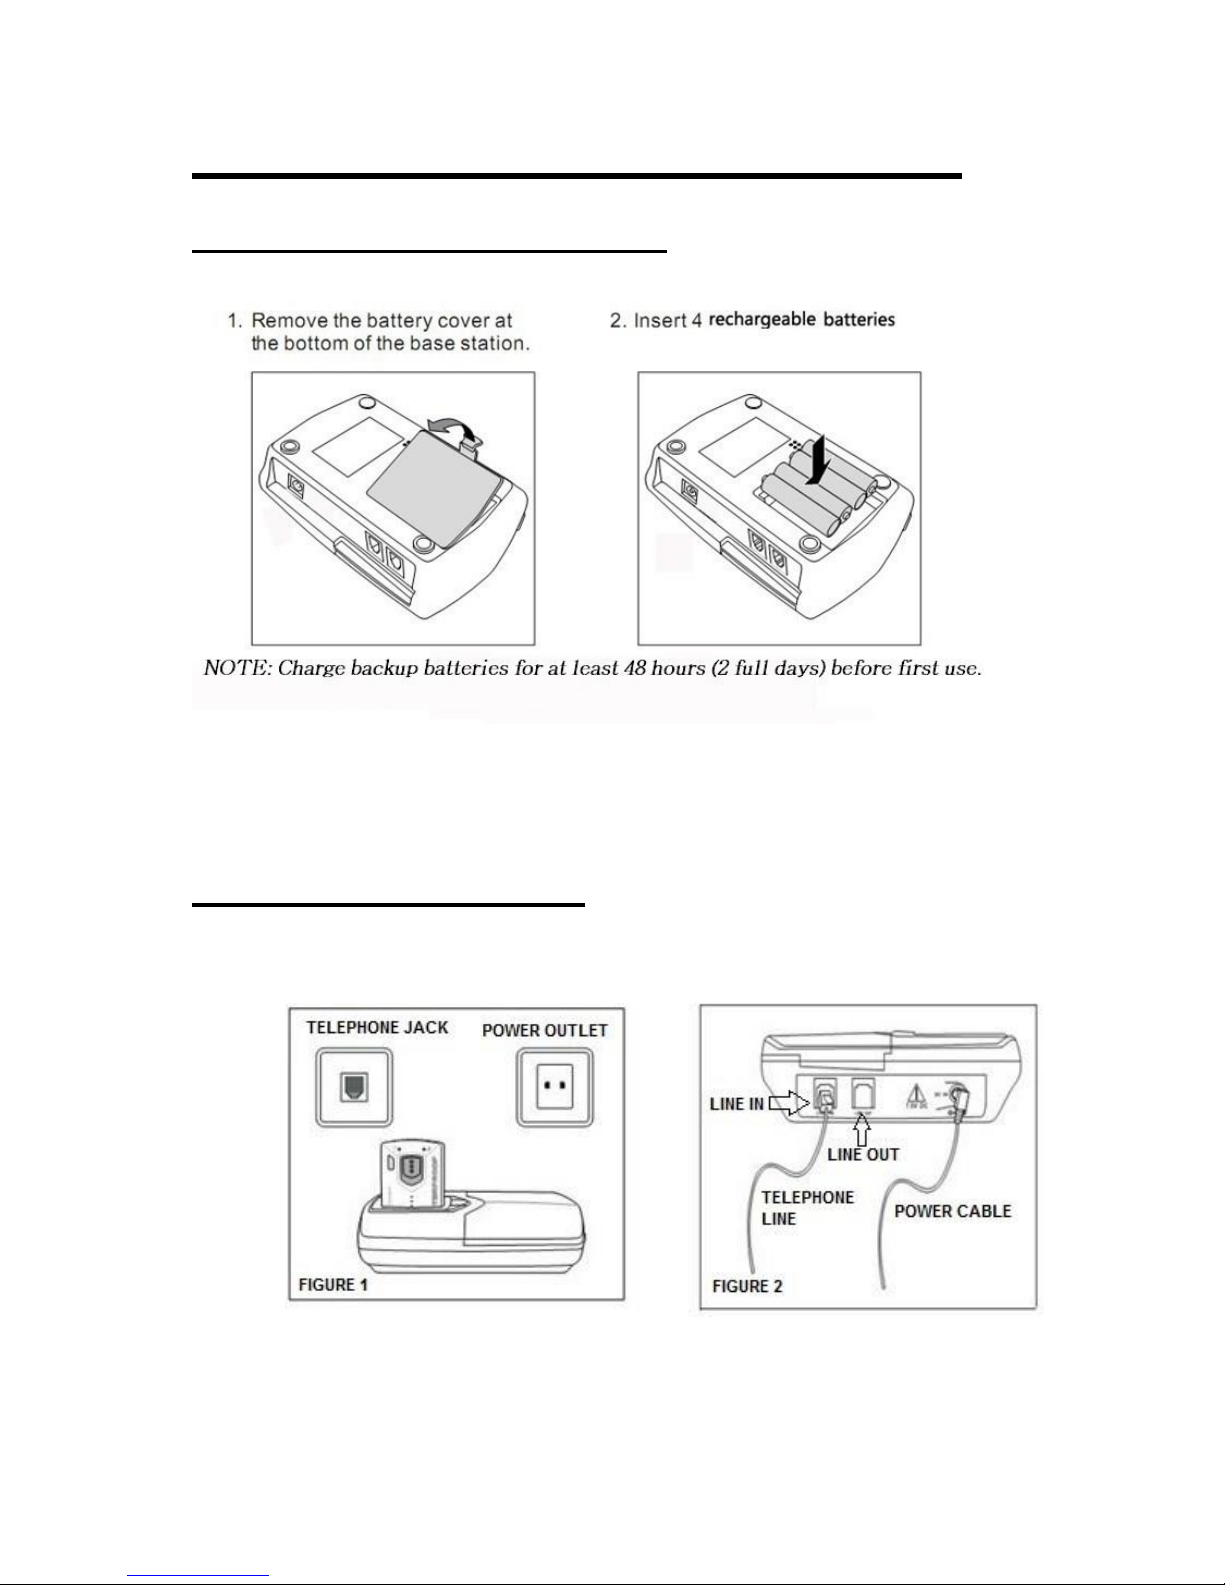
Installing the Backup batteries Page 4
Connecting the Base Unit Page 4
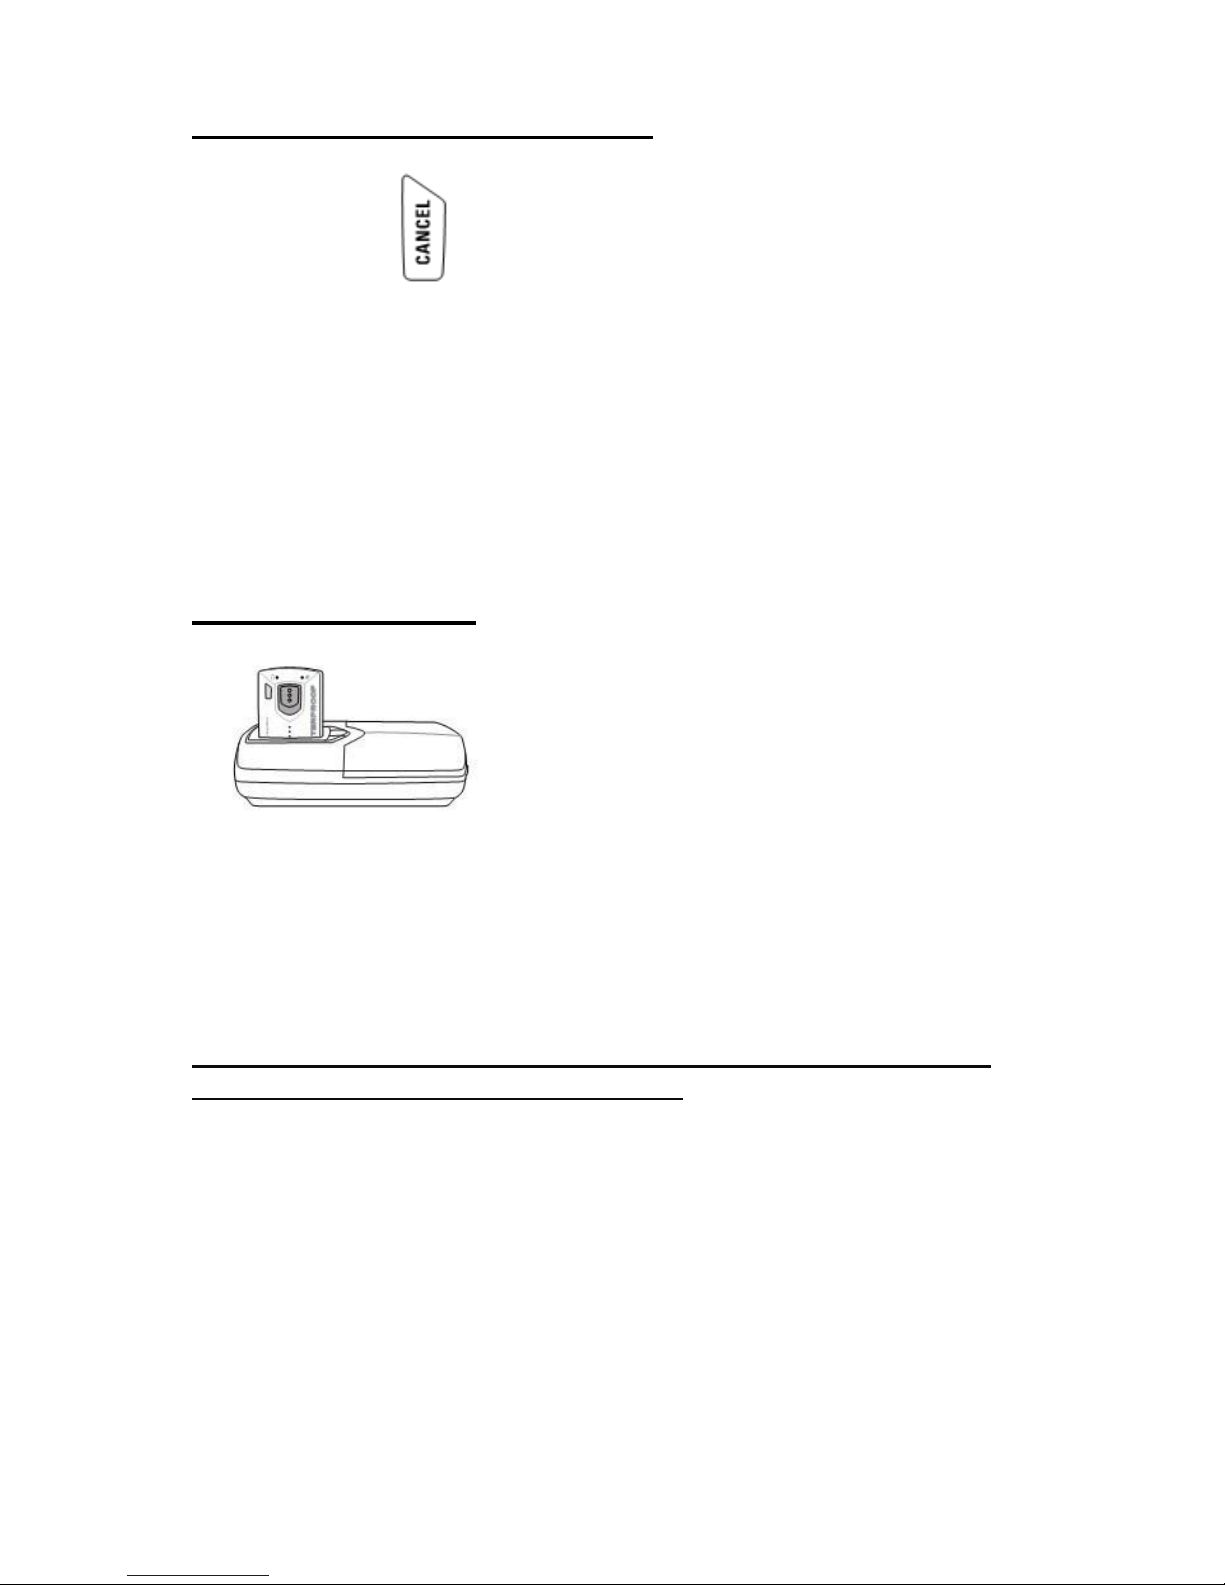
Switching the pendant ON/OFF Page 5
Pendant Charging Page 5
System Check Page 6
Setting/Storing SOS Numbers Page 7
Manually Making an SOS call Page 8
ADDITIONAL SETTINGS
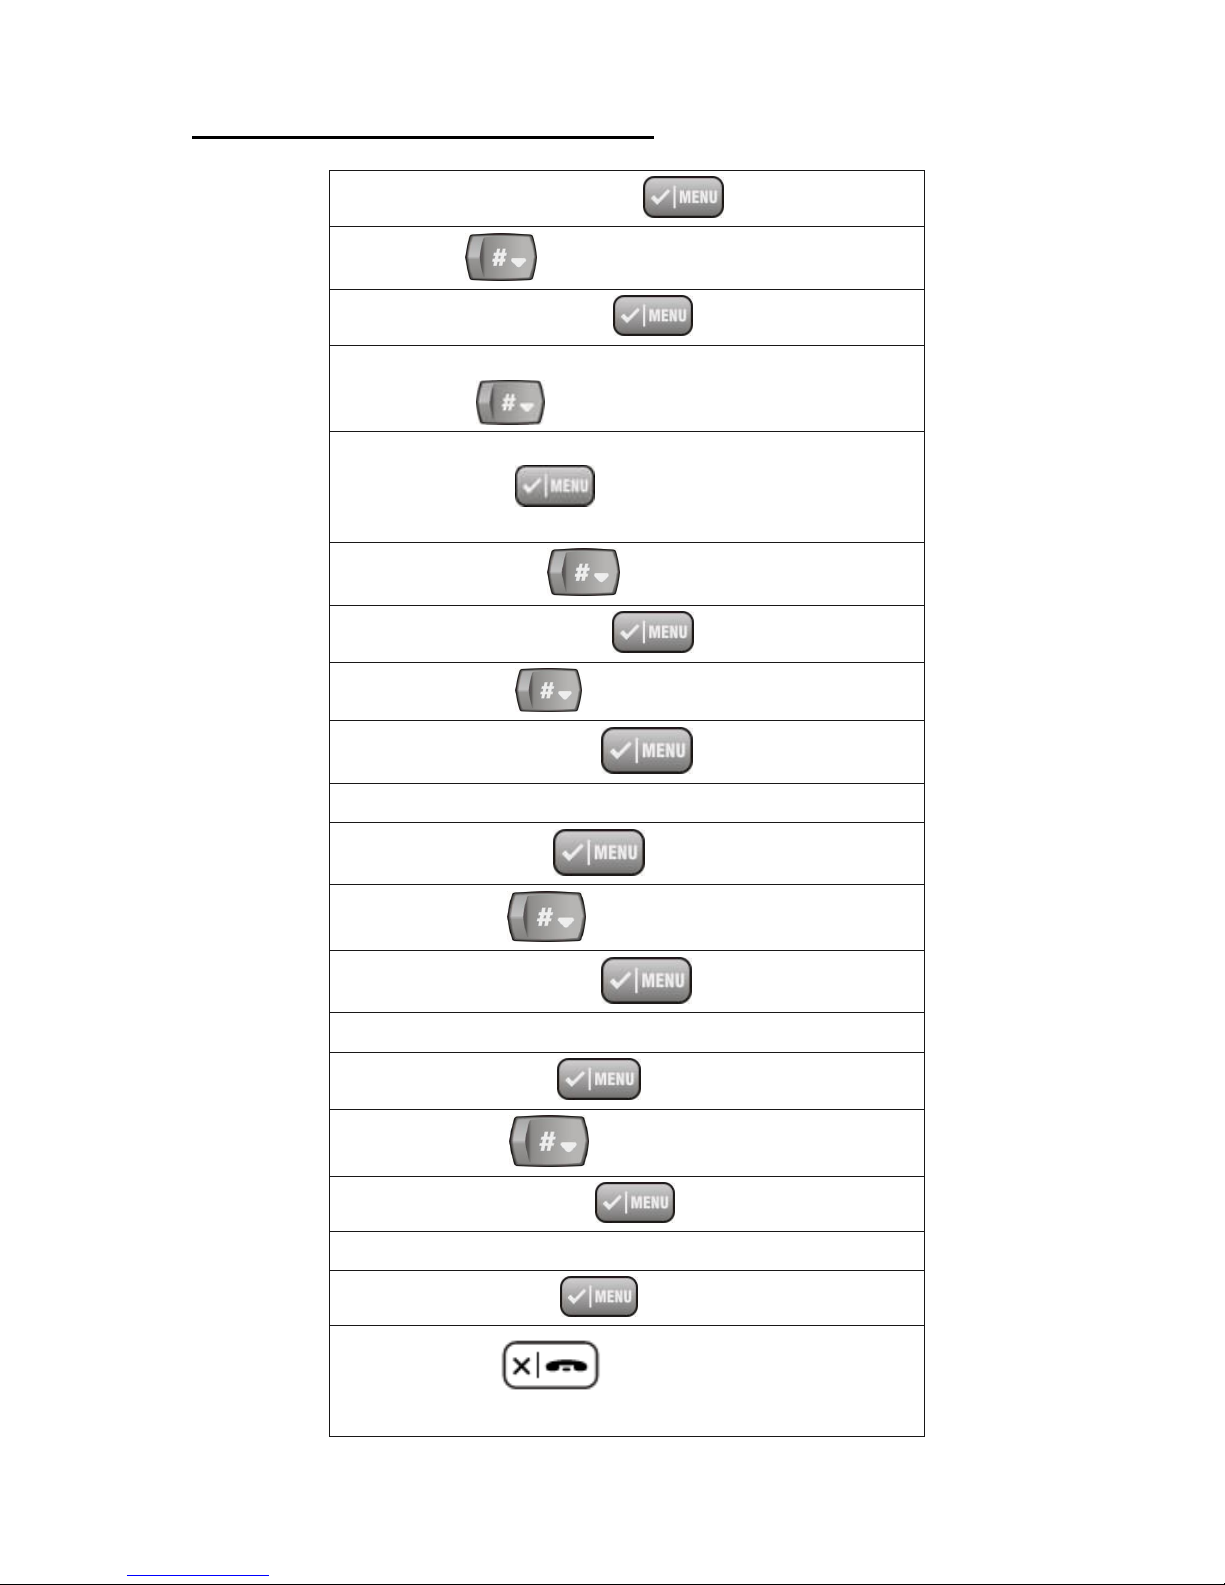
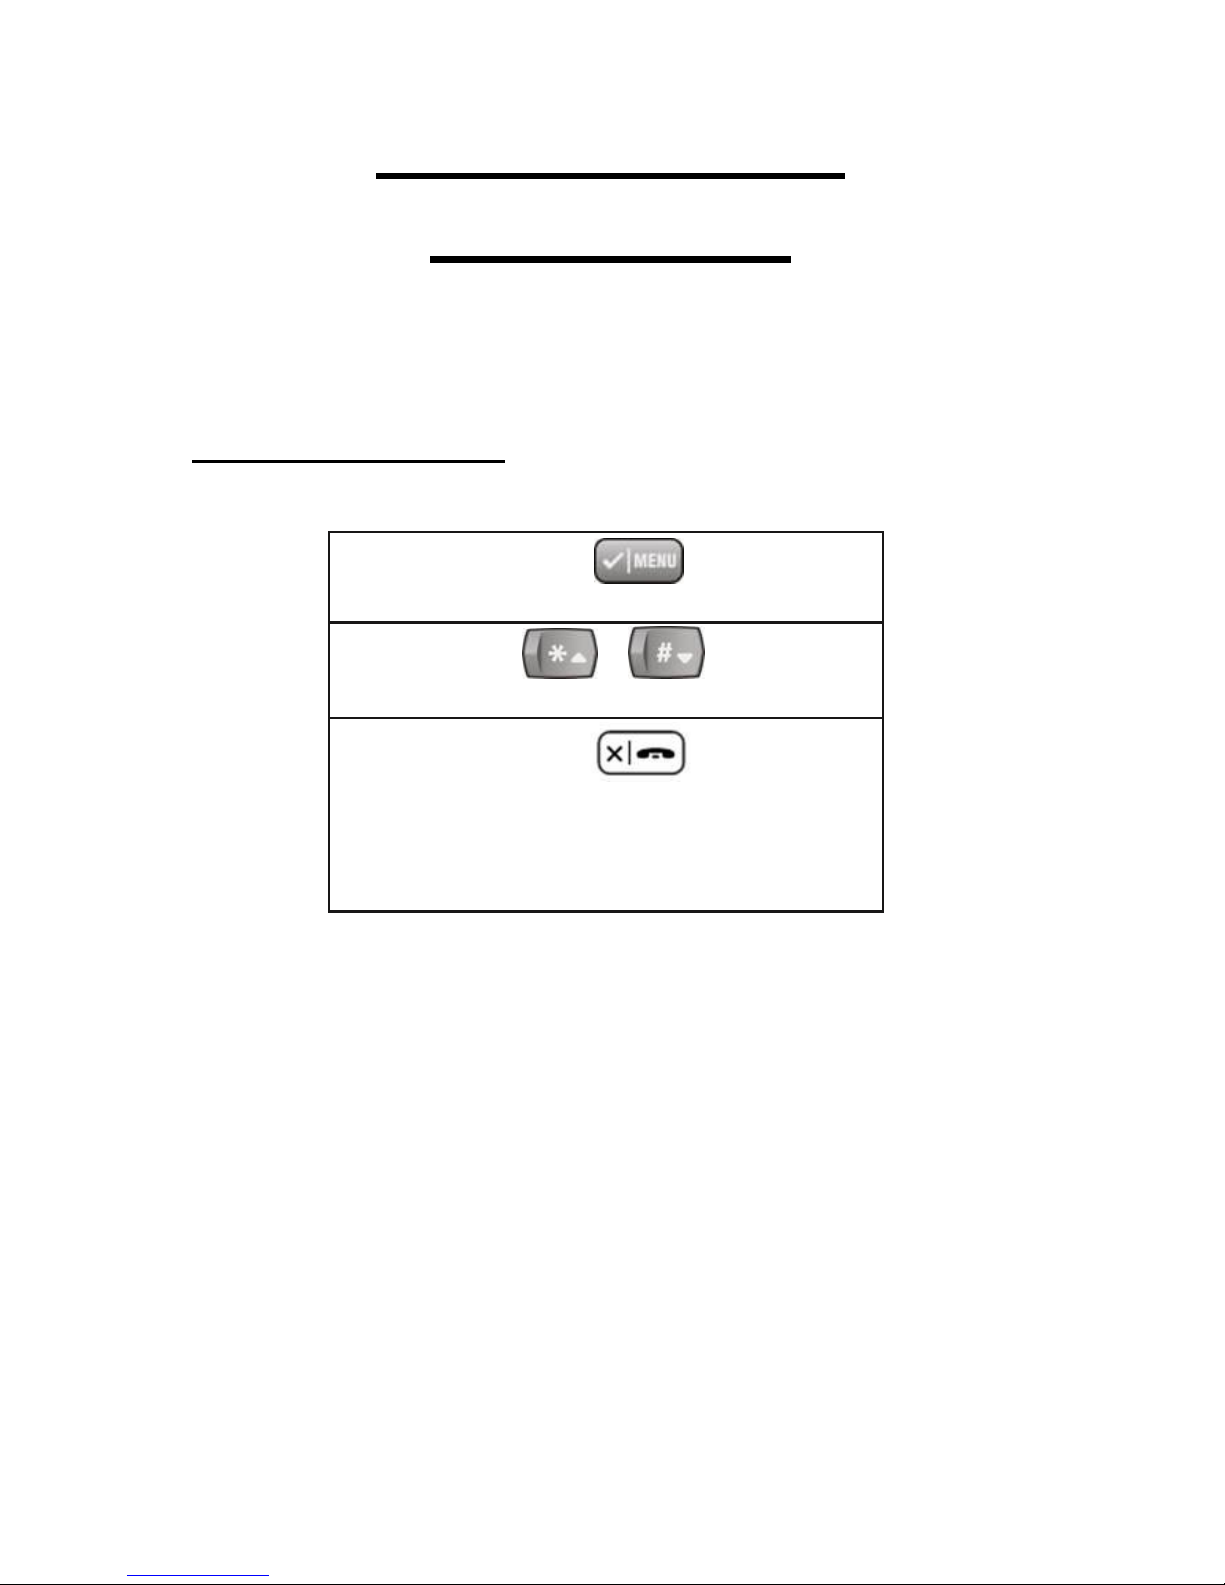
Navigating the Menu Page 9
Setting Date/Time Page 10
oDate/Time Format Page 11
Setting/Storing SOS Numbers Page 12
oViewing stored SOS Numbers Page 13
oEditing SOS Numbers Page 14
oErasing ALL SOS Numbers Page 15
Setting SOS Mode Page 16
Detect ACK Emergency Message Page 17
Continuous SOS Call Page 18
Answer Call Page 19
Pill Alarm Page 20
oSetting Pill Alarms Page 20
oCancel Pill Alarms Page 21
Alarm Page 22
oSetting An Alarm Page 22
oCancel Alarms Page 23
Language Page 24
Default Page 24
Registration Page 25
oRegister: Adding an additional pendant Page 25
oDeregister Removing Pendants from Systems Page 26
Fall Detection/Man Down Function Settings Page 27
FEATURES/FUNCTIONALITY
How Automatic cut-off operates Page 28
Pendant LED status indicators Page 28
LCD indicators: Battery Icon Page 28
Paging Page 29
Waterproof Rating Page 29
Making/Receiving a Normal call Page 30
oMaking a Normal Call Page 30
oAnswering an Incoming Call Page 30
Troubleshooting Page 31
Services Page 32
Questions Page 32
Limited Warranty and Service Page 32

3
Overview
Contents of the System
Pendant Base Unit AC Adapter
Lanyard Phone Cord

4
REQUIRED SETTINGS
Installing the backup Batteries
Reminder: You must use ONLY rechargeable batteries; never use regular non-
rechargeable batteries in this system. Non-rechargeable batteries will permanently
damage this unit. (Recommended 1.2v AAA 800MH or greater Ni- ZN or Ni-MH rechargeable
batteries only.)
Connecting the Base Unit
1. Place the base station on a stable surface location near the telephone line jack
and the electrical power outlet. (see figure 1)
2. Connect the telephone line and power cable to their corresponding
connectors at the back of the base station marked LINE IN and DC IN.
3. Connect the other end of the telephone line and power cable to their
respective socket.

5
Switching the device ON/OFF
1. Press and hold key for 6 seconds on the front of the pendant to switch on.
You can hear the system speak the phrase ‘Power On’ or ‘Power Off’.
2. If you put the pendant on the base for 6 seconds it will switch on automatically.
You will hear ‘Power On”
Pendant Charging
Note: The pendant will beep when it establishes contact with the base unit and begins
charging.
Note: Charge pendant for at least 48 hours before first use. Pendant uses a replaceable
Li-ion Polymer Battery 560mAh 3.7v.
UNAUTHORIZED OPENING OF THE PENDANT WILL VOID
THE MANUFACTURER WARRANTY

6
System Check
Press the + key at the same time for 1 second on the pendant to start the
system check. You will hear “system check, please wait”. System check includes:
1. Pendant and Base connection
2. Out of range
3. Line availability
If all items are OK, you will hear a voice prompt, ‘System Check OK’. If any one of the
system check items have failed, you will hear ‘System Check Failed’
** Helpful Hint
We highly recommend performing a ‘System Check’ weekly to ensure all components are
in good working order.

7
Setting/Storing SOS Numbers
Press Menu
Press 1 time to select ‘SOS NUMBERS’
Press
The screen will display ‘Pendant 1’ Choose Pendant # by
pressing (If you have a second pendant)
When you have chosen a pendant
# press the screen will display
‘PLEASE WAIT’
Press to select ‘EDIT’
Press
Press to select ‘1 SOS NUM’
Press
Insert Number to be Called
Press To Confirm
Press to select ‘2 SOS NUM’
Press
Insert Number to be Called
Press To Confirm
Press to select ‘3 SOS NUM’
Press
Insert Number to be Called
Press To Confirm
Press and hold Button for 3 seconds to return
to main screen

8
Manually Making an SOS Call
OPTION # 1
Press and hold the key on the pendant for 3 seconds to activate the alert,
the speaker phone will activate automatically and you will hear 'SOS is calling'
Press key to cancel.
OPTION # 2
Press key on base for 3 seconds to activate the alert
The pendant speaker phone will activate automatically
Press key or key to cancel.

9
ADDITIONAL
SETTINGS
Navigating in the Menu
PRESS
When on the main Screen to get to System Menu
Press or key
To Scroll Through The Menu
Press Key
To take you back one Step, A 3 second press on this
key will return you back to the main screen

10
Setting Date/Time
Set Date
Press Key
the screen will display ‘DATE + TIME’
Press Key
the screen will display ‘SET DATE’
Press Enter Date
Year, Month then day
Press to save
Press key
for 3 seconds to return you back to the main screen
Set Time
Press key
the screen will display ‘DATE + TIME’
Press key
the screen will display ‘SET DATE’
Press Once
to ‘SET TIME’
Press key
Enter time
Be sure to enter it as 24 hour Clock
Example 2:45 pm would be 14:25
Press to save
Press key for 3 seconds
To return to main screen

11
Date Format
Press key
the screen will display ‘DATE + TIME’
Press key
Press 2 times to get to the ‘DATE
FORMAT’ option
Press key
The screen will display ‘DD –MM (day-month)’or
Press Once for ‘MM-DD (month-
day)’
Press key
To save
Press key for 3 seconds
To return to main screen
Time Format
Press key
The screen will display ‘DATE + TIME’
Press key
The screen will display ‘SET DATE’
Press 3 times to
The screen will display ‘TIME FORMAT’
Press key
The screen will display ‘24 HOUR’ you can
Press for a ‘12 HOUR’time display
Press key to save
Press key for 3
Seconds to return to the main screen

12
Setting/Storing SOS Numbers
Storing SOS Numbers
Press Menu
Press 1 time to select ‘SOS NUMBERS’
Press
The screen will display ‘Pendant 1’ Choose Pendant # by
pressing (If you have a second pendant)
When you have chosen a pendant #
press the screen will display ‘PLEASE WAIT’
Press to select ‘EDIT’
Press
Press to select ‘1 SOS NUM’
Press
Insert Number to be Called, including area code
Press To Confirm
Press to select ‘2 SOS NUM’
Press
Insert Number to be Called
Press To Confirm
Press to select ‘3 SOS NUM’
Press
Insert Number to be Called
Press To Confirm
Press key for 3
Seconds to return to the main screen

13
Viewing Stored SOS Numbers
Press key
Press 1 time to ‘SOS NUMBERS’
Press key
The screen will display ‘Pendant 1’ Choose Pendant # by
pressing (If you have a second pendant)
When you have chosen a pendant
# press the screen will display
‘PLEASE WAIT’
The display will read ‘LIST’
press key
The screen will display
‘1 – SOS NUM’
Press key to view stored SOS
Number
Exit by pressing The
Screen will display read ‘1 –SOS NUM’
Press One time
The screen will display
‘2 –SOS NUM’
Press key to view
stored ‘SOS Number’
Exit by pressing The
Screen will display ‘2 –SOS NUM’
Press One time
The screen will display
‘3 –SOS NUM’
Press key to view
stored SOS Number
Exit by pressing for
3 seconds to return to Main Screen

14
Editing SOS Numbers
Press Menu
Press 1 time to select ‘SOS NUMBERS’
Press
The screen will display ‘Pendant 1’ Choose Pendant # by
pressing (If you have a second pendant)
When you have chosen a pendant
# press the screen will display ‘PLEASE WAIT’
Press to select ‘EDIT’
Press
Press to select ‘1 SOS NUM’
Press
Press To erase old number
Type in new number
Press To Confirm
Press to select ‘2 SOS NUM’
Press
Press To erase old # Type in new #
Press To Confirm
Press to select ‘3 SOS NUM’
Press
Press To erase old number Type in new #
Press To Confirm
Press key for 3
Seconds to return to the main screen

15
Erasing All SOS Numbers
Press key
Press 1 Time to ‘SOS NUMBERS’
Press
The Screen will display ‘PLEASE WAIT’
Choose Pendant #
(If you have a second pendant)
When you have chosen a pendant
number press
(The screen will display ‘PLEASE WAIT’)
The screen will display ‘LIST’ Press 3 Times
to DELETE ALL
Press key
The screen will display ‘CONFIRM?’
Press key to confirm
Press key for 3 seconds
To return to the main screen.

16
Setting SOS Mode
When the ‘REACH ONE’ option is selected, the SOS call will stop when any one of the 3
stored SOS numbers is successfully connected. This is the default setting.
When the ‘REACH ALL’ option is selected, the SOS call will stop when ALL 3 of the saved
SOS numbers are successfully connected.
** Helpful Hint: What does ‘Reach All Mean’? This means even if receiver of the call
presses the ‘#’ key, the system will continue to call the second and third number.
What is the purpose of this feature? In some situations, you may want to ensure that
all three contacts get the message that there is an emergency.
Press
Press 2 times to get to ‘SOS MODE’
Press to select ‘SOS MODE’
The screen will display ‘REACH ONE’ or ‘REACH ALL’press
to choose an option
Press to save your choice
Press for 3 seconds to return to
the main screen.

17
Detect ACK Emergency Message
When an SOS call is made and the call is picked up, the receiving party will hear: “This is
an SOS call, to continue the call, press hash key now (#)” the receiving party then must
press the “#” key while the announcement message is playing. The announcement
message will repeat 5 cycles. If the ‘#’ key is not pressed within the 5 cycles, the current
call is considered unsuccessful, and will be terminated. The system then will continue to
the next SOS number.
Press
Press 3 times to get to ‘DETECT
ACK’
Press to select ‘DETECT ACK’
The screen will display ‘ON’ or ‘OFF’ press
to choose an option
Press to save your choice
Press for 3 seconds to return
to the main screen.
**Helpful Hint: What does ‘DETECT ACK’ mean? If you have set ‘REACH ALL’ to ‘ON’
and ‘DETECT ACK’ to ‘OFF’ then the system will not require “#” to be pressed and will
call all the contact numbers.
**When the ‘OFF’ option is selected, the system will not differentiate if the call is picked
up by an answering machine or voice mail. All answered calls are considered successful
calls.

18
Continuous SOS Call
ON: During an ‘SOS MODE’ call, the calling cycle will continue until a call is successfully
connected, regardless of the units ‘REACH ONE or REACH ALL’ settings.
** Helpful Hint: If ‘CONTINUE SOS CALL’ is set to ‘ON’the system will dial the
contact numbers over and over forever.
OFF: During ‘SOS MODE’, whether the mode is in ‘REACH ONE’or ‘REACH
ALL’, the maximum SOS calling cycle is 10 times, even if there is no successfully
connected call.
Press
Press 4 times to get to ‘CONT SOS
CALL’
Press to select ‘CONT SOS CALL’
The screen will display ‘ON’ or ‘OFF’ press
to choose an option
Press to save your choice
Press for 3 seconds to return to
the main screen.

19
Answer Call:
ON: When this option is selected, a ring tone will sound thru the pendant for an
incoming call. The user can then press the ‘SOS HELP’ key to pick up any
incoming call.
OFF: When this option is selected, the pendant will NOT have an incoming ring tone.
Press key
Press to 5 times ‘ANSWER CALL’
Press key
The screen will display ‘ON’OR Press to ‘OFF’
Press key to save
Press key for 3 seconds to return you back to
the main screen.

20
Pill Alarm
Setting Pill Alarms
Press key
The screen will display ‘DATE and TIME’
Press 6 times
to ‘PILL ALARM’
Press key
The screen will display ‘PLEASE WAIT’
Choose Pendant # by pressing (If you have a
second pendant)
When you have chosen a pendant press
The screen will display ‘PLEASE WAIT’
The screen will display ‘CLEAR’
Press to SET
Press key
The screen will display ‘START’
Press key
Enter your desired time and press to save the
screen will display ‘START’
Press to ‘DURATION’
Press key
Enter your desired duration time (01-23 hours) and press
key to save. The screen will display ‘DURATION’
***For example, “take every 3 hours” 3 would be the
duration
Press to ‘TIMES/DAY’
Press key
Enter your desired prompt times (1-9) and press
key to save
Press key for 3 seconds to return you back to
the main screen.
Table of contents