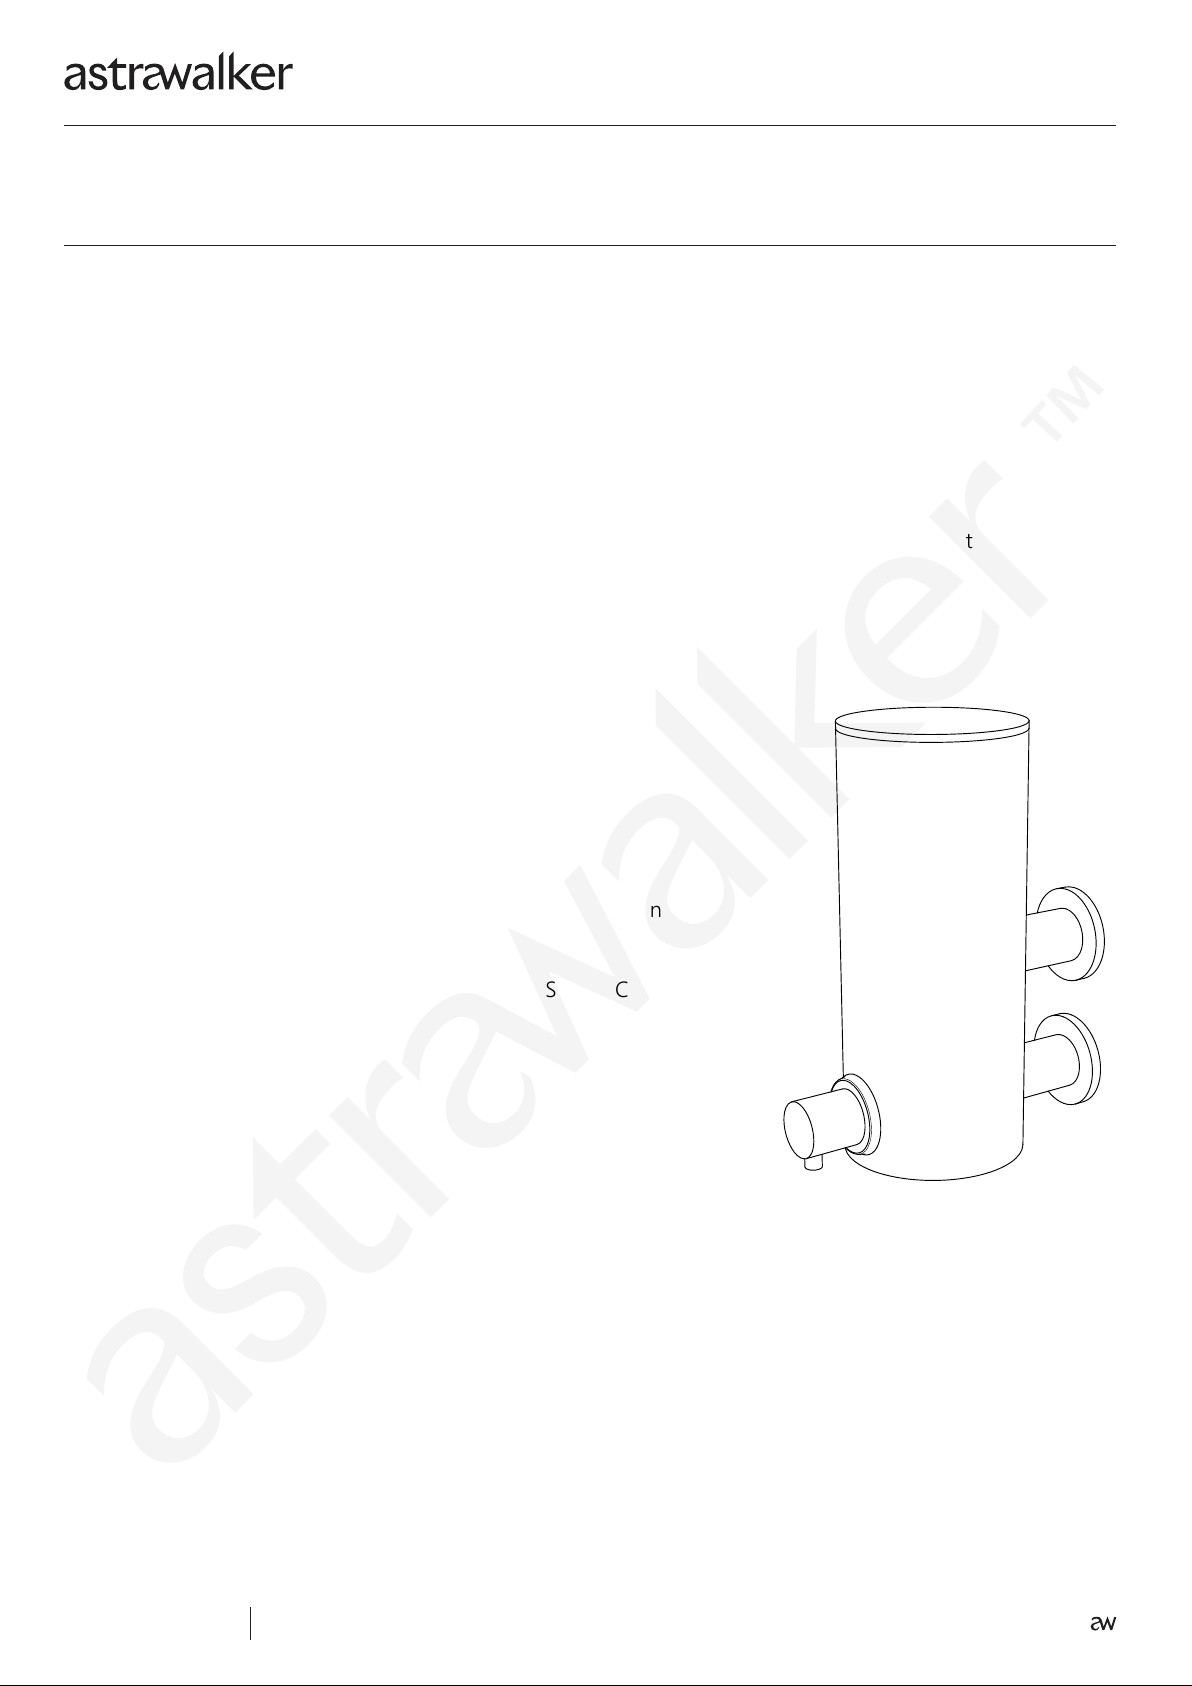
1. Fasten lugs to wall at 50mm centres
2. Secure soap dispenser to lugs and fasten by tightening the grub screws with the allen key
3. Fill bottle with liquid soap
4. Slowly pump air out of the dispenser until air is purged out and the soap comes through. Once the
dispenser is primed it will not need to be primed again unless the soap is allowed to run out
completely.
5. To refill, remove the lid, fill and replace.
** TO ENSURE SOAP DOES NOT HARDEN WITHIN THE PUMP, ALWAYS REFILL THE SOAP DISPENSER
BEFORE TOTALLY EMPTY ** Do not leave the dispenser unused or for any length of time without
thoroughly rinsing through with warm water. Hardened soap remaining in the dispenser may cause
damage to the pump mechanism.
Liquid Soap Specification
Never use soaps with grit or abrasives in them.
Soap Solution shall be dispensed in a liquid form and should be:
(a) vegetable oil based;
(b) only use PH-neutral soap. PH value 6.5 - 7.5
(c) anhydrous soap concentration range : 10-15%;
(d) specific gravity range: 1.0 - 1.1;
(e) viscosity range : max 2,000cps centerpoise;
(f) soap shall contain a humectant (anti coagulant);
(g) soap shall be perfumed or non perfumed.
(h) soap solution shall be dispensed in a liquid form (foaming not suitable).
IMPORTANT: IF THE SOAP DOES NOT MEET THIS SPECIFICATION,
THE WARRANTY WILL BE VOID.
ARCHITECTURAL BATHWARE
A69.53.V4
SOAP DISPENSER
INSTALLATION
ICON
Cleaning
Keep soap and dirt from clogging the spout, plunger and valve mechanism.
Warm water should be pumped through supply lines and valves at regular
scheduled intervals.
The ideal care for all fittings is to dry them with a soft cloth after each use,
which will prevent mineral deposits. Fittings should be regularly cleaned
with warm water or a mild pH-neutral liquid soap and water and polished
with a clean soft cloth. A Microfibre cloth is gentle and effective for cleaning
without scratching and needs only to be dampened to clean the product.
Recommended Soap : Astra Walker Premium Hand & Body Soap


