manuals.online logo
Brands
  1. Home
  2. •
  3. Brands
  4. •
  5. AstroJet
  6. •
  7. Printer
  8. •
  9. AstroJet AJ-140 User manual

AstroJet AJ-140 User manual

Page 1
Step 1
Unpack Printer and Accessories
Place Printer on a stable surface at least 12" from any
walls. Save packaging material.
Step 2
Assembly
[1] Side Media Guides,
[2] Rear Media Support,
[3] Rear Media Guide and
[4] Wi-Fi Antenna.
Save packaging material.
AstroJet AJ-140
Quick Start Guide
Page 2
Step 3
Connect Power to Printer
1. Main Power Switch [1] is
turned OFF.
2. Check that the Printer is
set for the power to be
used (115V or 220V) [A].
3. Connect one end of
power cord to rear
receptacle on Printer.
4. Plug other end into a 115-
220 Volt AC (depending
on Printer voltage), 50/60 Hz. grounded outlet.
NOTE: START ONE PRINTER AT A TIME WHEN
SIMILAR PRINTERS ARE ON THE SAME NETWORK.
Connect Printer to Computer
USB 3.1 Port: Plug
USB cable into
connector [1]. Cable
used to connect
Printer to computer
must not exceed 6
feet long.
Ethernet (Network)
Port: Plug network
Ethernet cable into
connector [2].
Wi-Fi Port: Connect Wi-Fi antenna (included) to this
port [3] for wireless Printer monitoring or operation
through your network.
DO NOT CONNECT USB CABLE
OR NETWORK CABLE YET.
DO NOT TURN PRINTER POWER
SWITCH [1] ON YET.
Step 4
Install Inkjet Cartridges
The AJ-140 holds 4 Inkjet Cartridges.
1. Remove inkjet
cartridge from
packaging.
DO NOT touch
copper contacts,
metal plate, or gold
printhead. Remove
protective tape from
Printhead.
2. [A] With
Cartridge’s
Printhead pointing
down and while
keeping the
Cartridge lightly in
contact with the
edge of the Latch
Lever: Slide the
Cartridge into
Holder at as vertical
an angle as
possible.
[B] Push straight
back toward
contacts in the
Printhead Holder.
NOTE: Be careful
not to bend the
contact pins in the
Holder or to
damage the
surface of the
Cartridge
Printhead.
[C] Make sure
Cartridge is seated
in Holder.
3. Close Latch Lever
to secure Cartridge in Holder.
DO NOT force Lever into place.
4. Repeat Steps 1-3 for remaining Inkjet Cartridges.
Ink in Cartridge may be harmful if
swallowed. Keep new and used
Cartridges out of reach of
children. Discard empty
Cartridges immediately.
Page 3
Step 5
Setting Up Feed
Printer has four Sheet Separators, two Side Guides, and
a Rear Media Support and Guide.
Adjust Sheet Separators individually:
1. Release Separator Locking Levers (located on
operator’s side of Feeder), raise Separators and
lock in position. Move Side Guides to outermost
open position. Place one piece of media in
center of Feed Table.
2. Four Separators on Feeder. Use two Center
Separators for narrow media and all four
Separators for wide media. Place media under
Separators and lower Separators onto media.
3. Rotate Locking Lever up to lock Separators
in place.
4. Loosen knobs on Side Guides. Adjust Side
Guides to within 1/32” of media. Tighten knobs.
5. Adjust Rear Guide so media is raised
approximately 1/2” and rests on curve of Rear
Guide. When running 10” or longer or heavy
media Rear Guide may have to be set so it just
touches back of media.
6. Positioning Cartridge Printheads: Adjust
positioning of Printhead Cartridge Assembly by
loosening locking screw [D]. Slide Assembly as
needed to print on media being used.
7. Turn Printer ON. Turn Media Thickness Knob
[A] fully counterclockwise to raise the Printhead
to its highest position.
Place a piece of media [B] under the Printhead
Carriage. Adjust the Media Thickness Knob
clockwise until the Printhead Carriage just
touches the media.
Turn Media Thickness Knob counterclockwise
until media [B] can be pulled from under Print
Carriage with a slight pull.
NOTE: These are initial settings.
It may be necessary to adjust the Media
Thickness Control to optimize print quality.
8. Test feed media by pressing “Test Feed” on the
Quick Menu Touchscreen.
Page 4
Step 6
Install Print Driver
Download the latest Printer Driver from the Printer
manufacturer's website. Make sure the USB or Network
cables are connected to the Printer and your computer
and that the Printer is turned on.
If your Network requires a static IP address, see
“Network Settings” in the Operator Manual.
If you wish to use WiFi, see “WiFi Setup” in the
Operator Manual.
1. Open the downloaded Printer Driver Folder:
Select and double-click “Setup.exe”.
2. “Add, Update or Delete Printer”window
opens. Click “Add New Printer”. Click Next>.
3. The “Connect Printer” window opens. Make
sure the Printer is plugged in and switched on
and that it is connected by USB, Network or
WiFi to your computer. Click “Yes”
4. The "Want to Install Printer…" window opens.
If that is correct. Click “Yes”.
5. The Driver will load and the next screen allows
you to “Name Your Printer”. Unless another
printer has the same name on your system or
network, ignore this step and click Next>.
6. Click Finish to complete the installation.
7. In “Devices and Printers” check that Printer is
available and active.
8. Using the Printer Touchscreen: Press the
Network icon on the Tools screen to open the
Network Settings screen. Select Network
Setup to enter the settings for connecting the
Printer to your network. Uncheck the DHCP
box. This will ensure that the Printer's IP
address won't change each time the Printer is
powered down.
Step 7
To install Accessories and for Printer set-up or
operation, please refer to “AstroJet AJ-140 Printer
Operator Manual” supplied with Printer.
© 2020 Astro Machine Corp 05/05/2020
AJ-140 Quick Start Guide
630 Lively Blvd.
Elk Grove Village, IL 60007
Phone: (847) 364-6363
Fax: (847) 364 9898
www.astromachine.com

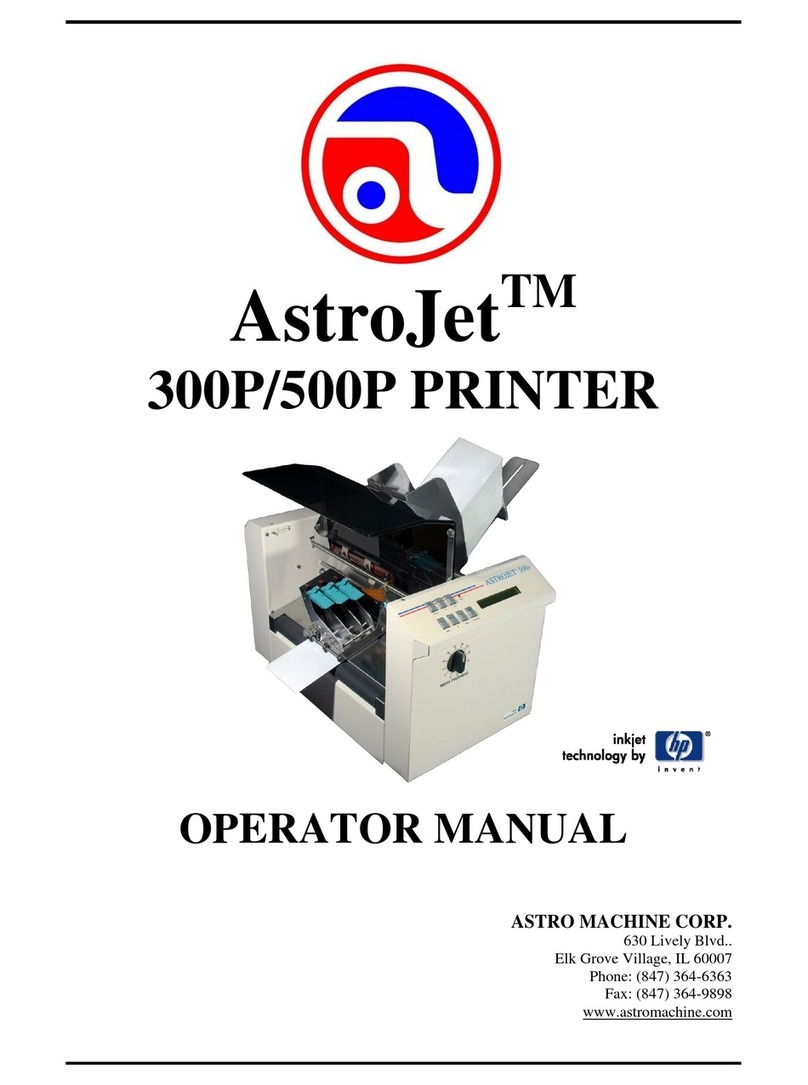
Other AstroJet Printer manuals

AstroJet 140 User manual

AstroJet

AstroJet 140 User manual

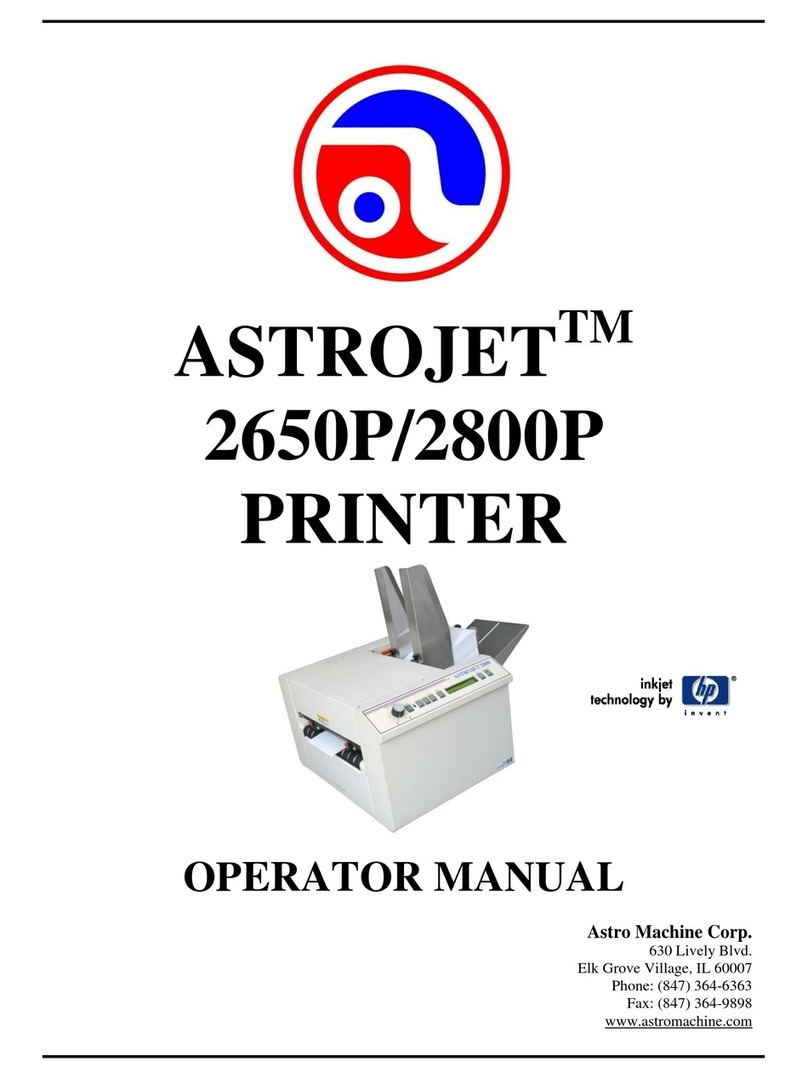
AstroJet 2650P User manual

AstroJet

AstroJet 2650P User manual

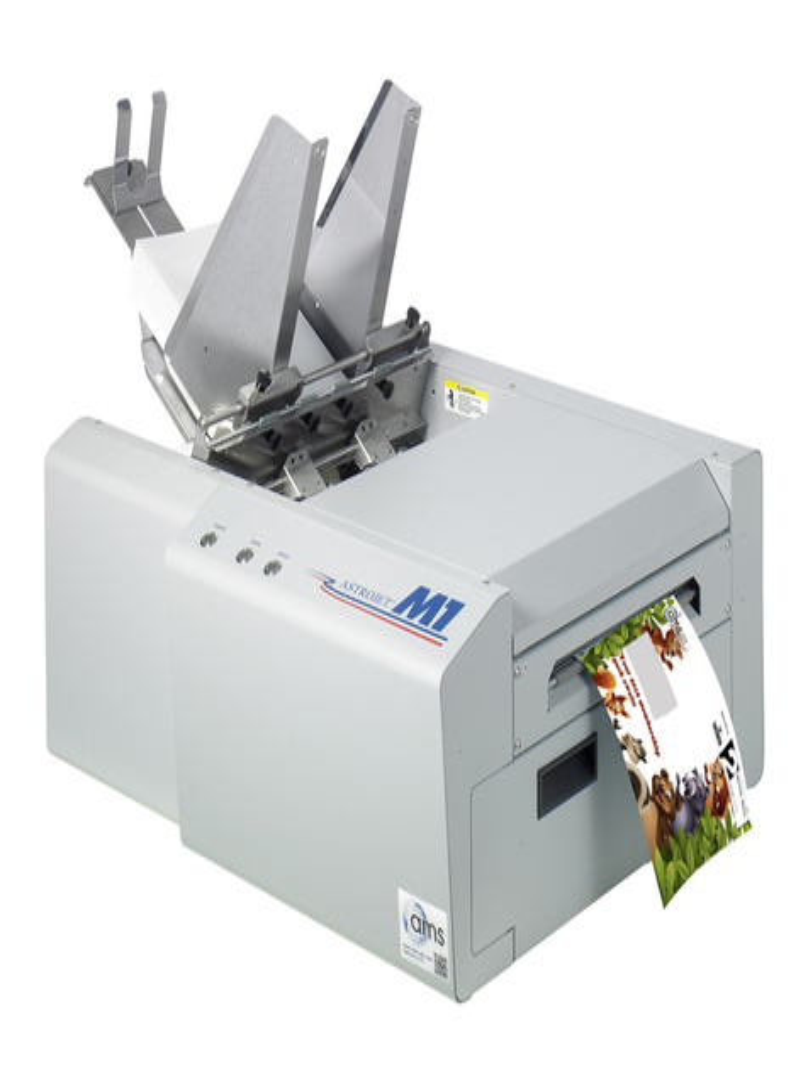
AstroJet M1 User manual

AstroJet

AstroJet M1 User manual

AstroJet 300P User manual

AstroJet

AstroJet 300P User manual

AstroJet 3600P? 3800P User manual

AstroJet

AstroJet 3600P? 3800P User manual

AstroJet 1000P User manual

AstroJet

AstroJet 1000P User manual

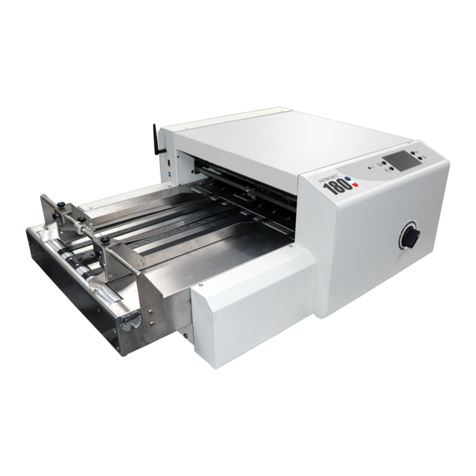
AstroJet AJ-180 User manual

AstroJet

AstroJet AJ-180 User manual

AstroJet M1DX Manual

AstroJet

AstroJet M1DX Manual

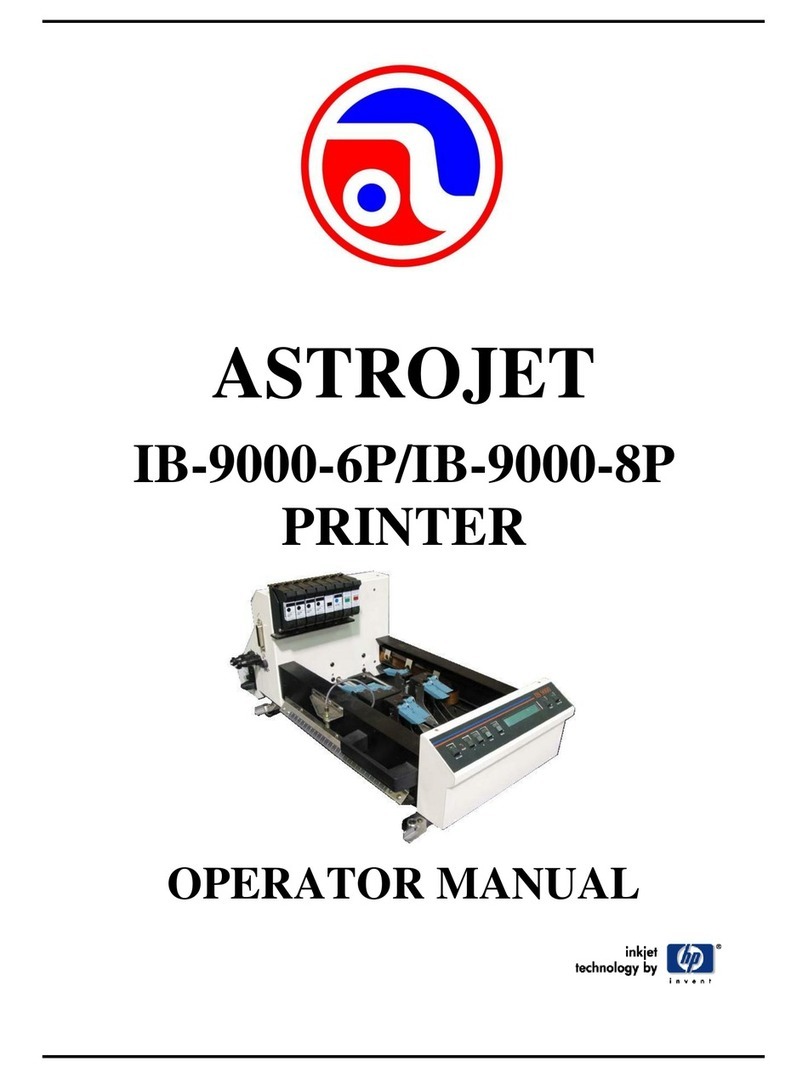
AstroJet IB-9000-6P User manual

AstroJet

AstroJet IB-9000-6P User manual

AstroJet 5000 User manual

AstroJet

AstroJet 5000 User manual

Popular Printer manuals by other brands

Epson Stylus Printer SX100 Start here

Epson

Epson Stylus Printer SX100 Start here

Lexmark C543dn manual

Lexmark

Lexmark C543dn manual

Panasonic WORKIO CL500 Release notes

Panasonic

Panasonic WORKIO CL500 Release notes

Radio Shack TRS-80 CGP-220 Operation manual

Radio Shack

Radio Shack TRS-80 CGP-220 Operation manual

Intermec PF8D user guide

Intermec

Intermec PF8D user guide

Canon BJC-610 user manual

Canon

Canon BJC-610 user manual

Oki C130 user guide

Oki

Oki C130 user guide

SPRT SP-T5 user manual

SPRT

SPRT SP-T5 user manual

Canon LBP-3000 user guide

Canon

Canon LBP-3000 user guide

Linx 7900 Food Grade manual

Linx

Linx 7900 Food Grade manual

Epson Stlyus Photo 1500W installation guide

Epson

Epson Stlyus Photo 1500W installation guide

Index Braille Index V4 manual

Index Braille

Index Braille Index V4 manual

Evolis AGILIA Service manual

Evolis

Evolis AGILIA Service manual

Epson Stylus Color 900 Setup and daily use

Epson

Epson Stylus Color 900 Setup and daily use

AGFA DRYSTAR AXYS user manual

AGFA

AGFA DRYSTAR AXYS user manual

Canon imagePROGRAF iPF6300S user guide

Canon

Canon imagePROGRAF iPF6300S user guide

Canon imagePROGRAF GP-540 quick guide

Canon

Canon imagePROGRAF GP-540 quick guide

Sharp BP-50C26 quick start guide

Sharp

Sharp BP-50C26 quick start guide

manuals.online logo
manuals.online logoBrands
  • About & Mission
  • Contact us
  • Privacy Policy
  • Terms and Conditions

Copyright 2025 Manuals.Online. All Rights Reserved.