Page 3 of 11 FA69387–2 English
Jun 2013
11
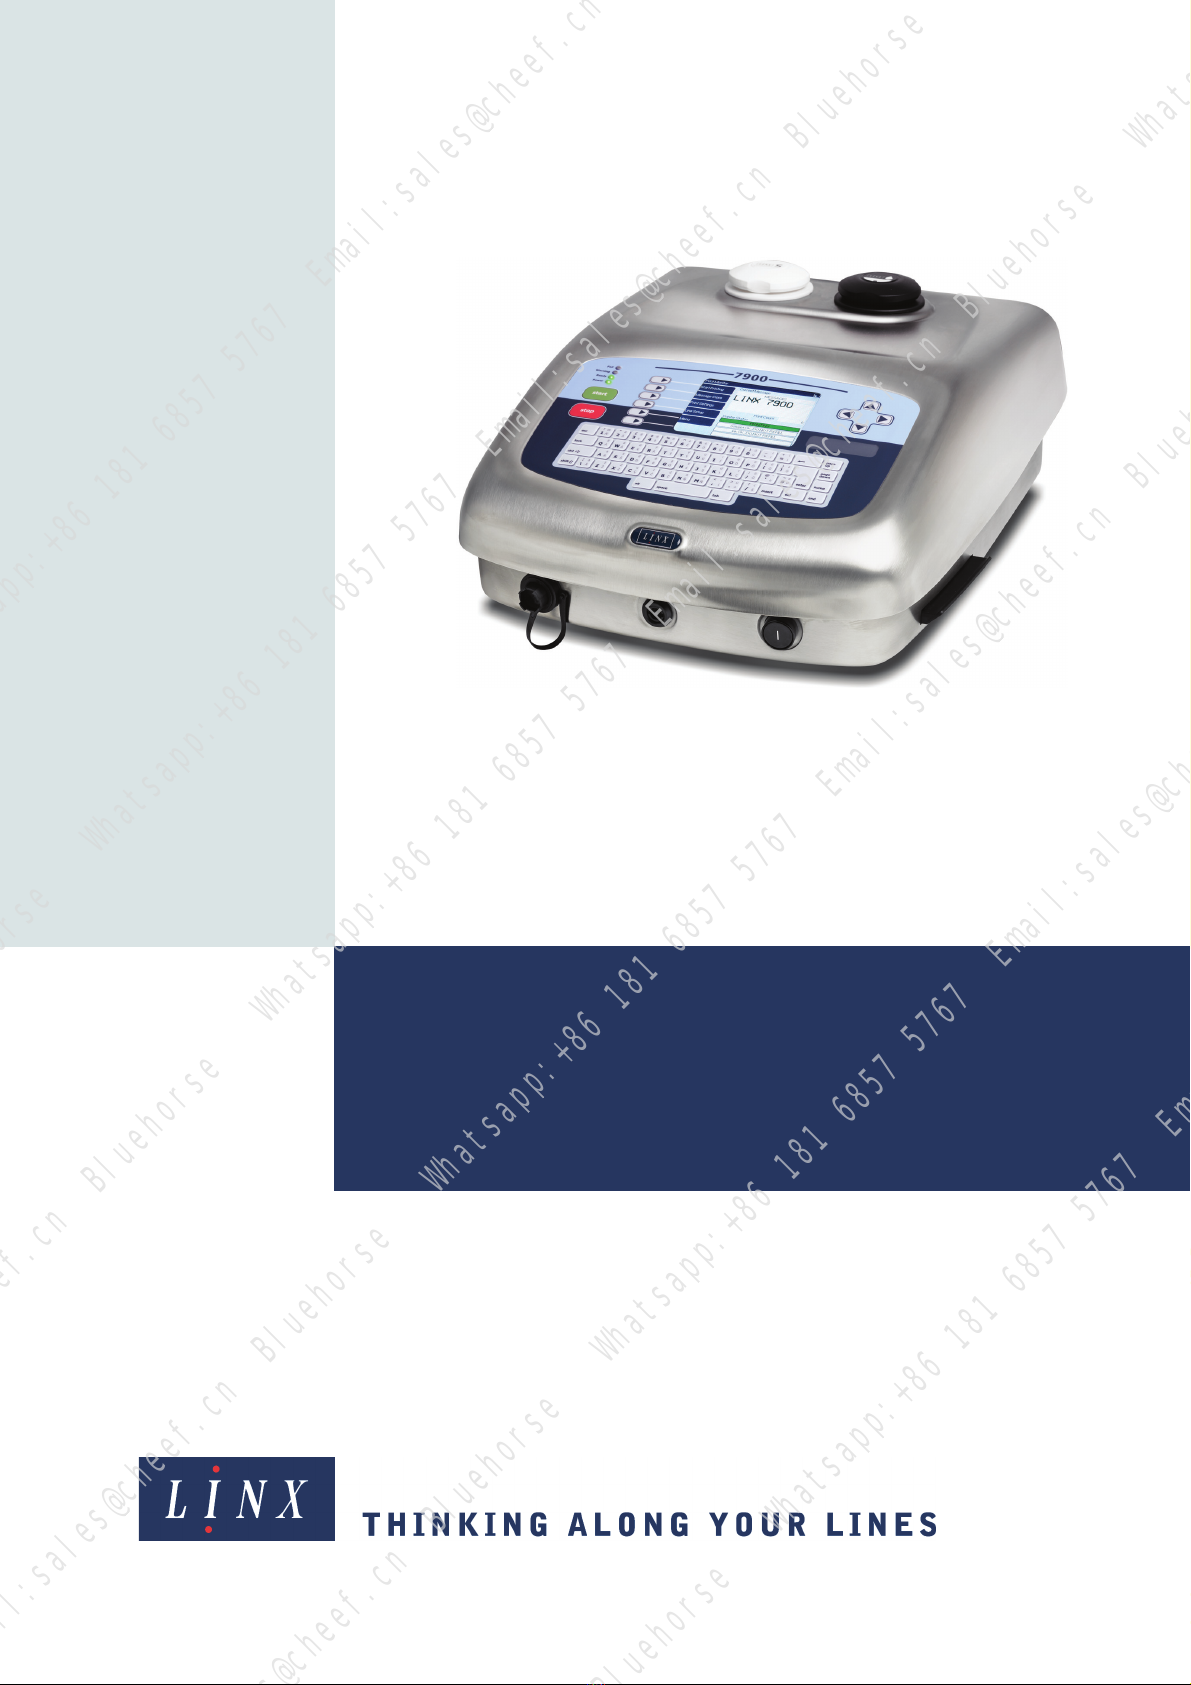
How To Use the 7900 Food Grade
Printer
Linx 7900
2 About the 7900 Food Grade printer
The 7900 Food Grade printer is a special version of the Linx 7900 printer with the following
differences to enable reliable operation when you use Linx food grade inks:
•The 7900 Food Grade printer uses a MidiEC printhead that can print a maximum of
three lines of text or graphics. The printhead is only available as a straight printhead
with a 2-metre conduit.
•The nozzle assembly in the printhead is not interchangeable with other types.
•The operating temperature range for the 7900 Food Grade printer is 0 °C to +40 °C,
compared to the recommended temperature range of +5 °C to +45 °C for the standard
7900 printer.
•The printer uses only Linx Red food grade ink 6100, Linx Blue food grade ink 6120, and
Linx food grade solvent 6600.
•The message type and font options for the MidiEC printhead are the same as those used
with the standard Midi printhead and 7900 printer (with a maximum of three lines of
text or graphics).
•A software link (Software Link F) must be fitted to configure a standard 7900 printer as
a 7900 Food Grade printer. When the software link is fitted, only the 6100 and 6120 food
grade inks and MidiEC printhead are available.
•When you turn on the printer, the jet start is delayed for a 5-minute warm-up period.
This delay allows the heater in the printhead to clear condensation from the printhead.
See ‘Start print’ on page 4 for more information.
NOTE: This option requires a configuration code that is set at the factory. A service
engineer can change the set code.
•When you press the [stop] key, the printer shutdown is delayed (if necessary) until a
calculated minimum run time has passed. This option prevents problems that can occur
during short print runs. The minimum run time depends on the ambient temperature.
See ‘Minimum run time and delayed shutdown’ on page 5 for more information.
2.1 Power-up sequence
When you turn on the printer, the display is blank until the printer completes its internal
tests. Then the printer displays a splash screen. This screen shows you a progress bar for the
power-up process.
The splash screen shows the software version that is installed in the printer (for example,
‘v5.1.0.1469’).
When the power-up is complete, the printer displays the Print Monitor page.
2.2 EHT flash test
The printer performs a 10-second EHT flash test on the printhead before jet startup to check
for electrical leaks between components. This test can cause the following system warning
before the jet starts: