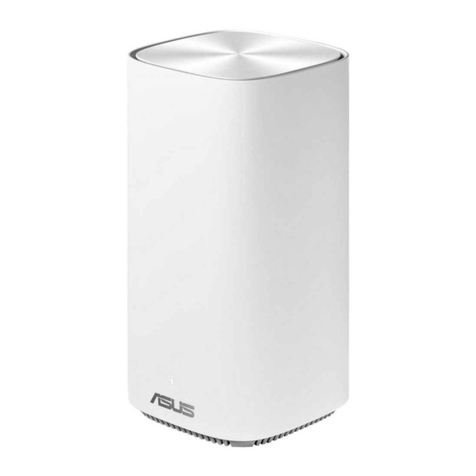
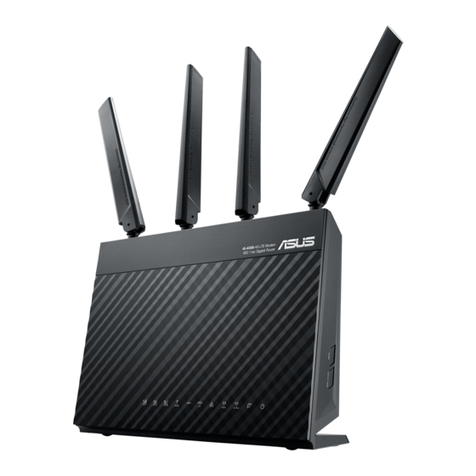
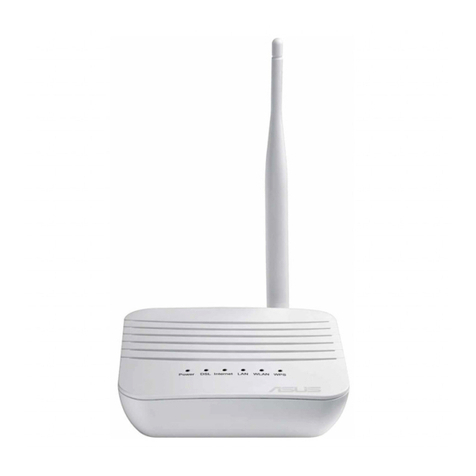
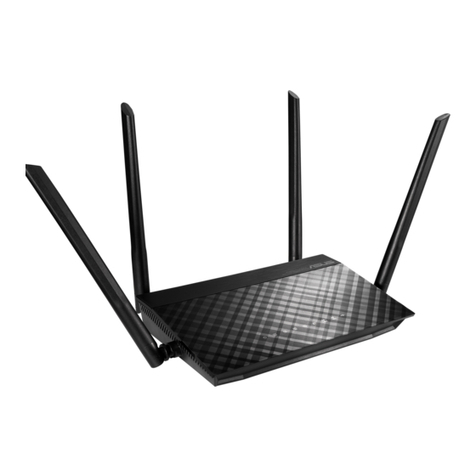
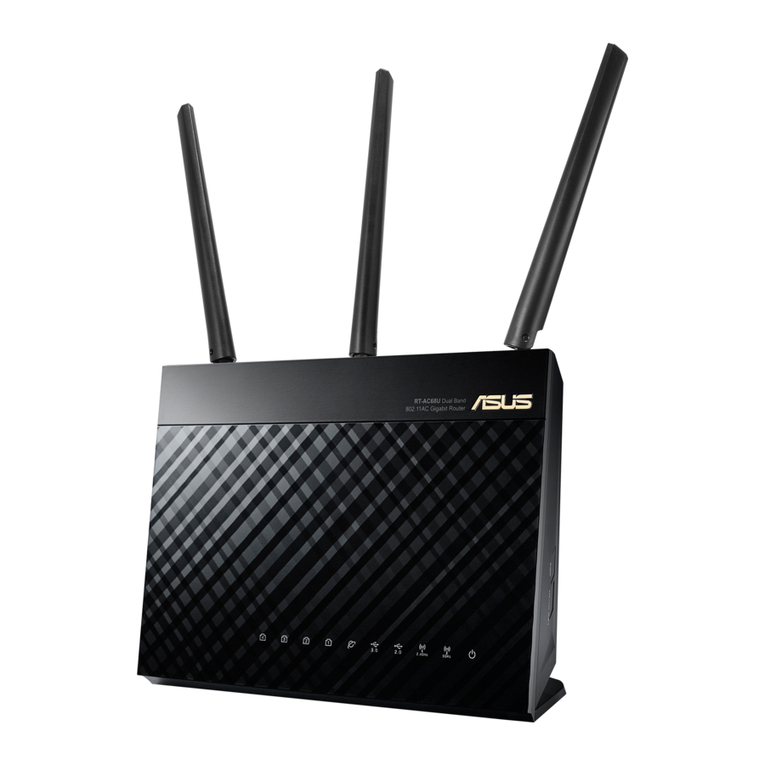
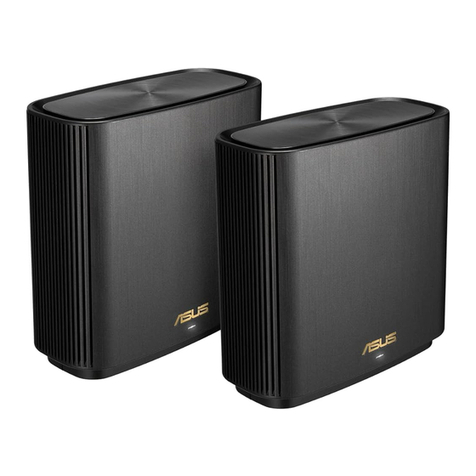
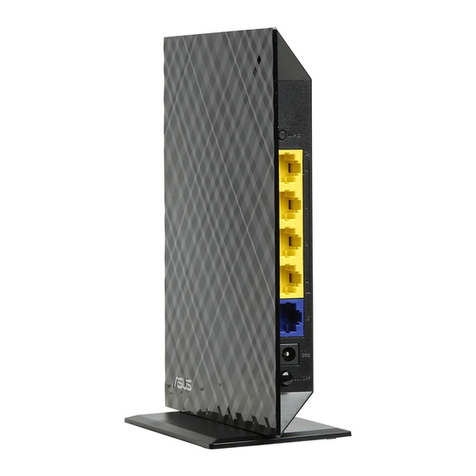
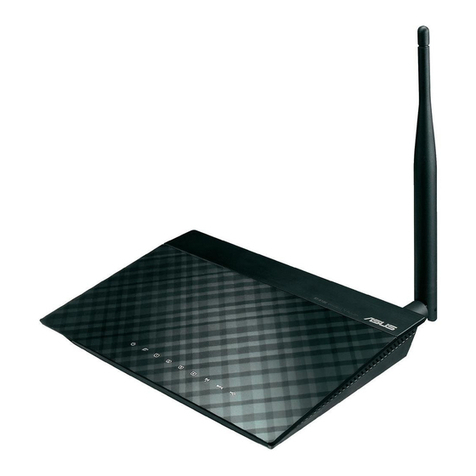
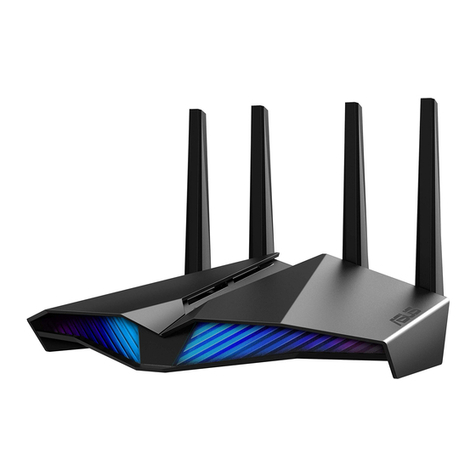
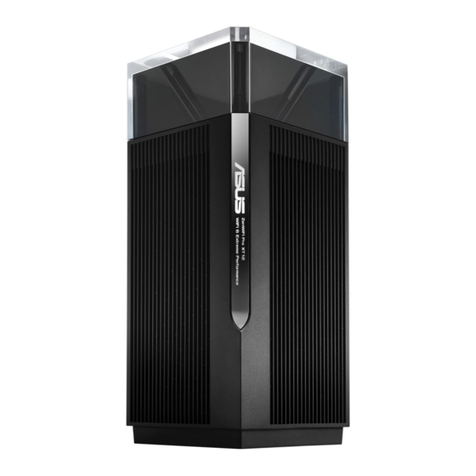
Asus ZenWiFi Pro XT12 User manual

Quick Start Guide
APAC19133 / First Edition / September 2021
ASUS ZenWiFi Pro
AX11000 Tri Band WiFi Router
AX11000 三頻無線路由器
Model ( 型號 ): XT12
APAC19133_ZenWiFi_Pro_XT12_1PK_Booklet_QSG.indb 1APAC19133_ZenWiFi_Pro_XT12_1PK_Booklet_QSG.indb 1 2021/10/26 11:56:412021/10/26 11:56:41

Table of Contents
English.............................................................................................................................................3
繁體中文 ........................................................................................................................................12
Bahasa Indonesia..........................................................................................................................21
한국어..................................................................................................................................................................................30
Bahasa Melayu..............................................................................................................................39
ไทย ................................................................................................................................................48
Tiếng Việt........................................................................................................................................57
APAC19133_ZenWiFi_Pro_XT12_1PK_Booklet_QSG.indb 2APAC19133_ZenWiFi_Pro_XT12_1PK_Booklet_QSG.indb 2 2021/10/26 11:56:412021/10/26 11:56:41

3
English
Hardware Explanations
1
Plug the adapter into the DCIN port, and press the power switch.
2
The power LED will light up when your hardware is ready.
Button and Port Explanations
2.5G / 1G WAN port
Connect your optical modem to this port with a network cable.
LAN ports 1-2
Connect your PC to a LAN port with a network cable.
DC Power adapter DC Output: +19V with max 2.37A current
DC Output: +19.5V with max 2.31A current
Operating Temperature 0~40oCStorage Temperature 0~70oC
Operating Humidity 50~90% Storage Humidity 20~90%
Specications:
LAN ports 1-2
WPS button
Reset button
Power switch
DCIN port
2.5G / 1G LAN port
Connect your PC to a 2.5G / 1G LAN port with a network cable.
2.5G / 1G WAN port
2.5G / 1G LAN port
APAC19133_ZenWiFi_Pro_XT12_1PK_Booklet_QSG.indb 3APAC19133_ZenWiFi_Pro_XT12_1PK_Booklet_QSG.indb 3 2021/10/26 11:56:412021/10/26 11:56:41

4
English
Before Setup
Setting up a standalone router
1
Go to ONE ROUTER SETUP STEPS.
One Router Setup
Setting up an AiMesh WiFi system
02
1
Prepare two or more ASUS routers supporting AiMesh.
2
Assign one as AiMesh router, and another one as AiMesh node.
** If you have multiple AiMesh routers, we recommend using the router with the highest specifications
as your AiMesh router and the others as AiMesh nodes.
3
Go to AiMesh SETUP STEPS.
AiMesh Setup Steps
AiMesh routerAiMesh node
01
APAC19133_ZenWiFi_Pro_XT12_1PK_Booklet_QSG.indb 4APAC19133_ZenWiFi_Pro_XT12_1PK_Booklet_QSG.indb 4 2021/10/26 11:56:412021/10/26 11:56:41

5
English
01
One Router Setup Steps
Prepare your Modem
1
Unplug the power of cable / DSL modem. If it has a battery backup, remove the
battery.
2
Connect your modem to the router with
the network cable provided.
Modem back
If you are using DSL for
internet, you will need your
username / password from
your Internet service provider
(ISP) to properly configure your
router.
3
Power on the modem. Plug modem
to the power outlet and power on.
APAC19133_ZenWiFi_Pro_XT12_1PK_Booklet_QSG.indb 5APAC19133_ZenWiFi_Pro_XT12_1PK_Booklet_QSG.indb 5 2021/10/26 11:56:422021/10/26 11:56:42

6
English
4
Check the modem LED lights to ensure the connection is active.
Modem front
Connect your Device
02
1
Power on the router.
Plug in and press the Power On/Off switch at
the back of your router.
2
Check that the LED turns solid blue to
indicate that the hardware connection is
ready for setup.
3
[Web] Connect your PC to the router using an
additional network cable.
[App] Or you can use a phone or pad to
complete the setup via ASUS Router App.
APAC19133_ZenWiFi_Pro_XT12_1PK_Booklet_QSG.indb 6APAC19133_ZenWiFi_Pro_XT12_1PK_Booklet_QSG.indb 6 2021/10/26 11:56:422021/10/26 11:56:42

7
English
Login and Connect
03
1
[Web] Open a web browser.
You will be redirected to the ASUS Setup Wizard. If not, navigate to
http://router.asus.com.
[App] Launch ASUS Router App and follow the instructions to complete the setup.
AiMesh Setup Steps
Prepare
01
Place your AiMesh router and node within 3 meters of each other during
the setup process.
AiMesh node
02
Keep your AiMesh node powered on and standby for AiMesh system
settings.
AiMesh routerAiMesh node
within
3 meters
APAC19133_ZenWiFi_Pro_XT12_1PK_Booklet_QSG.indb 7APAC19133_ZenWiFi_Pro_XT12_1PK_Booklet_QSG.indb 7 2021/10/26 11:56:422021/10/26 11:56:42

8
English
[Web]
1
Refer to ONE ROUTER SETUP
STEPS to connect your AiMesh router
to your PC and modem, and then log in
into the web GUI.
AiMesh router
03
2
Go to Network Map page, click
AiMesh icon and then Search for
your extending AiMesh node.
3
Click Search, it will automatically
search for your AiMesh node
nearby. When the AiMesh node
shows on this page, click it to
add it into the AiMesh system.
** If you cannot find any AiMesh
node, please go to TROUBLE
SHOOTING.
Modem
AiMesh router
AiMesh node
Logout/Reboot
AiMesh Router
APAC19133_ZenWiFi_Pro_XT12_1PK_Booklet_QSG.indb 8APAC19133_ZenWiFi_Pro_XT12_1PK_Booklet_QSG.indb 8 2021/10/26 11:56:432021/10/26 11:56:43

9
English
4
A message is displayed when
synchronization is completed.
5
Congratulations! You will find the
pages below show up when an
AiMesh node has been successfully
added to the AiMesh network.
Successfully added RT-ABCDE to your AiMesh
system, it will take awhile to show up as connected
in the AiMesh router list.
OK
[App] Log in to your existing router via ASUS Router App and choose “Add AiMesh
Node” to complete the setup.
ASUS Router App
Download free ASUS Router APP to set up and manage your router(s).
APAC19133_ZenWiFi_Pro_XT12_1PK_Booklet_QSG.indb 9APAC19133_ZenWiFi_Pro_XT12_1PK_Booklet_QSG.indb 9 2021/10/26 11:56:432021/10/26 11:56:43

10
English
Troubleshooting
If your AiMesh router cannot find any AiMesh node nearby or synchronization fails,
please check the following and try again.
a
Move your AiMesh node closer to the AiMesh router ideally. Ensure that it is within 3
meters.
b
Your AiMesh node is powered on.
Relocation
Locate the AiMesh router and node at the best place.
Solid white: Good signal
Solid yellow: Weak signal
Solid red: No signal
THE BEST PERFORMANCE
NOTES: To minimize interference, keep the routers away from devices like cordless phones,
Bluetooth devices and microwave ovens.
We recommend that you place the routers in an open or spacious location.
ZenWiFi Pro XT12 LED indications
APAC19133_ZenWiFi_Pro_XT12_1PK_Booklet_QSG.indb 10APAC19133_ZenWiFi_Pro_XT12_1PK_Booklet_QSG.indb 10 2021/10/26 11:56:432021/10/26 11:56:43

11
English
FAQ FREQUENTLY ASKED QUESTIONS
Q1:
Does the AiMesh router support Access Point mode?
A: Yes. You can choose to set the AiMesh router as router mode or access
point mode. Please go to web GUI (http://router.asus.com), and go to the
page Administration > Operation Mode.
Could I setup wired connection between AiMesh routers (Ethernet backhaul)?
Q2:
A: Yes. AiMesh system supports both wireless and wired connection
between AiMesh router and node to maximize throughput and stability.
AiMesh analyzes the wireless signal strength for each frequency band
available, and then determines automatically whether a wireless or wired
connection is best to serve as the inter-router connection backbone.
1
Follow the setup steps to establish a connection between the AiMesh
router and node via WiFi first.
2
Place the node in the ideal locations for best coverage. Run an Ethernet
cable from the LAN port of the AiMesh router to the WAN port of AiMesh
node.
3
AiMesh system will auto-select the best path for data transmission,
whether wired or wireless.
Modem
LAN-WAN
APAC19133_ZenWiFi_Pro_XT12_1PK_Booklet_QSG.indb 11APAC19133_ZenWiFi_Pro_XT12_1PK_Booklet_QSG.indb 11 2021/10/26 11:56:442021/10/26 11:56:44

12
繁體中文
硬體說明
1將電源變壓器插入無線路由器的電源插孔(DC-IN),並滑動電源開關。
2當您的路由器準備就緒後,電源指示燈將會亮起。
按鈕及插孔說明
2.5G / 1G WAN 連接埠
請使用網路線將您的數據機連接至此連接埠。
LAN 1-2 連接埠
請使用網路線將您的電腦連接至LAN連接埠。
直流電源變壓器 DC輸出:+19V,最大電流2.37A
+19.5V,最大電流2.31A
運作溫度 0~40°C 儲存溫度 0~70°C
運作濕度 50~90% 儲存濕度 20~90%
規格:
LAN 1-2 連接埠
WPS 按鈕
重置按鈕
電源開關
電源插孔
2.5G / 1G LAN 連接埠
用網路線將您的電腦與無線路由器的2.5G/1GLAN連接埠相連。
2.5G / 1G WAN
連接埠
2.5G / 1G LAN
連接埠
APAC19133_ZenWiFi_Pro_XT12_1PK_Booklet_QSG.indb 12APAC19133_ZenWiFi_Pro_XT12_1PK_Booklet_QSG.indb 12 2021/10/26 11:56:442021/10/26 11:56:44

13
繁體中文
開始設定前
設定一台路由器
1請至一台路由器的設定步驟章節。
設定一台路由器
設定 AiMesh WiFi 系統
02
1準備兩台或多台支援AiMesh的華碩路由器。
2將一台路由器設定為AiMesh路由器,另一台設定為AiMesh節點。
**若您有多台AiMesh路由器,建議您將擁有更高規格的路由器設定為AiMesh路由器,其他路由器
設定為AiMesh節點。
3請至AiMesh 設定步驟章節。
AiMesh 設定步驟
AiMesh路由器AiMesh節點
01
APAC19133_ZenWiFi_Pro_XT12_1PK_Booklet_QSG.indb 13APAC19133_ZenWiFi_Pro_XT12_1PK_Booklet_QSG.indb 13 2021/10/26 11:56:442021/10/26 11:56:44

14
繁體中文
01
設定一台路由器的步驟
準備數據機
1拔除您的電纜/DSL數據機電源,若數據機內含備用電池,請移除電
池。
2使用隨附的網路線連接您的數據機
與無線路由器。
數據機後側
若您使用DSL連線網際網路,
需要向您的網路服務供應商
(ISP)取得登入名稱/密碼,
以正確設定您的無線路由器。
3開啟數據機,將數據機連接至電源
插座並開機。
APAC19133_ZenWiFi_Pro_XT12_1PK_Booklet_QSG.indb 14APAC19133_ZenWiFi_Pro_XT12_1PK_Booklet_QSG.indb 14 2021/10/26 11:56:442021/10/26 11:56:44

15
繁體中文
4檢查數據機上的LED指示燈,確認已經連線。
數據機正面
連接您的裝置
02
1開啟路由器電源,插入電源線並按下
路由器後側的電源開關。
2請檢查 LED 指示燈是否為藍色恆亮,
以確認硬體連線是否已準備就緒。
3[網頁]使用另一條網路線連接您的電腦
與無線路由器。
[App]您也可以透過ASUSRouterApp使
用手機或平板電腦完成設定。
APAC19133_ZenWiFi_Pro_XT12_1PK_Booklet_QSG.indb 15APAC19133_ZenWiFi_Pro_XT12_1PK_Booklet_QSG.indb 15 2021/10/26 11:56:452021/10/26 11:56:45

16
繁體中文
登入並連線網路
03
1[網頁]開啟網頁瀏覽器。
您將進入 ASUS 設定精靈。若未出現此頁面,請手動輸入
http://router.asus.com。
[App]開啟ASUSRouterApp,並依照說明完成設定。
AiMesh 設定步驟
準備
01
設定過程中,請將AiMesh節點距離AiMesh路由器3公尺內。
AiMesh 節點
02
設定AiMesh系統時,請保持路由器處於通電及運作狀態。
AiMesh路由器AiMesh節點
3公尺內
APAC19133_ZenWiFi_Pro_XT12_1PK_Booklet_QSG.indb 16APAC19133_ZenWiFi_Pro_XT12_1PK_Booklet_QSG.indb 16 2021/10/26 11:56:452021/10/26 11:56:45

17
繁體中文
[網頁]1請參照 一台路由器的設定步
驟 章節連接您的 AiMesh 路
由器和電腦、數據機,然後登
入網頁圖形使用者介面(web
GUI)。
AiMesh 路由器
03
2前往 網路地圖 頁面,點選
AiMesh圖示,然後點選 搜尋
以搜尋AiMesh節點。
3點選搜尋,路由器將自動搜
尋您附近的 AiMesh 節點。
當 AiMesh 節點顯示於此頁
面時,點選節點並將其新增
至AiMesh系統。
**若您無法搜尋到任何
AiMesh節點,請查看 疑
難解答部分的內容。
數據機
AiMesh路由器 AiMesh節點
登出/重啟
AiMesh路由器
APAC19133_ZenWiFi_Pro_XT12_1PK_Booklet_QSG.indb 17APAC19133_ZenWiFi_Pro_XT12_1PK_Booklet_QSG.indb 17 2021/10/26 11:56:452021/10/26 11:56:45

18
繁體中文
4同步完成後,將出現如下資訊。
5恭喜!當AiMesh節點成功新增
至AiMesh網路後,將顯示右圖
所示。
成功將RT-ABCDE新增至您的AiMesh系統,稍後已連
線的裝置名稱將顯示於AiMesh路由器清單中。
確定
[App]透過 ASUS Router App 登入您目前的無線路由器,並選擇「新增
AiMesh節點」以完成設定。
ASUS Router App
下載免費的 ASUS Router APP 設定和管理您的路由器。
APAC19133_ZenWiFi_Pro_XT12_1PK_Booklet_QSG.indb 18APAC19133_ZenWiFi_Pro_XT12_1PK_Booklet_QSG.indb 18 2021/10/26 11:56:452021/10/26 11:56:45

19
繁體中文
疑難解決
若您的 AiMesh 路由器無法搜尋到任何附近的 AiMesh 節點或同步失敗,請檢查
以下幾個方面並重試。
a將您的AiMesh節點移至距AiMesh路由器更近的地方。請確認AiMesh節點
距離AiMesh路由器3公尺內。
bAiMesh節點已開機。
尋找最佳位置
將 AiMesh 路由器和節點放置在最佳位置。
白色恆亮:訊號良好
黃色恆亮:訊號微弱
紅色恆亮:沒有訊號
優異效能
注意:為將干擾降至最低,請將路由器放置在遠離無線室內電
話、藍牙裝置和微波爐等裝置的位置。 。
建議您將路由器放在開放區域的高處。
ZenWiFi Pro XT12 指示燈
APAC19133_ZenWiFi_Pro_XT12_1PK_Booklet_QSG.indb 19APAC19133_ZenWiFi_Pro_XT12_1PK_Booklet_QSG.indb 19 2021/10/26 11:56:462021/10/26 11:56:46

20
繁體中文
FAQ 常見問題解答
Q1: AiMesh 路由器支援無線存取點模式嗎?
A: 是。您可以選擇將您的 AiMesh 路由器設定為路由器模式或無線存取點
模式。請至網頁圖形使用者介面(web GUI )http://router.asus.com,並
前往 系統管理 > 運作模式 介面進行設定。
我可以在 AiMesh 路由器間設定有線骨幹(Ethernet Backhaul,乙太網路
骨幹)嗎?
Q2:
A: 是。AiMesh 系統支援 AiMesh 路由器與節點間的無線和有線連線,以
最大化增強吞吐量及穩定性。AiMesh 會分析每個可用頻段的無線訊號
強度,然後自動判斷無線和有線連線哪個對於路由器間的骨幹連線是
更佳選擇。
1 首先,遵循設定步驟透過 WiFi 在 AiMesh 路由器和節點間建立連線。
2 將節點放置在擁有最佳訊號覆蓋範圍的位置。將網路線的一端插入
AiMesh 路由器的 LAN 連線埠,另一端插入 AiMesh 節點的 WAN 連線
埠。
3 您的 AiMesh 系統將會自動為資料傳輸選擇最佳有線或者無線之路徑。
Modem
LAN-WAN
APAC19133_ZenWiFi_Pro_XT12_1PK_Booklet_QSG.indb 20APAC19133_ZenWiFi_Pro_XT12_1PK_Booklet_QSG.indb 20 2021/10/26 11:56:462021/10/26 11:56:46
Other manuals for ZenWiFi Pro XT12
1
Table of contents
Languages:
Other Asus Wireless Router manuals

Asus
Asus TM-AC1900 Manual

Asus
Asus ZenWiFi XD6 User manual

Asus
Asus WL-AM604g User manual

Asus
Asus APAC10332 User manual

Asus
Asus AX1800 User manual

Asus
Asus DSL-N66U User manual

Asus
Asus RT-AC1200G User manual

Asus
Asus Lyra Trio MAP-AC1750 User manual

Asus
Asus Lyra mini Instruction manual

Asus
Asus CM-32 User manual

Asus
Asus XC5 User manual

Asus
Asus RT-AC1900 Dual Band User manual

Asus
Asus RT-AX55 User manual

Asus
Asus RT-AX1800U User manual

Asus
Asus RT-AC52U User manual

Asus
Asus DSL-N16UP Series User manual

Asus
Asus ZenWiFi Pro XT12 User manual

Asus
Asus RT-N56U User manual

Asus
Asus ZenWiFi XT9 User manual
Asus
Asus RT-N53 User manual