wwwAtairCanopies.com
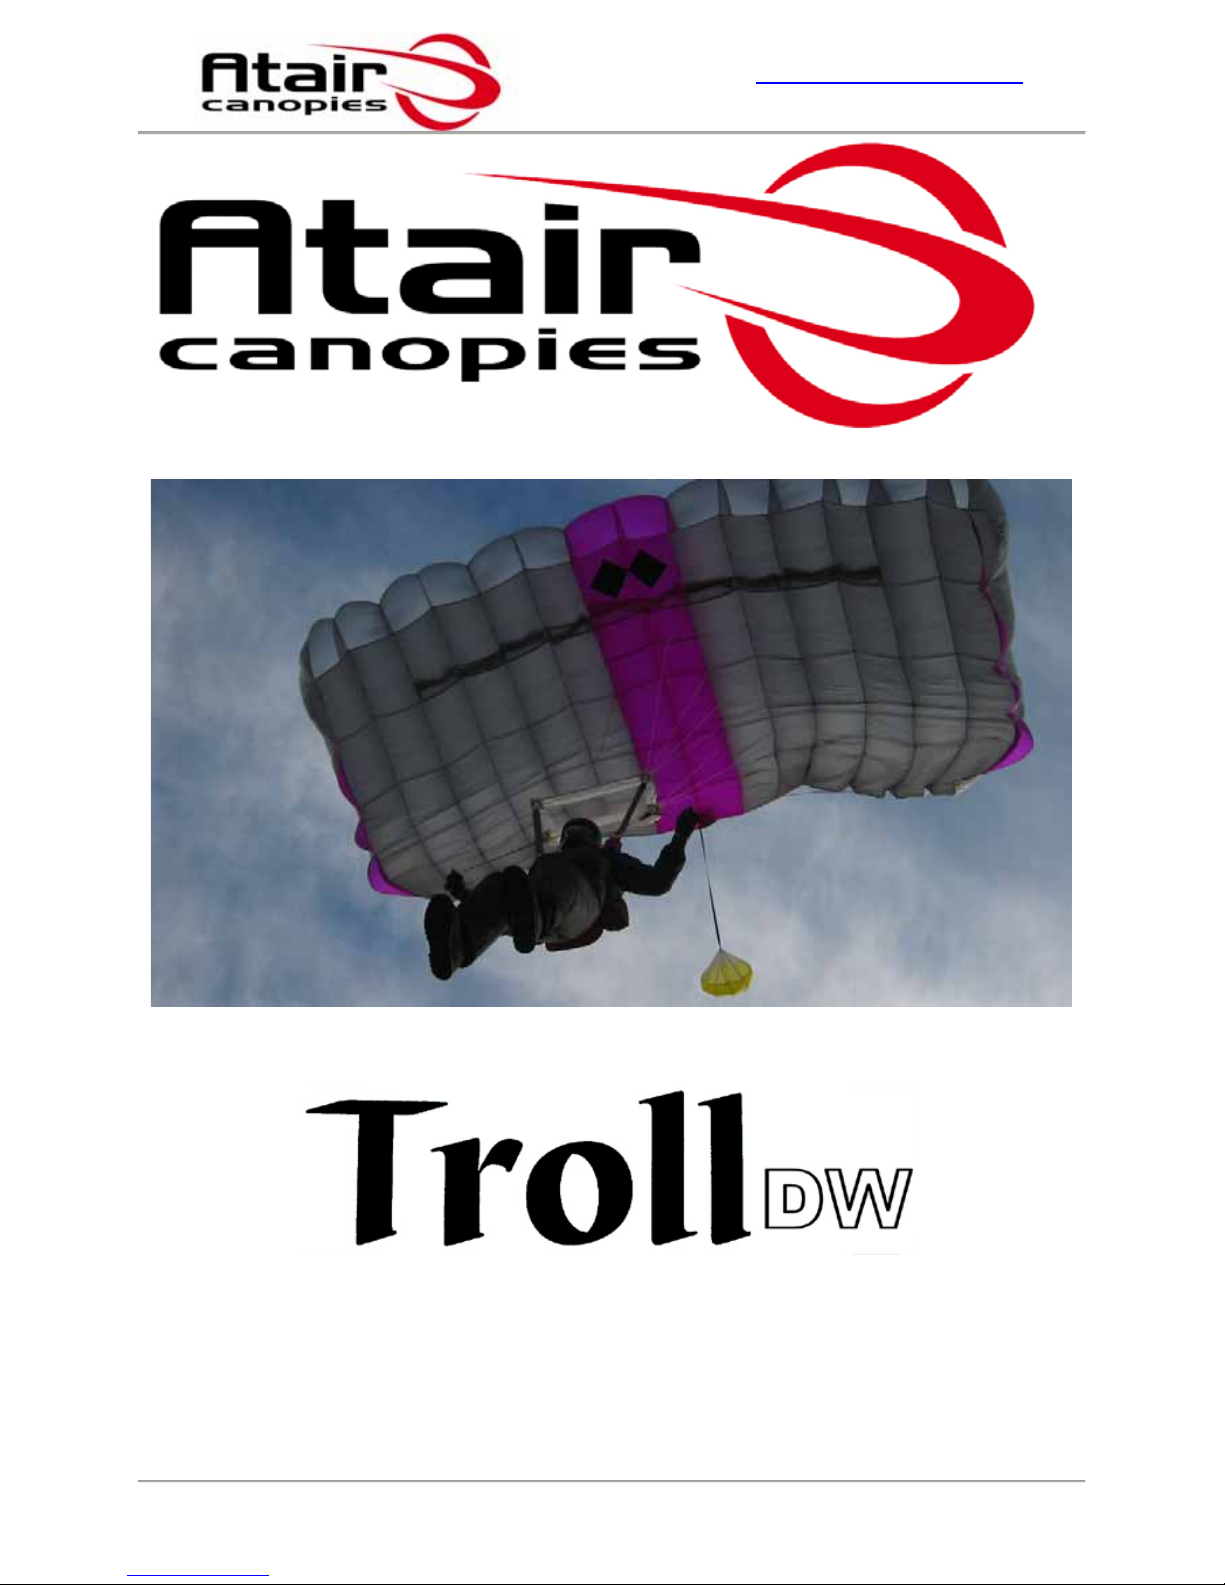
Troll DW Canopy User Manual
Page 9 Atair Canopies
MDV Technology
The MDV from Atair is unique in that it is a zero-p tubular shaped funnel that is about 6"
long. They are attached to mesh inlets on ribs 2, 3, 4, 5 & 6.
This design allows the air to flow in during pressurization and also during deep brake
decent, but the valve closes when air is rushing in from the nose or when you have
back pressure coming from the tail. The Troll in its standard form is already a very stable
canopy. The MDV Troll offers more stability by increasing the range in which you can
fly in deep brakes before you actually reach the stall point. The canopy has a great
flare in both its standard form and with the MDV technology.
The MDV inlets have increased the speed in which the canopy pressurizes slider up as
well as slider down. Obviously, the true benefits to having inlets are for slider down
jumps. When the canopy is jumped in the slider down configuration it offers single
stage pressurization and slider up it opens a little faster than the standard Troll. If you
are going to do many terminal jumps at a given time, it is advisable to switch sliders to
a marquisette mesh (small hole mesh slider). This helps take the edge off of the
opening without compromising consistency. Sail sliders have been known to cause
opening/heading inconsistencies on BASE jumps and we don't advise their usage.
MDV technology offers superior pressurization, giving the jumper control over the
canopy immediately. Control = Confidence!
Standard with each Troll:
* Integrated Primary-Stow tail pocket for safer low-speed deployments
* Standard and custom deep brake settings
* High visibility "contrasting" steering lines
* Mesh Slider choice of large hole mesh / small hole mesh (Sail Slider available
upon request. Advised for skydiving only)
* Tail Gate Reefing Device (BR)
* Optional black lines available.