AT&T 2462 User manual

1
2.4 GHz 2-Line Corded/Cordless
Answering System 2462
with Caller ID/Call Waiting
1
Please also read
Part 1 — Important
Product Information
USER’S MANUAL
Part 2
AT&T and the globe symbol are registered trademarks of AT&T Corp. licensed to Advanced American Telephones.
DRAFT
1/28/02
2462_00_1 ATT CIB 1/28 1/28/02 9:52 AM Page ii

© 2002 Advanced American Telephones. All rights reserved.
Printed in China. Issue 1AT&T 02/02
2462_00_1 ATT CIB 1/28 1/28/02 9:52 AM Page iii

BEFORE YOU BEGIN . . . . . . . . . .1
About the Base and the Charger . . . . . .1
Using More Than One Handset. . . . . . .1
Choosing the Best Location . . . . . . . . . .1
About Mailboxes . . . . . . . . . . . . . . . . .1
About Caller ID with Call Waiting . . . . .1
About Call History . . . . . . . . . . . . . . . .2
Using an Optional Spare Battery . . . . . .2
INSTALLATION . . . . . . . . . . . . .3
Base Installation . . . . . . . . . . . . . . . . .3
Handset Charger Installation . . . . . . . . .5
Belt Clip . . . . . . . . . . . . . . . . . . . . . . .6
Headset . . . . . . . . . . . . . . . . . . . . . . .6
FEATURE SETTINGS . . . . . . . . . .7
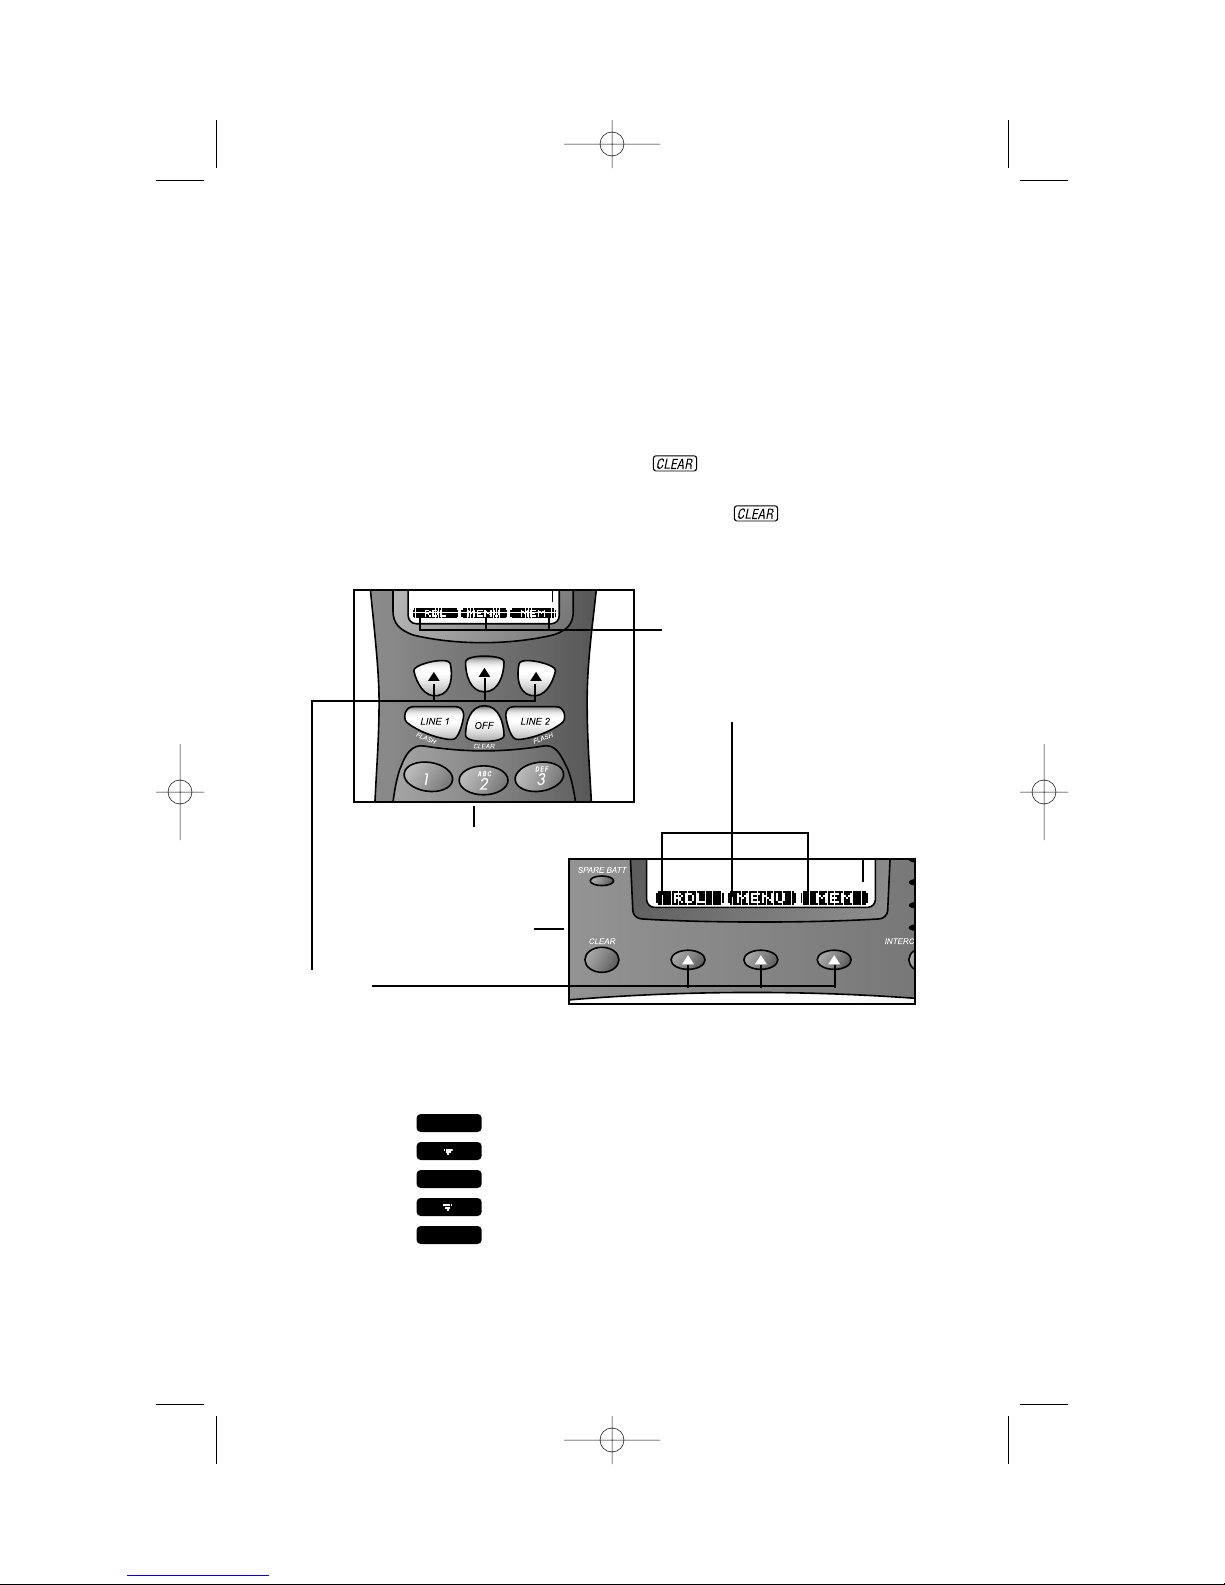
About Softkeys . . . . . . . . . . . . . . . . . .7
Telephone Feature Setup . . . . . . . . . . .7
Telephone Features . . . . . . . . . . . . . . .8
Answering System (ITAD) Setup . . . . .10
TELEPHONE OPERATION
AT THE BASE . . . . . . . . . . . . . . .13
Answer a Call . . . . . . . . . . . . . . . . . .13
Make a Call . . . . . . . . . . . . . . . . . . . .13
End a Call . . . . . . . . . . . . . . . . . . . . .13
Flash . . . . . . . . . . . . . . . . . . . . . . . . .13
Volume . . . . . . . . . . . . . . . . . . . . . . .13
Mute . . . . . . . . . . . . . . . . . . . . . . . . .13
Redial . . . . . . . . . . . . . . . . . . . . . . . .14
Volume . . . . . . . . . . . . . . . . . . . . . . .15
Mute . . . . . . . . . . . . . . . . . . . . . . . . .15
Hold . . . . . . . . . . . . . . . . . . . . . . . . .15
Line in Use . . . . . . . . . . . . . . . . . . . .15
Switch Between Lines . . . . . . . . . . . . .16
Conference Calls. . . . . . . . . . . . . . . . .16
Base Icons . . . . . . . . . . . . . . . . . . . . .17
TELEPHONE OPERATION
AT THE HANDSET . . . . . . . . . . . . .18
Answer a Call. . . . . . . . . . . . . . . . . . .18
Make a Call . . . . . . . . . . . . . . . . . . . .18
End a Call . . . . . . . . . . . . . . . . . . . . .18
Redial . . . . . . . . . . . . . . . . . . . . . . . .18
Flash . . . . . . . . . . . . . . . . . . . . . . . . .18
Handsfree Operation. . . . . . . . . . . . . .18
Volume . . . . . . . . . . . . . . . . . . . . . . .19
Mute . . . . . . . . . . . . . . . . . . . . . . . . .19
Hold . . . . . . . . . . . . . . . . . . . . . . . . .19
Line In Use . . . . . . . . . . . . . . . . . . . .19
Switch Between Lines . . . . . . . . . . . . .20
Conference Calls . . . . . . . . . . . . . . . .20
Handset Icons . . . . . . . . . . . . . . . . . .21
TELEPHONE MEMORY
AT THE BASE OR HANDSET . . . . . . . .22
Store a Number and Name
in Memory. . . . . . . . . . . . . . . . . . .22
View a Memory Number . . . . . . . . . . .23
Dial a Memory Number . . . . . . . . . . .23
Edit a Memory Number . . . . . . . . . . . .24
Delete a Memory Number. . . . . . . . . .25
INTERCOM OPERATION . . . . . . .26
Intercom. . . . . . . . . . . . . . . . . . . . . . .26
Global Page . . . . . . . . . . . . . . . . . . . .26
Transfer a Call. . . . . . . . . . . . . . . . . . .27
Blind Transfer Call . . . . . . . . . . . . . . .27
Announced Transfer Call . . . . . . . . . . .27
Conference Calls . . . . . . . . . . . . . . . .27
CALLER ID OPERATION . . . . . . .28
View Call History . . . . . . . . . . . . . . . .28
Dial Displayed Call Record . . . . . . . . .28
Delete Call Records . . . . . . . . . . . . . .29
Store Call Record in
Telephone Memory . . . . . . . . . . . . .29
Play a Message Associated
with a Call Record. . . . . . . . . . . . . .30
ANSWERING SYSTEM
OPERATION . . . . . . . . . . . . . .31
Turn Answering System On/Off . . . . . .31
About Announcements. . . . . . . . . . . . .31
Record Your Announcement . . . . . . . .32
Incoming Messages . . . . . . . . . . . . . .32
Play Messages . . . . . . . . . . . . . . . . . .33
Delete a Message . . . . . . . . . . . . . . . .33
Adjust Playback Volume . . . . . . . . . . .33
ANSWERING SYSTEM OPERATION
USING BASE BUTTONS . . . . . . . . . . .34
Delete a Message . . . . . . . . . . . . . . . .34
Delete All Messages in a Mailbox. . . . .34
Record a Memo. . . . . . . . . . . . . . . . . .35
Record a Phone Conversation . . . . . . .35
ANSWERING SYSTEM OPERATION
AT TOUCH TONE PHONE . . . . . . . . . .36
Connect with the Answering System . . .36
Voice Menu. . . . . . . . . . . . . . . . . . . .36
Remote Access Commands. . . . . . . . . .36
BATTERIES . . . . . . . . . . . . . . .38
Battery Life . . . . . . . . . . . . . . . . . . . .38
Charge the Handset Battery Pack . . . . .38
Spare Battery. . . . . . . . . . . . . . . . . . .39
Replace the Handset Battery Pack . . . .40
Power Fail Operation . . . . . . . . . . . . .40
OPERATING RANGE . . . . . . . . .41
IN CASE OF DIFFICULTY . . . . . .42
CONTENTS
2462_00_1 ATT CIB 1/28 1/28/02 9:52 AM Page v

About the Base and the Charger
This product provides you with a base station with corded handset,
a cordless handset, and a handset charger. You’ll need to connect the
base to both AC power and a modular telephone jack. You’ll connect
the handset charger to AC power only. For more information, please
see INSTALLATION in this User’s Manual.
Using More Than One Handset
This system can support up to eight handsets. You must “register”
additional handsets (purchased separately) with the base. The handset
that came with the system (Handset 1) will automatically be registered
with the base. Follow the directions that come with an additional handset
to register it with the base.
Choosing the Best Location
Choose a location for the base near an electrical outlet and a telephone
jack. This phone requires a modular telephone jack and a standard
electrical outlet (110v AC) not controlled by a wall switch. For optimum
performance, install the base on the highest floor of your home.
About Mailboxes
This answering system has two voice mailboxes. Mailbox 1 is used for
Line 1 and Mailbox 2 is used for Line 2. Some answering system features
are set independently for Mailbox 1 (Line 1) and Mailbox 2 (line 2).
About Caller ID with Call Waiting
This product has a Caller ID with Call Waiting feature that works with
service from your local phone service provider.
Caller ID with Call Waiting lets you see who’s calling before you answer
the phone, even when you’re on another call.
You may need to change your phone service to use this feature. Contact
your phone service provider if:
• You have both Caller ID and Call Waiting, but as separate services
(you may need combined service)
• You have only Caller ID service, or only Call Waiting service
• You don’t subscribe to any Caller ID or Call Waiting services.
You can also use this product with regular Caller ID service, and you can
use this product’s other features without subscribing to either Caller ID
or combined Caller ID with Call Waiting service.
BEFORE YOU BEGIN
1
2462_00_1 ATT CIB 1/28 1/28/02 9:52 AM Page 1

There are fees for Caller ID services, and they may not be available in all areas.
This phone can provide information only if both you and the caller are in
areas offering Caller ID service and if both telephone companies use
compatible equipment.
About Call History
This phone assigns each incoming call a number from 1 to 50. The most
recent call will have the lowest number. When the memory is full, the
oldest call information is deleted to make room for new incoming call
information.
If you answer a call before information appears on the screen, it may not
be in the call history.
Call history information is stored independently at the base and at each
handset. If you make changes to call records in one location, other history
lists are not affected.
Using an Optional Spare Battery
(Purchased separately)
This phone is equipped with a built-in spare battery charger in the base
unit. The spare battery charger allows you to always have a charged
battery available should the cordless handset battery charge become low.
A fully charged spare battery installed in the base unit provides enough
power for you to make and receive calls for up to one hour in the event
of a power failure.
Use of a spare battery is optional. Use only the battery supplied with this
phone or AT&T Accessory Battery Model 2401, SKU#91077, purchased
separately. See “Spare Battery” in the BATTERIES section of this manual for
directions to install a spare battery.
BEFORE YOU BEGIN
2
2462_00_1 ATT CIB 1/28 1/28/02 9:52 AM Page 2

Base Installation
1 Connect the power cord to the base and an electrical
outlet not controlled by a wall switch.
Use only the power cord supplied with this product.
If you need a replacement, call 1 800 222-3111.
2 Connect the corded handset to the base. Plug one end of the
coiled handset cord into the jack labeled on the underside of the
base (as shown below). Plug the other end into the handset.
3 Connect the telephone line cord(s).
• If you have a two-line jack, use only the black line cord.
Insert one end into the jack labeled LINE 1/L1 + L2 on the
underside of the base. Insert the free end into the two-line
modular jack. Make sure the cord snaps firmly into place.
INSTALLATION
3
Standard
electrical
outlet
Two-Line
modular
jack
Black line
cord
2462_00_1 ATT CIB 1/28 1/28/02 9:52 AM Page 3

4 Confirm Lines 1 and 2.
To determine which line is which, press Land call one of your
telephone numbers. If you hear a busy signal, Line 1 is the number
you called. If Line 2 rings, it is the number you called.
5 Install spare battery (optional).
If you wish to install a spare battery (purchased separately) in the
built-in spare battery charger on the left side of this phone, please
refer to “Spare Battery” in the BATTERIES section of this manual for
detailed instructions.
INSTALLATION
4
Standard
electrical
outlet
Modular
jack for
Line 2
Modular
jack for
Line 1
Clear
line cord
Black line cord
• If you have two separate one-line jacks, use both line cords.
Insert one end of the clear cord into the jack labeled
LINE1/L1 + L2 on the underside of the base. Insert the other
end of this cord into the modular jack for Line 1. Insert one
end of the black cord into the jack labeled LINE 2 under the
base, then insert the other end into the modular jack for
Line 2. Make sure the cords snap firmly into place.
2462_00_1 ATT CIB 1/28 1/28/02 9:52 AM Page 4

5
2 Install the handset battery.
Use only the battery supplied with this handset or AT&T
Accessory Battery Model 2401, SKU# 91077.
Handset Charger Installation
1 Connect the power cord. Feed the
power cord through the strain-relief
channel on the bottom of the handset
charger. Then plug the cord into an
electrical outlet not controlled by a
wall switch.
INSTALLATION
b) Place the battery pack in
the handset. Match the
metal contacts on the
battery with the contacts
in the battery
compartment.
c) Replace cover
by sliding it on
its track up
over battery
case until it
snaps firmly
into place.
a) Remove
battery
compartment
cover by
pressing on
indentation
and sliding
downward.
CHARGING Light: on when
handset is in charging stand
2462_00_1 ATT CIB 1/28 1/28/02 9:52 AM Page 5

3 Charge the handset battery.
• Place the handset in the remote charging stand. The
CHARGING light goes on.
• Charge the battery for at least 12 hours. After the first charge,
the battery typically charges in only eight hours.
4 Check for dial tone.
• After the batteries are charged, lift the handset and press
L; you should hear a dial tone.
Belt Clip
Attach belt clip to the cordless handset (optional).
6
INSTALLATION
a) Slide down into
grooves to attach.
b) To remove, lift one side
with your thumbnail
and push back.
Headset
You can use this telephone with any industry
standard 2.5 mm headset (purchased separately).
For best results, use an AT&T 2.5 mm headset.
Plug the headset into the jack located on the
left side of the handset (under the small
rubber flap) or into
the jack on the right
side of the base
Do not force the
connection, but
make sure the
plug fits securely.
Headset jack
2462_00_1 ATT CIB 1/28 1/28/02 9:52 AM Page 6

Telephone Feature Setup
1Make sure the phone is off.
2Press .
3Press to highlight SETUP BASE or HANDSET SETTINGS.
4Press .
5Press until the feature you want to set is highlighted.
6Press .
SET
OK
MENU
7
About Softkeys
• Both the base and handset have softkeys below the screen display.
• Press the softkey below the operation displayed on the screen to
select that operation. (For example, to enter the menu, press the
center softkey).
• Press O(CLEAR) on the handset or on the base at any time
to return to the previous screen.
• Press and hold O(CLEAR) on the handset or on the base to
return to the idle screen.
FEATURE SETTINGS
Softkeys
Screen
display of
operations to
be selected
with softkeys.
Handset
Base
2462_00_1 ATT CIB 1/28 1/28/02 9:52 AM Page 7

8
7Follow the directions for each feature as described in
“Telephone Features”.
8Press O(CLEAR) on the handset or on the base to return
to the Setup menu
— OR —
Press and hold O(CLEAR) on the handset or on the base
to return to the idle screen.
Telephone Features
You can set each feature independently at the base or handset. Some
features apply to only one location, as noted.
Feature Directions
RINGERS
Volume You can adjust the ringer volume for Line 1 and the
Intercom or Line 2 to four settings or off.
Use the softkeys to adjust the volume down or up,
or to turn the ringer off. You will hear a volume
sample each time you change the setting, and the
screen displays the volume level. Press
to save.
Melody You can choose from six different ringer tones for
Line 1 and Line 2.
Use the softkeys to hear the different ringers. Press
to save the last ringer tone heard.
Call Screening Turn this feature on to hear messages as they are left
(Base only) in either answering system mailbox.
Use the softkeys to select ON or OFF, then press
.
Low Batt Tone If you turn this feature on, the handset sounds a tone
(Handset only) to indicate the battery power is low.
Use the softkeys to select OFF or ON, then press
.
NOTE: Press O(CLEAR) on the handset or on the base at any
time during feature setup to return to the previous screen.
OK
OK
SAVE
OK
FEATURE SETTINGS
2462_00_1 ATT CIB 1/28 1/28/02 9:52 AM Page 8

Telephone Features Continued
Feature Directions
Range Tone When you turn this feature on, the handset sounds a
(Handset only) warning tone when it is out of range of the base.
Use the softkeys to select OFF or ON, then press
.
Set Pulse/Tone Set the base to match the kind of dialing service you
(Base only) have—touch tone or dial pulse (rotary). You can set
Pulse/Tone separately for each line. Use softkeys to
select Line 1 or Line 2, then choose PULSE (dial
pulse) or DTMF (touch tone). Press to save.
Keypad Tone If you turn this feature on, the handset or base
sounds a tone every time you press a button.
Use the softkeys to select OFF or ON, then press
.
Contrast You can adjust the display screen contrast level.
There are 15 contrast levels.
Use the softkeys to adjust the contrast, then press
.
Rename You can assign a name to the base or any registered
handset (instead of BASE or HANDSET 1, etc.)
Use the dial pad and the chart on page 22 to enter
the new location name, then press to
confirm the new name.
Range Extender Set this feature to ON or AUTO to moderately increase
the operating range or sound quality of your
registered handset(s). Set this feature to OFF to
conserve battery power. You can program this feature
at each handset individually or set all handsets to the
same option from the base.
Use +or -to scroll to the desired setting, then
press .
NOTE: Only one handset can be actively in Range
Extender mode at any time.
NOTE: Press O(CLEAR) on the handset or on the base at any
time during feature setup to return to the previous screen.
OK
SAVE
OK
OK
OK
OK
9
FEATURE SETTINGS
2462_00_1 ATT CIB 1/28 1/28/02 9:52 AM Page 9

10
Answering System (ITAD) Setup
This answering system has two voice mailboxes. Mailbox 1 is used for
Line 1 and Mailbox 2 is used for Line 2. Some answering system features
are set independently for Mailbox 1 (Line 1) and Mailbox 2 (Line 2).
1Press Oon the base and follow screen prompts to turn the
ITAD on for both lines.
2From the idle screen at the base or handset press .
3Select MAILBOXES, then press .
4Select MAILBOX 1 SETUP or MAILBOX 2 SETUP, then press
.
The screen displays a list of the feature settings:
OK
OK
MENU
5Press until the feature you want to set is highlighted.
6Press .
7Follow the directions for each feature as described in “Answering
System (ITAD) Features”.
8Press O(CLEAR) on the handset or on the base to return
to the Setup menu
— OR —
Press and hold O(CLEAR) on the handset or on the base
to return to the idle screen.
SET
FEATURE SETTINGS
ANSWER + RECORD
REVIEW/CHNG OGM
SEC. CODE: 5000
OF RINGS: 4
SET
2462_00_1 ATT CIB 1/28 1/28/02 9:52 AM Page 10

11
Answer Mode
You must set this feature for each mailbox. When a line’s mailbox is set to
ANSWER + RECORD the caller can leave a message. When a line’s mailbox
is set to ANSWER ONLY the system disconnects after playing the outgoing
message.
1Press or softkeys to select the current answer
mode setting (ANSWER + RECORD or ANSWER ONLY). Then
press .
The screen displays:
SET
FEATURE SETTINGS
2Press or to select the desired setting for this line.
3Press to confirm your selection.
Security Code
This is the security code you will use to access answering system features
and functions from a touch tone phone. The system comes preset to
5000, but you can change the code to any four-digit combination not
beginning with 1 or 2. Setting the security code for one mailbox, sets the
code for both mailboxes.
1Press or to select SEC. CODE:, then press
. The screen displays:
SET
OK
SECURITY CODE
5000
-
SAVE
L1 MAILBOX IS
SET TO
AANNSSWWEERR ++ RREECCOORRDD
ANSWER ONLY
OK
2Use the dial pad keys to enter the new code. You can use
or to move between digits in the displayed code.
3When the displayed code is correct, press to store the
new security code.
SAVE
2462_00_1 ATT CIB 1/28 1/28/02 9:52 AM Page 11

12
FEATURE SETTINGS
Number of Rings
Choose how many times the phone will ring before the system answers an
incoming call. You must set this feature for each line. If you set this
feature to TOLL SAVER (TS), the system answers after two rings when you
have new messages and after four rings when you have no new messages.
1Press or to select OF RINGS:, then press
. The screen displays the current setting.
2Press or to change the number of rings.
3Press to confirm your selection.
Day of the Week
Changing this setting for either mailbox changes the day of the week
for both mailboxes.
1Press or to select the day displayed, then press
. The screen displays the list of days.
2Press or to scroll through the list.
3When the desired day is highlighted, press to confirm
your selection.
Time
Changing this setting for either mailbox changes the time for both
mailboxes.
1Press or to select the time displayed, then press
. The screen displays SETTING TIME and the current
setting.
2Enter the new time with the keypad. You can use
or to move the cursor between digits.
3To change between AM or PM, move the cursor under the Aor P.
Press 2or *to set to A. Press 7or #to set to P.
4Press to store the displayed time.
Turn Audible Alert On/Off
When Audible Alert is turned on, the base beeps once every 10 seconds
when new messages have been received. This feature can be changed at
either mailbox and resets for both mailboxes. The system is pre-set to OFF
1Press or to select AUD ALERT, then press .
2Select the desired setting (ON or OFF), then press
to confirm your selection.
OK
SET
SAVE
SET
OK
SET
SAVE
+-
SET
2462_00_1 ATT CIB 1/28 1/28/02 9:52 AM Page 12

13
The base unit of this phone can be used with the corded handset,
as a speakerphone, or with a 2.5mm headset (purchased separately).
Answer a Call
Lift the corded handset or press Kor h(with headset
installed). The ringing line is selected automatically.
Make a Call
Lift the corded handset or press Kor h(with headset
installed). An available line is selected automatically.
— OR —
To choose a particular line, press Lor l, then lift the corded
handset or press Kor h.
Then, dial the call.
End a Call
Replace the base handset or press Kor h.
TELEPHONE OPERATION
AT THE BASE
Light within button:
On steadily when
base speakerphone
is in use.
Light within button:
On steadily when
base headset is in
use.
LINE lights:
On steadily
when line
is in use.
Flash quickly
when line
is ringing.
Flash slowly
when line is
on hold.
Volume
Adjust volume of what
you hear through the
handset or speakerphone
during a call.
Mute
Press to prevent the other
person from hearing you (you
will still be able to hear the
other person). Press again to
return to your conversation.
Flash
Access telephone
company
subscriber
services during
a call.
2462_00_1 ATT CIB 1/28 1/28/02 9:52 AM Page 13

14
TELEPHONE OPERATION
AT THE BASE
Press to silence
ringing tones
at base for
duration of
this call.
Lit when battery is
charging in base
spare battery
charger
Idle Screen
Redial
1Press the softkey under . The
screen displays the last five numbers
dialed from the base.
2Use the softkeys to highlight the number
you want to call.
3Lift the receiver, press K, or press
h. The call will be dialed
automatically.
NOTE: This feature can only be accessed
before you lift the receiver or press K
or h.
RDL
2462_00_1 ATT CIB 1/28 1/28/02 9:52 AM Page 14

15
TELEPHONE OPERATION
AT THE BASE
Volume
Adjust the volume of what you hear on a call using VOLUME +and -
— OR —
1During a call, press .
2Use the softkeys to adjust the volume of what you hear.
3Press to save the setting for future calls.
Mute
Mute allows you to hear your caller, but prevents the caller from
hearing you. Use Mon the base
— OR —
1Press . The screen alternately displays MICROPHONE
MUTED and the previous screen.
2Press again to return to your conversation.
Hold
When you put a call on hold, you cannot hear your caller, and your
caller cannot hear you.
1Press . The screen displays CALL ON HOLD
2Press the appropriate LINE button, Kor hto return
to the call.
NOTE: The base rings to remind you that the call is being held.
If you don’t answer the ring, the call is disconnected.
Line in Use
• When the line is in use at the base, the
base screen display is similar to:
• When the line is in use by another set on
the same line, the screen displays:
HOLD
MUTE
MUTE
OK
VOL
LINE1
IN USE
RDL MENU MEM
0
VOL HOLD MUTE
2462_00_1 ATT CIB 1/28 1/28/02 9:52 AM Page 15

16
TELEPHONE OPERATION
AT THE BASE
Switch Between Lines
You can alternate between calls on Line 1 and Line 2 as often as necessary.
1Make or answer a call.
2Press to place the first call on hold.
3Press the LINE button for the second call. Then lift the base
handset or press Kor hto answer or place the
second call.
4To return to the first call, press to place the current
call on hold
— OR —
Replace the base handset in the cradle, or press Kor
hto end the current call.
Then press the LINE button for the first call and lift the base
handset or press Kor h.
Note: If you switch lines without placing the current call on hold,
you will drop the current call.
Conference Calls
You can use both lines at the same time to set up a three-party call.
1Make or answer a call.
2Press to place the call on hold.
3Make a call on the other line.
4When the call is answered, press .
The conference call begins immediately.
5To end a conference call, hang up. All parties will be
disconnected.
To drop one line:
1Press . Then use and to select
the line you wish to drop.
2Press . The selected line will be disconnected.
To place a conference call on hold:
Press to place both parties on hold. Lift the base handset or press
Kor hto return to the conference call.
HOLD
OK
DROP
CONF
HOLD
HOLD
HOLD
2462_00_1 ATT CIB 1/28 1/28/02 9:52 AM Page 16

17
TELEPHONE OPERATION
AT THE BASE
Base Icons
Icon Description
Line in Use
Flashes with a line number when there is an incoming call.
On steadily with one or more numbers next to it to show
which handset or base (0) is in use.
Intercom
On steadily with one or more numbers next to it to show
which handset or base (0) is in use.
BBBase in Use
HHHold
On steadily next to Line In Use icon (above) when line
is on hold.
MMMute
11--88Handset Indicator
Shows which handset is in use.
NOTE: Although up to eight handsets can be registered to the base, only
four can be used at one time.
2462_00_1 ATT CIB 1/28 1/28/02 9:52 AM Page 17
Table of contents
Other AT&T Answering Machine manuals
Popular Answering Machine manuals by other brands

Panasonic
Panasonic KXTG2431W - 2.4 GHZ DIG CORDLESS PHONE Service manual

Panasonic
Panasonic KX-TC1503 user guide

Panasonic
Panasonic KX-TGC260E operating instructions

Radio Shack
Radio Shack TAD-1005 owner's manual

Cobra
Cobra Intenna AN-8591 operating instructions

Panasonic
Panasonic KX-F2710AL Service manual