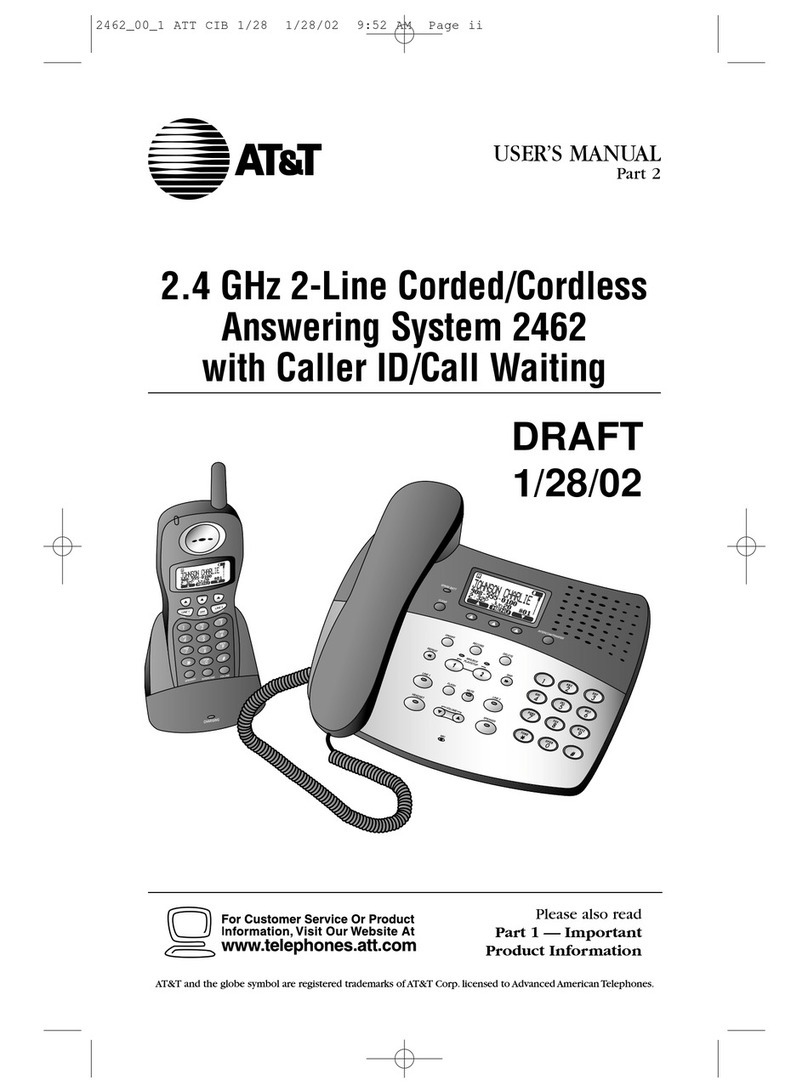
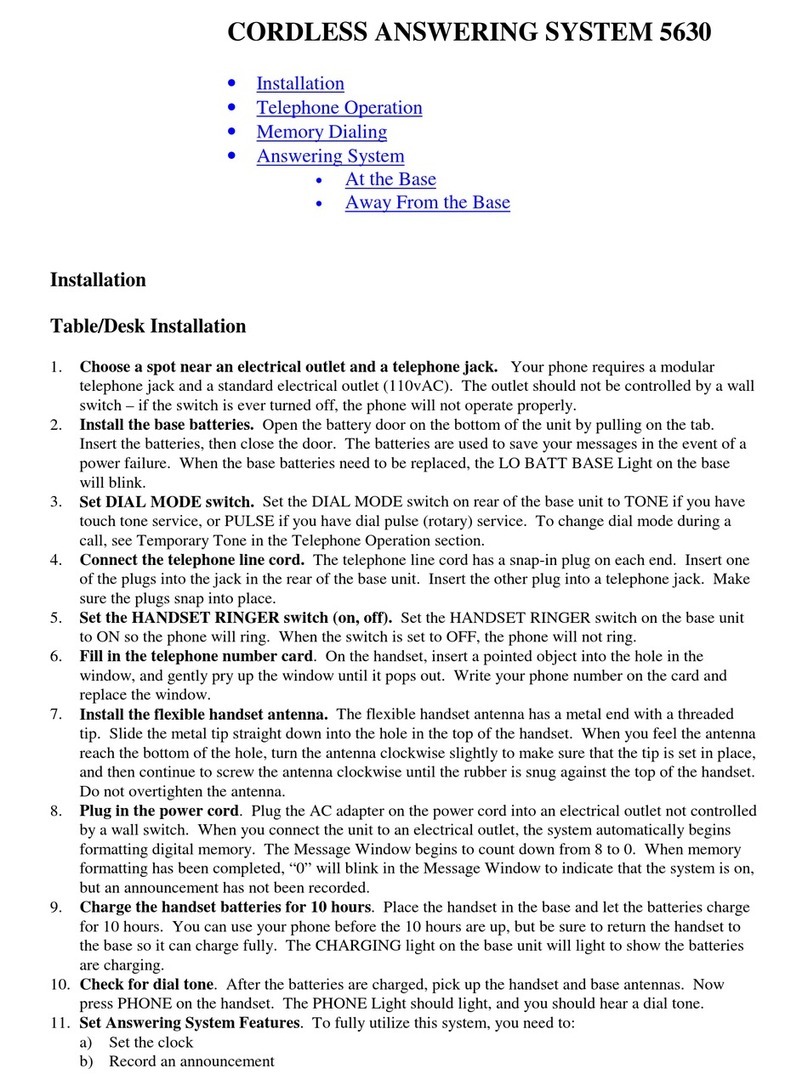
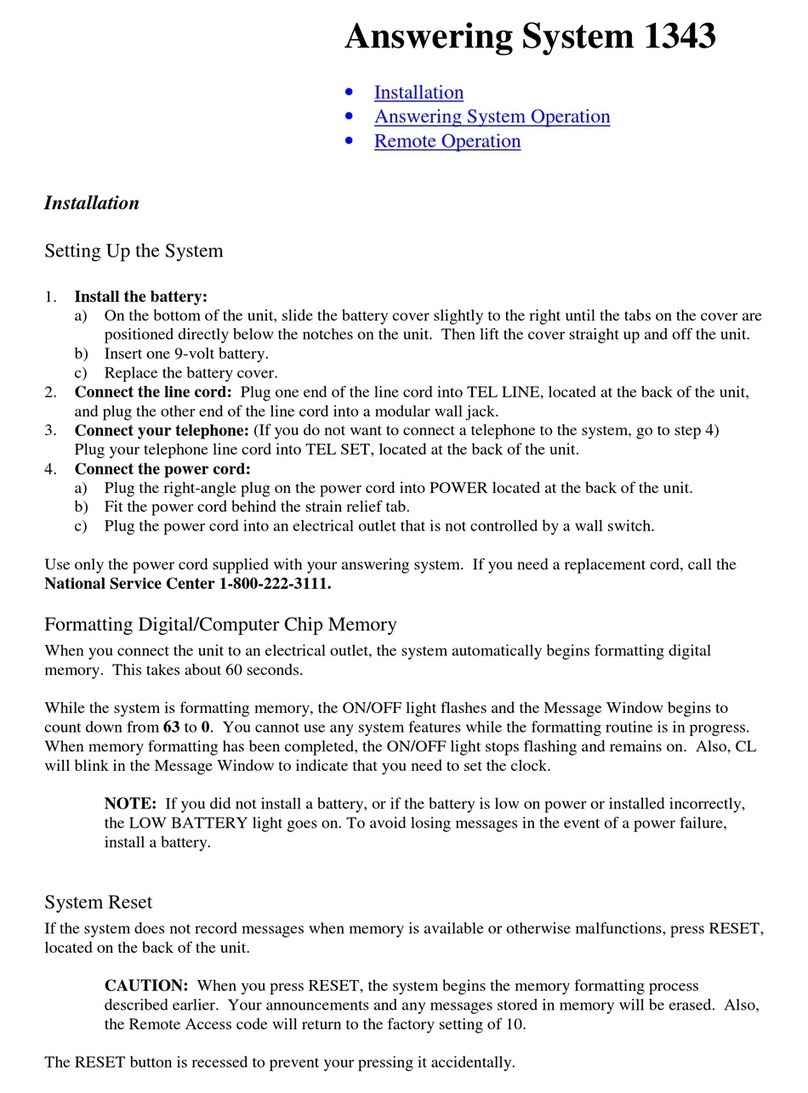
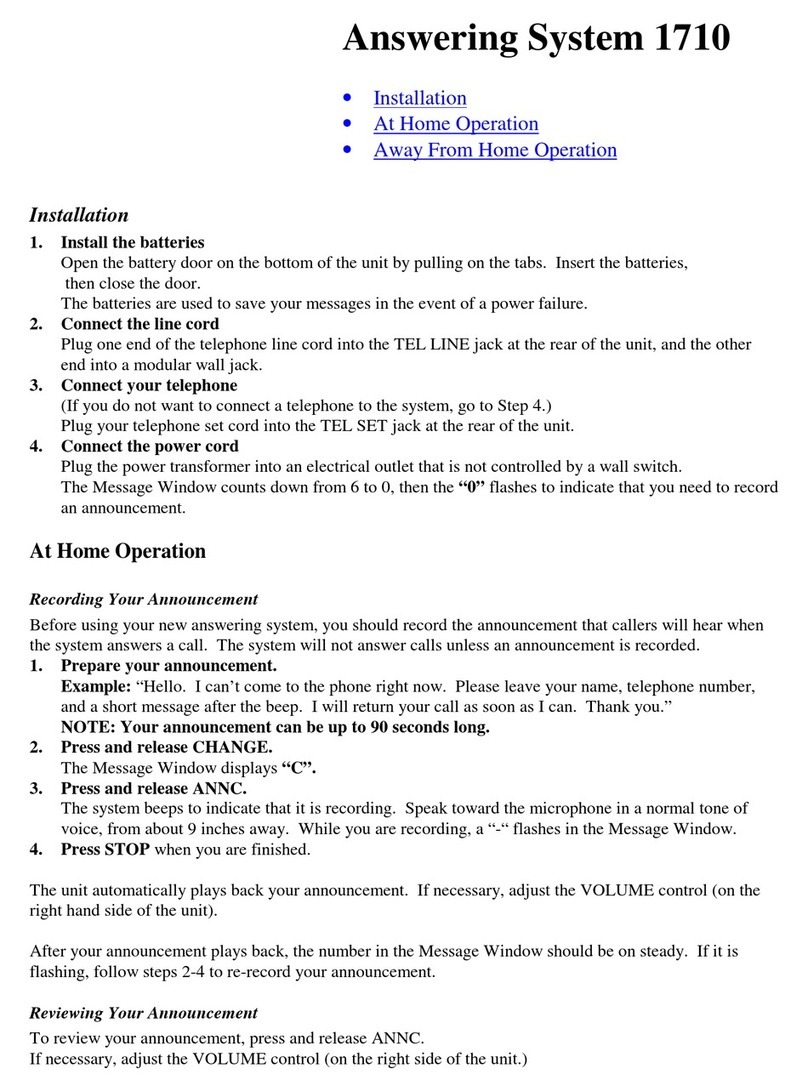
AT&T 1792 User manual

ly
Two-Line Digital Answering System
Model 1792
Owner's Manual
Printed in Korea
Issue 1A

Before you install the 1792, please do
the following:
1. Staple your sales receipt to the inside
front cover of this manual.
2. Record the following information:
Date Purchased
Model Number
Serial Number
In the event of aproblem with this unit,
please call our National Service Center
1-800-222-3111.
©Copyright 1994 AT&T
All Rights Reserved
2408


Contents
Important Safety Information 4
Introduction 5
Parts Check List 6
Front Panel Components 7
Rear Panel Components 8
Base Panel Components 8
Install Battery 9
Connect Telephone Line Cords 10
Connect Outside Line(s) 10
Connect Two Single-Line Telephones 1
Connect One Two-Line Telephone 11
Wall-Mounted Installation 12
Connecting the AC Adapter 13
Initial Settings 14
Set Number of Rings 15
Set Time and Date 16
Set Speaker Volume 17
Set Play Message Prompts Switch 17
Activating aMailbox 18
To Activate aMailbox 18
To Deactivate aMailbox 18
Greetings and Announcements 19
Greeting Worksheet 20
Main Greeting Functions 21
To Play Main Greeting 21
To Attach aMessage 21
To Record Main Greeting 21
To Record Voice (System) Prompts 22
Mailbox Functions 23
Select Mailbox 23
Mailbox Function Reference Chart 23
Mailbox Greetings/Announcement 24
Programming Security Codes 25
Activate or Change aSecurity Code 25
Tum Your Security Code Off 26
¥
Reset Factory Security Codes 26
To Leave Messages for Others 26
To Leave aTimed Memo 27
Call Forward 27
Call Forward Architecture 28
Entering Special Numbers 28
Pager Notify 29
Remote Urgent Message Notify 29
System Functions 30
Maximum Message Time 30
Announce Caller 30
Do Not Disturb 31
Memory Check 31
Turing On or Off 32
Retrieving Your Messages 33
Retrieve Messages Locally 33
Retrieve Messages Remotely 33
Message Options 34
Remote
Programming
~~ 35
Call Management 36
Pound Key Disconnect 36
Speaker 36
Retum Caller to the Main Greeting 36
Recording aConversation 36
Dialing Functions 37
On Hook Dial 37
Auto Redial 37
Speed Dial 38
Response
ToACall ~~ 40
In Case Of Difficulty 41
AT&T Limited Warran 42
FCC Registration &
Repair Information 43
Interference Information:
Part 15 of FCC Rules 44
Index 45
3

Important Safety Information
Before using this unit, please read and
follow all safety and operating instruc-
tions carefully. The unit has been de-
signed and manufactured to assure
personal safety. However, improper use
can result in injury, electric shock, or
fire hazard. The safeguards incorporated
in this unit will protect you if you ob-
serve the following procedures for instal-
lation, use and servicing. This unit does
not contain any parts that can be re-
paired by the user.
1. Never install telephone wiring during a
lightning storm.
2. Never install telephone jacks in wet lo-
cations unless the jack is specifically
designed for wet locations.
3. Never touch uninsulated telephone
wires or terminals unless the tele-
phone line has been disconnected at
the network interface.
4. Use caution when installing or modify-
ing telephone lines.
5. To reduce the risk of electric shock,
do not disassemble this product.
Opening or removing covers may ex-
pose you to dangerous voltages or
other risks.
6. Do not overload wall outlets and ex-
tension cords as this can result in
the risk of fire or electric shock.
7. Do not place this product on an unsta-
ble cart, stand, or table. Serious
damage may result if the unit falls.
8. Do not use this unit near water —for
example, near abath tub or swim-
ming pool. If the product comes in
contact with any liquids, unplug the
unit from the wall and contact quali-
fied service personnel.
4
9.
11.
13.
Do not use liquid or aerosol cleaners.
Instead use only aslightly damp,
soft cloth for cleaning.
.Do not subject this product to exces-
sive heat (sunlight and radiators),
smoke, dust, mechanical vibration,
or shock. This includes not placing
heavy objects on top of this unit. In-
stead see the section on wall-mount-
ing on page 12. Never rest objects
on top of the LCD display, as this
may cause cracks.
Install this product in aprotected lo-
cation where no one can step on or
trip over power and line cords. Do
not place objects on the cords that
may cause damage or abrasion. If
the power supply cords or plug is
damaged or frayed, unplug the unit
from the wall and contact qualified
service personnel.
.This product should be operated only
from the type of power source indi-
cated on the marking label. If you
are not sure of the type of power
supply to your home, consult your
local power company.
Do not use attachments not recom-
mended by the product manufac-
turer as they may cause hazards.
SAVE THESE INSTRUCTIONS
Introduction
Congratulations on the purchase of your
new Two-Line Digital Answering Sys-
tem, Model 1792. It has been designed
to exacting AT&T standards for conven-
ient and reliable service.
The 1792 uses advanced digital technol-
ogy to function as acomplete message
management system, offering multiple
mailboxes as well as the ability to selec-
tively save and delete messages, for-
ward calls to any location, screen your
calls, and professionally manage your
telephone activity.
Voice Mail —The 1792 comes
equipped with atotal of nine mailboxes
—six personal voice mailboxes and
three announcement-only boxes.
Digital Memory — The 1792 has 18 min-
utes of digital memory which can be up-
graded to 36 minutes with an optional
memory expansion module. The expan-
sion module is available at your AT&T
Phone Center Store.
Electronic Receptionist — The 1792
serves as an electronic receptionist,
managing calls rather than just taking
messages. It answers the telephone and
routes callers automatically to your
voice mailboxes, plays announcements
and provides these advanced functions:
eCall Forwarding to Any Remote Tele-
phone, Including Cellular phones
Pager Notify
Urgent Message Notify
Speaker Monitor
Caller Announce Screening
Toll Save Function
Timed Memos
Do Not Disturb
Conversation Recording
Automatic Redial
Speed Dial
This manual explains in simple steps
how to install and use your new 1792.
For your convenience, we have included
aQuick Reference Guide. It briefly ex-
plains installation, mailbox setup,
prompt recording and message retrieval.
However, we suggest you read the
owner's manual carefully to familiarize
yourself with all the 1792's features
and benefits. If you need assistance or
have any questions, call the National
Service Center at 1-800-222-3111. The
call is toll free and we'll be glad to help.

Parts Check list
Save your sales receipt in case you ever
need warranty service (staple it to the in-
side front cover of this manual).
Check to make sure that you have all of
the following accessories:
1792 Unit
2Line Cords
Owner's Manual, Quick
Reference Guide
AC Adapter (power supply)
9-Volt Battery
Wall Mount Bracket
You will also need awall- or floor-
mounted modular telephone jack and an
electrical outlet (120VAC/60Hz) near
the place where you want to install the
1792.
Please keep the packing materials in
case you need to send the unit in for
service.

Front Panel Components
1. Built-in Speaker.
2. LCD Display Panel.
3. Function Selection Buttons —used to
select/activate/define functions.
4. Function Selection Panel —flips down
to reveal additional function buttons.
5. Microphone.
6. Messages Button —used to retrieve
messages from mailboxes.
7. Messages LED — lights when you
have anew message in amailbox.
8. Volume Buttons —used to adjust the
speaker volume.
V¢ )The Function Selection Panel
flips down to reveal additional
function buttons.

Rear Panel Components
.Power Input
.Memory Expansion Module Cover
.TO TEL 1(1 &2) modular jack
.TO LINE 1(1 &2) modular jack
.TO TEL 2ONLY modular jack
.TO LINE 2ONLY modular jack
C1
A
WN
=
Base Panel Components
Battery Compartment
Slots for wall-mount
bracket installation

Install Battery
The 1792 includes abattery backup sys-
tem to protect the memory during a
power interruption.
1. Turn the unit over, and remove the
cover of the battery compartment.
2. Install the 9volt battery (included) so
that the terminals on the battery
snap into the corresponding termi-
nals on the battery connector.
3. Place the battery in the compartment
and replace the cover.
You should change the battery
every six months (or when the
Low symbol appears) to avoid
losing programmed messages,
security codes and clock setting
in the event of apower interrup-
tion. A fresh battery will protect
the programming for approxi-
mately 12 to 16 hours.
When you change the battery,
keep the 1792 plugged into the
wall outlet. This will prevent
erasing any of your greeting
messages or configuration pro-
gramming.
Battery compartment
Battery compartment tab.
Push to open
When this symbol is on, it's time to re-
place the battery.

Connect Telephone Line Cords
Important Installation Precautions!
Never install telephone wiring during alightning storm.
Never install telephone jacks in wet locations unless the jack is specifically de-
signed for wet locations.
Never touch uninsulated telephone wires or terminals unless the telephone
line has been disconnected at the network interface.
Use caution when installing or modifying telephone lines. If you are going to
place your 1792 unit on adesk or table top, proceed with the following in-
structions to connect your telephone line cord(s).
You have two options when connecting
the 1792 to the phone. You may either:
eConnect two single-line telephone
units, or
eConnect a2-line telephone unit.
Connect the
outside line(s).
If you have one wall
jack for both incoming
lines, plug one end of
aline cord into the
jack on the 1792
marked TO LINE 1(1&2).
Plug the other end of
the line cord into the
modular wall jack.
If you have aseparate
wall jack for each in-
coming line, plug one
end of asecond line
cord into the jack on
the 1792 marked TO
LINE 2ONLY and the
other end into the sec- >
ond modular wall jack.
10

Connect Telephone Line Cords
Connect two single-line
telephones
Take aline cord and
plug one end into the
jack on the first tele-
phone. Plug the other
end of the cord into
the jack on the 1792
marked TO TEL 1(1&2).
Take another line cord
and plug one end into
the second telephone.
Plug the other end of
the cord into the jack
on the 1792 marked
TO TEL 2ONLY. -
Connect one two-line
telephone
Take aline cord and
plug one end into the
jack on the telephone.
Plug the other end into
the jack on the 1792
marked TO TEL 1(1&2).
11

Wall-Mounted Installation
If you want to mount the
1792 on the wall, choose alo- 10 ERE
cation close to an AC outlet.
Ideally, the 1792 should be at-
tached to atelephone line
wall plate; however, if this is
not practical, you can still
mount the 1792 on the wall 2,
as long as the line cord is
within reach of the telephone
jack.
Line N
1. Install the battery. See page
9.
2. Pass one end of the line
cord through the opening
in the bracket.
3. Coil the cord so that it fits
within the bracket.
4. Take the other end of the
line cord and lay it in the
slot in the top of the
bracket. (If the cord is too
cumbersome to fit in the
wall bracket, amounting
cord can be purchased and
used.) Do the same if the
second line cord is being
used.
5. Place the unit on the wall bracket by
aligning the three prongs on the
bracket with the three matching slots
on the base panel. Gently squeeze in If you do not have atelephone
the two side panels of the wall outlet wall plate, you can still
mount and press down until the wall mount the 1792 to the wall us-
mount clicks into place. ing the keyhole slots in the
6. Attach the wall bracket to the tele- chon do pt ala
phone outlet’s wall plate mounting protruding approximately 3/16"
studs and pull down until it is held se- from the wall. Align the bracket
curely. keyholes with the screws and
Il nto secure.
7. Proceed to the next page to connect pall Gow
the AC adapter.
12

Connecting the AC Adapter
1. Plug the output
cord of the AC
adapter into the
jack on the 1792
marked POWER.
2. Plug the AC adapt-
er into an electri-
cal wall outlet not
controlled by a
wall switch.
3. The 1792 will per-
form aself-diag-
nostic test. The
clock display in
the right hand cor-
ner will count
backwards during
the test.
When the self-diagnostic test is com-
plete, the 1792 will display its IDLE
screen. You are now ready to pro-
ceed to the next page, Initial Settings.
12/24/1984 12:01
This is the IDLE ic ai
screen display:
sa1]
[NEW] OLD
|
13

Initial Settings
The 1792 communicates with you us-
ing sophisticated interactive voice re-
sponse techniques. The audible
prompting, along with visual displays
on the LCD panel, make it easy to cus-
tomize your 1792 to your exact
needs.
Examine the unit; you will notice that
there are aseries of functions printed
on aswiveling front panel. For each
function, there is acorresponding but-
ton.
If you flip this panel down (see below)
you will reveal an additional set of
functions for each button. This means
that each button can perform two func-
tions depending upon whether the flip
down panel is up or down.
For example, when the lid is up and
you press the button corresponding to
GREETING/ANNOUNCE, this function is en-
acted. But when the lid is down and
you press the same button, the
TIME/DATE feature is activated.
Most of the time, you won't be using
the functions under the lid. These are
primarily used for the initial setup of
your 1792, for example, the time and
date on the display.
You should take the time to read
through all the instructions to gain an
understanding of the interaction of the
system.
14
Lid closed

Initial Settings
Set Number of Rings
The 1792 is set to answer in 3 rings
when it is shipped from the factory.
You can set it to answer after 1, 3, 4,
or 5rings or for toll saver mode (2).
You can also specify the number of
rings for each line individually.
In Toll Saver mode, the unit will an-
swer after four rings if there are no
new messages. If there are any new
messages, it will answer after two
rings. If you then call-in for messages
and the phone rings athird time, you
can hang up the phone before the fourth
ring and incur no charge for the call.
1. Flip the panel down so that the bot-
tom list of features is exposed.
2. Press the button marked RINGS.
The 1792 says: “Select Rings'’ and
then prompts you to select line 1or
line 2.
Once you select aline, the 1792 tells
you the current ring number and then
plays the following prompt:
‘For 1ring, press 1, for Toll Saver
press 2, for 3rings, press 3, for 4
rings, press 4, for 5rings, press 5,
to repeat the menu press 0, to exit
from menu press #.”’
The default ring number will appear
on the display.
Numerical icons appear over each
push-button in succession as you lis-
ten to the prompt. You can make
your selection at any time during
the prompt.
3. To make your selection, press any of
the buttons under the display icons
[11 [2] [3] [4] [5] [O] or [#].
The 1792 will confirm your selection
and return to its idle display.
You can then repeat the procedure to
set the number of rings for the second
line.
Remember: To repeat the menu, press 0.
.To exit, press #.
15

Initial Settings
Set Time and Date
1. To set the time and date flip the panel
down and press the button marked
TIME/DATE.
You will hear:
“To enter the time, press 1. To en-
ter the date, press 2. To repeat the
menu press 0. To exit from menu
press #.”
2. If you press [1] to enter the time, the
1792 will prompt you regarding what
to enter.
To demonstrate this, assume that you
want to enter 2:36 PM as asample
time. You will hear: “Enter hour and
then press #."
You will see:
16
2a. Enter the correct hour. Press the
buttons below [2] and [#].
You will hear:
“Enter minutes and then press #."
2b. Enter the correct minutes. Press
the buttons below [3] and [6]
and then [#].
The display and voice prompts you to
select AM or PM. In our example,
you would select PM by pressing the
button below [2].
The voice prompt will repeat the time
and let you save the entry or change
it:
“To change the time, press 1. To
save, press 2.”
2c. If the time is correct, you should
press the button below [2] in
order to save it.
2d. Once saved, the 1792 repeats
the original Time/Date menu. At
this point, you can proceed to
set the date or exit from the
menu by pressing the button be-
low [#].
.If you press [2] to enter the date, the
1792 will prompt you to enter the
month, date, and year (the 1792 will
automatically calculate the day of
the week). The process is similar to
entering the time.

Initial Settings
Set the Speaker Volume Set Play Message Prompts
You can increase or decrease the vol- Switch
pws level of the 1792's speaker. To When you retrieve your messages, the
change the volume, simply press the ar- 1792 plays alist of options after each
row buttons above and below the area message (see page 34 for alist of these
marked VOLUME. options). To defeat the playback of
these options, set the slide switch under
the function panel to the OFF position.
When the switch is placed in the off po-
sition, there will be athree-second
pause between the playback of sub-
sequent messages. During this pause
you can still select any of the options
by pressing the corresponding button.
eTo increase the volume, press the up
arrow.
¢To decrease the volume, press the
down arrow. wore [HL]
ON OFF
PLAY MSG PROMPTS
17

Activating aMailbox
Your 1792 is equipped with 6voice
mailboxes and 3announcement boxes.
In order to use the mailbox, it must first
be activated. Note: Mailbox 1is always
activated.
To Activate aMailbox
1. To activate amailbox(es) flip the
panel down and press the button
marked SETUP MAILBOX.
You will hear: “Select mailbox. For
mailbox 1, press 1. For mailbox 2,
press 2. For mailbox 3, press 3. For
mailbox 4, press 4. For mailbox 5,
press 5. For mailbox 6, press 6. For
announcement box 7, press 7. For
box 8, press 8. For box 9, press 9.
To repeat the menu press 0. To exit
from menu, press #."’
2. Select the mailbox that you wish to
activate by pressing the button be-
low the corresponding displayed num-
ber.
For example, if you want to activate
mailbox 3, press the button below
[3] on the LCD screen.
You will hear: “Mailbox 3is off.
To turn on mailbox 3press 1. To re-
peat the menu, press 0. To exit from
menu, press #. ”
3. Press the button below the [1]. You
will hear: “Mailbox 3is on. Select
18
line. For line 1, press 1. For line 2,
press 2. For line 1and 2, press 3. To
repeat the menu, press 0. To exit
from menu, press #."’
4. Select the desired line by pressing the
corresponding button.
If you exit the menu without
making aselection, the 1792
automatically selects lines 1and
2.
5. The 1792 returns to the idle display.
To activate additional mailboxes, re-
peat the steps described above.
To Deactivate aMailbox
1. To deactivate amailbox, press the
same SETUP MAILBOX button as de-
scribed above. You will then be
given the menu of all mailboxes.
2. Select the one you would like to deac-
tivate, for instance mailbox 3.
You will hear: “Mailbox 3is on. To
turn off mailbox 3press 2.”
3. If you press the button below the [2],
you will hear: “Mailbox 3is off.”
The LCD screen will return to its original
display, with mailbox 1and the time
and date.
Deactivating amailbox erases
the Mailbox Greeting/An-
nouncement as well as all mes-
sages in that mailbox, including
any timed memos.

Greetings &Announcements
The Main Greeting is the first thing a
caller hears when the 1792 answers the
call. It is used to greet callers and to of-
fer them options of where to route their
call. You can record acustom Main
Greeting for each incoming line or use a
recorded default Main Greeting that
automatically routes all calls to mailbox
1. Here is an example of acustom Main
Greeting:
“Hello, you have reached the XYZ
Company. To forward your call to
Dave, press 1; to leave amessage
for Dave, press 2; If you want to
leave amessage for Tom, press 3;
for Lisa, press 4. If you need our
mailing address, press 7. To get di-
rections, press 8. To repeat this
menu at any time, press 0."
The Mailbox Greeting plays in response
to the selection made by the caller. You
will need to record aMailbox Greeting
for each mailbox you activate.
Typical Mailbox Greetings and An-
ing message are shown below:
Box Owner Mailbox
No. Greeting/Announcement
Hi, this is Dave. Please
leave amessage after
ERC Hi, this is Tom...
[+ Jt
[twists
|
ENOur mailing address is
100 Main St...
|8[Directions |Take U.S. Highway
south 10 miles...
nouncements for the above Main Greet-
|1[pave |Please wait while |
forward your call.
=the tone.
=Not used in this
example
Not used in this
oxample.
Announcements are messages that are
played when one of the announcement
mailboxes is selected. Announcements
are useful for leaving information that is
frequently requested by your callers.
Use the scripting chart on the next page
to “preassemble’’ your Main Greeting.
Read through subsequent sections be-
fore attempting to record greetings or
announcements. If you carefully plan
and write out your scripts, you will be
rewarded with aprofessional sounding
operation.
1792 Architecture
Incoming Call
“Hello, this is XYZ
company...”
“Hello, this
is Dave...”
“Hello, this
is Tom...”
“Hello, this
is Lisa...”
Mailbox
Not On
Mailbox
Not On
‘Our mailing
address...”
Main Greeting
Mailbox
Greetings
N
19
Table of contents
Other AT&T Answering Machine manuals