UVEP600_Wireless_TV_Receiver_CSI_Guide_IFC_RELEASE UVEP600_Wireless_TV_Receiver_CSI_Guide_IBC_RELEASE
2.
Set up the Wireless TV Receiver
The first step is to connect your Wireless TV Receiver to your TV.
AConnect the Wireless TV Receiver to your TV with an HDMI cable (not included). You may also use
Component or Coaxial cables.
BPower up your TV and go to the Input Source screen. You may need to consult your TV user manual.
Your TV manufacturer’s remote control may have an Input/Source button that will take you there.
Select the Source you used in Step 1A. For instance, if you used an HDMI cable, select HDMI.
CPut the two-part power cord together.Then use it to plug the Wireless TV Receiver into an
electrical outlet and it will power up automatically. After about a minute, you’ll receive additional
onscreen instructions.
a.
B.
C.
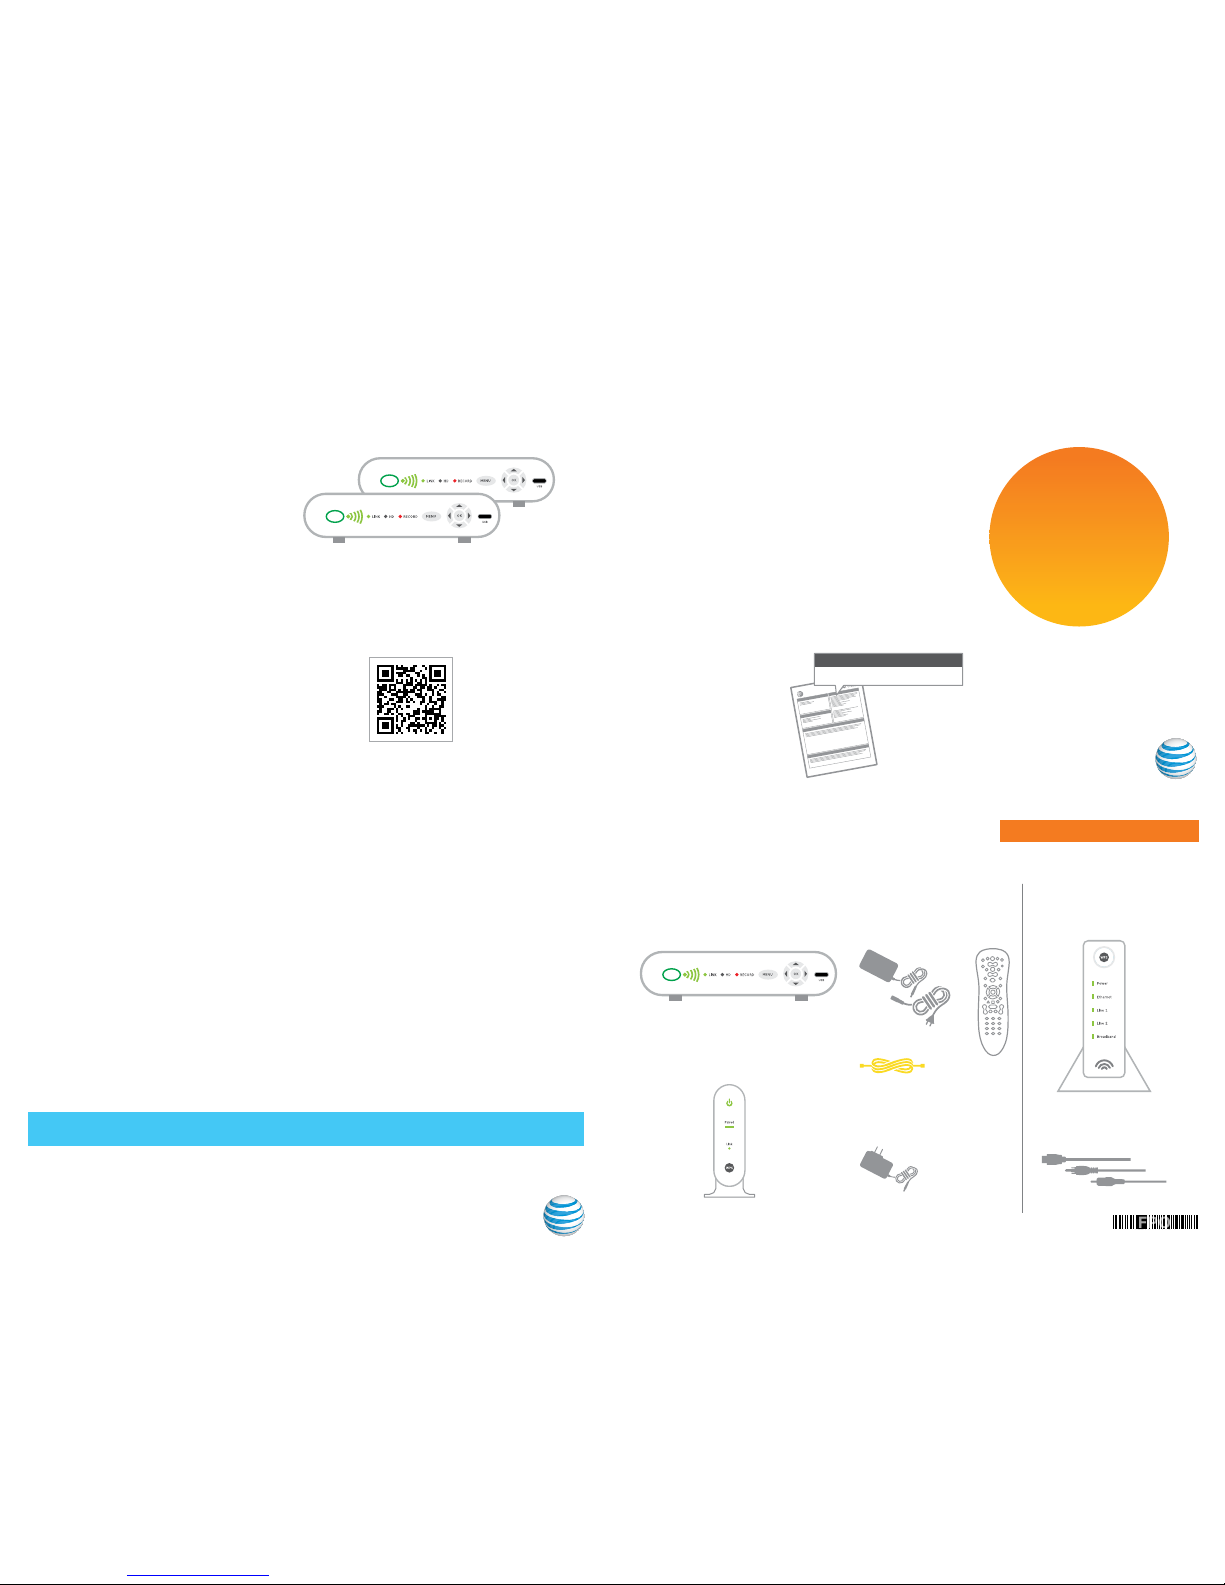
Wireless TV Receiver
(back)
1.
Set up the Wireless Access Point
Next you need to connect your existing Wi-Fi Gateway to the Wireless Access Point.
Note: If you are adding a Second Wireless TV Receiver, skip this step and go to Step 3.
AConnect the Wireless Access Point to your existing Wi-Fi Gateway using the yellow Ethernet cable.
BUse the power cord to plug the Wireless Access Point into a working electrical outlet.
a. B.
Remember:
Make sure you have an open Ethernet port on your existing Wi-Fi Gateway, and be sure to leave existing cables plugged in.
No open port? You’ll need to purchase an Ethernet hub with additional ports.
Wireless Access Point
(back)
Wi-Fi Gateway
(back)
Pair up
3.
Having trouble?
If you see a connection error:
1Press and hold the power button for 10 seconds to restart the
Wireless TV Receiver and repeat the connection process.
2Disconnect your Wireless TV Receiver from its current location. Move it
closer to the Wi-Fi Gateway. Plug the Wireless TV Receiver into an
electrical outlet and reconnect it to a TV.
3Give it a minute and then repeat Step 3 (Pair up).
For more help, visit att.com/wirelessTV or go to channel 411 on your TV
to watch a helpful video.
•Press MENU on your remote. Go to Help > Remote Contol Setup
•See the user guide packaged with the remote control
•Go to att.com/uverseremote
•See intructions on the inside of the remote control battery cover
Need help programming your remote control?
Your TV screen should look like this.
B.On the front of your new Wireless TV Receiver,
press the OK button within two minutes.
Note: Pairing occurs quickly. To ensure you have proper signal strength,
there should be at least three LED green bars lit up on the Wireless TV Receiver.
POWER
C.When you see a green LED on the front of your Wireless TV
Receiver you’ve paired successfully. It may then take a few more
minutes before live TV appears.
Nicely done. Now it’s time to enjoy U-verse TV.
Your TV screen should look like this.
POWER
A. Press the WPS button on your Wireless Access Point.
Wi-Fi Gateway and Wireless Access Point
Now let’s get your Wireless TV Receiver talking to the Wireless Access Point.
Follow the instructions below.
Follow the instructions in
Step 3A (to the left). Your TV screen
should look like this.
Front
Front
Paired
Link