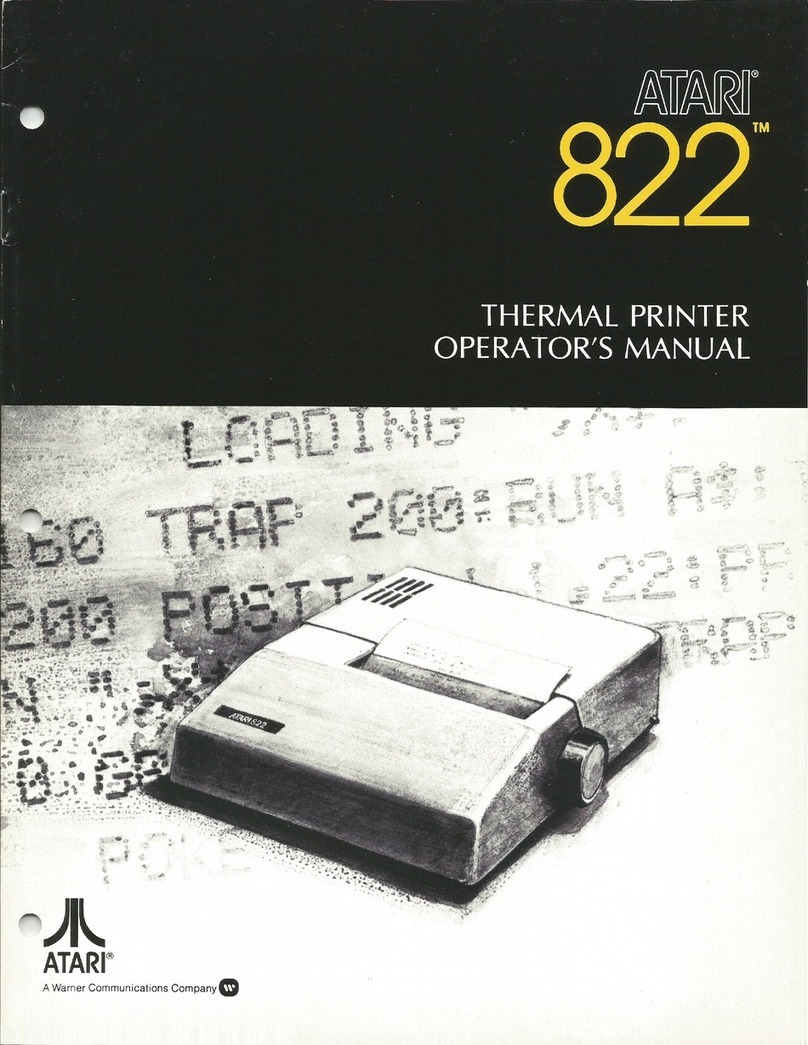
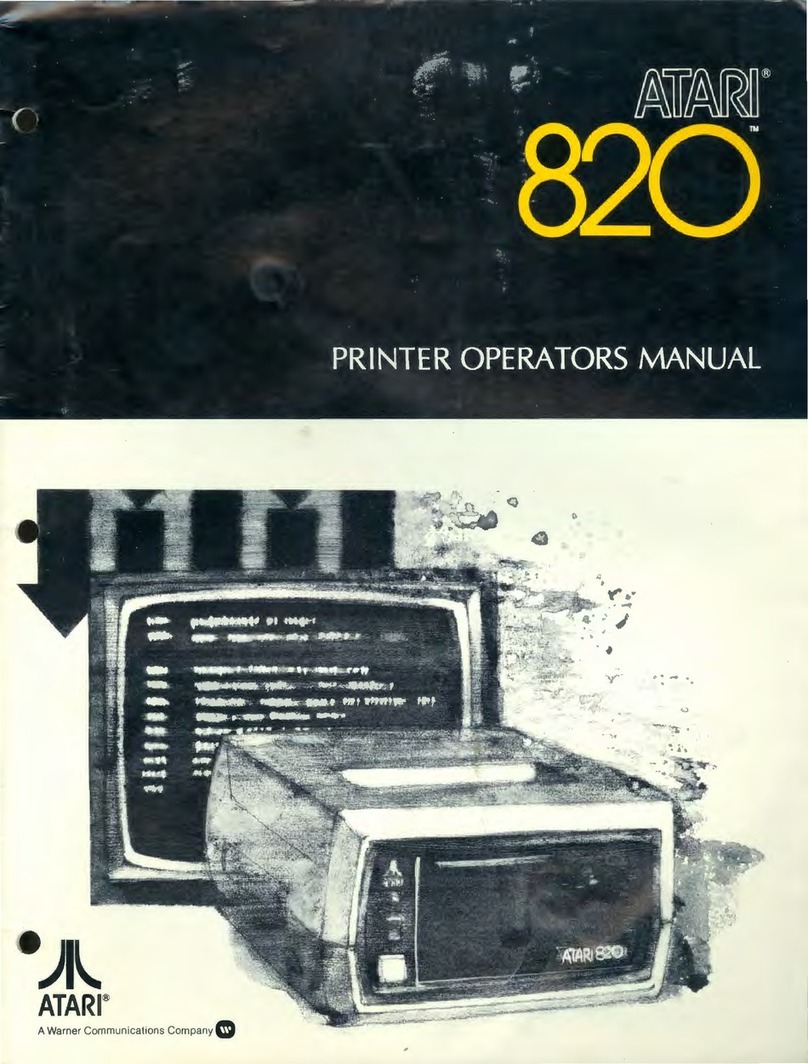
Atari 822 User manual

AWarner Communications CompanyQ

)I\.
ATARI
®
CI
AWarner Communications Company
Every
effort
has
been
made
to
ensure
that
this
manual
accurately
documents
the
operation
of
the
ATARI
822
Thermal
Printer.
However,
due
to
the
ongoing
improvement
and
update
of
the
computer
software,
ATARI
Inc.
cannot
guarantee
the
accuracy
of
printed
material
after
the
date
of
publication,
nor
can
AT
ARI
accept
responsibility
for
errors
or
omissions. Revised
manuals
and
up-
date
sheets
will
be
published
as
needed
and
may
be
purchased
by
writing
to:
Printed
in
USA
ATARI
SOFTWARE SUPPORT GROUP
P.O. Box 427
Sunnyvale,
CA 94086
©1980
AT
ARI, INC.

THERMAL
PRINTER
INTRODUCTION Please
read
this
manual
carefully
and
thoroughly
before
operating
your
ATARI
®822™
Thermal
Printer.
UNPACKING
SETTING UP
YOUR PRINTER
CAUTION
Do
not
operate
your
AT
ARI 822
Thermal
Printer
in
an
explosive
atmosphere
or
in
the
presence
of
flam-
mable
gasses
or
fumes.
Operation
of
any
electrical
in-
strumen
t
in
such
an
environment
may
be
hazardous.
Your
ATARI
822
Thermal
Printer
is a
high
performance
serial
printer
with
37
character-per-second
printing.
It
prints
a full 96
upper
and
lower
case ASCII
character
set
with
bidirectional
look-ahead
printing.
After
printing
one
line
from
left
to
right,
the
microprocessor
looks
ahead,
examines
the
length
of
the
next
line
and
begins
printing
at
the
end
oft
hat
line,
from
right
to
left.
The
Ther-
mal
Printer
prints
large
legible
characters
in
a 5 x 7
dot
matrix
with
a 10
character-per-inch
format
.
The
ATARI
822
Thermal
Printer
is
built
for
mechanical
simplicity
and
reliability
.
Your
ATARI
822
Thermal
Printer
provides
hardcopy
printout
for
the
ATARI
400™and
ATARI
BOO
™
Personal
Computer
Systems. You
may
use
your
ATARI
822
Thermal
Printer
with
many
combinations
of
hardware
and
software
.
Ap-
plication
programs
provide
an
option
to
print
out
results
whenever
appropriate.
ATARI
BASIC
and
ATARI
ASSEMBLER EDITOR
cartridges
both
include
printer
commands,
as
does
the
AT
ARI
DISK
OPERATING SYSTEM (DOS),
which
re-
quires
a
minimum
of
16K RAM.
The
DOS
.Qiskette
and
the
AT
ARI 810™Disk
Drive
or
the
ATARI 815™Dual
Disk
Drive
(double
density)
may
be
used
with
the
AT
ARI
BOO
Personal
Computer
System,
or
the
ATARI 400
Personal
Com-
puter
System,
if
it
has
been
upgraded
to
16K
of
RAM.
Your
AT
ARI 822
Thermal
Printer
is
packaged
as follows:
•
Thermal
Printer
•
One
roll
of
white
Thermal
Paper
(installed
in
printer)
•
One
pair
of
Spring-Loaded
Paper
Bearings
(installed
in
printer)
• I/0 Data
Cord
•
Instruction
Manual
•
Power
Adapter
Save
your
original
packing
materials
and
reuse
them
if
necessary
to
ship
your
printer
or
store
it
for
long
periods
of
time.
Perform
the
following
steps
to
set
up
your
AT
ARI 822
Thermal
Printer
and
con-
nect
it
to
the
computer.
See
detailed
diagrams
for
proper
connections
.
1

INSTALLING
PAPER
AT
ARI
400™or
800™PERSONAL
COMPUTER
SYSTEM
AT
ARI
822
THERMAL
PRINTER
l{i
i
~-
J
OFF/
ON
~-~---
1/0
POWER
' CONNECTOR
I 1/0 DATA CORD
AC
ADAPTER
CAUT
IO
N
TO
PREVENT
DAMAGE
TO
THE
PRINTER
ELEC-
TRONICS,
ALWAYS
CONNECT
THE
AC
POWER
ADAPTER
TO
THE
AT
ARI
822
PRINTER
BEFORE
YOU
CONNECT
THE
ADAPTER
TO
THE
WALL
OUTLET.
1. Make
sure
the
printer
is
turned
OFF
before
connecting
it.
2. Plug
one
end
of
the
1/0 Data
Cord
into
the
serial I/0 PERIPHERAL
port
on
your
ATARI
400TM
or
BOO™
Personal
Computer
System.
If
an
ATARI
Disk
Drive
or
other
AT
ARI
peripheral
device
is
already
connected
to
your
computer
console,
connect
the
I/0
Data
Cord
to
one
of
the
I/0
CONNECTORS
on
your
AT
ARI
peripheral
device.
3.
Connect
the
other
end
of
the
1/0 Data
Cord
to
one
of
the
I/0 CONNECTORS
on
your
AT
ARI 822
Thermal
Printer.
4.
Plug
the
AT
ARI AC
Power
Adapter
into
the
POWER IN
jack
on
your
AT
ARI
822
Thermal
Printer.
5.
Plug
the
AC
Power
Adapter
into
a
wall
outlet
(110-117
VAC).
1.
Lift
the
rear
cover.
If
the
unit
is
lifted
slightly,
the
rear
cover
may
be
rotated
back
180°
and
used
as a
support
to tilt
the
unit
slightly
towards
you.
2. To
remove
the
end
of
the
last roll,
turn
the
manual
paper
knob
counter-
clock
wise
until
the
end
of
the
used
roll is free.
3. Remove
the
two
spring-loaded
bearings
from
the
ends
oft
he
roll
and
discard
the
old
core.
4. Since
the
first
few
inches
ofthe
roll
may
be
coated
with
adhesive,
cut
offthe
first
six inches.
5. Set
the
new
roll
of
thermal
paper
against
the
opened
cover
with
the
loose
end
facing
up,
towards
you.
6.
Fold
about
1
h
inch
of
the
paper
down,
away
from
you.
7.
Feed
the
paper
down
below
the
roller
with
one
hand
and
turn
the
paper
knob
clockwise
with
the
other
hand
until
the
paper
reaches
the
top
ofthe
print
head.
8.
Manually
guide
the
paper
between
the
clear
tear
strip
and
the
metal
platen.
9.
Insert
the
paper
bearings
into
the
core
with
the
"square"
ends
out,
roll
up
the
slack,
and
press
the
ends
of
the
shaft
into
the
deeper
ofthe
two
slots
pro
vided
on
either
side.
10. Close
the
rear
cover;
turn
power
ON
before
printing.

TECHNICAL
SPECIFICATIONS
SPRING-LOADED
PAPER BEARING
FOLD
UNDER
OPERATING
POSITION
PAPER RAMP
CAUTION
Store
thermal
paper
in
a cool
dry
place.
ATARI
822
Thermal
Printer
•
high
resolution,
5 x 7
dot-matrix
serial
printer
• 40
characters-per-
line
• 10
characters-per-inch
•
upper
and
lower
case
alphanumeric
characters
•
built-in
microprocessor
•
bidirectional
look-ahead
printing
• full
line
buffering
•
direct
serial
interface
to
AT
ARI
400™and
AT
ARI BOO™Personal
Computer
Systems
• AC
transformer,
UL
approved
•
physical
dimensions
weight:
less
than
6
pounds
height:
2
W'
depth:
9
lh"
width:
7
lh"
3

4
Printing
Speed
•
approximately
37
CPS
(characters-per-second)
1/0
Data
Cord
•
ATARI
Part
No. CA014122 (3-foot)
Reorder
Numbers
• 4 7/16
inch
white
thermal
paper,
two
rolls,
80
feet
each,
ATARI
Part
No. C016345
•
one
pair,
spring-loaded
paper
bearings,
ATARI
Part
No. C016005
• I/0
Data
Cord
(5-foot),
AT
ARI
Part
No.
CA015900-01,
Model
No. CX81

PRINTER
COMMANDS
Each
piece
of
software,
whether
cartridge,
cassette,
or
diskette
based,
will
have
its
own
commands
for
activating
the
printer.
Consult
the
appropriate
software
manual
for
complete
printer
commands
.
BASIC
-
When
you
are
familiar
with
AT
ARI BASIC
Computing
Language
you
will
know
how
to
use
the
commands
PRINT
and
LIST.
To
PRINT
on
the
printer
instead
of
the
screen,
replace
PRINT
with
LPRINT
in
your
BASIC
source
programs.
To
LIST
on
the
printer,
use
LIST
"P:
or
L.
"P:
instead
of
LIST.
(No
closing
quotation
marks
needed.)
Here's
an
example:
Type
this
BASIC
Program
into
your
computer:
TYPE
THIS:
1.~
::1
[='h
:
I~H
"THE
PPI~lT
C:Of'l!'lmm CC!rlES
OUT
HE
PE~
,,
mmm
~
~
(1
u=·p
HH
"THE
LPF:
HH
C:Of'lf'lH~m
C:CtrlES
OUT
HEF:E."
lm!Jm
When
you
RLI~~
this
program
each
PRINT
statement
will
appear
on
the
screen
as
shown
below.
TYPE
THIS:
PUr
·
~
PUSH
nn
SCREEN
DISPLAY
Your
printer
will
print
only
the
u=·p
I
rH
lines
like
this:
~
~F
L
~RINT
COMMqNQ
COMES
OUT
HERE.
5

6
To see
your
program
again:
TYPE
THIS:
u::;r
PUSH
mmm
SCREEN
DISPLAY
To
get
a
printout
of
your
program:
TYPE
THIS:
PUSH
SAMPLE
PRINTOUT
-
The
ATARI
BASIC
REFERENCE
MANUAL
contains
a
complete
description
of
all
AT
ARI BASIC
Language
commands.
AT
AIU
DISK
OPERATING
SYSTEM
(DOS)-
The
Disk
Operating
System
(DOS)
Reference
Manual
will
provide
you
with
complete
instructions
on
using
the
DOS
software
to
access
the
printer
and
other
peripheral
components.

PLOTTING
GRAPHIC
DESIGNS
Drawing
plots
and
graphics
in
BASIC
requires
a
thorough
knowledge
of
the
BASIC
Programming
Language.
Refer to
the
AT
ARI BASIC
Reference
Manual
for
further
details.
The
following
program
demonstrates
the
graphic
capability
of
the
ATARI
822
Thermal
Printer.
A
minimum
of
24K RAM is
necessary
to
operate
this
program.
TYPE
THIS:
10 DIM
8$(40),($(128),0~(21)
20
FOR
X=1
TO
40:8$(X~X)=CHR$(0):NEXT
X:
F:Ef'l
CLEHR
OUTPUT
~::Tf=;:
I
t~(3
3(1
D$="
POLHFWLOTT
I t·iGONTHE800"
40
FOF:
:=<=1
TO
105:
F:EHD
P:
C$(
;,:;,;,:;
)=CHF:$(
H)
:
t·~E>::T
;:.:;
:
REr1
LOHD
8 I
~~HR'T'
CODE
50
OPEN
#1
..
8
..
~3
..
"P:
II
60
?
#1:?
#1:?
#1;"
INTRODUCING
THE
PTHR
I <
F:
) :::22":
'r-
#1
..
"
THERr·lAL
PF:
I tHEF:"
?(t
·;:·
# 1:
·-;:·
# 1; " f'lode· 8 Gr·apn i c
·::.
sc
r·
:
::(1
H=HDF:(
8$
):
C=I~H<
H.
...-25E:
):
8=H-Cl256
8~3
POKE
772
..
8:
POKE
773
..
C:
F:EM
SETUP
DCB
1
t1(1
F'Ot<E
77€1
..
80:
POKE
778
..
76
110
GF:APH
I
CS
8+
1
E::
COL
OF:
1
120
I~:1=PEEK(
560
)+PEEK( 561
/*256
130
MEMST=PEEI<(
I0+4
)+PEEl</
I0+5
)%256
14€1
FOF:
:=<:=
1
TO
5:
F:EHD
U1
..
U2,
P:X:
..
PY
150
t30SUB
1000:
NE:=<T
;:-:;
50~3
DEG
: FUN=600:ST=10
510
T=O:
GOSUB
FUN: PLOT
;x;,',.'
530
T=T+ST:GOSUB
FUN:DR~TO
:X:,'T'
550
IF
T<
3E:0
THEt~
GOTO
530
555
IF
F:=O
THH~
FUN=7€10: R=1:
ST=3:
GOTO
51
(1
5t:~3
Z=U~::F:(
HDF:(
C$)
..
HDR(
8$
)+4
..
f1Ef1ST):
REM
C·
ALL
ASSEMBLEF:
F:OUT
I
t~E
57~3
FCt~:
>=:=1
TCI
5:
·?
#1:
NE:=<T
:=<
5:::~)
~::TOP
{
t::~)(1
E:~35
t:1(1
X=COS(T)tCOS(T)*COS(T)
'r'=SI W T
)~~S
I W T
)tS
It·~(
T )
:=<=:>=::t~:ll!h
15~3:
'r'=Y::;::~30+85:
RETURN
700
;x:=COS<
T
)::I::CCIS(
4::n
)
?€15
'r'=S
IN(
T \tCOS(
4:=n
)
710
X=X%00+158:
Y='r':\=:~30+85:
F:ETUF:t~
1
€1(10
I
4=f'1EMST
+P'r'l40+P:X::U3=0
1005
FOR
Z=U
1
TO
U2: I
~'=57344+(
ASC/ [1$( Z ) )
-32
)::~:8:
I
3=
I
4+U3:
FOR
U=~3
TO
7:
POKE
I
3+1_1:*4
O
..
PEEI<(
I2+U
):
NE:>c:T
U: U3=U3+1:
t~Dn
Z
1€110
F:ETUF:N
2000
DATA
104
..
2€18,1
..
~3E:
..
201
..
3
..
144
..
1
..
~36
..
10
~
170,104-.202
..
149
..
2t13
..
20~:
..
2~d3
..
165
..
2t.33,
133
, 211
..
165,204
..
133
..
212
..
16~3
..
40
~
133
2~310
DATH
210
..
168
..
128
..
133
..
208
..
165
..
211
..
13
3,203
..
165
..
212
..
133
..
204,160
..
24
..
162
..
0
..
168
..
1
2E:,133,207,
161,203,
133
..
20:::
..
24
..
1€;5
202€1
DATA
203
..
105
..
40
..
133
..
203,144,2,230
..
2
04
..
24
..
165
..
208
..
37
..
208
..
240
..
2
..
168
..
128
..
70
..
20
?,5,207
..
133,207,144,224
..
1?S,145
2030
DATA
205
..
208
..
215
..
168
..
128
..
141
..
3
..
3
..
32
..
:::~3,228
..
70
..
209
..
208
..
191
..
230
..
211
..
1~38
..
210
..
2
7

TYPE
THIS:
PU~·l
PRINTOUT
8
SCREEN
DISPLAY
INTRODUC
ING
THE
qTqRI
(R)
822
THEF:r1HL
PF:
ItHEF:
Mo
de
8
Graphics
Screen
Copy
-
·~
0
:z

Other manuals for 822
1
Table of contents
Other Atari Printer manuals