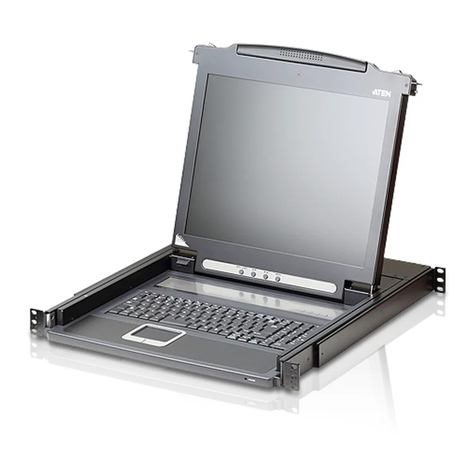
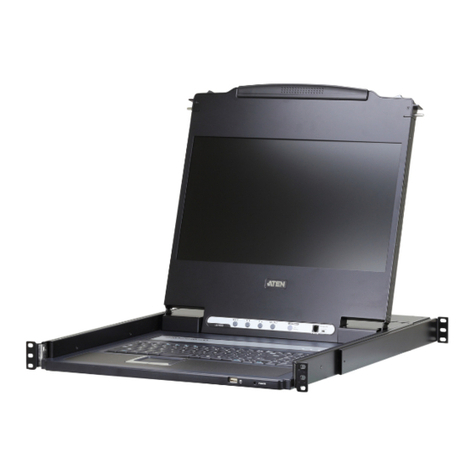
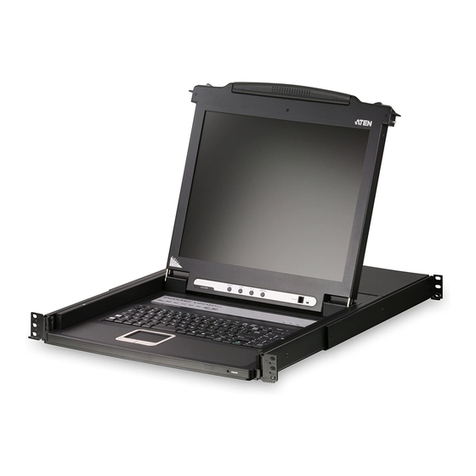
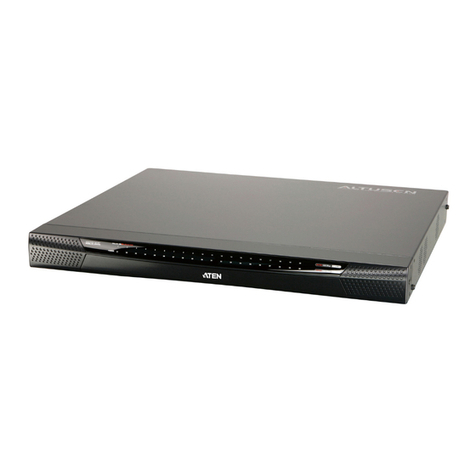
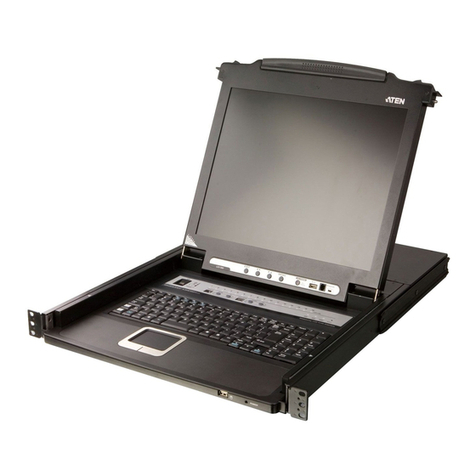
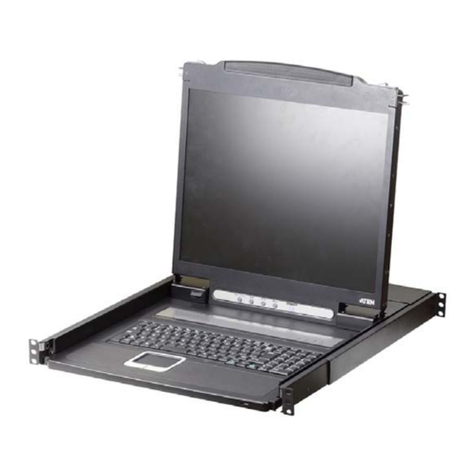
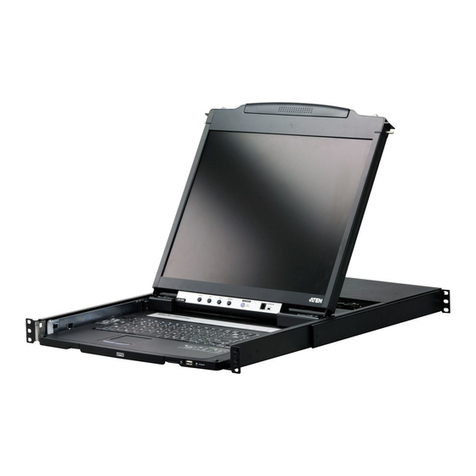
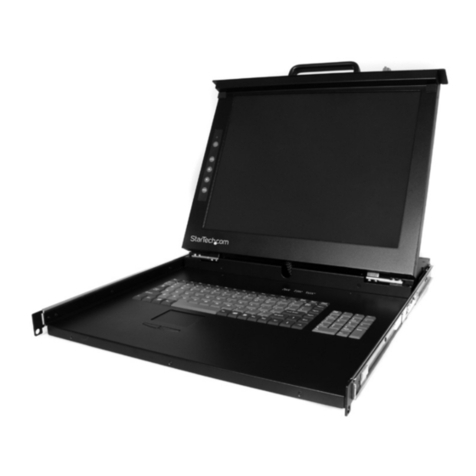
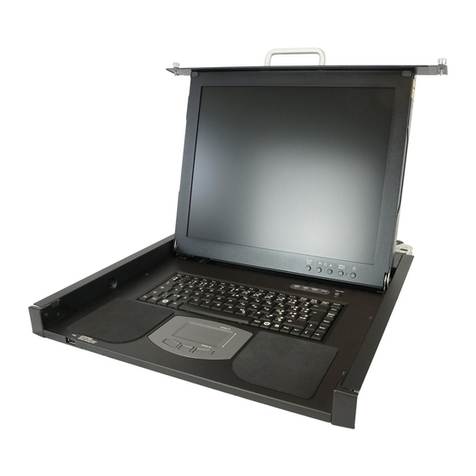
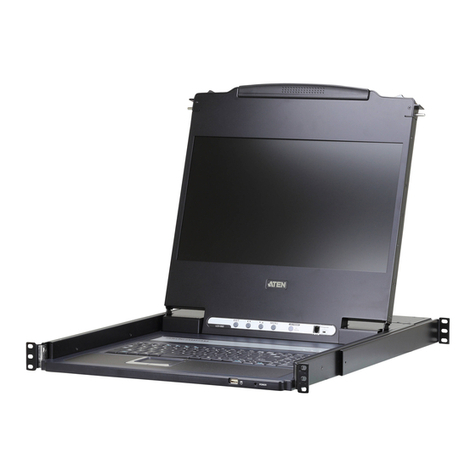
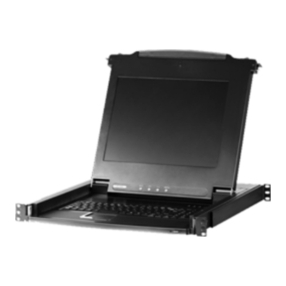
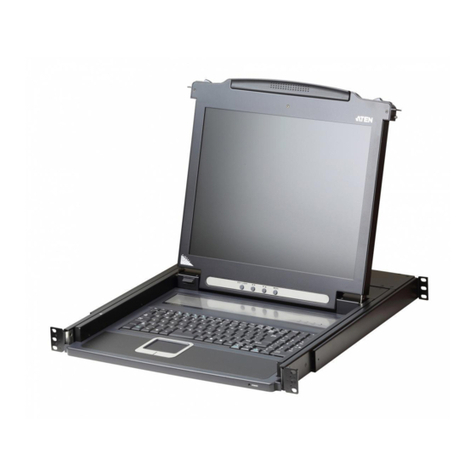
ATEN CL6700MW User manual

CL6700MW
DVI Full HD LCD Console
User Manual

CL6700MW User Manual
ii
Compliance Statements
FEDERAL COMMUNICATIONS COMMISSION INTERFERENCE
STATEMENT
This equipment has been tested and found to comply with the limits for a Class
A digital device, pursuant to Part 15 of the FCC ules. These limits are
designed to provide reasonable protection against harmful interference when
the equipment is operated in a commercial environment. This equipment
generates, uses, and can radiate radio frequency energy and, if not installed and
used in accordance with the instruction manual, may cause harmful
interference to radio communications. Operation of this equipment in a
residential area is likely to cause harmful interference in which case the user
will be required to correct the interference at his own expense.
The device complies with Part 15 of the FCC ules. Operation is subject to the
following two conditions: (1) this device may not cause harmful interference,
and (2) this device must accept any interference received, including
interference that may cause undesired operation.
FCC Caution
Any changes or modifications not expressly approved by the party responsible
for compliance could void the user's authority to operate this equipment.
Warning
Operation of this equipment in a residential environment could cause radio
interference.
Achtung
Der Gebrauch dieses Geräts in Wohnumgebung kann Funkstörungen
verursachen.
KCC Statement

CL6700MW User Manual
iii
Industr Canada Statement
This Class A digital apparatus complies with Canadian ICES-003.
HDMI Trademark Statement
The terms HDMI, HDMI High-Definition Multimedia Interface, and the
HDMI Logo are trademarks or registered trademarks of HDMI Licensing
Administrator, Inc.
RoHS
This product is oHS compliant.

CL6700MW User Manual
iv
警告使用者:
警告使用者:警告使用者:
警告使用者:
此為甲類資訊技術設備,於居住環境中使用時,可能會造
成射頻擾動,在此種 況下,使用者會被要求採取某些適當的對策。
KVM+
KVM+KVM+
KVM+ 多
多多
多電腦切換器類產品
電腦切換器類產品電腦切換器類產品
電腦切換器類產品
製造商
製造商製造商
製造商:
::
:
宏正自動科技股份有限公司
地址
地址地址
地址
:新北市汐止區大同路二段 125 號三樓
最大操作環境溫度
最大操作環境溫度最大操作環境溫度
最大操作環境溫度 :
::
:
40ºC
最大額定電壓
最大額定電壓最大額定電壓
最大額定電壓 :
::
:
100 - 240V AC
設備名稱
Equipment
Name
單
滑軌
LCD
控制端 型號
( 型式 )
Type designa-
tion (Type)
CL6700MW
單元
Unit
限用物質及其化學符號
estricted substances and its chemical symbols
鉛
Lead
(Pb)
汞
Mercury
(Hg)
鎘
Cadmium
(Cd)
六價鉻
Hexavalent
chromium
(Cr
6
)
多 聯苯
Polybrominated
biphenyls
(PBB)
多 二苯醚
Polybrominated
diphenyl ethers
(PBDE)
電纜線
Cable
- ○ ○ ○ ○ ○
印刷電路部件
PCBA
- ○ ○ ○ ○ ○
塑膠
/
其他部件
Plastic / Other
parts
○ ○ ○ ○ ○ ○
螢幕
Panel
- ○ ○ ○ ○ ○
鍵盤
Keyboard
- ○ ○ ○ ○ ○
滑鼠
Mouse
- ○ ○ ○ ○ ○
備考
1.
〝超出
0.1 wt %
〞及 〝超出
0.01 wt %
〞係指限用物質之百分比含量超出百分比含量基準值。
Note 1
:
“Exceeding 0.1 wt %” and “exceeding 0.01 wt %” indicate that the percentage content of the restricted
substance exceeds the reference percentage value of presence condition.
備考
2.
〝○〞係指該項限用物質之百分比含量未超出百分比含量基準值。
Note 2
:
“
○
” indicates that the percentage content of the restricted substance does not exceed the percentage of
reference value of presence.
備考
3.
〝-〞係指該項限用物質為排 項目。
Note 3
:
“−” indicates that the restricted substance corresponds to the exemption.

CL6700MW User Manual
v
User Information
Online Registration
Be sure to register your product at our online support center:
Telephone Support
For telephone support, call this number:
International http://eservice.aten.com
International 886-2-8692-6959
China 86-400-810-0-810
Japan 81-3-5615-5811
Korea 82-2-467-6789
North America 1-888-999-ATEN ext 4988
1-949-428-1111

CL6700MW User Manual
vi
User Notice
All information, documentation, and specifications contained in this manual
are subject to change without prior notification by the manufacturer. The
manufacturer makes no representations or warranties, either expressed or
implied, with respect to the contents hereof and specifically disclaims any
warranties as to merchantability or fitness for any particular purpose. Any of
the manufacturer's software described in this manual is sold or licensed as is.
Should the programs prove defective following their purchase, the buyer (and
not the manufacturer, its distributor, or its dealer), assumes the entire cost of all
necessary servicing, repair and any incidental or consequential damages
resulting from any defect in the software.
The manufacturer of this system is not responsible for any radio and/or TV
interference caused by unauthorized modifications to this device. It is the
responsibility of the user to correct such interference.
The manufacturer is not responsible for any damage incurred in the operation
of this system if the correct operational voltage setting was not selected prior
to operation. PLEASE VE IFY THAT THE VOLTAGE SETTING IS
CO ECT BEFO E USE.
A typical LCD (Liquid Crystal Display) monitor has millions of pixels. A dead
pixel refers to a pixel with a defect in its ability to display the correct color
output. It most often looks like a tiny black or white spot on your screen,
although it can be any other color. Since even a tiny dust particle on one of the
pixels during the manufacturing process or a slight bump during shipping can
create a dead pixel, the ISO 13406-2 norm defines 4 classes of acceptable
screens with dead pixels--Class 1 is the best; Class 4 is the worst. Almost all
manufacturers use Class 2 to establish their warranties, which allows a certain
amount of dead pixels to exist before they will replace the screen. Since the
manufacturers consider these screens to be acceptable under ISO
specifications, we cannot be responsible for replacement or warranty of the
TFT LCD panel.

CL6700MW User Manual
vii
Product Information
For information about all ATEN products and how they can help you connect
without limits, visit ATEN on the Web or contact an ATEN Authorized
eseller. Visit ATEN on the Web for a list of locations and telephone numbers:
International http://www.aten.com
North America http://www.aten-usa.com

CL6700MW User Manual
viii
Package Contents
Check to make sure that all the components are in working order. If you
encounter any problem, please contact your dealer.
Basic Package
The basic CL6700MW package consists of:
1 CL6700MW DVI Full HD LCD Console with Standard ack Mount Kit
1 custom USB DVI KVM cable set
1 power cord
1 firmware upgrade cable
1 user instructions

CL6700MW User Manual
ix
Contents
Compliance Statements . . . . . . . . . . . . . . . . . . . . . . . . . . . . . . . . . . . . . . . ii
User Information . . . . . . . . . . . . . . . . . . . . . . . . . . . . . . . . . . . . . . . . . . . . . v
Online Registration . . . . . . . . . . . . . . . . . . . . . . . . . . . . . . . . . . . . . . . . v
Telephone Support . . . . . . . . . . . . . . . . . . . . . . . . . . . . . . . . . . . . . . . . v
User Notice . . . . . . . . . . . . . . . . . . . . . . . . . . . . . . . . . . . . . . . . . . . . . vi
Product Information. . . . . . . . . . . . . . . . . . . . . . . . . . . . . . . . . . . . . . . . . . vii
Package Contents. . . . . . . . . . . . . . . . . . . . . . . . . . . . . . . . . . . . . . . . . . .viii
Basic Package. . . . . . . . . . . . . . . . . . . . . . . . . . . . . . . . . . . . . . . . . . .viii
Contents . . . . . . . . . . . . . . . . . . . . . . . . . . . . . . . . . . . . . . . . . . . . . . . . . . ix
About this Manual . . . . . . . . . . . . . . . . . . . . . . . . . . . . . . . . . . . . . . . . . . . xi
Overview . . . . . . . . . . . . . . . . . . . . . . . . . . . . . . . . . . . . . . . . . . . . . . . xi
Conventions . . . . . . . . . . . . . . . . . . . . . . . . . . . . . . . . . . . . . . . . . . . . xii
Chapter 1.
Introduction
Overview . . . . . . . . . . . . . . . . . . . . . . . . . . . . . . . . . . . . . . . . . . . . . . . . . . . 1
Features . . . . . . . . . . . . . . . . . . . . . . . . . . . . . . . . . . . . . . . . . . . . . . . . . . . 2
Requirements . . . . . . . . . . . . . . . . . . . . . . . . . . . . . . . . . . . . . . . . . . . . . . . 3
LCD Console . . . . . . . . . . . . . . . . . . . . . . . . . . . . . . . . . . . . . . . . . . . . . 3
External Console . . . . . . . . . . . . . . . . . . . . . . . . . . . . . . . . . . . . . . . . . . 3
Cables . . . . . . . . . . . . . . . . . . . . . . . . . . . . . . . . . . . . . . . . . . . . . . . . . . 3
Operating Systems . . . . . . . . . . . . . . . . . . . . . . . . . . . . . . . . . . . . . . . .4
Components . . . . . . . . . . . . . . . . . . . . . . . . . . . . . . . . . . . . . . . . . . . . . . . . 5
Front View . . . . . . . . . . . . . . . . . . . . . . . . . . . . . . . . . . . . . . . . . . . . . . . 5
Rear View . . . . . . . . . . . . . . . . . . . . . . . . . . . . . . . . . . . . . . . . . . . . . . . 7
Chapter 2.
Hardware Setup
Before you Begin. . . . . . . . . . . . . . . . . . . . . . . . . . . . . . . . . . . . . . . . . . . . . 9
Standard Rack Mounting. . . . . . . . . . . . . . . . . . . . . . . . . . . . . . . . . . . . . . 10
Optional Rack Mount Kits . . . . . . . . . . . . . . . . . . . . . . . . . . . . . . . . . . . . . 12
Connecting Up . . . . . . . . . . . . . . . . . . . . . . . . . . . . . . . . . . . . . . . . . . . . . 13
Chapter 3.
Operation
Opening the Console . . . . . . . . . . . . . . . . . . . . . . . . . . . . . . . . . . . . . . . . 15
Closing the Console . . . . . . . . . . . . . . . . . . . . . . . . . . . . . . . . . . . . . . . . . 16
Operating Precautions . . . . . . . . . . . . . . . . . . . . . . . . . . . . . . . . . . . . . . .17
LCD OSD Configuration . . . . . . . . . . . . . . . . . . . . . . . . . . . . . . . . . . . . . . 18
LCD Buttons . . . . . . . . . . . . . . . . . . . . . . . . . . . . . . . . . . . . . . . . . . . . 18
Manufacturing Number . . . . . . . . . . . . . . . . . . . . . . . . . . . . . . . . . . . . 18
Adjustment Settings . . . . . . . . . . . . . . . . . . . . . . . . . . . . . . . . . . . . . . 19
Hot Plugging . . . . . . . . . . . . . . . . . . . . . . . . . . . . . . . . . . . . . . . . . . . . . . .20
Powering Off and Restarting. . . . . . . . . . . . . . . . . . . . . . . . . . . . . . . . . . . 20
Hotkeys . . . . . . . . . . . . . . . . . . . . . . . . . . . . . . . . . . . . . . . . . . . . . . . . . . . 21
CL6700MW User Manual
x
Chapter 4.
irmware Upgrade
The Firmware Upgrade Utility . . . . . . . . . . . . . . . . . . . . . . . . . . . . . . . . . . 23
Before You Begin . . . . . . . . . . . . . . . . . . . . . . . . . . . . . . . . . . . . . . . . 23
Firmware Upgrade Mode . . . . . . . . . . . . . . . . . . . . . . . . . . . . . . . . . . 24
Performing the Upgrade . . . . . . . . . . . . . . . . . . . . . . . . . . . . . . . . . . . 25
Starting the Upgrade: . . . . . . . . . . . . . . . . . . . . . . . . . . . . . . . . . . 25
Upgrade Succeeded:. . . . . . . . . . . . . . . . . . . . . . . . . . . . . . . . . . . 27
Upgrade Failed:. . . . . . . . . . . . . . . . . . . . . . . . . . . . . . . . . . . . . . . 28
Exiting Firmware Upgrade Mode. . . . . . . . . . . . . . . . . . . . . . . . . . . . . 29
Appendix
Safety Instructions . . . . . . . . . . . . . . . . . . . . . . . . . . . . . . . . . . . . . . . . . . 31
General . . . . . . . . . . . . . . . . . . . . . . . . . . . . . . . . . . . . . . . . . . . . . . . . 31
Rack Mounting . . . . . . . . . . . . . . . . . . . . . . . . . . . . . . . . . . . . . . . . . . 33
Technical Support. . . . . . . . . . . . . . . . . . . . . . . . . . . . . . . . . . . . . . . . . . . 34
International . . . . . . . . . . . . . . . . . . . . . . . . . . . . . . . . . . . . . . . . . . . . 34
North America . . . . . . . . . . . . . . . . . . . . . . . . . . . . . . . . . . . . . . . . . . . 34
Specifications . . . . . . . . . . . . . . . . . . . . . . . . . . . . . . . . . . . . . . . . . . . . . . 35
Sun Keyboard Emulation . . . . . . . . . . . . . . . . . . . . . . . . . . . . . . . . . . . . . 37
Mac Keyboard. . . . . . . . . . . . . . . . . . . . . . . . . . . . . . . . . . . . . . . . . . . . . . 38
Troubleshooting . . . . . . . . . . . . . . . . . . . . . . . . . . . . . . . . . . . . . . . . . . . . 39
ATEN Standard Warranty Policy . . . . . . . . . . . . . . . . . . . . . . . . . . . . . . . 40

CL6700MW User Manual
xi
About this Manual
This User Manual is provided to help you get the most from your CL6700MW
system. It covers all aspects of installation, configuration and operation. An
overview of the information found in the manual is provided below.
Overview
Chapter 1, Introduction, introduces you to the CL6700MW KVM
Console. Its purpose, features and benefits are presented, and its components
are described.
Chapter 2, Hardware Setup, provides step-by-step instructions for setting
up your installation, and explains some basic operation procedures.
Chapter 3, Operation, describes the fundamental concepts involved in
operating the CL6700MW.
Chapter 4, irmware Upgrade, explains how to upgrade the
CL6700MW’s firmware with the latest available versions.
Appendix, provides specifications and other technical information regarding
the CL6700MW.
Note:
ead this manual thoroughly and follow the installation and operation
procedures carefully to prevent any damage to the unit or any connected
devices.
The product may be updated with features and functions added, improved
or removed since the release of this manual. For an up-to-date user
manual, visit http://www.aten.com/global/en/

CL6700MW User Manual
xii
Conventions
This manual uses the following conventions:
Monospaced Indicates text that you should key in.
[ ] Indicates keys you should press. For example, [Enter] means to
press the Enter key. If keys need to be chorded, they appear
together in the same bracket with a plus sign between them:
[Ctrl Alt].
1. Numbered lists represent procedures with sequential steps.
♦Bullet lists provide information, but do not involve sequential
steps.
>Indicates selecting the option (on a menu or dialog box, for
example), that comes next. For example, Start
>
Run means to
open the Start menu, and then select Run.
Indicates critical information.

1
Chapter 1
Introduction
Overview
The CL6700MW DVI Full HD LCD Console is a single rail KVM console
featuring a 17.3" HD widescreen with integrated keyboard and touchpad in a
1U rack-mountable sliding housing. The CL6700MW provides front end
access to compatible KVM switches and utilizes space by closing flat and
sliding into the rack. In addition, ports for an external USB keyboard and
mouse as well as a monitor are provided on the rear panel.
The CL6700MW features DVI, HDMI, and VGA ports for the KVM switch
and external console’s video connection. This added convenience provides
three video options for both the external console and KVM switch connection.
The CL6700MW also includes two mini stereo ports for connecting audio
speakers.
Server rooms already installed with compatible KVM switches will have the
advantage of easy LCD access, an additional KVM console, and a built-in
space saving sliding module, without having to purchase a new KVM switch.
The CL6700MW’s firmware is upgradable, so you can stay current with the
latest updates by downloading them from the ATEN website. Setup is fast and
easy. Simply use the custom cables included with your device to connect the
CL6700MW to the console ports of your KVM switch and you are ready to go!

CL6700MW User Manual
2
eatures
Integrated KVM console with a 17.3” Widescreen DVI Full HD LCD
monitor
Single rail housing with top and bottom clearance for smooth operation in
a 1U high system rack
Supports an external console with DVI / VGA / HDMI video ports
Superior video quality – up to 1920 x 1080 @60Hz; DDC, DDC2,
DDC2B
Optional rack mount kits available, including easy installation options
Compatible with most ATEN DVI KVM Switches
Adjustable depth to fit within the rack
Audio support for connecting speakers
Standard 105-key keyboard; Sun keyboard emulation
Multiplatform support – Windows, Linux, Mac, and Sun
Firmware upgradeable
Console lock – enables the console drawer to remain securely locked away
in position when not in use
DDC emulation – video settings of attached computers are automatically
adjusted for optimal output to the monitor

Chapter 1. Introduction
3
Requirements
LCD Console
The LCD console supports most ATEN DVI KVM switches. If you are
unsure whether your switch is supported or not, check with your dealer.
The integrated LCD monitor's maximum resolution is 1920 x 1080
@60Hz. Make sure that none of the resolution settings of the connected
computers exceed the LCD monitor's maximum resolution.
External Console
A VGA, SVGA, MultiSync, DVI, or HDMI monitor capable of displaying
the highest resolution provided by any computer in the installation
USB keyboard and mouse
Cables
For optimum signal integrity and to simplify the layout, we strongly
recommend that you use high quality custom cable sets available in varying
lengths, described in the table below, which can be purchased from your dealer.
Length (m) Part Number
1.80 2L-7D02U
3.00 2L-7D03U
5.00 2L-7D05U
1.80 2L-7D02UH

CL6700MW User Manual
4
Operating Systems
Supported operating systems are shown in the table below.
OS Version
Windows NT or later
Linux RedHat 9.0 or later
SuSE 10 or later
Mandriva (Mandrake) 9.0 or later
UNIX AIX 4.3 or later
FreeBSD 5.5 or later
Sun Solaris 8 or later
Novell Netware 5.0 or later
Mac 9.0 or later
DOS 6.2 or later

Chapter 1. Introduction
5
Components
ront View
2
2
1
3
4
6
7
9
8
10
11 12
513
14

CL6700MW User Manual
6
No. Component Description
1 upper handle Pull to slide the LCD module out; push to slide it in.
See Opening the Console, page 15, for details on sliding the
console in and out
2 module release
catches
In order to slide the console out, you must first release it by
sliding these catches to the inside.
3 LCD module After sliding the LCD module out, flip up the cover to access
the LCD display.
4 LCD controls The buttons to control the position and picture settings of the
LCD display are located here. See page 18, for details.
5 LCD On / Off
button
Push this button to turn the LCD monitor on and off. The
button lights when the LCD monitor is off.
Note: The light indicates that only the monitor is off, not the
attached KVM switch.
6 keyboard module Standard 105-key keyboard
7 touchpad Standard mouse touchpad
8 USB port The USB port is available to connect a USB peripheral
device (flash drive, CD-ROM drive, etc.) to the console, or a
USB mouse for users who prefer to use an external mouse.
9 power LED Lights (green) to indicate that the unit is receiving power.
10 rack mount
brackets
The rack mount brackets are located at each corner of the
unit. See Standard Rack Mounting, page 10, for details.
11 lock LEDs The Num Lock, Caps Lock, Scroll Lock LEDs are located
here.
12 reset button Located to the right of the Lock LEDs. Press this button in
with a thin object to perform a system reset.
13 firmware upgrade
port
The firmware upgrade cable that transfers the firmware
upgrade data from the administrator’s computer plugs into
this RJ-11 connector.
14 firmware upgrade
switch
During normal operation and while performing a firmware
upgrade, this switch should be in the NORMAL position. If a
firmware upgrade operation does not complete successfully,
this switch is used to perform a firmware upgrade recovery.
See Upgrade Failed:, page 28, for details.

Chapter 1. Introduction
7
Rear View
No. Component Description
1 power socket This is a standard 3 prong AC power socket. The power cord
from an AC source plugs in here.
2 power switch This is a standard rocker switch that powers the CL6700MW
on and off.
3 external console
section
For flexibility and convenience, the CL6700MW supports an
independent, external, KVM console. The external console's
USB keyboard and mouse, DVI, VGA, or HDMI monitor, and
audio cables plug in here.
4 KVM port section The custom KVM cable supplied with the package for linking
the CL6700MW to a computer or switch plugs in here. An
additional HDMI and VGA port are provided.
5 grounding
terminal
The grounding wire (used to ground the unit) attaches here.
1234
5
HDMI HDMI

CL6700MW User Manual
8
This Page Intentionally Left Blank
Other manuals for CL6700MW
1
Other ATEN LCD Drawer manuals

ATEN
ATEN CL3000 User manual

ATEN
ATEN KA8270 User manual

ATEN
ATEN CL1000N User manual

ATEN
ATEN CL1000M User manual

ATEN
ATEN CL1000N-FR User manual

ATEN
ATEN Slideaway CL1000 Troubleshooting guide

ATEN
ATEN CL3800 User manual

ATEN
ATEN CL5800 User manual

ATEN
ATEN KVM OVER THE NET KN2124V User manual

ATEN
ATEN CL6700 User manual