AU Tool LM 706 User manual
LM 706 A/C Service Station
LM 706
A/C Service Station

LM 706 A/C Service Station
Safety
The machine is designed to be used and repaired by qualified personnel only.
The machine designed for use R12/R134a/R1234yf refrigerant. Do not mix different type
of refrigerant otherwise can easily lead to malfunction of the machine.
This equipment can only use one kind of refrigerant. If different types of refrigerant are needed, the
whole equipment system needs to be emptied.
Keep away from moving parts and rotating elements such as cooling fans, alternators and heating
components, etc. to avoid harm.
Wear protective clothing gloves and goggles.
As automotive air conditioning pipe flushing, the operator must be fully familiar with automotive air
conditioning system and operation of the machine. Check whenever the engine is turned off that the
ignition key is turned to the full OFF position!
Do not expose the machine to direct sunlight or rain. Use only in well-ventilated work areas.
Never exceed 30 ° tilt in transit process upside down is strictly prohibited.
Do not touch the machine high voltage power supply section, and do not maintain the machine as
power on.
Care of the manual.

LM 706 A/C Service Station
Contents
1. Introduction............................................................................................................................................................ 1
1.1 Outline..................................................................................................................................................................1
1.2 Features................................................................................................................................................................ 1
1.3 Specifications....................................................................................................................................................... 1
2 Functions................................................................................................................................................................. 2
2.1 Primary functions................................................................................................................................................. 2
2.2 Subsidiary functions.............................................................................................................................................2
3 Operation.................................................................................................................................................................3
3.1 Parts descriptions................................................................................................................................................. 3
3.2 First use................................................................................................................................................................ 3
3.3 Preparations before Operation............................................................................................................................. 4
3.4 Power on...............................................................................................................................................................4
3.5 Recovery...............................................................................................................................................................4
3.6 Vacuum.................................................................................................................................................................5
3.7 Fill new oil........................................................................................................................................................... 5
3.8 Recharging............................................................................................................................................................6
3.9 Auto. Mode...........................................................................................................................................................7
3.10 Database............................................................................................................................................................. 7
3.11 Auxiliary functions.............................................................................................................................................8
3.11.1 Usage of the Auxiliary Port.............................................................................................................................8
3.11.2 System functions............................................................................................................................................. 8
3.11.2.1 Parameter setting.......................................................................................................................................... 8
3.11.2.2 Calibration (professional).............................................................................................................................8
3.11.2.3 Refrigerant supply........................................................................................................................................ 9
3.11.2.4 Exchange dry filter.....................................................................................................................................10
3.11.2.5 Drain used oil............................................................................................................................................. 10
3.11.2.6 Self-purify.................................................................................................................................................. 10
3.11.2.7 Release air.................................................................................................................................................. 11
3.11.2.8 Info & inquiry.............................................................................................................................................11
3.11.2.9 Change vacuum pump oil...........................................................................................................................11
3.12 Help.................................................................................................................................................................. 12
3.13 Warning code....................................................................................................................................................12
3.14 Maintenance..................................................................................................................................................... 12

LM 706 A/C Service Station
1
1. Introduction
1.1 Outline
LM 706 A/C system maintenance equipment is with the latest design technique which uses the best control principle and
the manufacturing process.
LM 706 is intelligent equipment collecting of the A/C flushing, recovery, recycling, recharging and other functions in
one. It’s with the beautiful shape, humanized operation interface, and advanced manufacturing processes to make the
A/C maintenance professional and simple.
1.2 Features
A、Fully automatic, easy to operate.
B、Unique design of the pipeline to achieve the high recycling rate no matter with the gas or the
liquid.
C、Touch button, improved control performance, long service life.
D、Designed with large size LCD.
E、Database.
F、USB update port,program and database can be updated.
G、Equipped with auxiliary filling port, it is convenient to fill refrigerant through external tank.
1.3 Specifications
A、Working conditions:
Ambient temperature: 0~50°C
Relative humidity: <85%
B、Voltage input: □AC220V □AC110V
C、Compressor:12.12cm3
D、Vacuum pump: 7.2m3/h,5Pa
E、Load cell for tank: 30kg±10g
F、Load cell for oil bottle: 6kg, ±10ml
G、Tank: 12L
H、Oil bottle: 300ml(new)
I、Oil bottle: 300ml(used)
J、LCD display: 240*128
K、Working pressure: max. 20bar
L、HP gauge: -1bar~3.5MPa
M、LP gauge: -1bar~2.5MPa
N、P gauge: -1bar~3.5MPa
O、Backlighting:LED
P、Language: Chinese, English (other languages can be customized)
Q、tubes:3m*2(red & blue)

LM 706 A/C Service Station
2
2Functions
2.1 Primary functions
A、Recovery/recycling
B、Vacuum
C、Fill new oil
D、Recharging
E、Auto. Mode
2.2 Subsidiary functions
A、Database
B、Parameter setting
C、Calibration (professional)
D、Supply main tank
E、Maintenance procedures (dry-filter exchange, vacuum pump maintenance)
F、Drain used oil
G、Self-purify
H、Release air
I、Info & inquiry
J、Help
LM 706 A/C Service Station
3
3Operation
3.1 Parts descriptions
3.2 First use
A、In order to avoid damage to the electronic scale during transportation, the electronic scale is
protected when the equipment leaves the factory. Open the back door, take out all the fillers
on both sides of the cylinder and under the scale pan, so that the scale pan is suspended.
B、Set language: select and press OK
HP gauge
Operation panel
LP gauge
Power switch
TP gauge
New oil
bottle
Used oil
bottle
LCD Displayer
HP port
LP port
Auxiliary
Port
Unscrew the
support screw.
UP
Menu
selection
DOWN
Menu
selection
LEFT
Parameter
setting
RIGHT
Parameter
setting
BACK
ENTER
LM 706 A/C Service Station
4
C、Set unit: select and press OK
D、Connect the HP (RED) pipe & coupler to the HP port of the machine, and the LP (BLUE) pipe & coupler to the LP
port.
E、Please supply refrigerants. Refer to the chapter of “Refrigerant supply”.
Note:
As the new equipment is empty, the Flushing and Recharging functions will not be
performed.
Please supply about 4 kg refrigerants into the tank of equipment so that all of the functions
can be run normally.
If it is not necessary to use the Flushing function, supply refrigerants at least 2kg.
F、Please read this user manual carefully before operating.
3.3 Preparations before Operation
A、Connect the red & blue couplers to the HP & LP ports of automobile air-conditioner
respectively, and open them. Start the car, turn on the air conditioner and run at idle speed
for about 5 minutes.
B、Check if the automotive air-conditioning can run normally. Check if there has any leakage, it
must be repaired firstly to avoid refrigerant leak during flushing process.
C、Turn off the air conditioner and turn off the engine.
D、Empty the used oil bottle.
3.4 Power on
(only appears when there is information)
3.5 Recovery
A、By this function, it will recover the refrigerant remained in the A/C system.
B、Operations:

LM 706 A/C Service Station
5
Note: after the operation of the equipment, there is no need for personnel to take care of it
until it is finished by itself.
C、Select the Recovery function and press OK key to run it.
D、If it displays code as W** during the process, please deal with it according to prompt
information.
E、When recovery finished, the used oil will be drained out automatically.
Warning: in the recovery function mode, continuous recovery of liquid refrigerant is strictly prohibited to prevent
damage to the equipment. If you need to recover more than 1.5kg of liquid refrigerant, please use the
replenishment connector or run the refrigerant replenishment function.
3.6 Vacuum
A、By this function, it will clean the water vapor out from the A/C system.
B、It should be more than 15 minutes. Generally, it needs 15 minutes at least for the air
conditioning only with front wind and 20 minutes for with the front and rear wind.
C、Operations:
Note: after the operation of the equipment, there is no need for personnel to take care of it
until it is finished by itself.
D、If it displays code as W** during the process, please deal with it according to prompt
information.
Note: when the equipment detected refrigerant in the air conditioning system, the residual refrigerants should be
recovered. Otherwise, there will be a spray phenomenon during the vacuum pumping process, which will easily
cause damage to the vacuum pump.
If there is leakage in the air conditioning system, the leakage should be eliminated first. If the system is not sealed
for a long time, the service life of the vacuum pump will be reduced.
3.7 Fill new oil
A、Through this function, a proper amount of refrigerant oil is injected into the automobile air
conditioning system to maintain the air conditioning performance.
B、Pour new oil into the new oil bottle.
Note: add new oil more 20ml than the used oil drained out to avoid the air into the air
conditioning system. When the automobile air conditioning system is in non-vacuum

LM 706 A/C Service Station
6
state, it will not be able to perform the function of filling new oil!
C、Operation:
D、Select the Fill new oil function. It can be filled by manual control or by setting the filling
amount.
E、If the manual filling mode is selected, press the OK key once to fill about 5 ~ 10ml; or press
and hold it to continuously fill.
F、If the automatic filling mode is selected, set the filling amount, and then press OK to run.
G、After end, the equipment stops automatically.
Note: in the process of new oil filling, do not take the oil bottle and shake the equipment,
otherwise it will lead to inaccurate filling!
3.8 Recharging
Through this function, the refrigerant can be quantitatively filled into the automobile air conditioning system.
A、Select Recharge function and set parameter.
B、The recharging amount setting:
Method 1: Set the amount directly.
Method 2: Set the amount by the database. Steps as following:
Under the setting interface, press " " key to enter the database interface
Select the brand, model and model year, press OK to confirm, and the filling amount will be set automatically.
LM 706 A/C Service Station
7
Note: in order to ensure the normal operation of the filling function, the
reserved amount of refrigerant in the equipment tank is set to 1kg, and the
setting value of the filling amount is: the amount of refrigerant in the tank
minus 1kg. For example, if the refrigerant quantity in the tank is 1.2kg, the
maximum setting value of filling quantity is 1.2-1 = 0.2kg.
C、Note: In the recharging process, if shows the menu, it means that you need to turn on
the car air-conditioning to complete the recharging process. Later, you should supply
new refrigerant into the tank.
3.9 Auto. Mode
A、Under this mode, all of the functions can be run full automatically after setting the
parameters.
B、Before running, must empty the used oil bottle entirely and fill enough new oil into the new
bottle.
C、Operations:
D、Select Auto. Mode function and set parameter.
E、The parameter setting method is the same as the single function setting method mentioned
above.
F、If it displays code as W** during the process, please deal with it according to prompt
information.
3.10 Database
A、Here you can read the refrigerant type and filling amount and the refrigerant oil type and
filling amount of the automotive.
B、Operations:

LM 706 A/C Service Station
8
3.11 Auxiliary functions
3.11.1 Usage of the Auxiliary Port
Note: if the connector is not used, it must be plugged with copper nut.
a) It can recharge refrigerant via this port.
b) Before vacuum, connect the pipe with the external tank to the auxiliary port.
Note: Do not open the valve of external tank during this process.
c) Run vacuum function.
d) Open the valve of external tank to recharge the right amount refrigerant into A/C system. And
then close the valve of external tank.
e) After finished, disconnect the pipes and re-back the cap to the auxiliary port.
Tip: when using the external tank to fill the refrigerant, it may be necessary to start the car and turn on the air conditioner in
some cases. It is forbidden to connect the high and low pressure ports reversely.
3.11.2 System functions
This function includes parameter setting and equipment maintenance.
3.11.2.1 Parameter setting
a) Language settings: Simplified Chinese, traditional Chinese and English
b) Weight unit setting: kg / g, LB
3.11.2.2 Calibration (professional)
When the load cell is not precise, it needs to be calibrated.
Tip: this function needs to be operated by authorized personnel. Please check the calibration code
with local dealers and operate under their guidance.
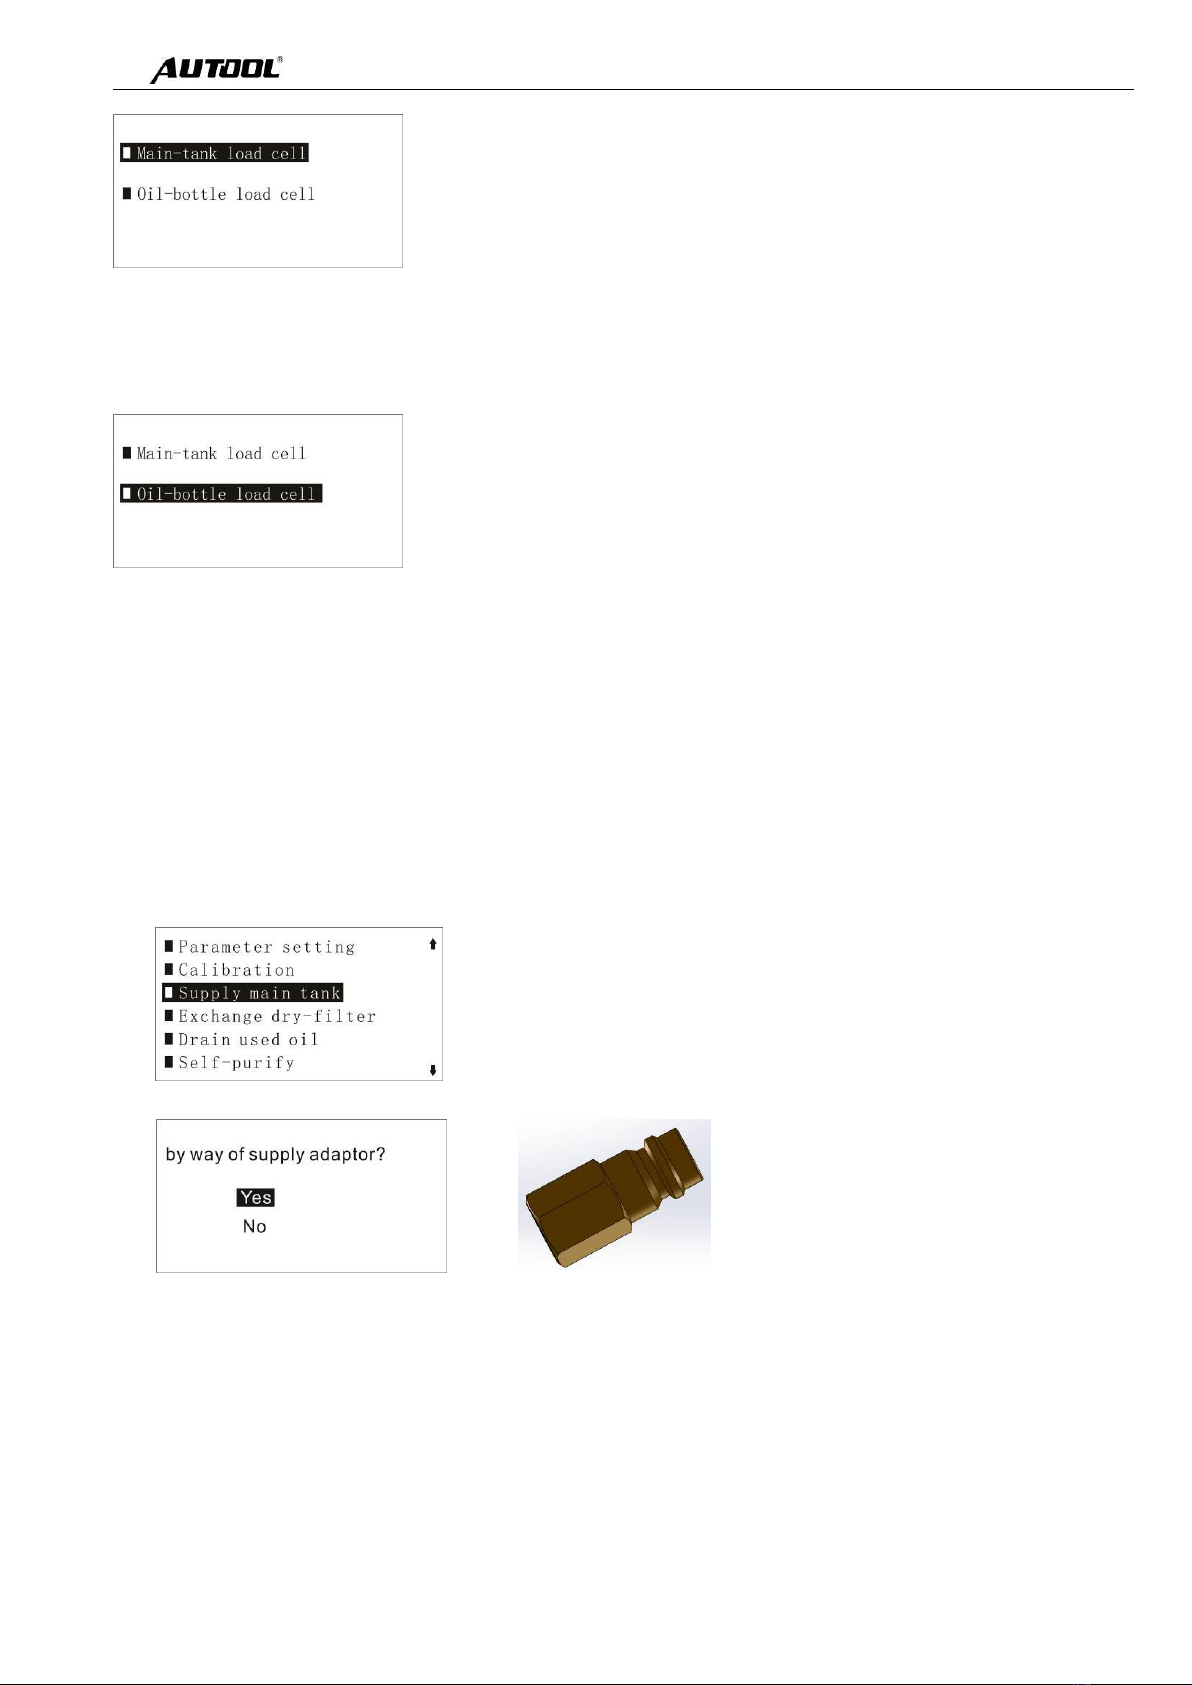
a) Calibration of main-tank load cell
LM 706 A/C Service Station
9
Follow the prompts step by step.
Note: 15kg weight is needed in the calibration process (or for the object with known accurate weight, the reference
weight can be in the range of 10-20kg).
b) Calibration of oil-bottle load cell
Follow the prompts step by step.
Note: 2kg weight is needed in the calibration process (or for the object with known accurate weight, the reference weight
can be in the range of 1-3kg).
Note: if unsuccessful steps appear in the calibration process, please refer to the prompt information for inspection.
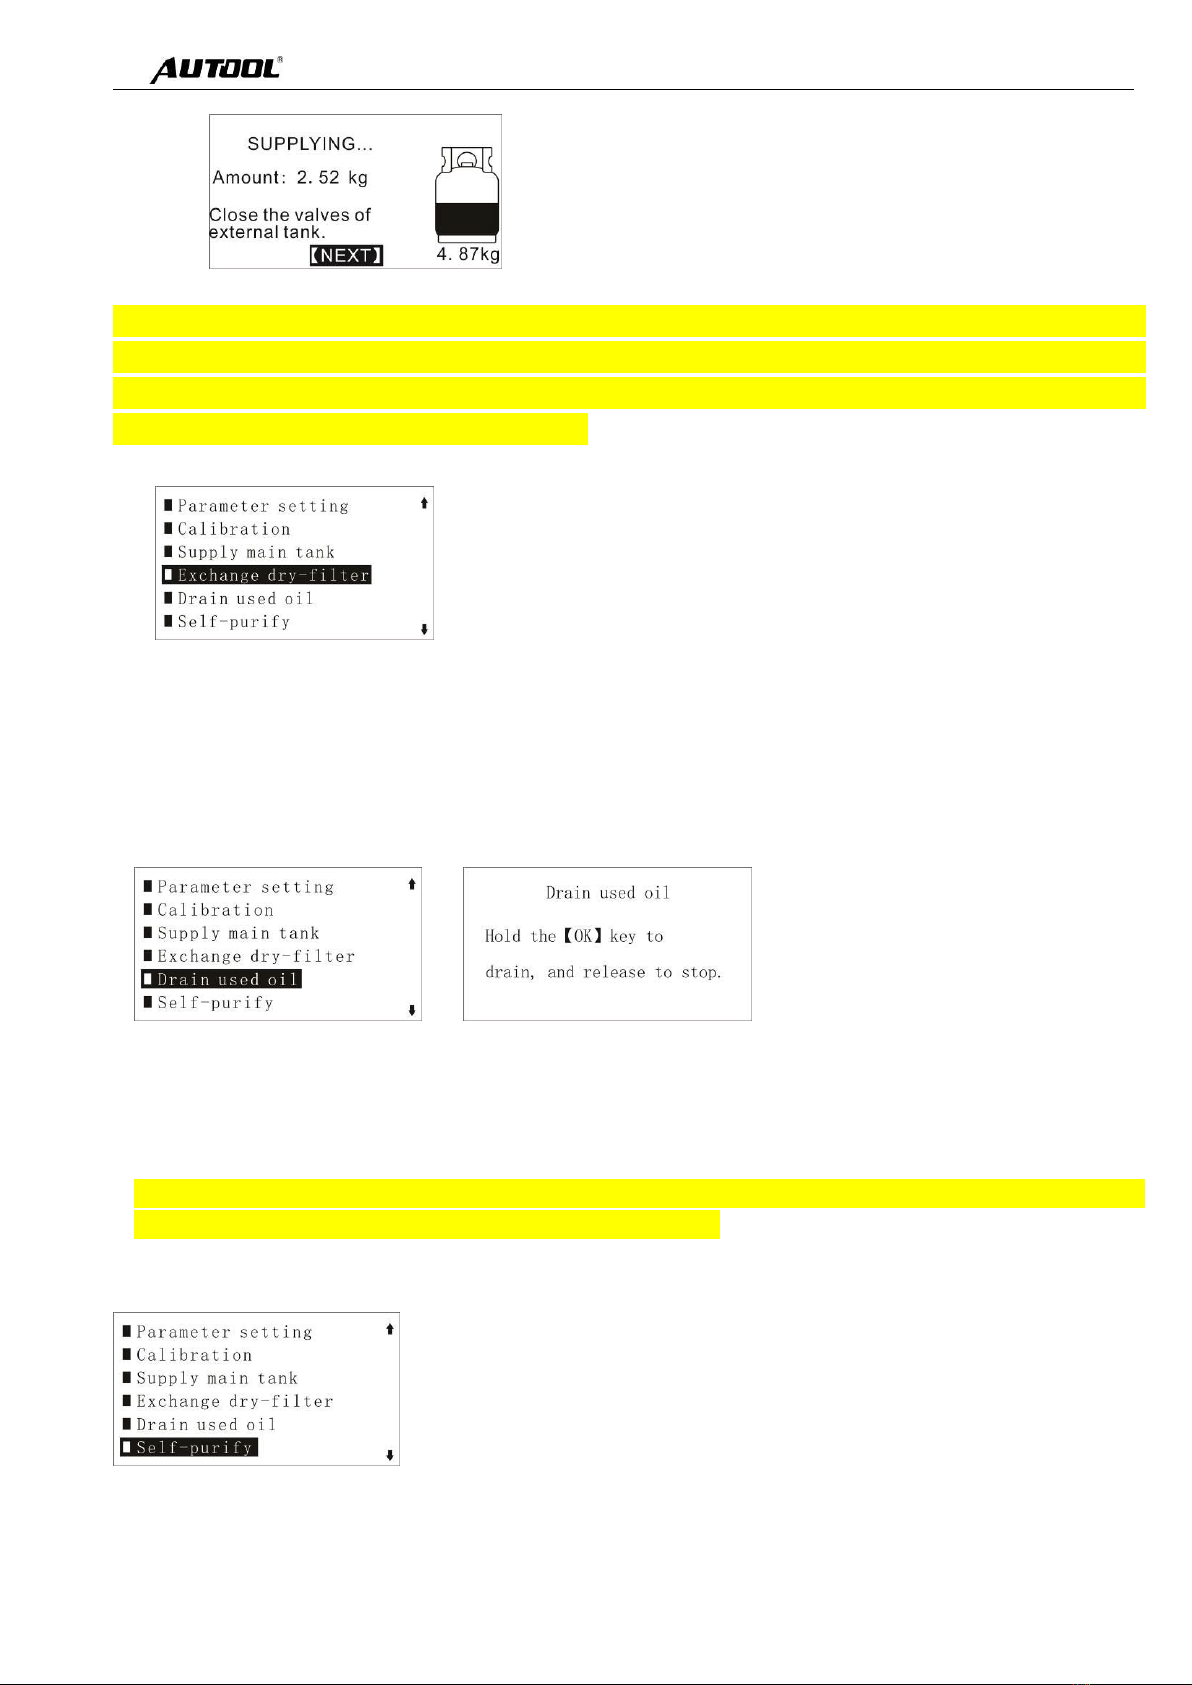
3.11.2.3 Refrigerant supply
A、When the amount of refrigerant of the equipment is less than 2kg, it need to be
supplemented. If the refrigerant is less than 1kg, the filling function will not be performed.
B、Operations:
B-1: Select Supply main tank function.
B-2: Choose whether to use supply adaptor or not.
B-2-1: If use the adaptor, the pipeline connection is as follows:
Connect the adaptor to the port of fresh refrigerant tank.
Connect the coupler to the supply adaptor and open it.
B-2-2: If don’t use the adaptor, the pipeline connection is as follows:
Connect blue pipe to the port of fresh refrigerant tank.
B-3: Open the valve of fresh refrigerant tank.
B-4: Set the amount of supplying and press OK to run.
B-5: When the equipment prompts to close the valve of the external tank, please close it in
time, put the refrigerant tank upright, and press enter to confirm.
LM 706 A/C Service Station
10
B-6: When finished, the equipment stops automatically. Then restore the line.
Note: for safety reasons, some fresh refrigerant tank has no liquid port so that it don’t
support the use of refrigerant upside down (that is, when upside down, no refrigerant
flows out of the cylinder). At this time, the cylinder should be placed upright and
supplemented with the recovery function.
3.11.2.4 Exchange dry filter
A、The dry filter must be exchange when it reaches the life time. There will give a message.
B、If not exchange the dry-filter timely, it will not be able to run the recovery and supplying
functions.
C、Please read the ID of the dry-filter at the label. Which is the value followed by letter SN.
D、Please attention the mounting direction of the dry-filter.
3.11.2.5 Drain used oil
Normally, the equipment will automatically drain the used oil after flushing and/or recovery
function. In case of power failure and artificial termination of operation, this function can be
used to discharge the used oil separated from the equipment.
Press ENTER key once, it will drain oil once. Press and hold ENTER key to drain used oil
continuously.
Note: in order to avoid bottle explosion due to high internal pressure, it is strongly
recommended to use point by point method to drain oil!
3.11.2.6 Self-purify
For a period of time, there will be a small amount of frozen oil residue in the glass window,
internal pipeline and other parts. At this time, it can be treated by the self-purify function of the
equipment. The operation steps are as follows:
A、Recovery the refrigerant in the pipeline.
LM 706 A/C Service Station
11
B、Remove the blue low-pressure refrigerant pipe from the equipment and the high-pressure
quick coupling from the red high-pressure pipe.
C、Use red high-pressure pipe to short-circuit the high-pressure and low-pressure interfaces.
D、Run it and will stop automatically.
3.11.2.7 Release air
When the pressure in the equipment tank is higher than the normal standard pressure (refer to the temperature and
pressure comparison table on the side of the equipment), it is necessary to exhaust.
When there is a high pressure alarm, the pressure will be released automatically.
In order to prolong the service life of the equipment, it is recommended to exhaust once a month.
3.11.2.8 Info & inquiry
System inquiry: you can query the equipment usage.
Servicer info: inquire about the phone number of the service provider.
Equipment infor: query equipment serial number, software and hardware version and other information.
3.11.2.9 Change vacuum pump oil
A、When the pump oil became cream or the unit displays maintenance message, the vacuum
pump oil must be changed.
B、If not change the pump oil, the vacuum function will not be able to run.
C、Steps:
Step1: open the back cover.
Step2: Unscrew the block of the drain port to drain entirely out the old oil. Then re-back the
block to the drain port.
Step3: Unscrew the cap of the fill port and then fill the new oil slowly into the vacuum pump
until the oil level reach at the center site. Then re-back the cap to the fill port.
Note: the new vacuum pump oil cannot be filled too much into the vacuum pump
otherwise it will spray out when working.
Window
Drain port
Fill port

LM 706 A/C Service Station
12
Step4: Re-back the cover.
3.12 Help
Here you can check all of the help messages.
3.13 Warning code
3.14 Maintenance
a) The equipment should be regularly treated with exhaust air at least once a week.
b) Clean the filter connector in the old oil bottle regularly, at least once a week, otherwise
the hose will break due to blockage.
c) When the equipment is not in use, please cover it with dust cover.
d) Keep the display screen clean and do not wipe it with volatile or corrosive liquid.
e) Clean up the residue in the old oil bottle of the equipment in time.
f) Equipment to avoid rain, direct sunlight.
g) Equipment should be used or stored in a flat, cool, clean and ventilated place.
h) The maintenance items indicated by the equipment should be done in time.
i) When the equipment is not in use for a long time, or when it is loaded and transferred to
another site, it shall be protected with supports under the electronic scale.
code
message
method
W01
Refrigerant not enough
Supply refrigerant to main tank.
W02
Full of tank
Transfer some refrigerant out from the tank.
W03
Pressure higher
purify the non-condensable gas 5-8 times
W04
No gas in A/C system
Needn’t recovery.
W05
Still have refrigerant in A/C
system
Recovery firstly.
W06
No oil in the bottle
Fill enough oil to the new oil bottle.
W07
Full of the bottle.
Empty the used oil bottle.
W08
There is pressure in A/C
system
Recovery and vacuum firstly, then add the
new oil.
W10
Dry-filter is invalid.
Change a new one.
W11
Vacuum pump needs
maintenance
Exchange the pump oil.
Table of contents
Other AU Tool Diagnostic Equipment manuals


